


This post may contain affiliate links. Where I make a small commission on purchased items, at no extra cost to you. See my disclosure for details.
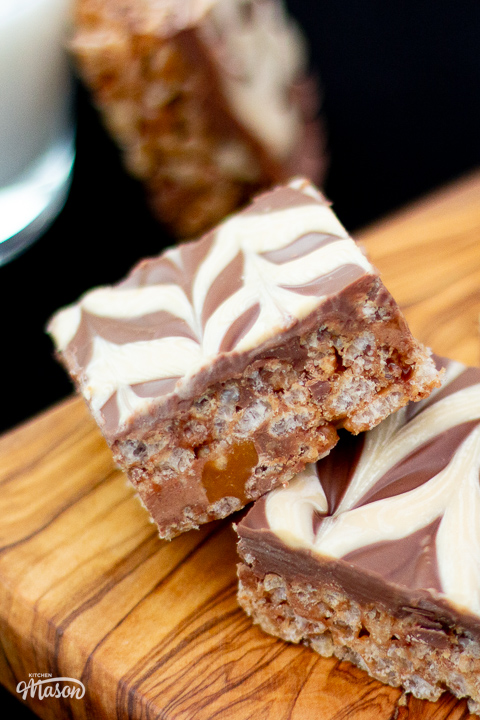
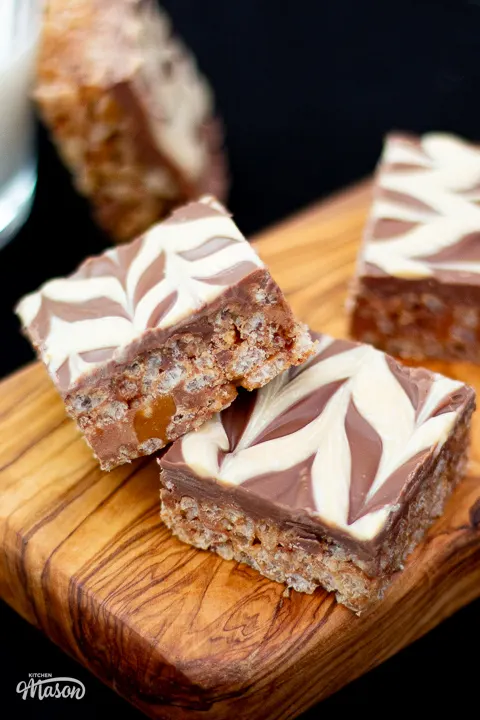
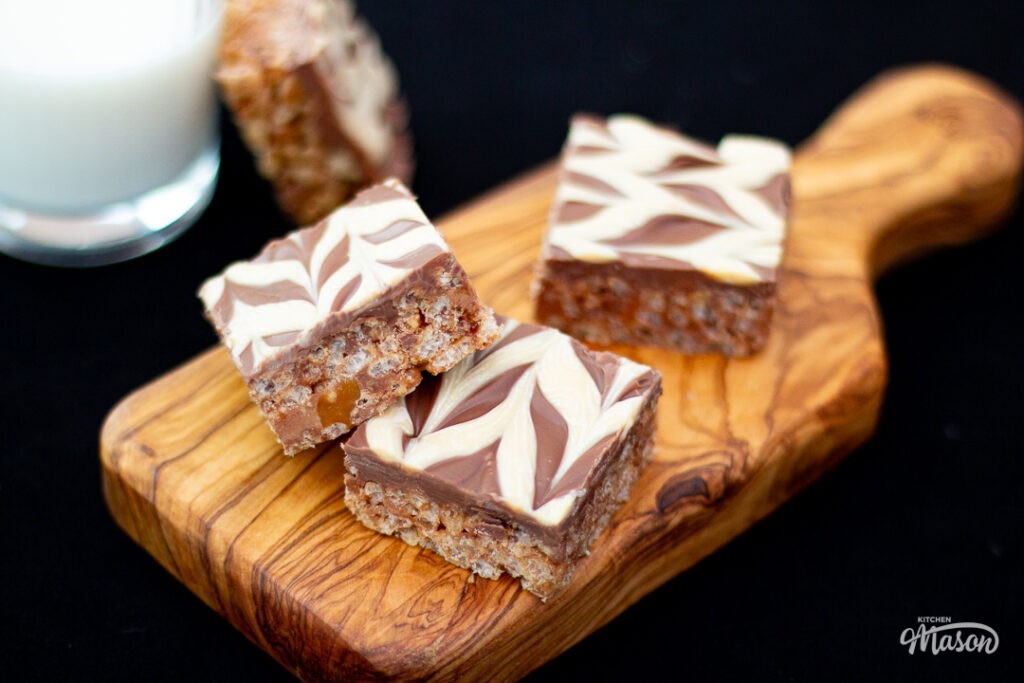
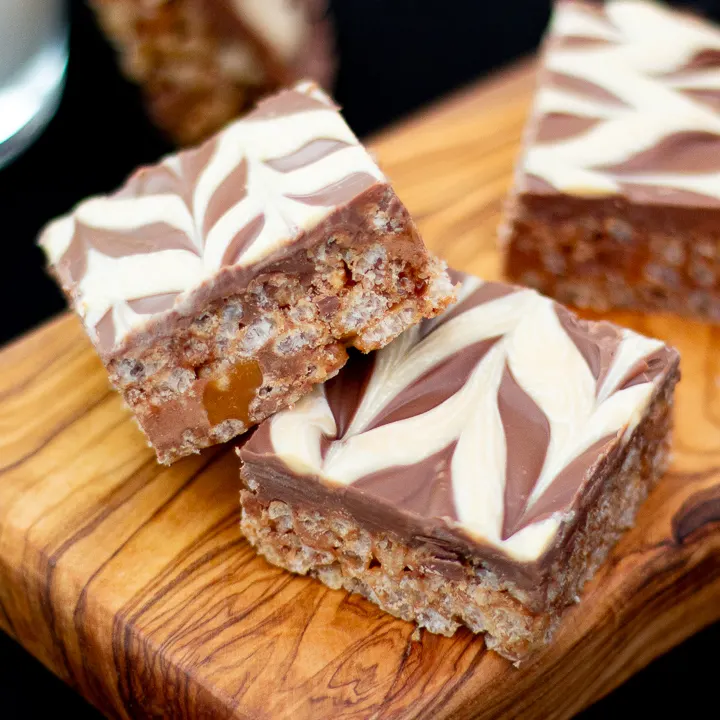
If you love Mars Bars, you’ll LOVE this easy Mars Bar Slice recipe! A no bake treat filled with a crunchy yet chewy texture, and ALL the Mars Bar flavour you could wish for. Keep reading to learn just how easy it is to make!
Why you’ll love this recipe
My brother is a HUGE Mars Bar fan. If there’s a Mars Bar treat to be made, you name it, I’ve made it! Along with Mars Bar cupcakes, this Mars Bar Slice recipe is one of his favourites. Filled with crunchy rice cereal, and little pockets of caramel and nougat – topped off with yet more chocolate… It’s easy to understand why!!
Ingredients
Confused about what ingredients to buy? Not sure about a substitution? Here’s everything you might need to know…
- Mars Bars – It would still taste great with cheaper alternatives, but if you’re making this for a true Mars Bar fan, get the original. (Just look out for offers!)
- Butter – Unsalted, salted, it doesn’t really matter. It’s merely a vessel for the melted Mars Bars!
- Golden Syrup – Don’t skip this if you can help it. It adds a lovely caramel flavour!
- Puffed Rice Cereal – I used Rice Krispies, but they can be expensive if not on offer. Any brand will work just as well!
- Milk Chocolate – Use your favourite, or whatever you already have. Galaxy works well, as it’s the same chocolate used in Mars Bars.
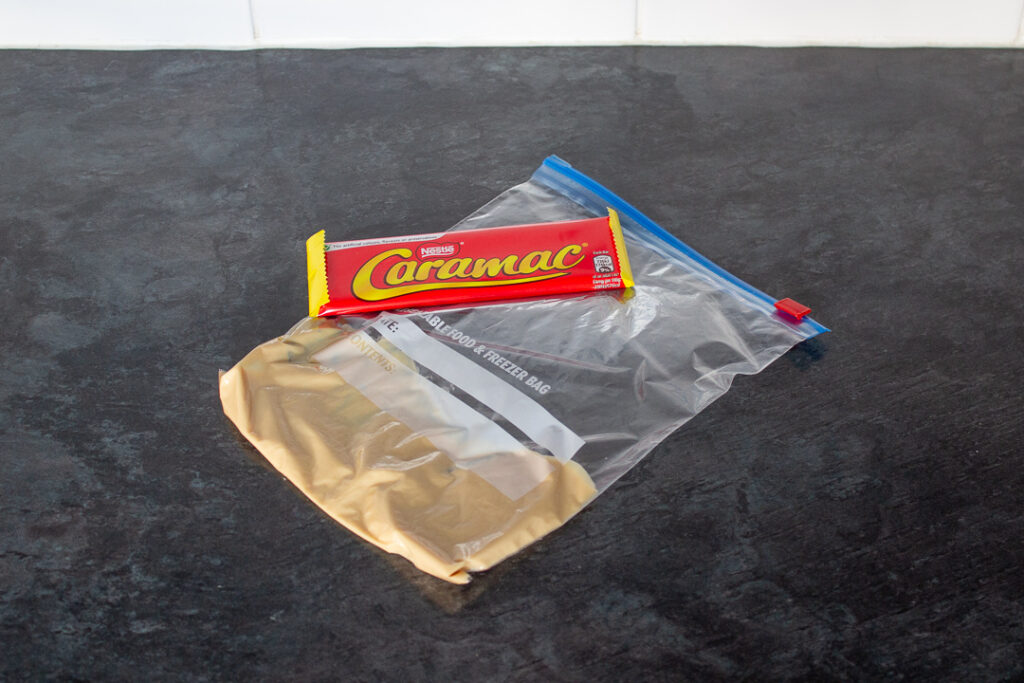
- Blonde Chocolate – This is entirely optional. I used Caramac bars, but any blonde or even white chocolate would look and taste great.
Emma’s top tips
Here are tips you’ll find helpful when making this recipe.
- Take your time melting the Mars Bars. It doesn’t matter if they don’t fully melt, but you risk burning things if your temperature is too high.
- For the milk chocolate topping, I recommend using Galaxy chocolate. This makes the whole thing taste even more like Mars Bars!
- If you’re short on time, you can set your Mars Bar Slice in the fridge. Just be aware that the chocolate may not have that nice snap as a result (due to the dramatic temperature change).
Timings
Have limited time? Struggle with recipe timings? Or juggling around other things? Here’s some time managing info to make your life easier!
- It will take around 5-10 minutes to melt the Mars bars.
- Making the rice cereal mixture will take less than 5 minutes.
- Pressing the mixture into the tin should take no more than 3 mins.
- The chocolate topping will take about 5 mins.
- The optional decoration will only take 2-3 minutes.

Mars Bar Slice – Step by Step Picture Recipe
(For a printer friendly version, see the recipe card at the end of this post)
Ingredients
Here is what you will need to make 9 Large Bars or 16 Smaller Bars.
Please note, this recipe includes both UK metric and US Cup measurements.
- 4 x 39g (1.4 oz) Mars Bars
- 75g (1/3 Cup) Unsalted Butter
- 1 tsp Golden Syrup
- 75g (3 Cups) Rice Krispies
- 200g (7 oz) Milk Chocolate
- 60g (2.1 oz) Blonde Chocolate, optional
Essential Equipment
- 20cm (8″) Square Baking Tin
- Chopping Board
- Sharp Knife
- Saucepan
- Wooden Spoon
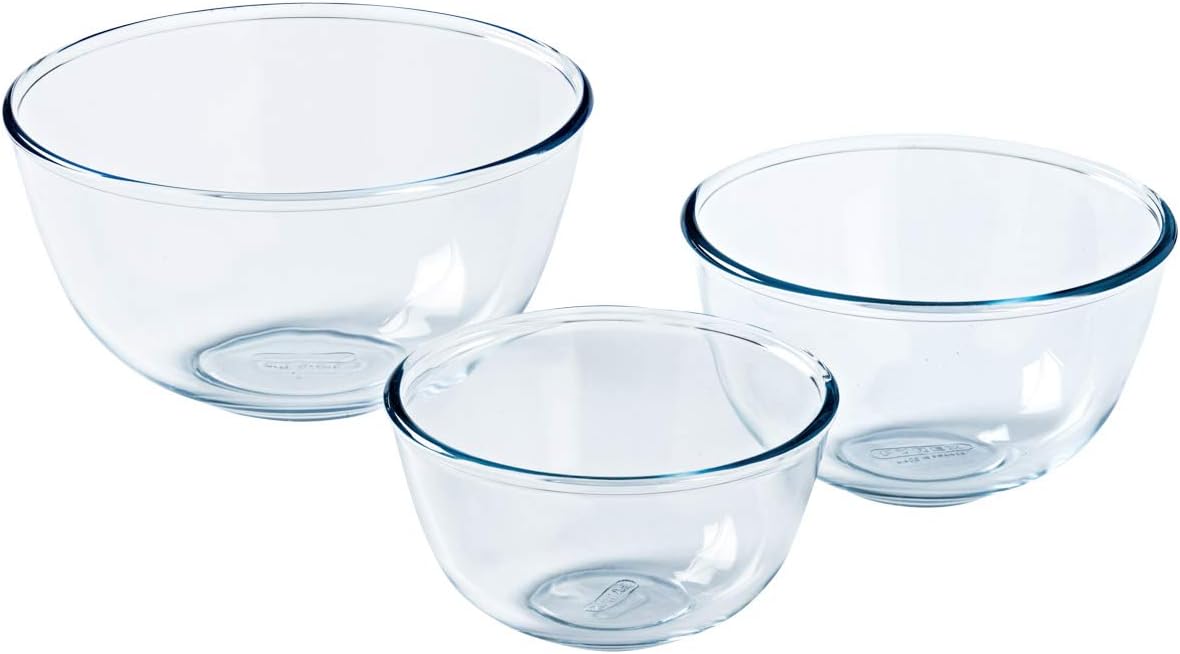
- 2 x Large Mixing Bowls
- Spatula
- Piping Bag (or plastic food bag), optional
- Skewer (or knife), optional
Instructions
First, very lightly grease (just enough so the paper will stick) and line the baking tin with baking paper and set to one side.
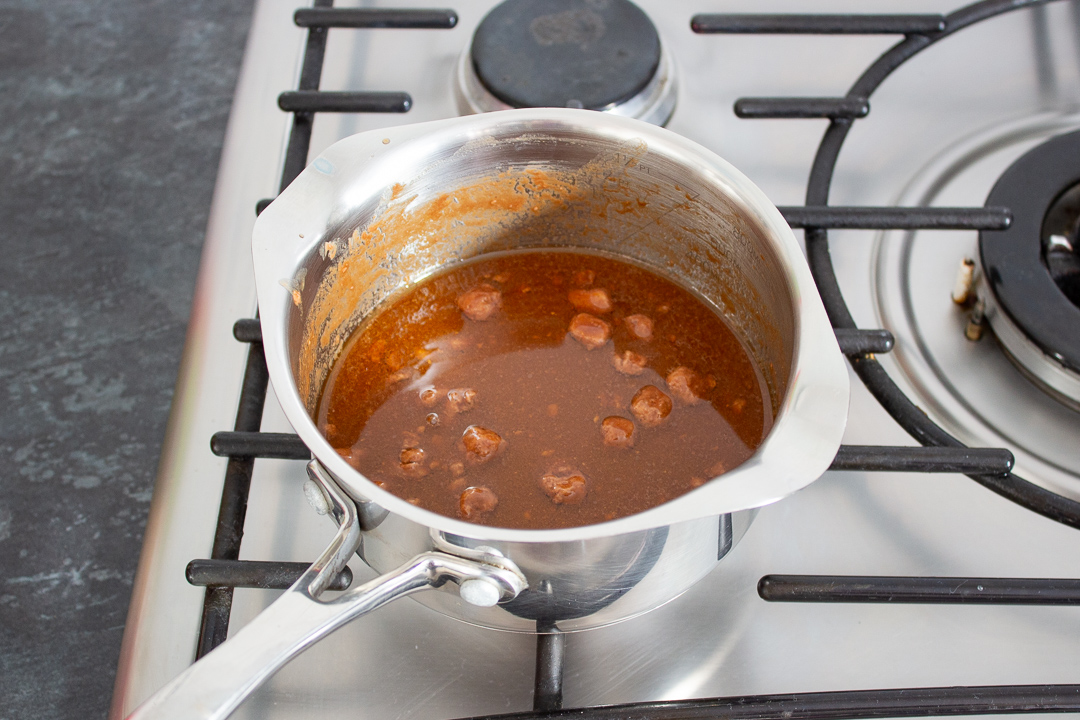
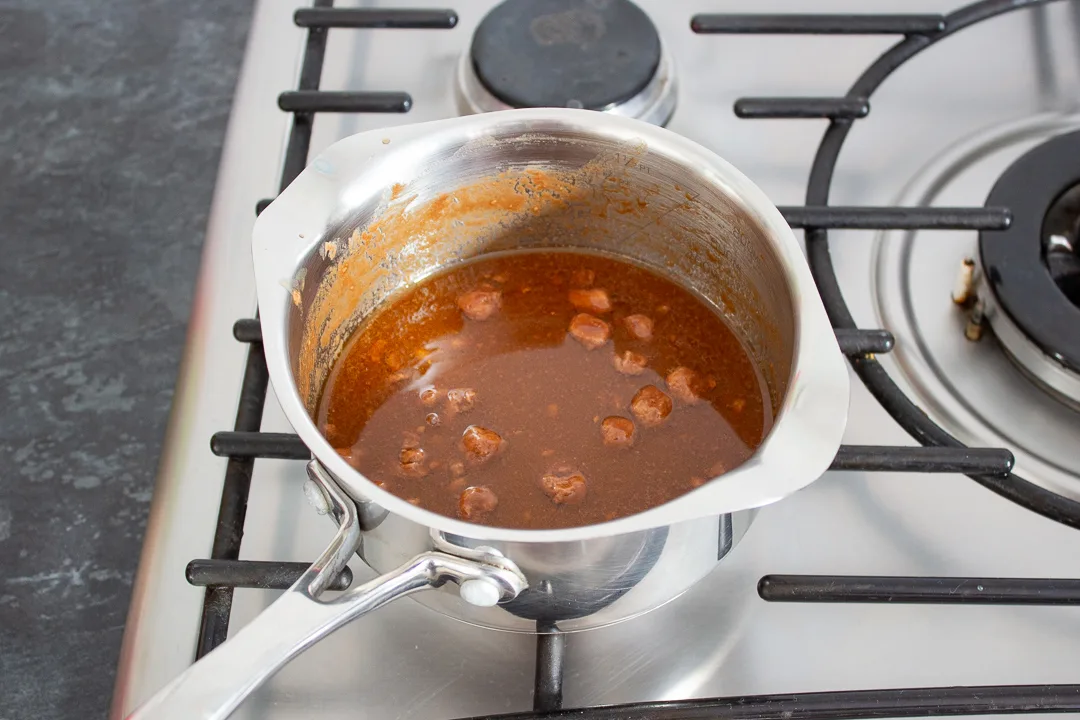
Roughly chop two and a half Mars Bars and place them into a small saucepan. Then chop the remaining one and a half into small chunks, and set those aside for later.
Add the butter (75g | 1/3 Cup) and golden syrup (1 tsp) to the saucepan, then set it over a low heat. Gently melt the contents, stirring constantly with a wooden spoon.

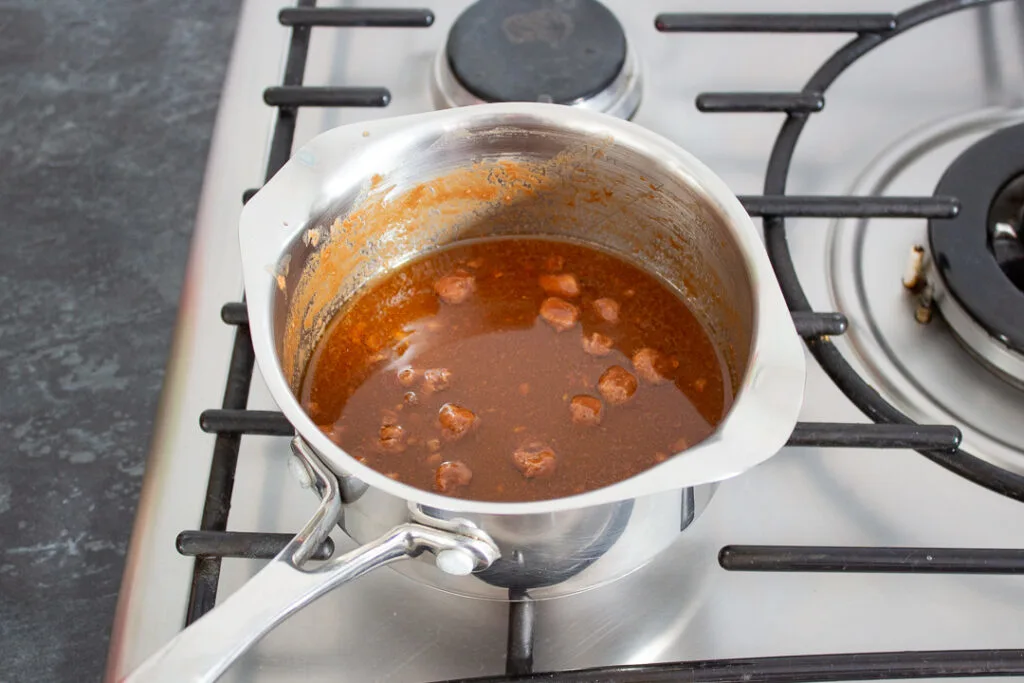
Don’t worry if all the nougat doesn’t melt. Just make sure you allow it to cool for a few minutes.
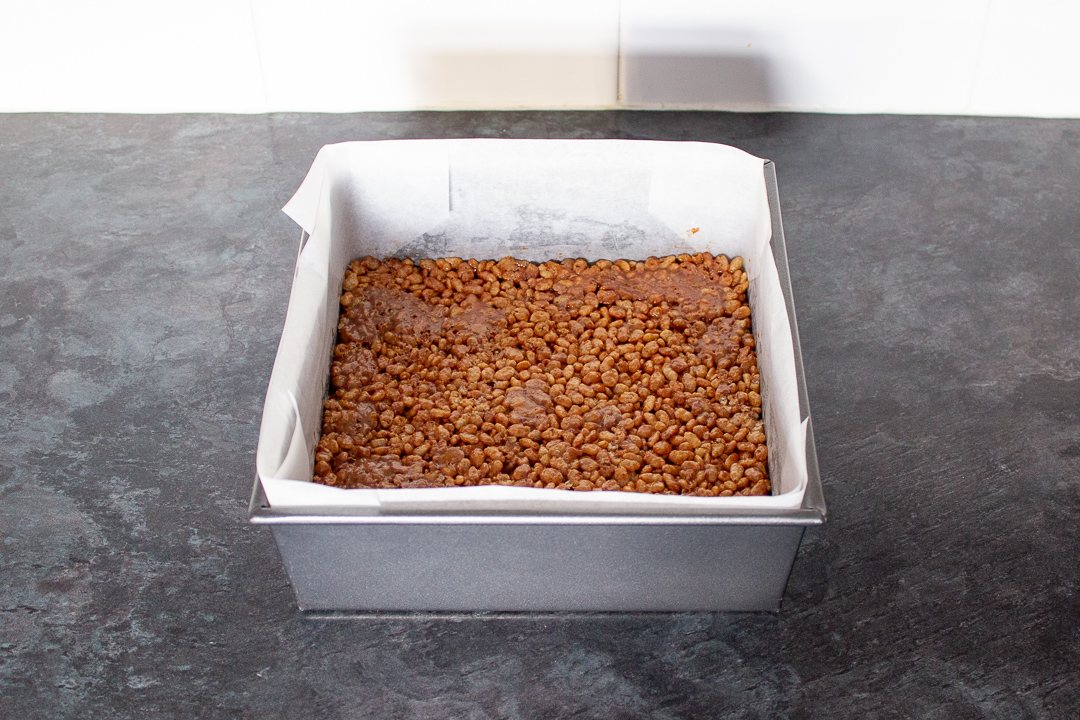
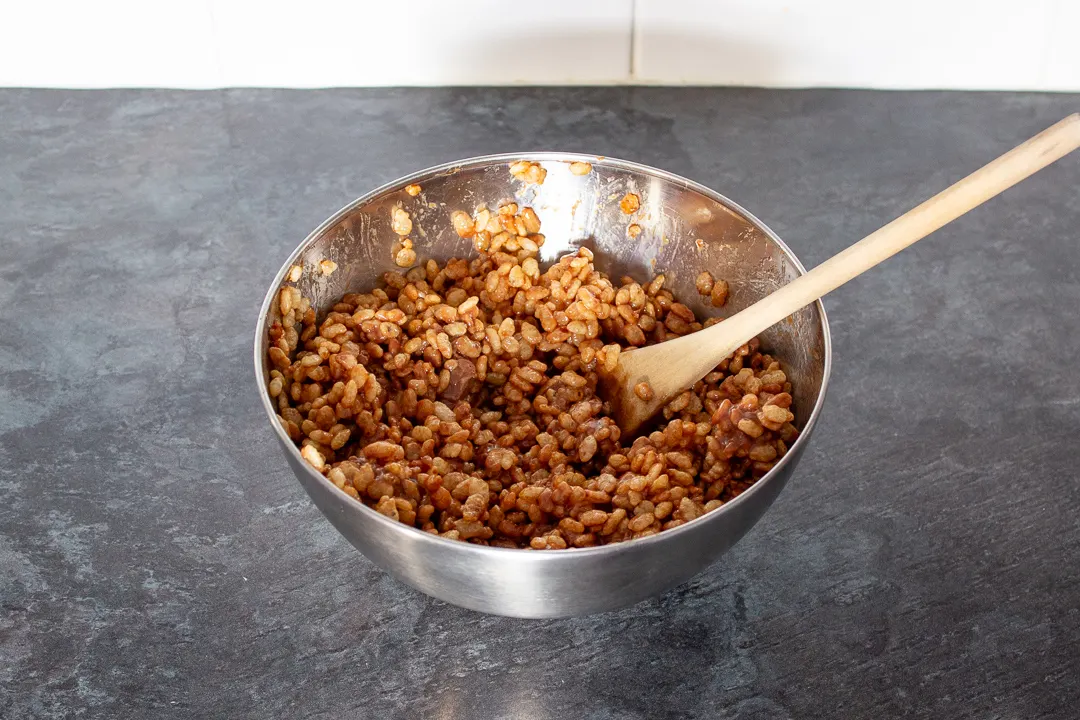
Next, tip the Rice Krispies (75g | 3 Cups) and the pieces of Mars Bar you set aside earlier, into a large bowl. Pour the melted mixture over and stir thoroughly.


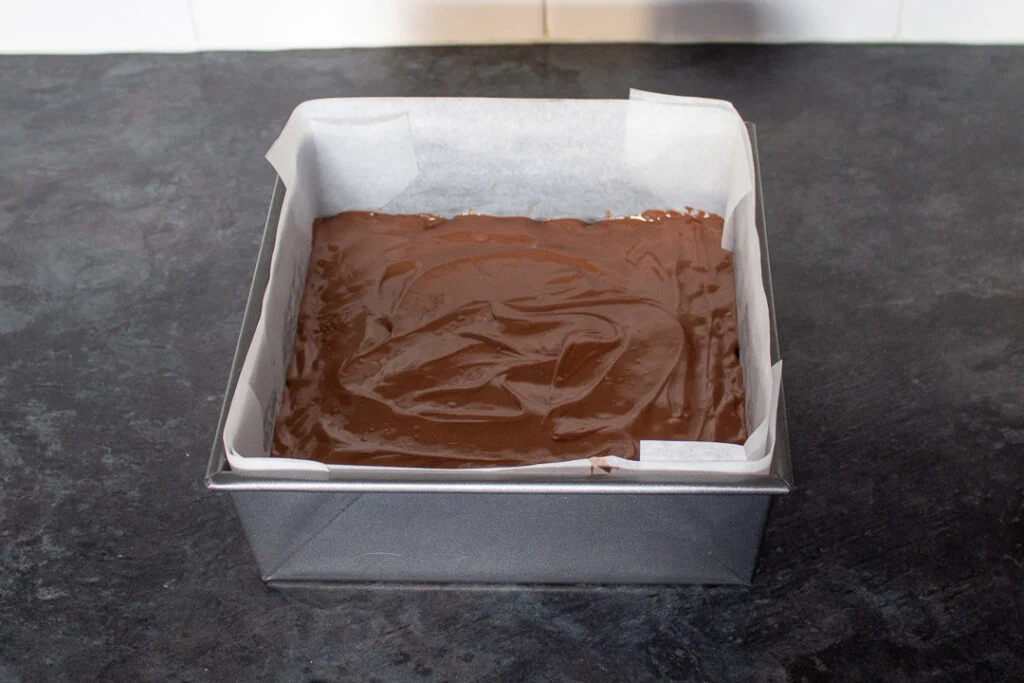
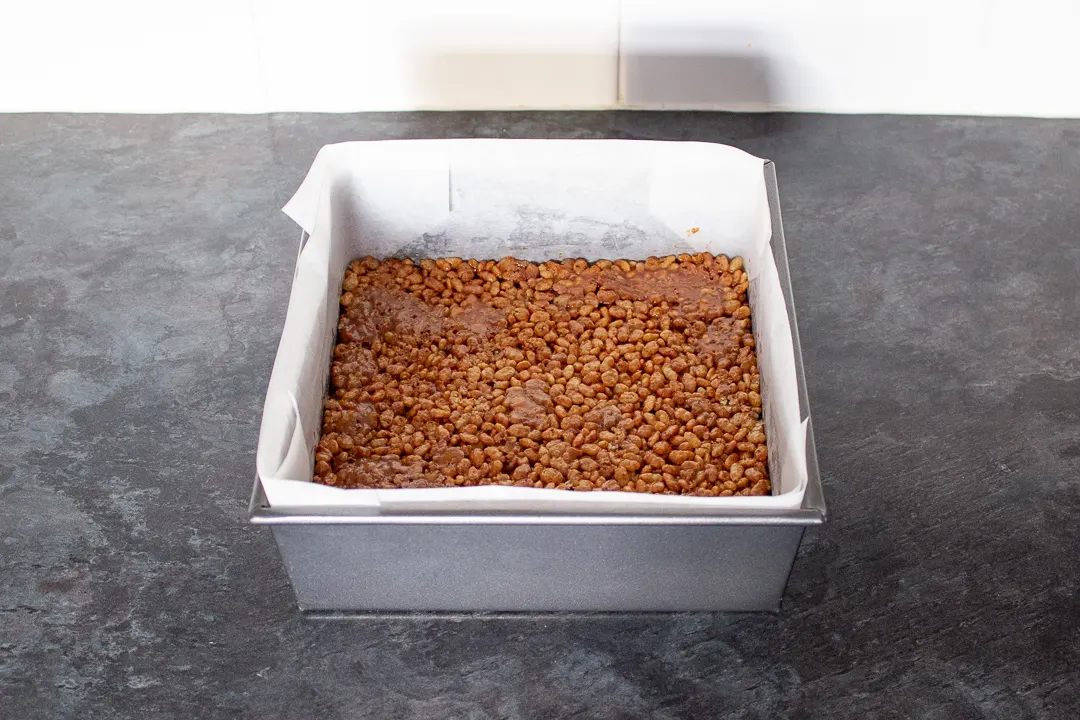
Now press the mixture firmly into the prepared tin, and place it into the fridge to chill while we prepare the chocolate topping.


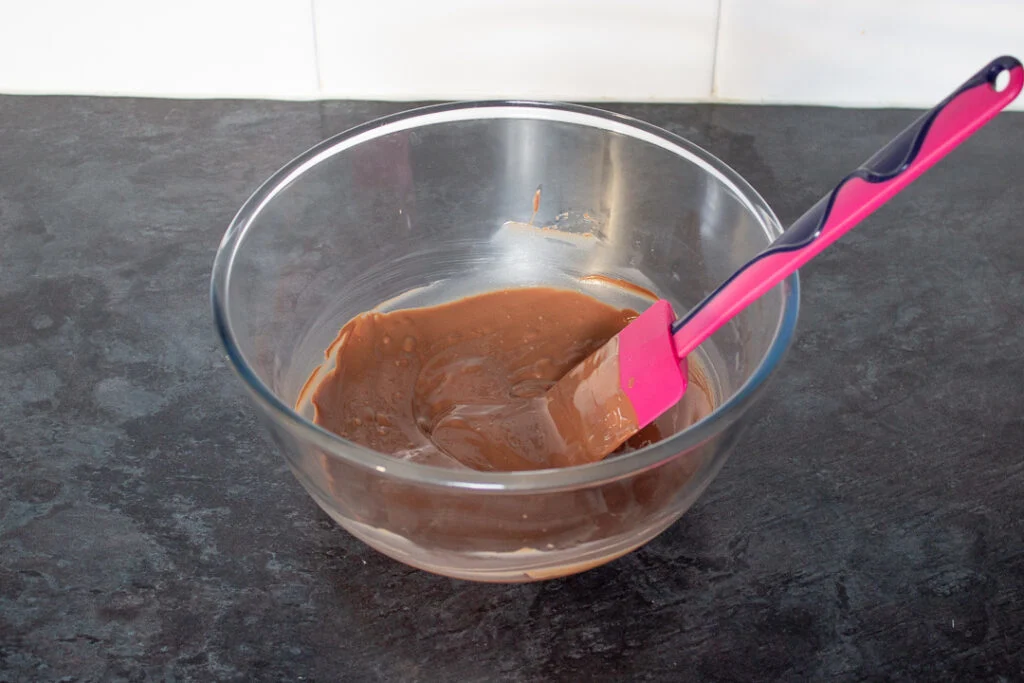
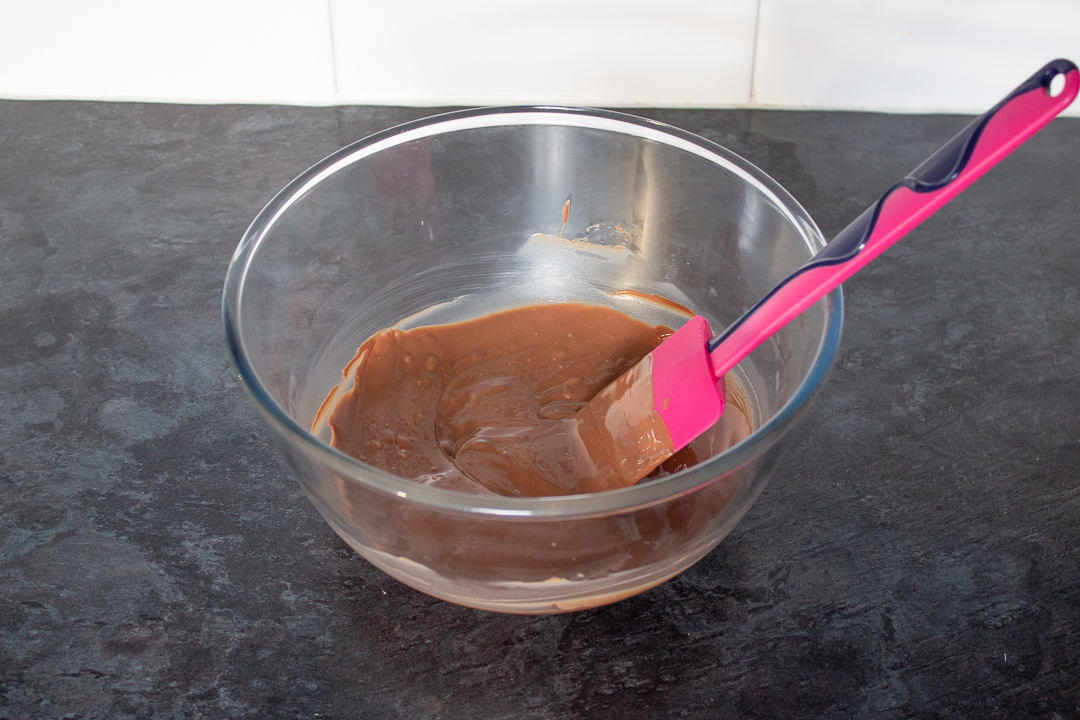
Break the milk chocolate (200g | 7 oz) into a large glass bowl. Then heat it in the microwave in 10 second intervals. When it’s two thirds melted, stop heating and stir continuously until it’s fully melted.

Finally, smooth the melted chocolate over the top of the chilled Mars Bar Rice Krispie mixture.

Optional decoration
NOTE you need to act fairly quickly. If the milk chocolate has started to set before you add the blonde chocolate, the feathering technique won’t work.
If you are going to decorate the top with blonde chocolate (60g | 2.1 oz), break it into a piping bag. Then heat in 10 second intervals in the microwave, giving it a good squish after each time. Keep going until fully melted.

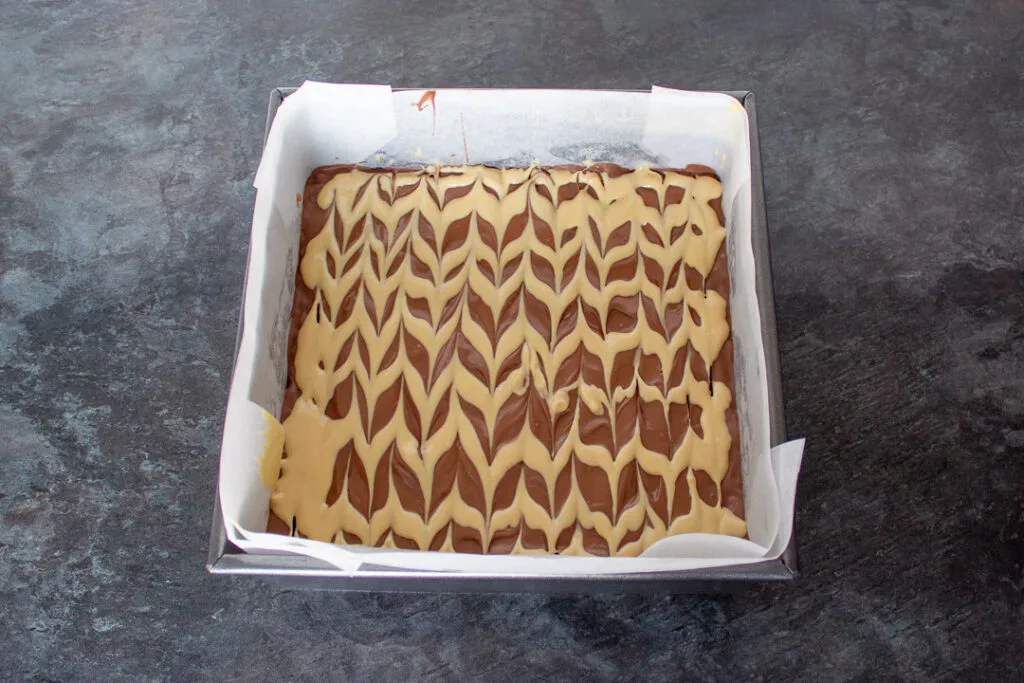
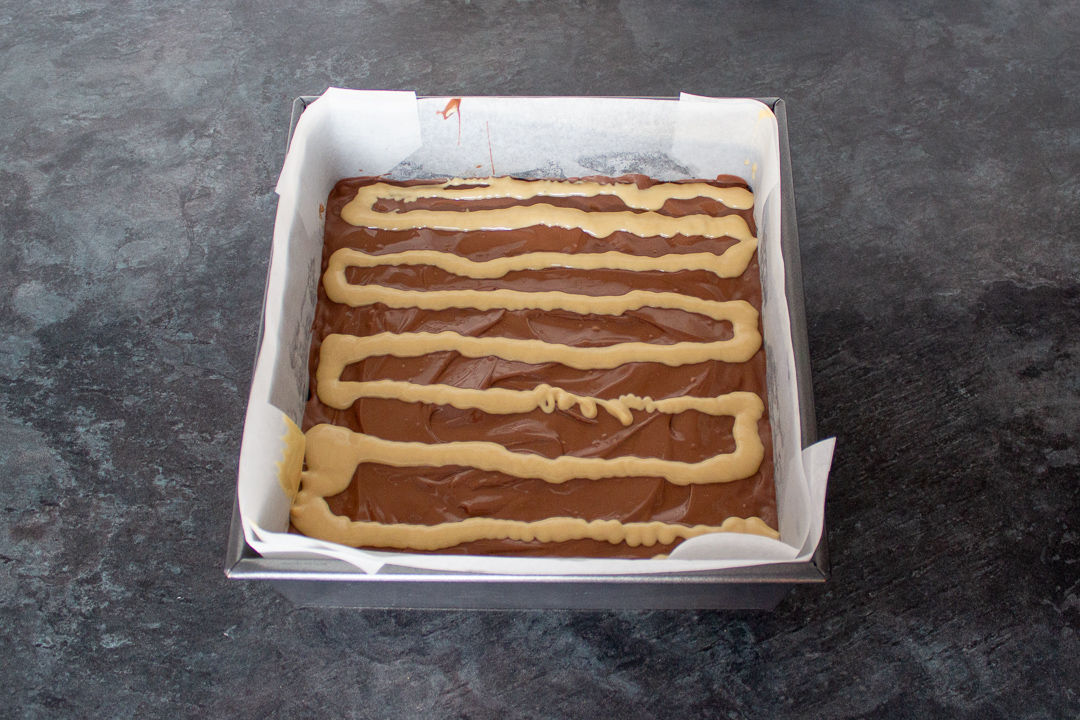
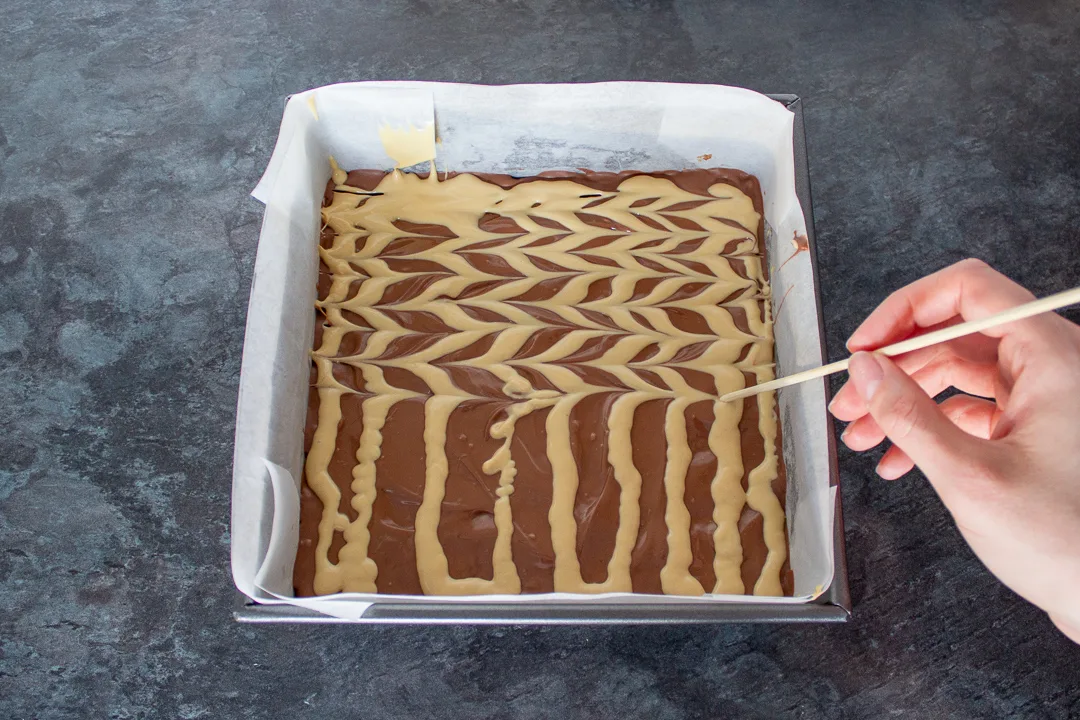
Then snip the end off the piping bag, and pipe lines across the top of the Mars Bar Slice.


Now take a skewer (or knife) and drag lines up and down, in the opposite direction that you piped the first lines.


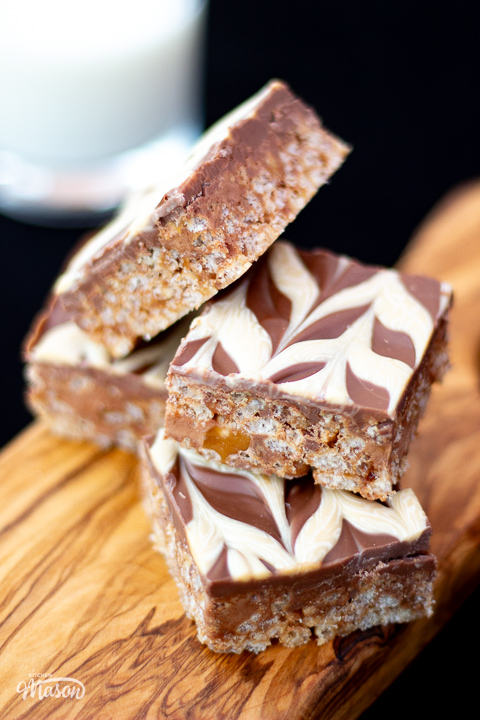
This should create a feathered look. You can now leave your Mars Bar Slice to set at room temperature.

How to slice and store Mars Bar Slice
As this can be quite sticky, it’s easiest to cut using a warm knife. To do this, simply run a sharp knife under a hot tap, and wipe dry before you slice. Cut into 9 or 16 pieces, depending on your preference.
Store your Mars Bar Slice in an airtight container in the fridge, and consume within 5 days.

FAQs
Yes! So long as you melt it gently, you can melt Mars Bars. The nougat may not fully melt, but in this recipe that doesn’t really matter.
No, you don’t have to use Rice Krispies. Any brand of puffed rice cereal will work, it doesn’t need to be expensive.
Loved this Mars Bar Slice recipe? Pin it!


Easy Mars Bar Slice Recipe
Love Mars Bars? You'll LOVE this Mars Bar Slice recipe! A no bake treat with a crunchy chewy texture, and lots of gorgeous Mars Bar flavour!
Ingredients
- 4 x 39g (1.4 oz) Mars Bars
- 75g (1/3 Cup) Unsalted Butter
- 1 tsp Golden Syrup
- 75g (3 Cups) Rice Krispies
- 200g (7 oz) Milk Chocolate
- 60g (2.1 oz) Blonde Chocolate, optional
Essential Equipment
- 20cm (8″) Square Baking Tin
- Chopping Board
- Sharp Knife
- Saucepan
- Wooden Spoon
- 2 x Large Mixing Bowls
- Spatula
- Piping Bag (or plastic food bag), optional
- Skewer (or knife), optional
Instructions
- Lightly grease and line the baking tin. Roughly chop 2 1/2 Mars Bars and place into a saucepan with the butter and golden syrup. Chop the remaining 1 1/2 Mars Bars into pieces and set to one side. Place the saucepan over a low heat, and melt gently while stirring constantly. Set aside to cool.

- Put the Rice Krispies and reserved chopped 1 1/2 Mars Bars into a mixing bowl. Add the melted mixture and stir thoroughly.

- Press the mixture into your prepared tin, and pop into the fridge to chill.
- Meanwhile, break the milk chocolate into another mixing bowl. Heat in the microwave in 10 second intervals, stirring between. When two thirds melted stop heating, and keep stirring until fully melted.
- Pour the chocolate over the Rice Krispie base and smooth out with a spatula.


Optional Decoration
NOTE You need to act fairly quickly. If the milk chocolate has started to set before you add the blonde chocolate, the feathering technique won’t work.
- Break the blonde chocolate into a piping bag and heat in the microwave in 10 second intervals. Give it a good smush after each time. Continue until fully melted.

- Snip the end, and pipe lines across the melted chocolate topping.
- Then take a skewer and drag lines in the opposite direction to the lines you just piped. This will create a feathering effect.

- Allow your Mars Bar slice to set at room temperature before slicing.


Notes
If you would rather use a more in depth picture recipe, please see the main body of this post. Where you’ll also find lots of extra FAQs and helpful tips, should you need them.
Please note, this recipe includes both UK metric and US Cup measurements.
Slicing and Storage
As this can be quite sticky, it’s easiest to cut using a warm knife. To do this, simply run a sharp knife under a hot tap, and wipe dry before you slice. Cut into 9 or 16 pieces, depending on your preference.
Store your Mars Bar Slice in an airtight container in the fridge, and consume within 5 days.
Tips
- Take your time melting the Mars Bars. It doesn’t matter if they don’t fully melt, but you risk burning things if your temperature is too high.
- For the milk chocolate topping, I recommend using Galaxy chocolate. This makes the whole thing taste even more like Mars Bars!
- If you’re short on time, you can set your Mars Bar Slice in the fridge. Just be aware that the chocolate may not have that nice snap as a result (due to the dramatic temperature change).
Recommended Products
As an Amazon Associate and member of other affiliate programs, I earn from qualifying purchases at no extra cost to you.


Nutrition Information:
Yield: 16 Serving Size: 1Amount Per Serving: Calories: 177Total Fat: 10gSaturated Fat: 6.5gTrans Fat: 0gUnsaturated Fat: 3.2gCholesterol: 18mgSodium: 16mgCarbohydrates: 19gFiber: 0.8gSugar: 13gProtein: 1.8g
If you like this Mars Bar Slice recipe…
…you might also like:
- Malteser tiffin bars
- Kinder Bueno brownies
- Mars Bar cookies
- Air fryer Creme Egg croissants
- Easy Twix brownies recipe
I want to see YOUR baking!
Have you made this easy Mars Bar Slice recipe? I’d love to know if you have! Tag me in your pics on Facebook, Twitter and Instagram or email me at emma@kitchenmason.com.


Experienced British Online Publisher, recipe writer, and home cook, Emma has a background of over 20 years in British cuisine and cooking. Born and bred in the UK, she excels in classic British dishes, is passionate about air frying, and loves sharing her Gran’s old school recipes. She has been featured in popular publications such as Food Network, Cosmopolitan, and The Huffington Post.
Knowledgeable On: Traditional British Cuisine, Recipe Writing, Air Frying, Home Cooking.
Karly campbell
Monday 25th of April 2016
Okay, 1) Holy delicious. 2) Holy beautiful! This wins the beauty pageant of desserts, hands down!
Miss KitchenMason
Monday 25th of April 2016
Hahah, aww thank you!! That's so nice of you to say, thanks for commenting Karly :D
Keith @ How's it Lookin?
Monday 25th of April 2016
They look great. I must try this for dessert, thanks for sharing
Miss KitchenMason
Monday 25th of April 2016
Aww glad you like it! :)