This post may contain affiliate links. Where I make a small commission on purchased items, at no extra cost to you. See my disclosure for details.
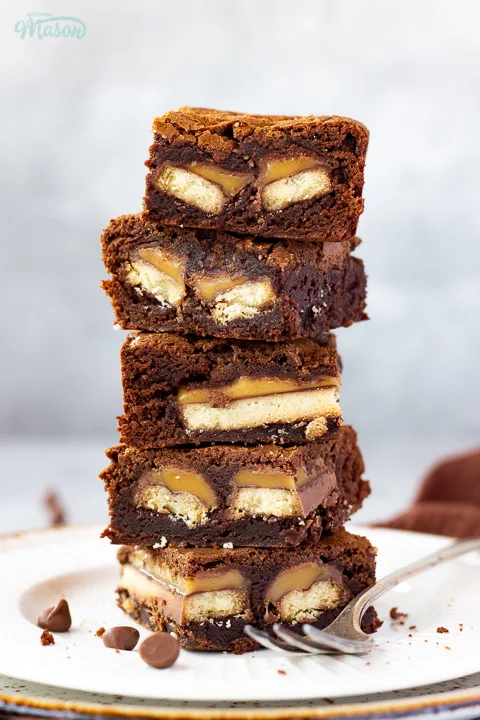
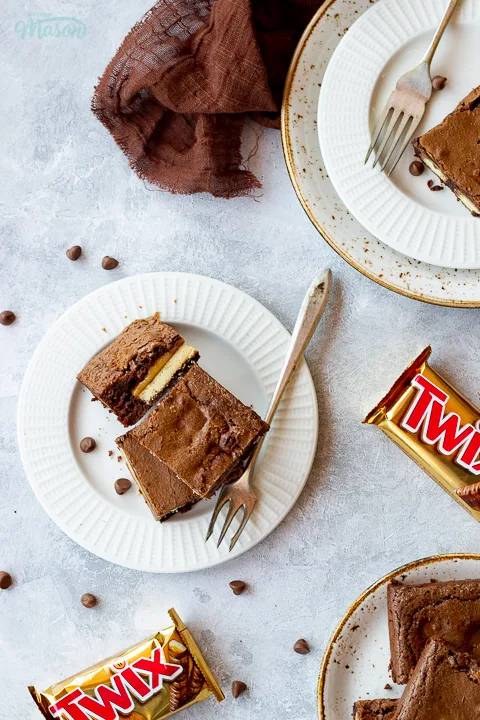
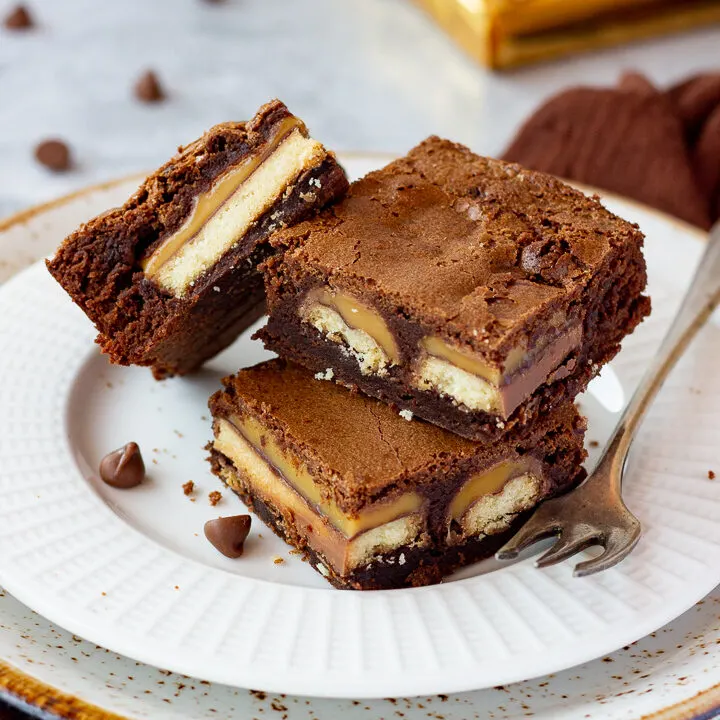
Made in just ONE bowl, these incredible Twix brownies are guaranteed to impress! Whether it’s teamed up with homemade vanilla ice cream for a dinner party dessert, a gift for a loved one or just because you fancy baking – Twix brownie bars are 100% the way to go!
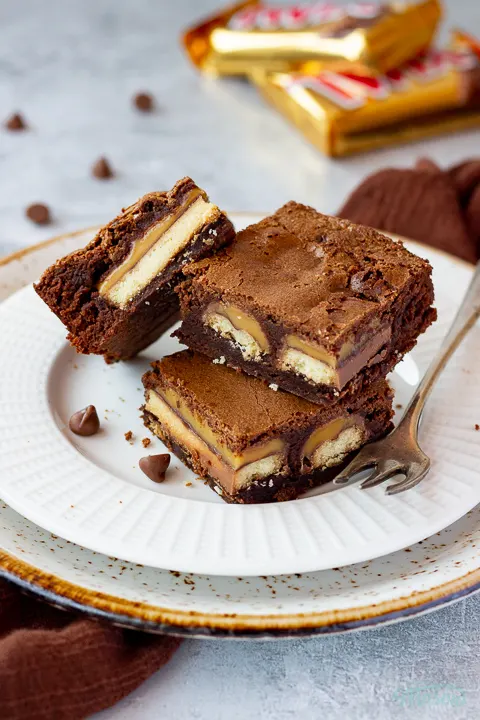
After making my popular Kinder Bueno brownies, it got me thinking… what else could I put in brownies that would make them super awesome?
So I had a play with adding whole Twix bars during a baking day with my daughter and, to my surprise, it worked!! Extraordinarily well too!
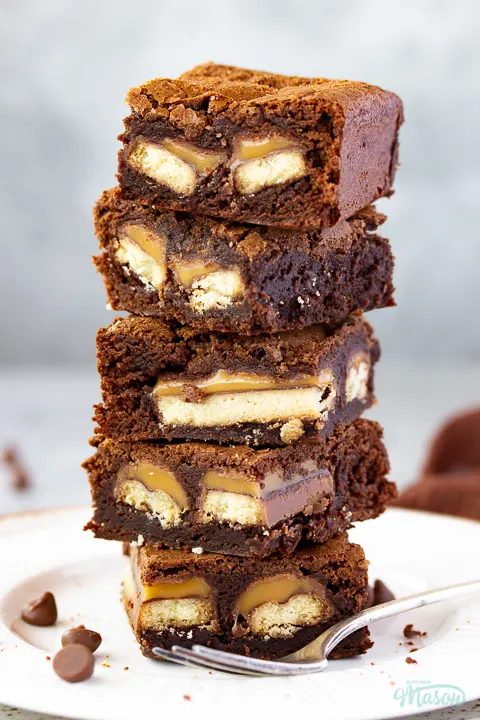
I knew as soon as I took one bite I HAD to share the recipe with you! They were fudgy, gooey and crunchy all at the same time. It was magnificent!
And what’s even better – they’re not complicated. At ALL. In fact, I would even recommend this recipe for baking beginners.
What you need to know
Giving you the best chance at making Twix brownies perfectly first time – this section is filled with super useful info including recipe tips and everything you need to know about the ingredients. I strongly recommend you read it before attempting to make them!
Ingredients
All you need to know about the ingredients before you start baking…
- Butter – Always use a good quality unsalted butter in baking. It gives you full control of the overall salt content (and therefore flavour).
- Chocolate – Dark chocolate is a MUST in brownies. Even if you don’t like it. Don’t worry though, it won’t taste like dark chocolate once you’ve added in the butter and sugar.
- Eggs – Free range organic are my preferred, mainly for humanitarian reasons. Whatever you have will work fine though.
- Sugar – Golden caster sugar adds a lovely hint of caramel to bakes which I love. If you can’t get this though, regular caster sugar (superfine in the US) will work just as great.
- Vanilla – I highly recommend using a good quality brand like Nielsen Massey as you can really taste the difference!
- Salt – Table salt will do, we’re going for flavour not texture here. Don’t skip it though, you season your dinner why wouldn’t you season your bakes?!
- Flour – Plain flour (all purpose in the US) only in this recipe! Don’t substitute it for flours that have leavening agents in or are free from as it will completely change the outcome of your brownies.
- Cocoa Powder – Make sure to use a proper baking cocoa powder, not drinking chocolate as that already has added sweeteners in.
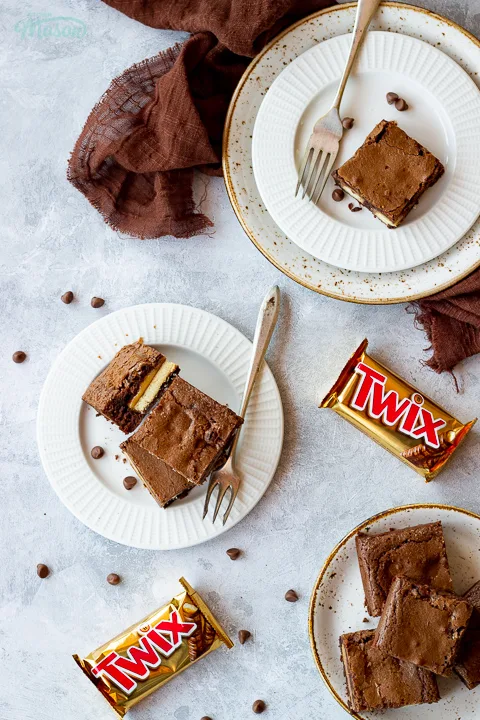
- Twix bars – I’ve tried using copycat Twix bars and the real thing, the real thing worked much better so I’d stick to the authentic ones if I were you. Also, I used the 8cm multipack ones but you can use any size that fits, so long as there is a good gap around the edge.
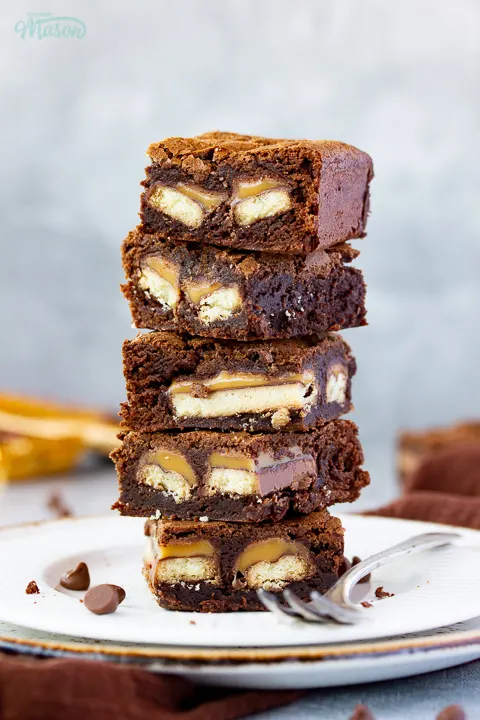
How to make Twix brownies – recipe summary
- Melt butter and dark chocolate together.
- Beat in eggs then the sugar.
- Stir through vanilla and salt.
- Fold in the flour and cocoa powder.
- Pour half the batter into a lined tin.
- Top with Twix bars, leaving a gap around the edge.
- Smooth over the remaining batter.
- Bake for 20-25 minutes.
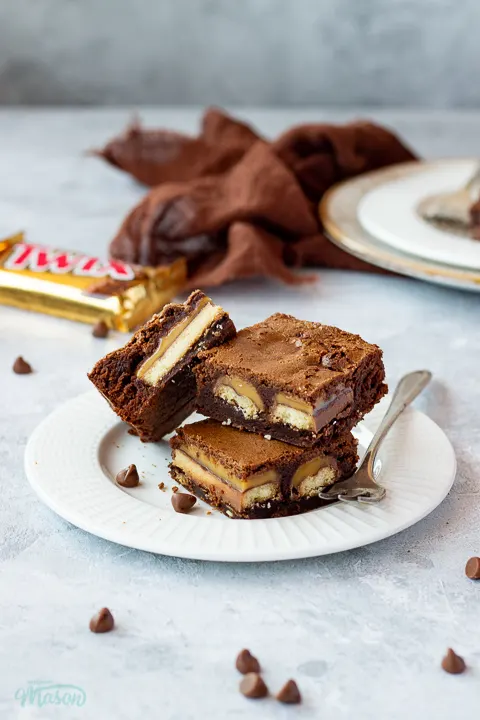
Recipe tips
If you don’t read anything else – read THIS section! These recipe tips are here because I made the mistakes so YOU don’t have to…
- I don’t recommend using chocolate with more than 60% cocoa solids as it will make the Twix brownies too rich.
- Using a good quality vanilla extract will result in a better overall flavoured brownie.
- Use proper baking cocoa powder. Drinking chocolate has added sweeteners which will make your brownies far too sweet!
- You can use any size Twix bars you like, just make sure you leave a border around the edge for the brownie batter to meet.
- Don’t worry if you can’t go to the edge when you add the remaining brownie batter on top. It doesn’t matter so long as you completely cover the Twix bars.
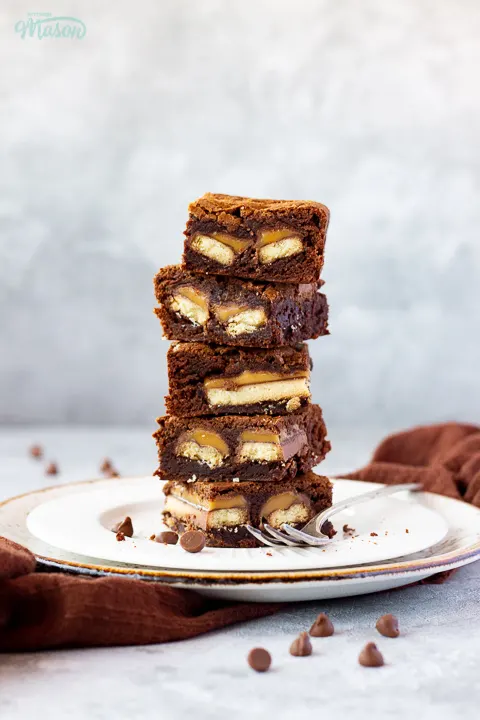
How to store Twix brownies
Store your Twix brownies in an airtight container (I prefer metal) at room temperature. This will help them keep their texture for longer. Plastic containers tend to make sugar sweat so can alter the texture quite quickly.
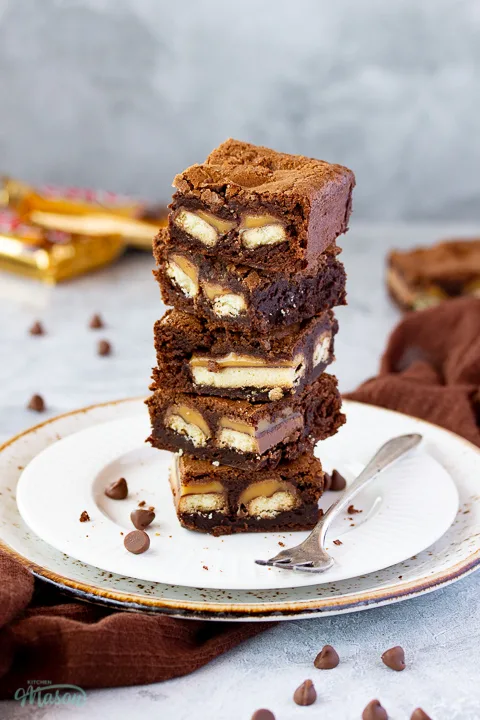
In a real pinch and don’t have the time to make your own? Check out Bad Brownie for nationwide brownie delivery! (I wrote a detailed Bad Brownie review if you’d like to know more.)
Fudgy Twix Brownies – Step by Step Picture Recipe
(For a printer friendly version, see the recipe card at the end of this post)
Ingredients
Here is what you will need to make 16 bars.
- 110g (1/2 Cup) Unsalted Butter
- 110g (3.9 oz) Dark Chocolate
- 2 Eggs
- 225g (1 + 1/8 Cup) Golden Caster Sugar
- 1 tsp Vanilla Extract
- 1/4 tsp Salt
- 60g (1/2 Cup) Plain Flour
- 2 tbsp Cocoa Powder
- 14 x Individual Twix fingers *
*I used the 8cm multipack ones but you can use any so long as there’s a clear gap all the way around the edge.
Essential equipment
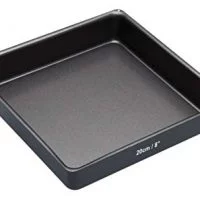
- 20cm (8″) Square Baking Tin
- Large Microwavable Mixing Bowl
- Spatula
Instructions
Grease and line your baking tin with baking paper and preheat your oven to 180°C/Fan 170°C/356ºF.
Then melt the butter (110g | 1/2 Cup) and dark chocolate (110g | 3.9 oz) together in a large microwavable bowl. I heat mine in 10 second intervals in the microwave, stirring after each time until completely melted. You could also melt it in a mixing bowl set over a pan of barely simmering water on the stove top.
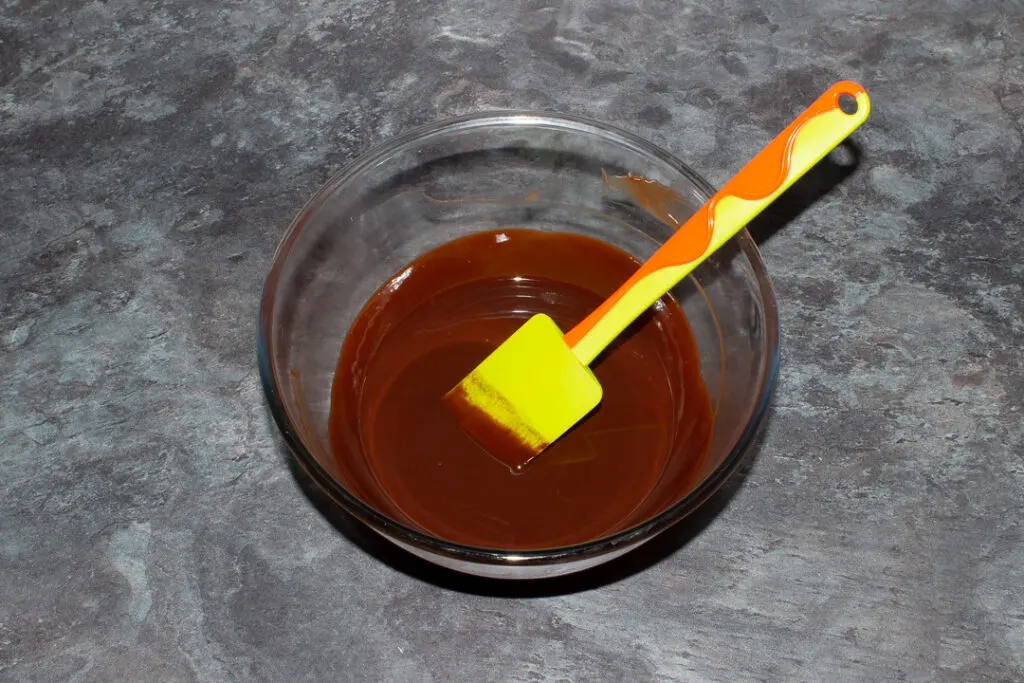
One at a time, beat in the eggs (x 2) until completely blended in.
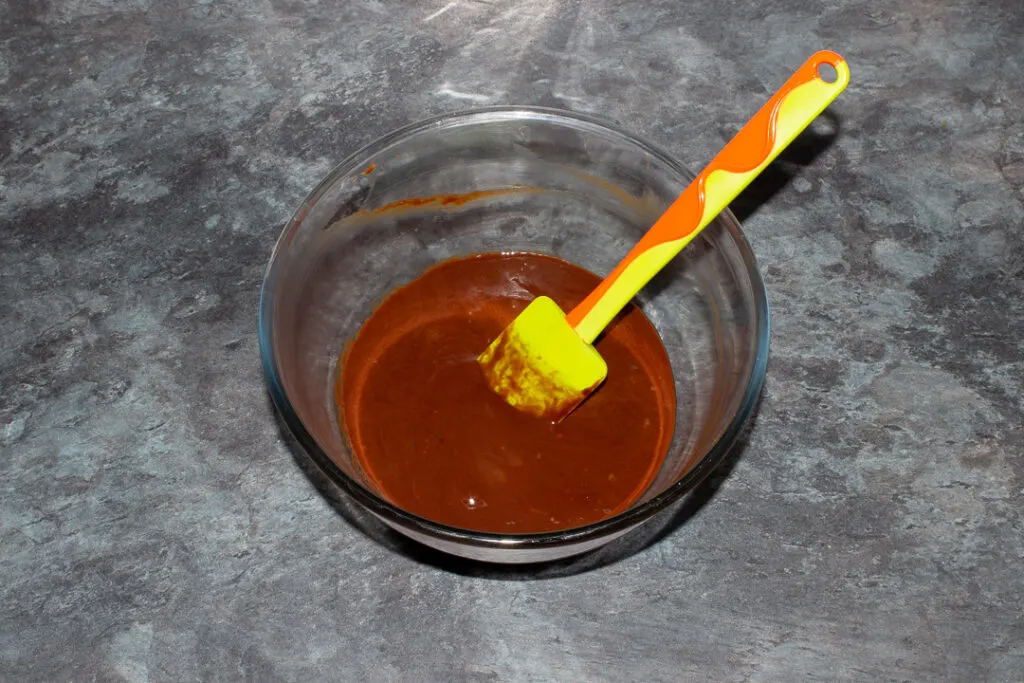
Next, add in the sugar (225g | 1 + 1/8 Cup) and beat vigorously with a spatula until it doesn’t feel grainy on the bottom of the bowl anymore.
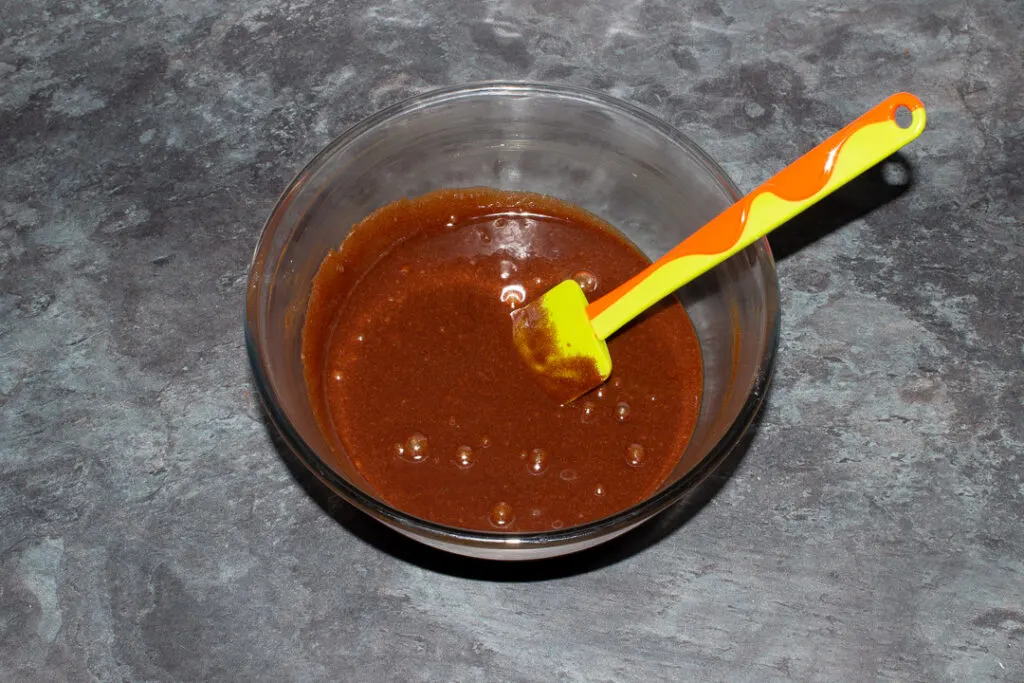
Time for some flavour! Measure in the vanilla (1 tsp) and salt (1/4 tsp) and stir them through the batter.
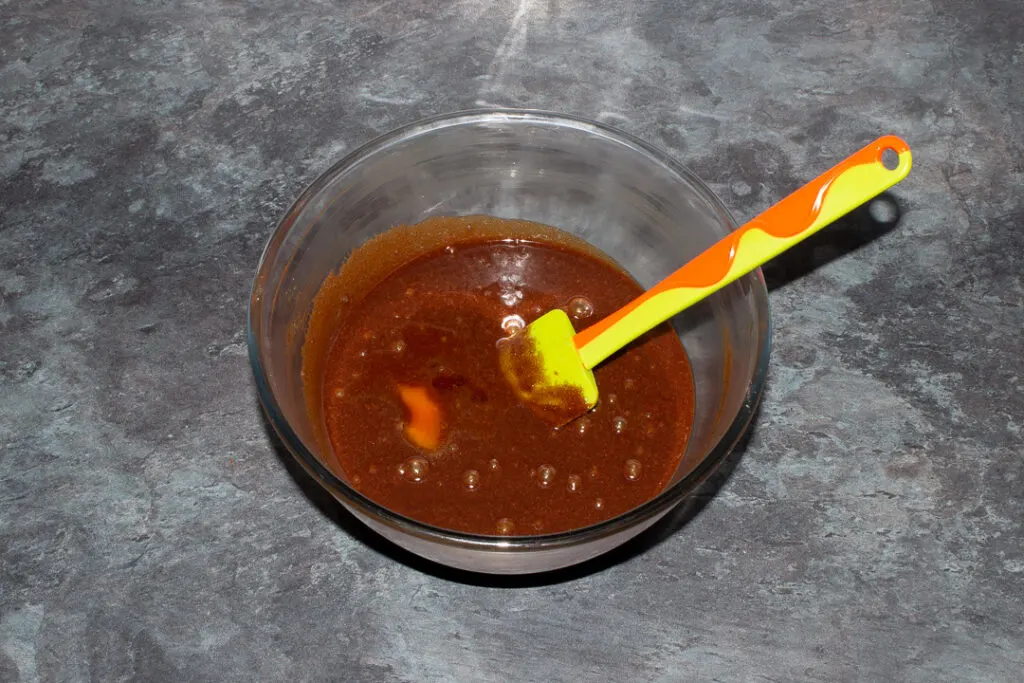
Lastly, add in the flour (60g | 1/2 Cup) and cocoa powder (2 tbsp) and gently fold through until there are no more streaks visible in the batter.
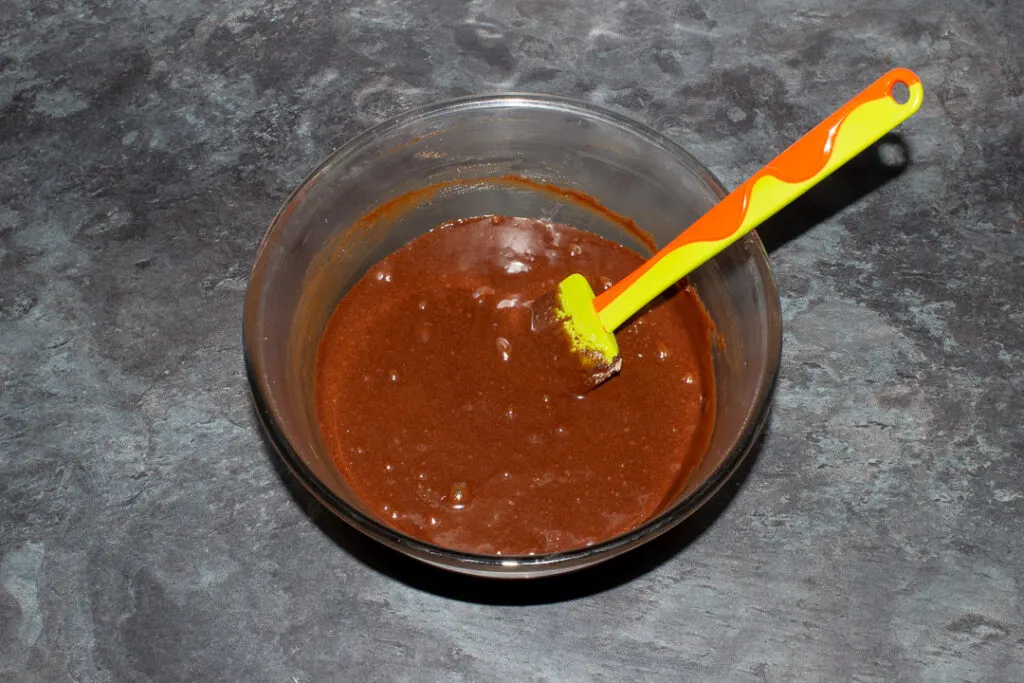
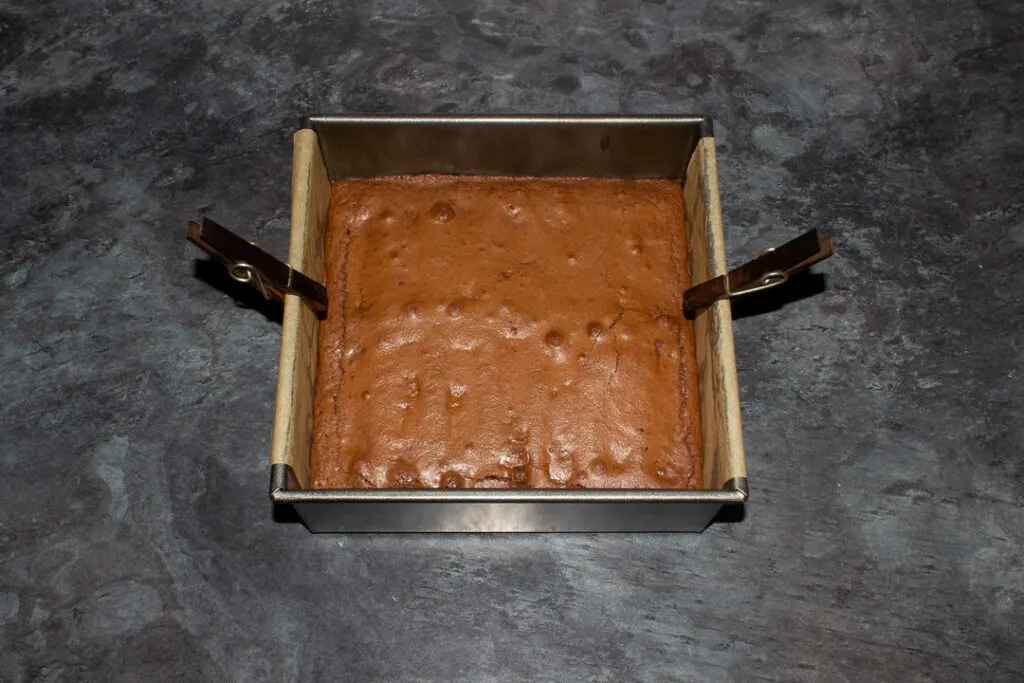
Pour half the batter into your prepared tin and smooth out to the edges.
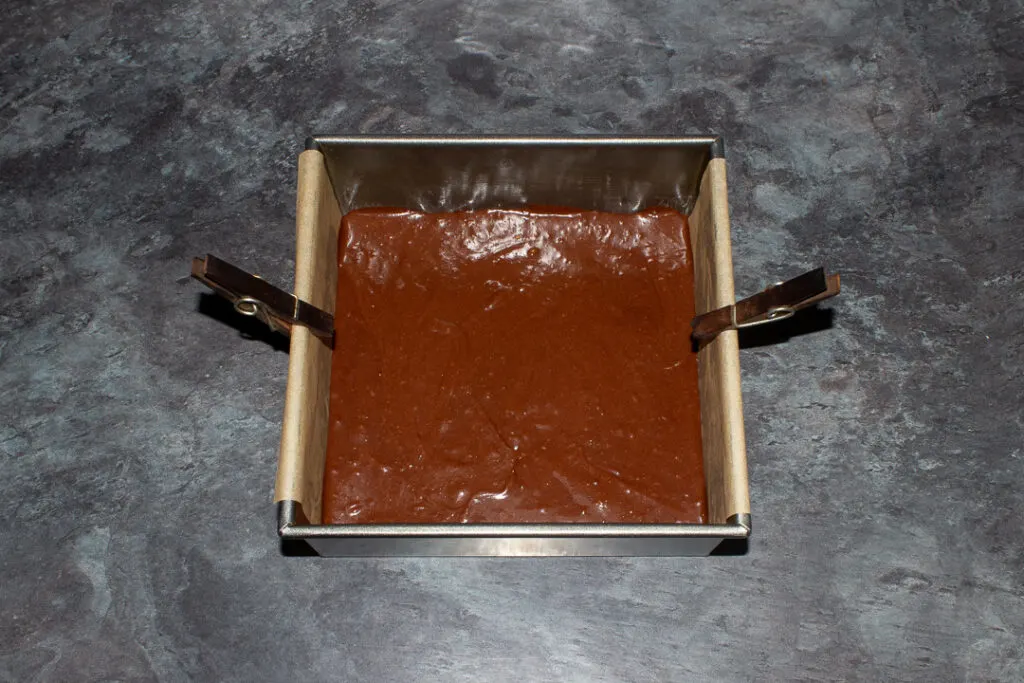
Oh the pegs? Yeah… I’m the laziest liner EVER haha!
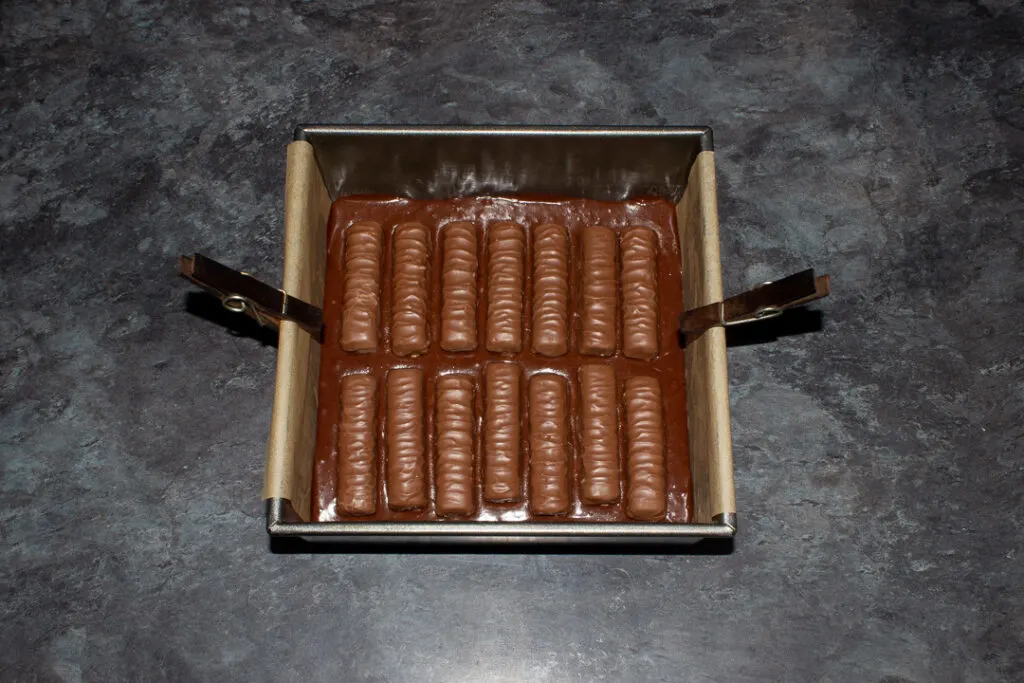
Time to unwrap those Twix bars (14 x Individual) and layer them in. The important thing to remember is to leave a border around the edge so the brownie batter can completely enclose the Twix bars inside during baking.
Finally, carefully smooth out the remaining batter on top . Don’t worry if you can’t get right to the edges, just make sure you completely cover the Twix bars and it will all work out fine I promise!
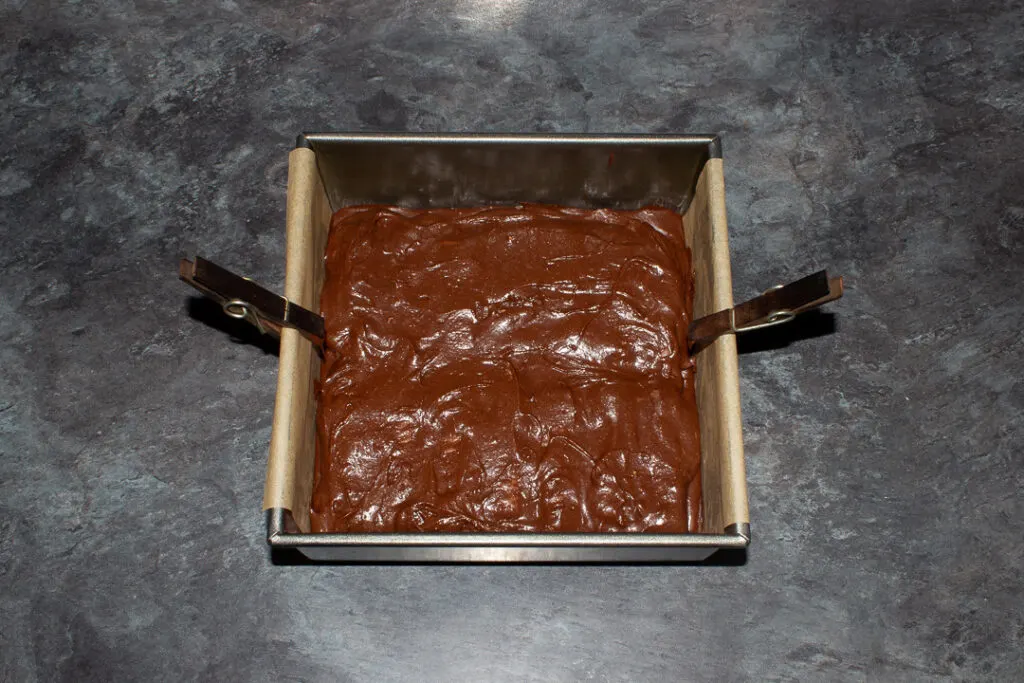
Bake in your preheated oven for 20-25 minutes until crispy on top.
Allow your Twix brownies to cool completely in the tin before attempting to remove and slice into bars.
Other recipes you might like…
Have you made this recipe?
Have you made these stunning Twix brownies? I’d love to know if you have! Send me your pics, comments and questions on Facebook, Twitter and Instagram or email me at emma@kitchenmason.com.
Loved this recipe? Pin it!
Fabulously Fudgy Twix Brownies - Printable Recipe
Made in just ONE bowl, these incredible Twix brownies are guaranteed to impress! Whether it’s for a dinner party dessert, a gift for a loved one or just because you fancy baking – Twix brownie bars are 100% the way to go!
Ingredients
- 110g (1/2 Cup) Unsalted Butter
- 110g (3.9 oz) Dark Chocolate
- 2 Eggs
- 225g (1 + 1/8 Cup) Golden Caster Sugar
- 1 tsp Vanilla Extract
- 1/4 tsp Salt
- 60g (1/2 Cup) Plain Flour
- 2 tbsp Cocoa Powder
- 14 x Individual Twix fingers*
Essential equipment
- 20cm (8″) Square Baking Tin
- Large Microwavable Mixing Bowl
- Spatula
Instructions
- Grease and line your baking tin and preheat the oven to 180°C/Fan 170°C/356ºF. Melt the butter and dark chocolate in a bowl together in the microwave in 10 second intervals. Stir well each time.
- Beat in the eggs one at a time until evenly blended.
- Vigorously beat in the sugar until it's not grainy on the bottom of the bowl anymore.
- Stir through the vanilla and salt briefly.
- Add the flour and cocoa powder then gently fold until there are no more streaks visible.
- Smooth out half the batter into a lined square baking tin.
- Lay the Twix fingers in the middle, they should roughly form a square. Most importantly - leave a border around the edge!
- Pour the remaining batter over the top. Don't worry if you can't smooth it right to the edge, just make sure you completely cover the Twix bars.
- Bake in the oven for 20-25 minutes until crispy on top. Allow to cool completely in the tin before removing and slicing.
Notes
*I used the 8cm multipack ones but you can use any so long as there’s a clear gap all the way around the edge.
See the main post for a more detailed, step by step picture recipe.
Be sure to read the 'What you need to know' section (especially the 'Recipe tips' part!) for lots of helpful information before you begin making this recipe.
Recommended Products
As an Amazon Associate and member of other affiliate programs, I earn from qualifying purchases at no extra cost to you.
Nutrition Information:
Yield: 16 Serving Size: 1Amount Per Serving: Calories: 295Total Fat: 15gSaturated Fat: 10gTrans Fat: 0gUnsaturated Fat: 4gCholesterol: 40mgSodium: 98mgCarbohydrates: 38gFiber: 1gSugar: 30gProtein: 3g
Nutritional information on kitchenmason.com should only be used as a general guideline, I am not a certified nutritionist. Please always check labels for allergens where applicable.


Meghan
Sunday 27th of November 2022
Great simple recipe that took even less time to prep than the times listed. Simple cleanup, at-hand ingredients, and I liked that the recipe was in grams and cups.
Emma
Sunday 27th of November 2022
Hi Meghan. I'm so happy you loved my recipe! Thank you for taking the time to share, you've made my day :) Emma x