This post may contain affiliate links. Where I make a small commission on purchased items, at no extra cost to you. See my disclosure for details.
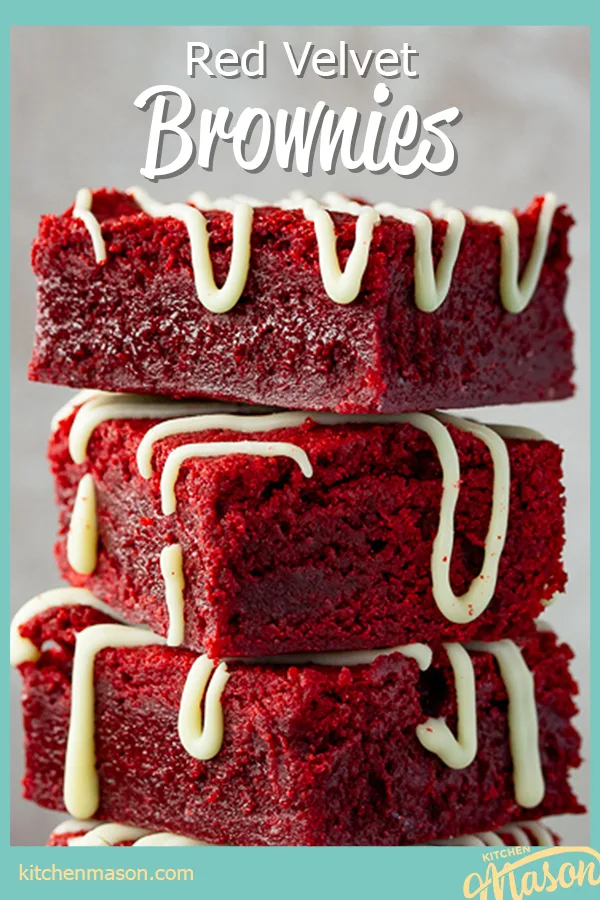
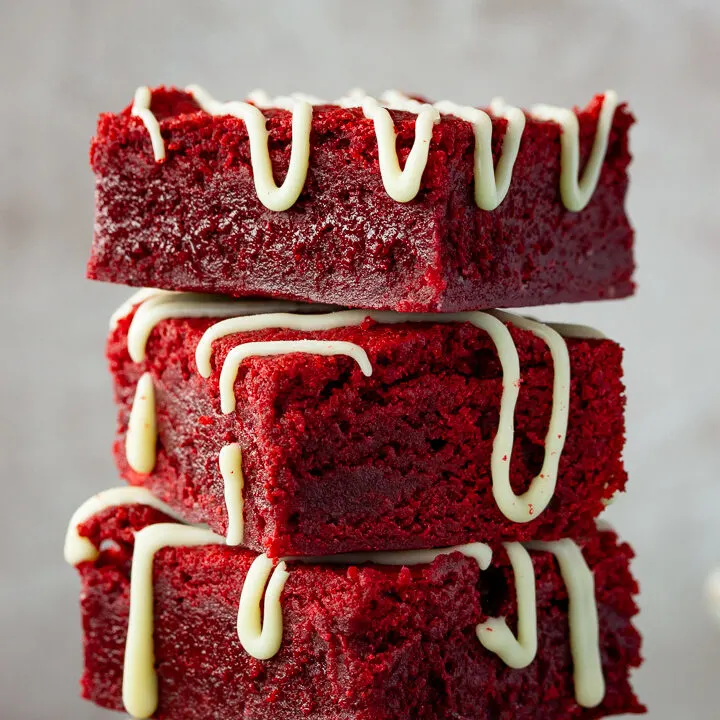
If you’re looking for a super fudgy red velvet brownies recipe that’s easy to make with guaranteed results, you’re in the right place! Made in just one bowl these gloriously indulgent brownies are sure to impress your friends and family.
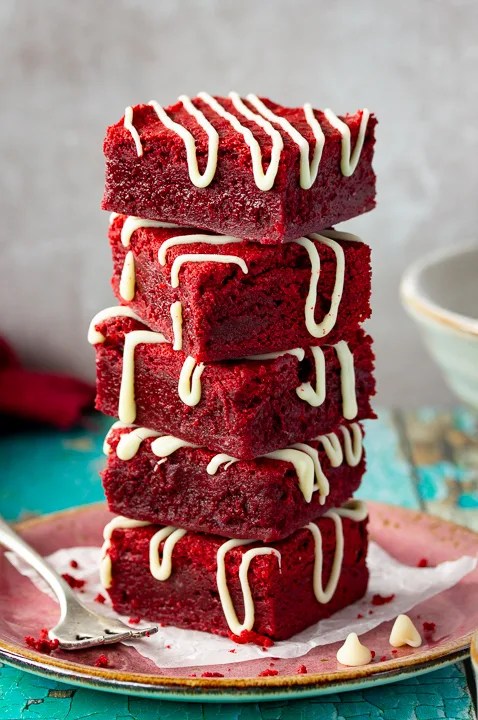
I’ve been working on this recipe for a while. Just like my one bowl fudgy brownie recipe, I knew it had to be equally as simple to achieve incredible results without loads of faffing about.
So I went over my baking basics. And after lots of testing (and eating!) I finally did it. I developed a red velvet brownie recipe that’s easy to make, creates minimal pots to wash after and yields unbelievably gooey, fudgy and delicious results!
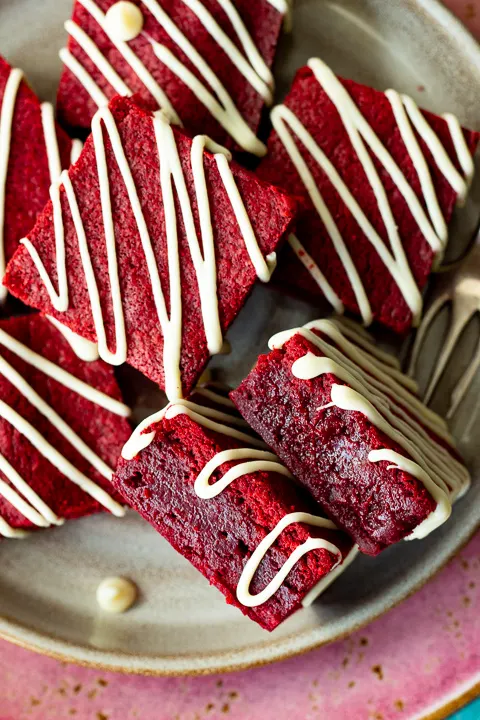
I’m not kidding. It only takes around 10-15 mins to make the batter then the oven does the rest of the work for you! It really is that easy.
It also works incredibly well in this red velvet millionaire brownies recipe. Yes, you heard me… RED VELVET MILLIONAIRE BROWNIES!!! They taste as good as they sound!
Heck, team these up with some red velvet martinis and you could have yourself a red velvet party my friend!
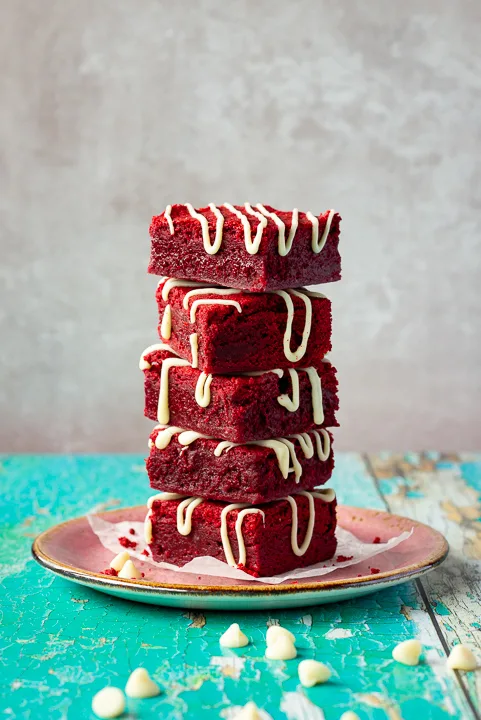
Why do you put vinegar in red velvet brownies?
Red velvet has a unique flavour that is created using a combination of cocoa powder and vinegar. The two ingredients work perfectly together to create the tangy red velvet flavour we all know and love. Without the vinegar, it would just taste like a regular chocolate brownie that’s red in colour.
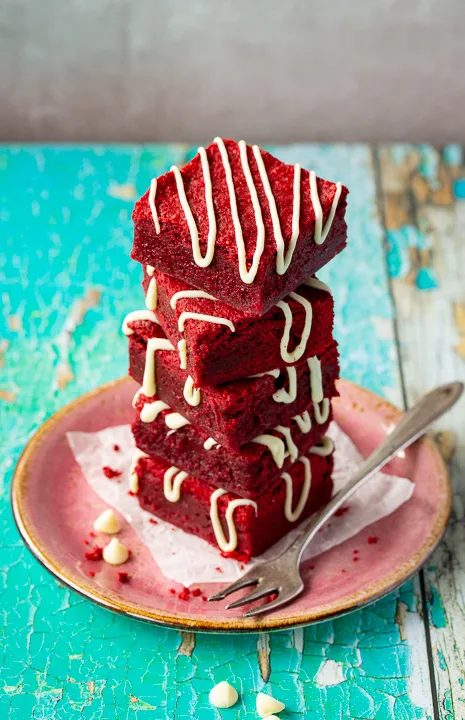
What’s so special about red velvet brownies?
Red velvet brownies are very different from chocolate brownies and blondies. They have a wonderfully unique flavour made by combining cocoa powder and vinegar. Team this original tangy taste with either cream cheese frosting or white chocolate and it’s a very special thing indeed!
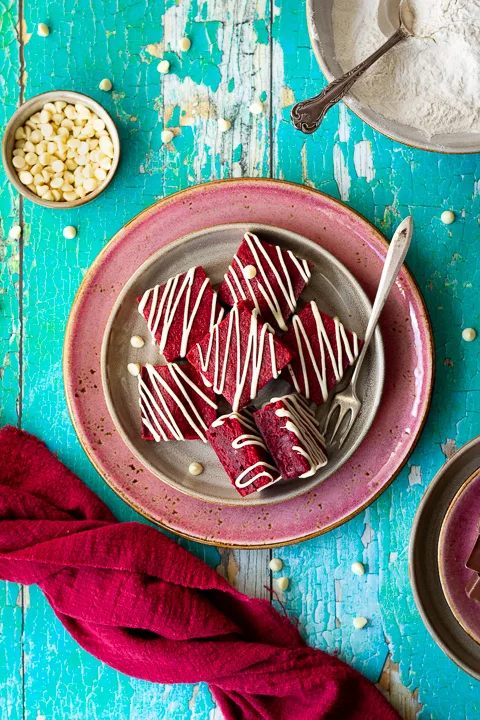
What you need to know
In this section you’re going to learn everything you need to know about making these gorgeously gooey red velvet brownies perfectly first time! If you don’t read it all – I beg you to read the ‘recipe tips’ section at the very least. You won’t regret it!
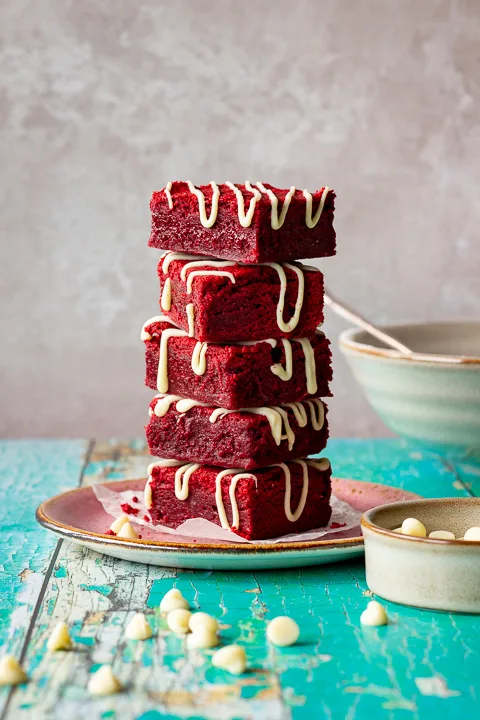
Ingredients
Here’s all you need to know about the ingredients required for red velvet brownies.
- Butter – Always use unsalted cooking in baking unless the recipe states otherwise. This puts you in full control of the salt content of your bakes.
- Sugar – I like to use golden caster sugar but regular white caster sugar (superfine in the US) will work well too.
- Cocoa Powder – Make sure you use proper baking cocoa powder and not drinking chocolate as this already has sugars added to it and will upset the delicate flavour balance in this recipe.
- Eggs – Organic free range are my favourite but any medium sized eggs you have should work great.
- Vanilla – Using a good quality vanilla brand like Nielsen Massey (affiliate link) will make a huge difference in your bakes. Supermarket brands just don’t pack as much flavour!
- Red Food Colouring – I only use Sugarflair red extra food colouring gel (affiliate link) as it’s the only one I’ve come across that’s strong enough to give a really deep red colour without affecting the consistency of the batter.
- Flour – Plain (all purpose) flour is needed for this recipe. Don’t substitute with others as it will affect the end result.
- Salt – I use table salt in all my bakes. We just want the flavour not texture, so this cheaper version is perfect!
- White Wine Vinegar – Don’t substitute this for another type of vinegar. White wine vinegar gives red velvet it’s unique flavour.
- White Chocolate – You can use any white chocolate you like for drizzling over the top of your bakes.
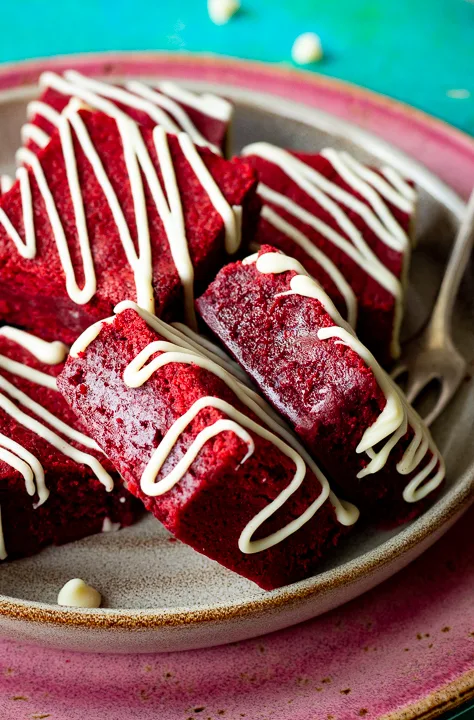
How to make red velvet brownies – recipe summary
- Melt butter in a bowl and beat in sugar and cocoa powder.
- Mix in the eggs then the vanilla and red food colouring.
- Fold through the flour and salt.
- Mix in the white wine vinegar then pour into a lined tin.
- Bake for 23-25 mins, cool then slice.
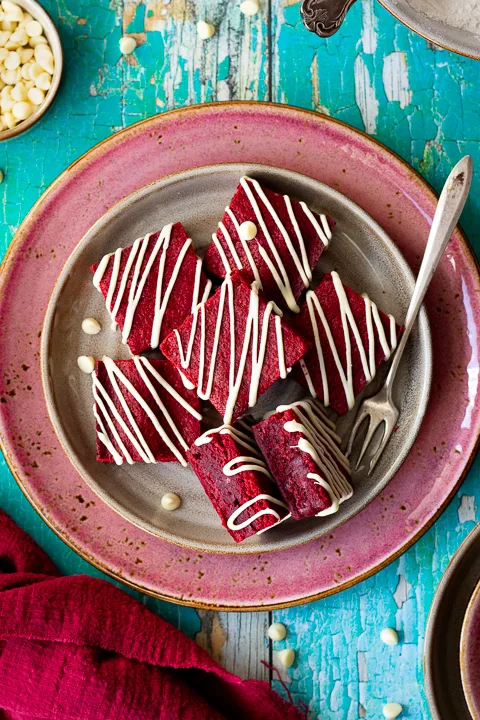
Recipe tips
Here are a ton of helpful tips to help you in your baking journey. I make the mistakes so you don’t have to!
- Using ingredients that are all the same temperature help to blend the batter together much better. Allow refrigerated items to come to room temperature before using.
- Prepare your ingredients and equipment before you start baking. Also read through the recipe. This really helps to keep things stress free and you’re less likely to make mistakes.
- Once you’ve added the flour, try not to over mix the batter. It can make your brownies more chewy than fudgy.
- Go easy with the red food colouring. You can always add more but you can’t take it out.
- Remember that batters become lighter during baking, so you want a nice deep red coloured batter. Otherwise they can come out an unappetising pale pink.
- Be patient and let the red velvet brownies cool completely before removing from the tin and slicing.
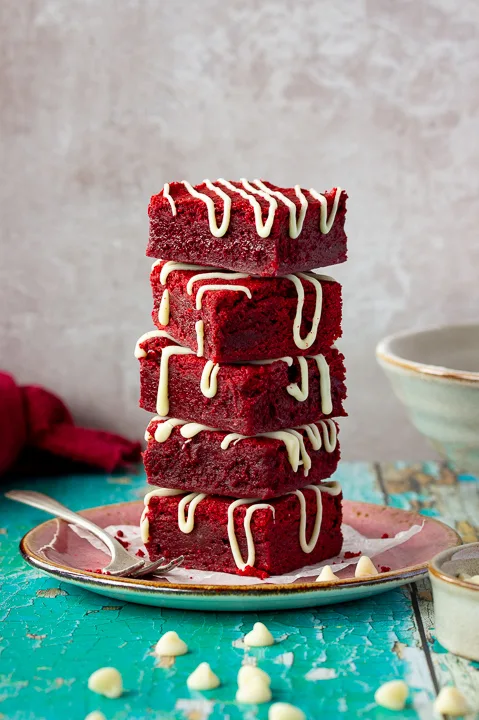
How to store red velvet brownies
Store your red velvet brownies in a metal tin at room temperature. I find metal tins help keep the original texture of your bakes for longer, whereas plastic ruins it quite quickly.
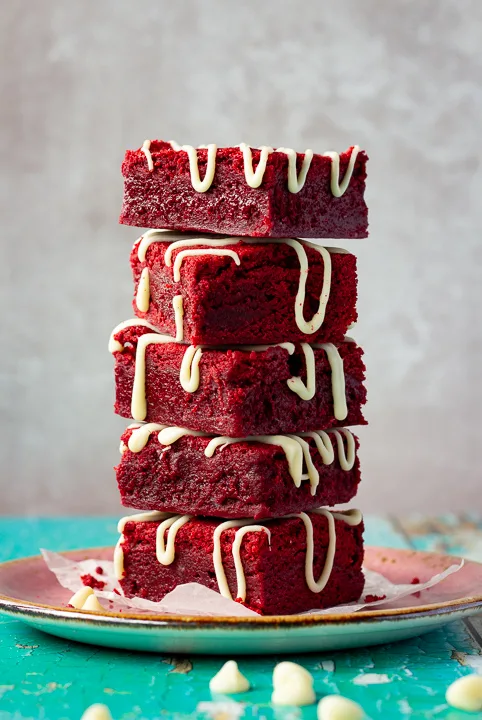
One Bowl Red Velvet Brownies – Step by Step Picture Recipe
(For a printer friendly version, see the recipe card at the end of this post)
Ingredients
Here is what you will need to make 16 bars.
- 225g (1 Cup) Unsalted Butter
- 330g (1 + 2/3 Cup) Caster Sugar
- 3 tbsp Cocoa Powder
- 2 x Eggs
- 1.5 tsp Vanilla Extract
- 1.5 tsp Strong Red Food Colouring Gel
- 200g (1 + 2/3 Cup) Plain Flour
- 1/2 tsp Salt
- 3 tsp White Wine Vinegar
- 50g (1.8 oz) White Chocolate (optional)
Essential equipment
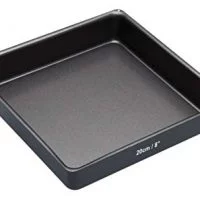
- 20cm (8″) Square Baking Tin
- Mixing Bowl
- Spatula
- Piping Bag (optional)
Instructions
Preheat your oven to 180ºC/Fan 170ºC/356ºF and grease and line your tin.
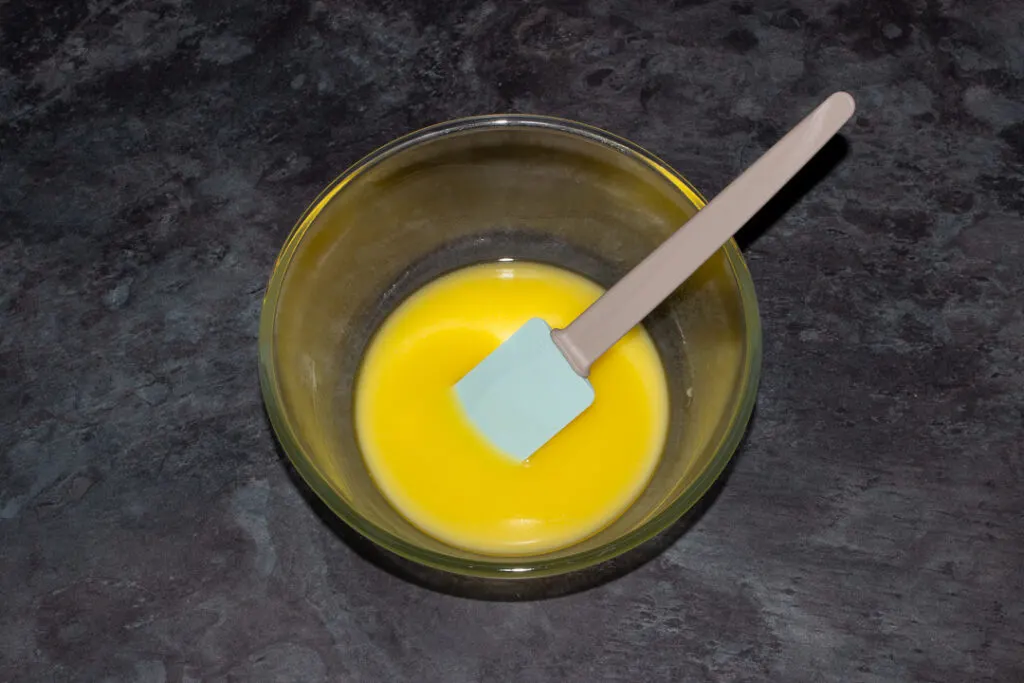
Then melt the butter (225g | 1 Cup) in your mixing bowl in the microwave in 10 second intervals. Stir well between each time.
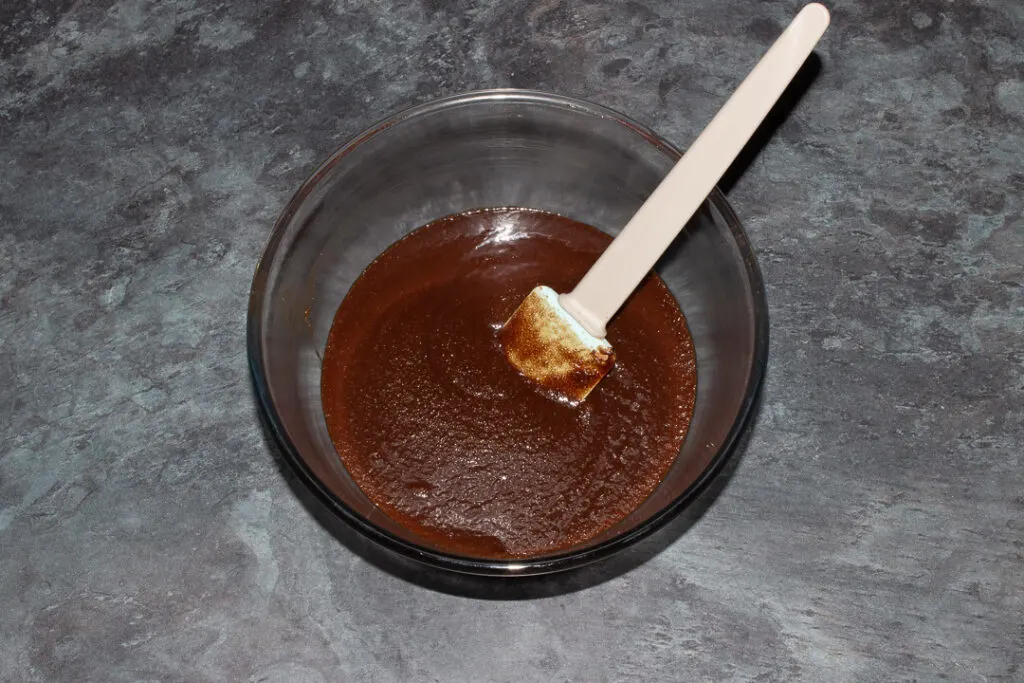
Next add in the caster sugar (330g | 1 + 2/3 Cup) and cocoa powder (3 tbsp) and beat vigorously with a rubber spatula. When you’re done it should be quite smooth and not grainy on the bottom of the bowl anymore.
Now beat the eggs (x 2), vanilla (1.5 tsp) and red food colouring gel (1.5 tsp) into the batter until shiny, smooth and there’s no more streaks in the colour.
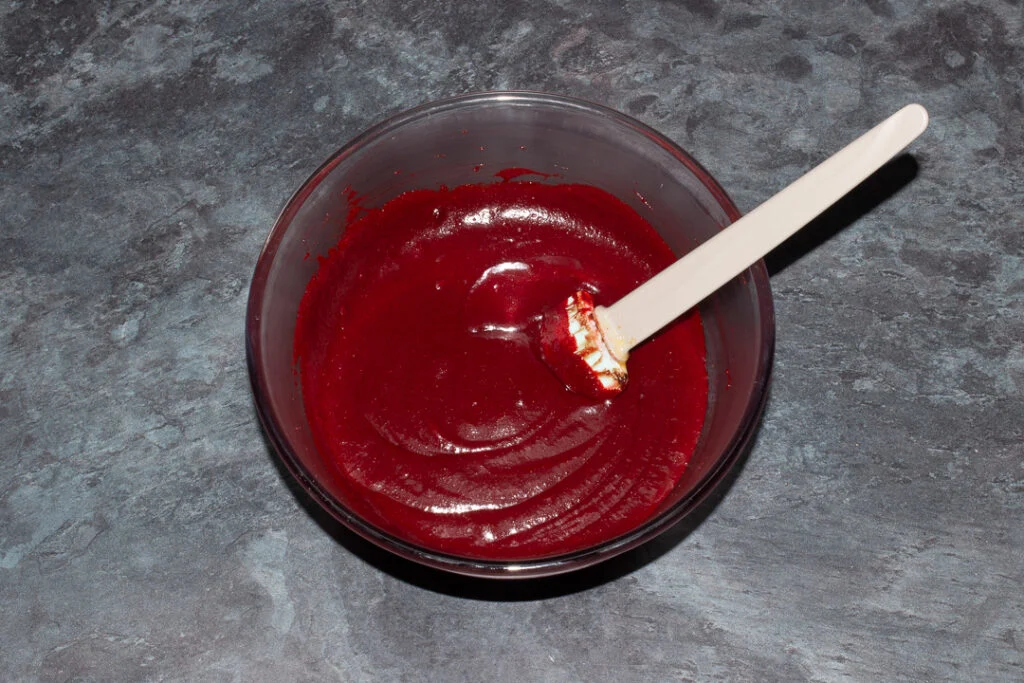
Then gently fold in the flour (200g | 1 + 2/3 Cup) and salt (1/2 tsp). Try not to over mix.
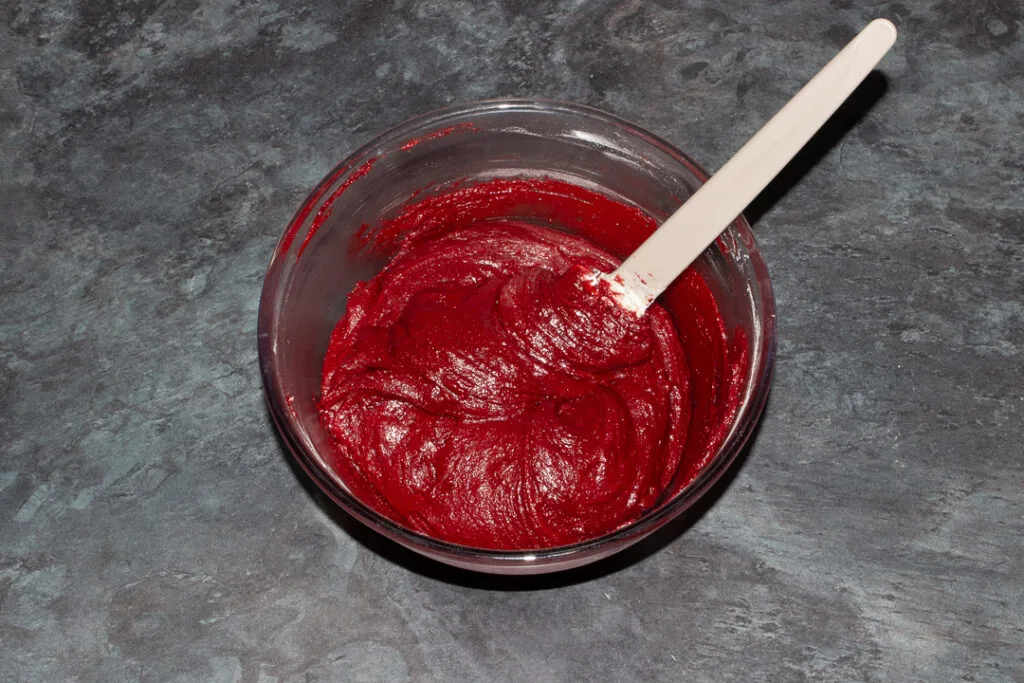
Lastly, gently stir through the white wine vinegar (3 tsp) until fully incorporated into the batter.
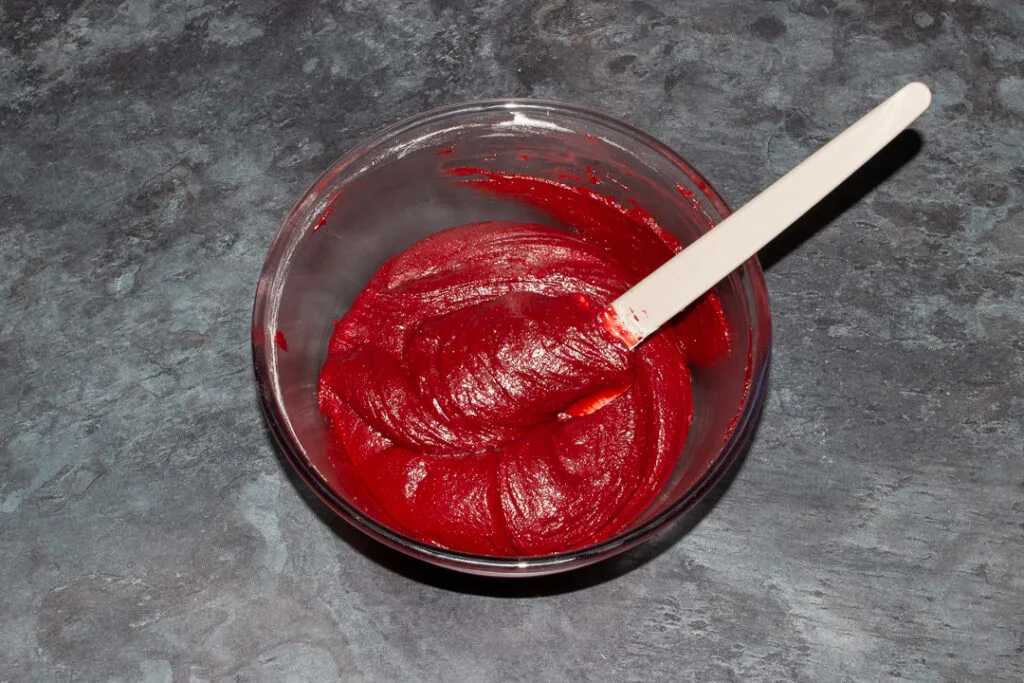
Now tip the red velvet brownie batter into your prepared tin and smooth out with a spatula.
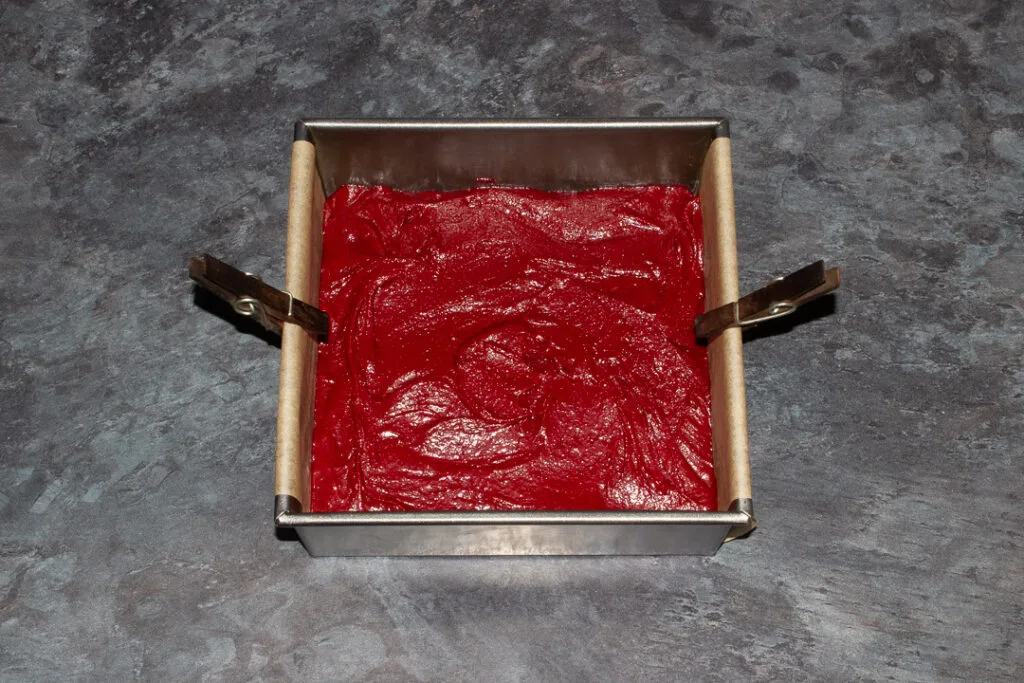
Oh the pegs? Yeah – I’m what they call a ‘lazy liner’. The pegs stop the baking paper from falling onto the batter during baking!
Bake in your preheated oven for 23-25 mins until the top is crisp.
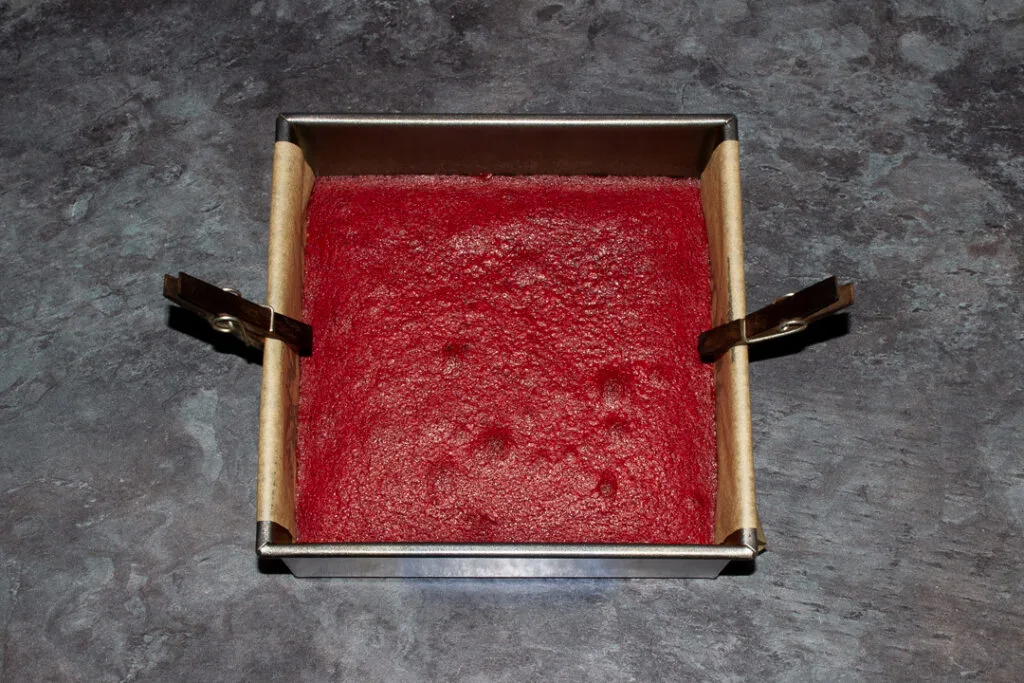
Allow it to cool completely in the tin before attempting to remove and slice. Trust me, your patience will be rewarded!
Decoration instructions
This part is entirely optional but does add to the overall appearance and flavour of your red velvet brownies.
Melt your white chocolate in 10 second intervals in the microwave, stirring well between each time. Once two thirds melted, stir the rest of the way until completely melted.
Pour the melted white chocolate into a piping bag or plastic food bag, snip the end and pipe zig zags over each red velvet brownie. Allow to set on a cooling rack.
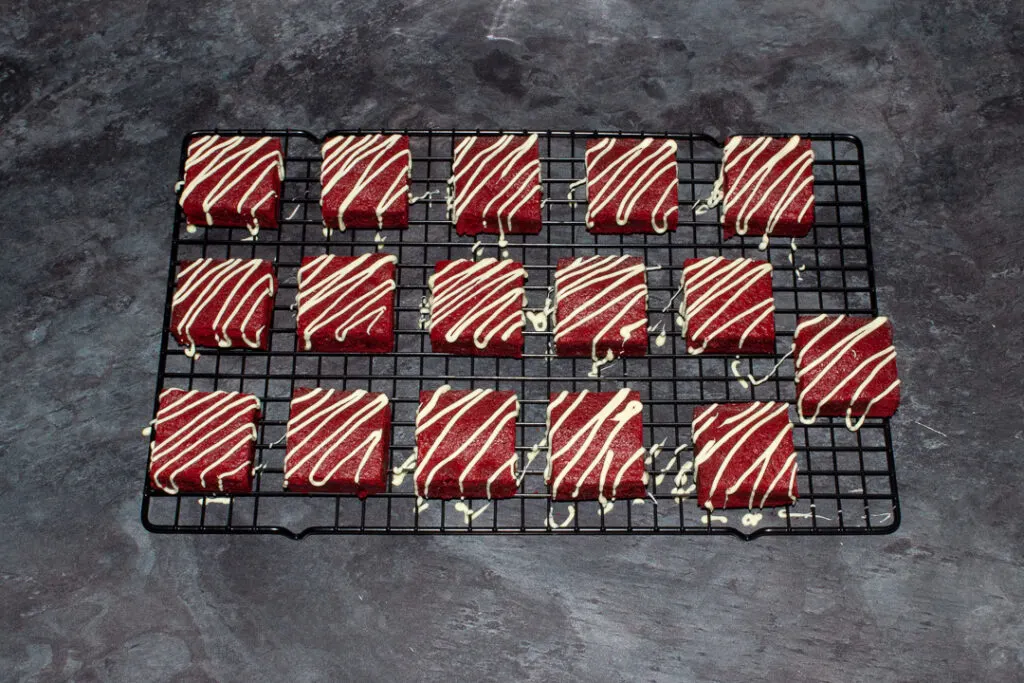
Store your brownies in a metal container at room temperature and consume within 5-7 days.
Other recipes you might like…
Have you made this recipe?
Have you made these beautiful red velvet brownies? I’d love to know if you have! Send me your pics, comments and questions on Facebook, Twitter and Instagram or email me at emma@kitchenmason.com.
Loved this recipe? Pin it!
Easy One Bowl Velvet Brownies - Printable Recipe
Intensely fudgy and indulgent red velvet brownies that are made in just ONE BOWL and guaranteed to impress!
Ingredients
- 225g (1 Cup) Unsalted Butter
- 330g (1 + 2/3 Cup) Caster Sugar
- 3 tbsp Cocoa Powder
- 2 x Eggs
- 1.5 tsp Vanilla Extract
- 1.5 tsp Strong Red Food Colouring Gel
- 200g (1 + 2/3 Cup) Plain Flour
- 1/2 tsp Salt
- 3 tsp White Wine Vinegar
- 50g (1.8 oz) White Chocolate (optional)
Essential equipment
- 20cm (8″) Square Baking Tin
- Mixing Bowl
- Spatula
- Piping Bag (optional)
Instructions
- Preheat your oven to 180ºC/Fan 170ºC/356ºF and grease and line your tin. Melt the butter in a mixing bowl in the microwave in 10 second intervals.
- Beat in the sugar and cocoa powder with a spatula until it's no longer grainy on the bottom of the bowl.
- Add the eggs, vanilla and food colouring and beat until smooth and evenly coloured.
- Gently fold in the flour and salt, just until you can't see any more streaks of flour.
- Lastly, carefully stir through the white wine vinegar until evenly blended.
- Smooth the batter out into your prepared tin and bake for 23-25 mins until crisp on top. Allow to cool completely in the tin before removing and slicing.
- Melt white chocolate in the microwave in 10 second intervals. Once two thirds melted, stir until completely melted. Pour into a piping bag, snip the end and drizzle zig zags over each brownie. Allow to set on a cooling rack.
Decorating your red velvet brownies (optional)
Notes
Store your red velvet brownies in an airtight metal container at room temperature and consume within 5-7 days.
See the main post for a more detailed, step by step picture recipe.
Be sure to read the 'What you need to know' section (especially the 'Recipe tips' part!) for lots of helpful information before you begin making this recipe.
Recommended Products
As an Amazon Associate and member of other affiliate programs, I earn from qualifying purchases at no extra cost to you.
Nutrition Information:
Yield: 16 Serving Size: 1Amount Per Serving: Calories: 257Total Fat: 13gSaturated Fat: 8gTrans Fat: 0gUnsaturated Fat: 4gCholesterol: 54mgSodium: 86mgCarbohydrates: 33gFiber: 1gSugar: 23gProtein: 3g
Nutritional information on kitchenmason.com should only be used as a general guideline, I am not a certified nutritionist. Please always check labels for allergens where applicable.


Felicity
Thursday 4th of May 2023
What size pan did you use to get 16 slices because I used a square pan and only got 9 slices out of it…
Emma
Friday 5th of May 2023
Hi Felicity. I used an 8” (20cm) square tin. You can either cut 9 large slices or 16 smaller slices. Emma x
Sadie
Wednesday 25th of January 2023
Can I replace the butter with vegetable oil?
Emma
Thursday 26th of January 2023
Hi Sadie. Personally I wouldn't. I'm not 100% sure if it would even work. Plus, good quality butter always adds a lot to the overall flavour. Emma x
Navya
Friday 23rd of September 2022
Can we make receipe for 4 Brownies then how many eggs should we add ?
Emma
Friday 23rd of September 2022
Hi Navya. I'm not sure I understand what you mean. Personally I would stick to the recipe, as it's a delicate balance of ingredients. If you need less, allow your brownies to cool completely then slice and freeze any you don't need straight away. If you need more, just make multiple batches. Don't change the tin size though as this can really effect the outcome. Hope this helps! Emma x
Didi
Sunday 29th of May 2022
Hi, can I use regular white vinegar? If yes, is the measurement still the same? 3 teaspoon? really need the answer, thank you 😊
doris
Monday 6th of February 2023
@Didi, I use the white vinegar and my cake turns out good and use the amount the recipe ask for and I use cook frosting on my cake not cream cheese frosting
Emma
Sunday 29th of May 2022
Hi Didi. I’ve never tried it with regular white vinegar. I imagine the flavour would be much stronger than white wine vinegar though, so I’d maybe just try it with 2 tsp and see how it goes. Emma x
Mrs. Todd
Wednesday 15th of September 2021
Have you ever tried it without the red dye? I can’t have it??? Just curious????
doris
Monday 6th of February 2023
@Mrs. Todd, I don't buy the red gel just bbottle of red food coloring
Emma
Wednesday 15th of September 2021
Hey! You can absolutely make it without the red food colouring gel. They will still taste great, they just won't be red :) Emma x