This post may contain affiliate links. Where I make a small commission on purchased items, at no extra cost to you. See my disclosure for details.
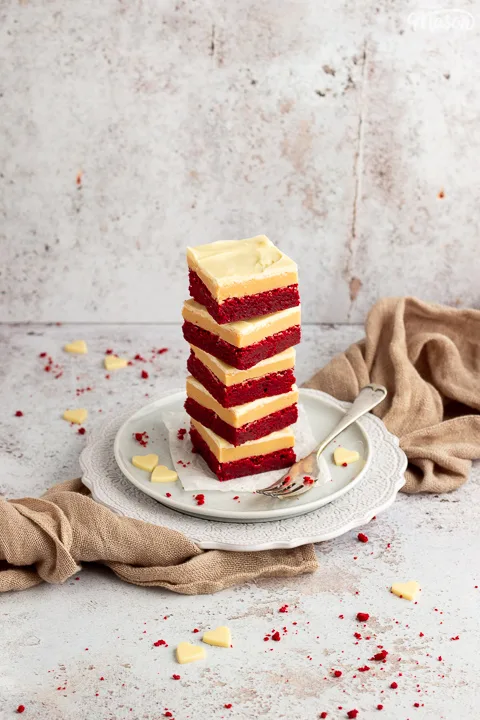
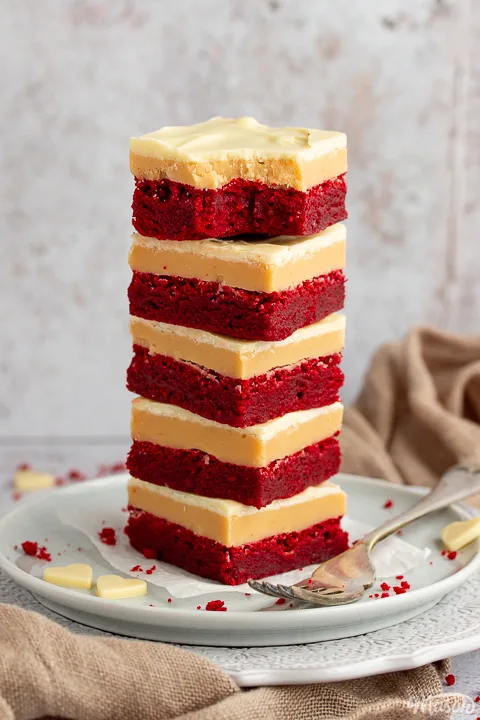
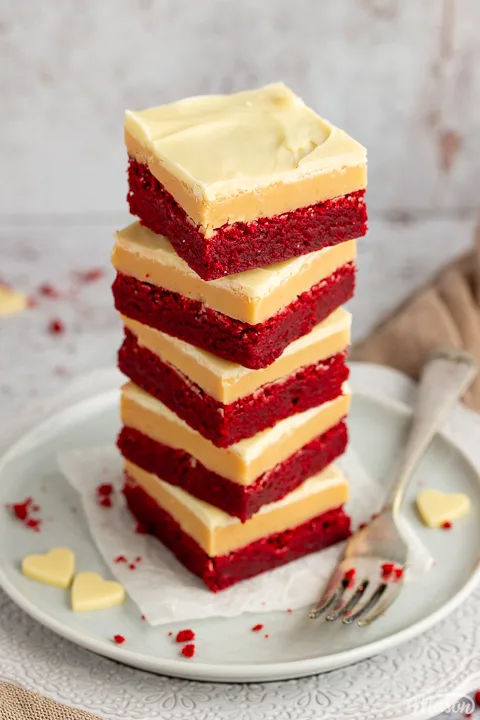
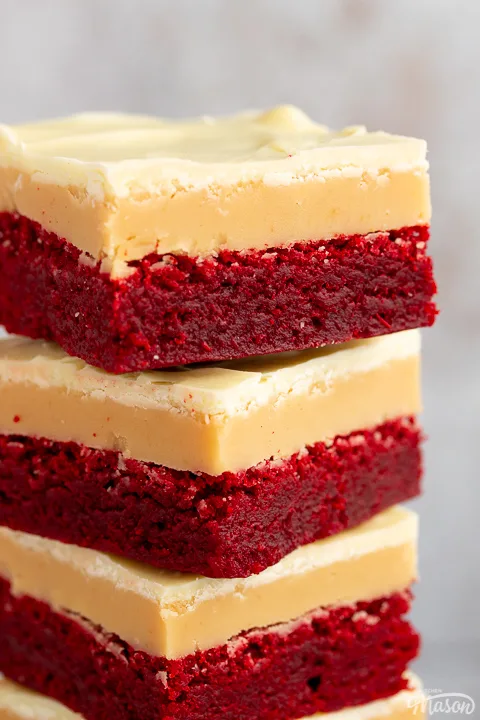
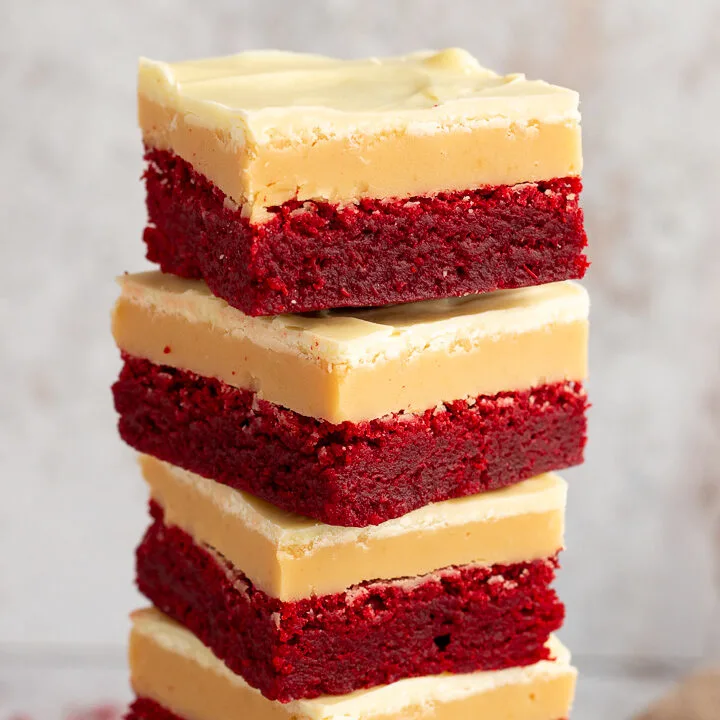
These drool inducing red velvet millionaire brownies are everything you’ve been looking for and more! Perfect as a Valentines Day treat or gift, these fudgy sweet bars of deliciousness are guaranteed to please!

With the help of some close friends and a bit of brainstorming, (and dreaming about my millionaire brownies recipe!) the idea of ‘red velvet millionaire brownies’ was born.
After developing a CRAZY easy and fudgy red velvet brownies recipe, I quickly got to researching. To my surprise, it would seem no one else has done this combo before! So here you have it – a Kitchen Mason EXCLUSIVE RECIPE!
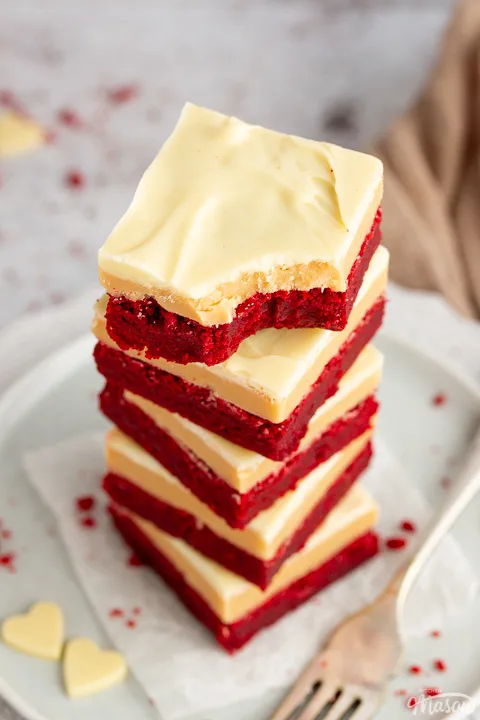
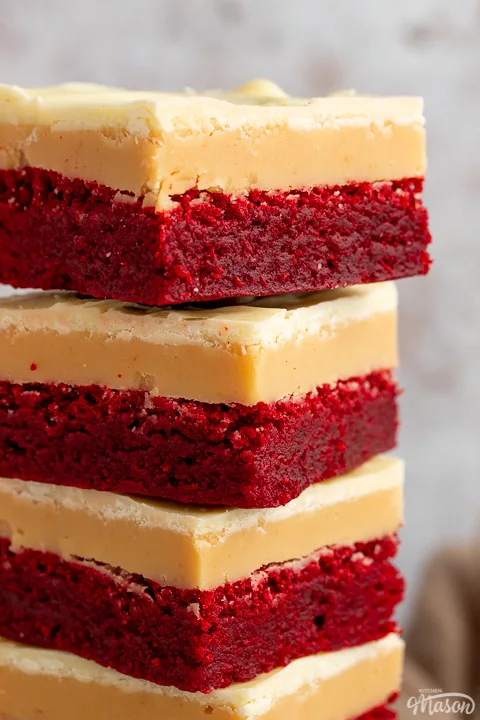
Everything about these decadent delights is so beautiful. They’re indulgent, gooey, fudgy, sweet and absolutely perfect for Valentines Day!
And Tilly (my picky 5 year old daughter) says they’re CRAZY delicious so they must be good!
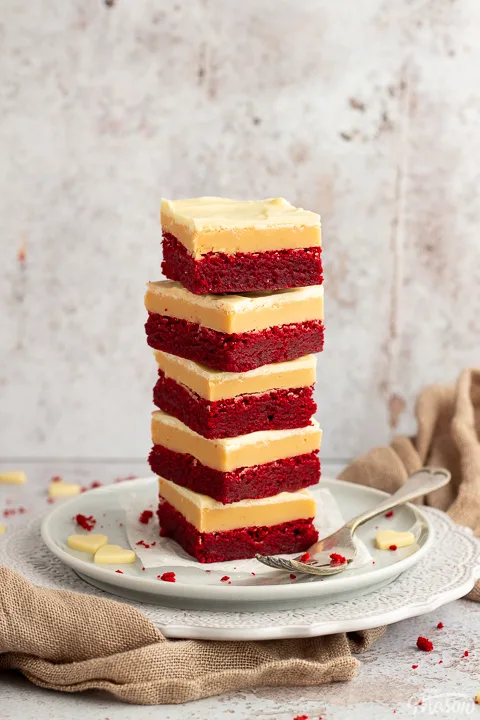
Don’t worry, they’re not as complicated to make as you’d think. The hardest part is waiting for things to cool! Seriously though, if you read my ‘recipe tips’ section and follow my recipe to the letter, I promise you can’t go wrong.
And if you still don’t feel confident enough to give them a go, work through baking for beginners first. You’ll be brimming with knowledge and confidence after!
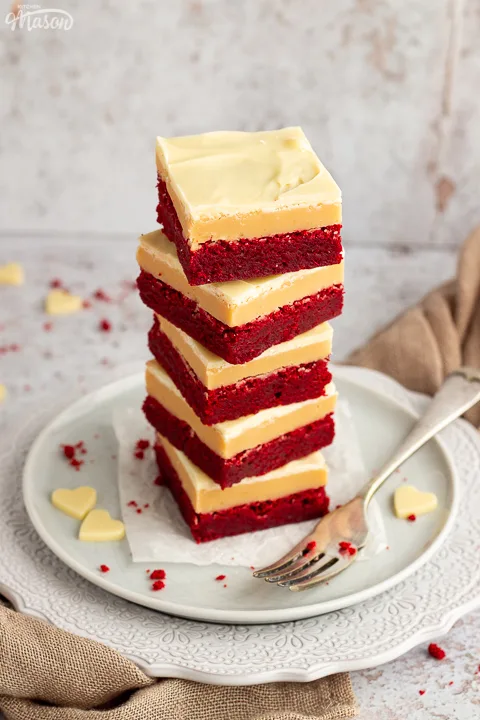
What you need to know
In this section I’m going to break down everything you need to know to confidently make these red velvet millionaire brownies like a pro.
I made all the mistakes so you don’t have to. Trust me, this is worth the read! (Especially the tips bit!)
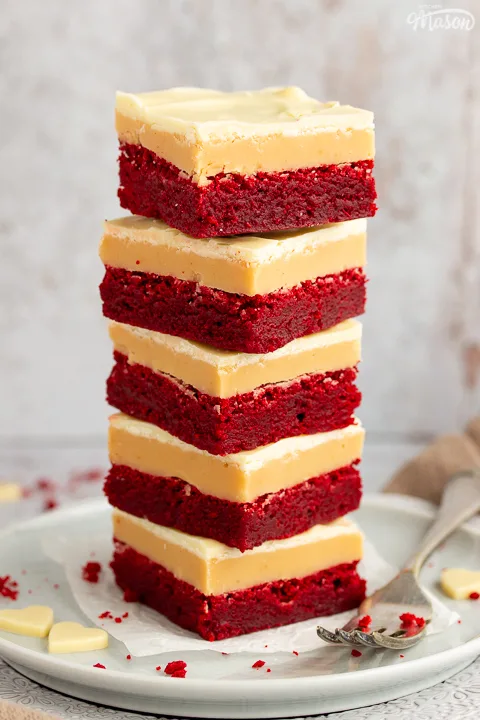
Ingredients
Ingredients are important. They’re the fundamentals of every recipe we make! Here’s all you need to know about the ones needed for this recipe…
Red velvet brownie
- Butter: Unsalted is best as it gives you full control of the overall salt content and flavour.
- Sugar: My favourite is golden caster sugar but regular caster sugar (superfine in the US) will work great too.
- Cocoa Powder: Make sure you use proper cocoa powder not drinking chocolate powder, as that already has sugar added and will make these too sweet.
- Eggs: Large free range organic are my preferred but whatever you have will work. Just make sure they’re not really small or they could throw off the delicate balance of ingredients!
- Vanilla: You can really taste the difference that using a high quality vanilla extract, like Nielsen Massey, makes. Supermarket versions just don’t cut it!
- Red Food Colouring: Using food colouring gel is better than liquid as you need quite a lot to get a vivid red colour. Liquid can effect the consistency of the batter but gel won’t. Sugarflair Red Extra is my favourite. (Affiliate link)
- Flour: You need regular plain/all purpose flour for this, don’t use self raising as it has raising agents in it which we don’t want in a brownie.
- Salt: Table salt is fine as it will dissolve in the batter anyway.
- Vinegar: White wine vinegar gives a lovely subtle tang but you could use cider vinegar or white distilled vinegar in a pinch.
Caramel
- Condensed Milk: Sweetened condensed milk is what we need here. Available from most supermarkets in 400g/14oz tins.
- Butter: Use unsalted to give you full control over the salt content. You can really taste the difference when using a good quality brand like Lurpak too.
- Sugar: Golden caster sugar is my favourite for it’s slight caramel flavour, but regular white caster sugar (superfine in the US) will work just as well.
- Golden Syrup: There’s no real substitute for this British beauty. You can use corn syrup in the US but it’s not quite the same.
- Vanilla Extract: Use a good quality brand like Nielsen Massey. Supermarket versions just don’t compare!
- Salt: I like to use sea salt here but table salt would taste just as good as it dissolves anyway.
Chocolate topping
- White Chocolate: You will taste the quality here. You can use the cheap supermarket versions and it will taste fine, but a nice brand like Milky Bar or even Lindt would really shine here.
How to make red velvet millionaire brownies – recipe summary
Red velvet brownie
- Melt butter in a mixing bowl then beat in the sugar and cocoa powder.
- Add egg, egg yolk, vanilla and red food colouring gel. Mix well.
- Fold in flour and salt then stir through some vinegar.
- Pour the batter into a lined square tin and bake for 18-20 mins.
Caramel
- Add condensed milk, butter, sugar, golden syrup, vanilla and salt to a saucepan then bring to the boil stirring constantly.
- Continue to boil, stirring constantly, until it hits 107ºC/225ºF and is golden brown.
- Turn off the heat and continue to stir for a few minutes then pour over the brownie.
Chocolate topping
- Break the chocolate into a microwavable bowl then heat in 10 second intervals in the microwave, stirring well each time.
- When two thirds melted, stir until completely melted.
- Pour on top of the caramel and allow to set.
Recipe tips
Ok here’s the good bit. Here’s the part where I tell you tons of really helpful tips so you can nail this epic bake first time without a hitch!
- Read through the whole recipe before you begin. Sounds really simple but not doing this has tripped me up on more occasions that I care to admit! Spare yourself any nasty surprises.
- Prepare/weigh out your ingredients before starting each section of the recipe, it’s so much less stressful!
- Allow each layer to cool completely before moving onto the next step. This will give you nice clean layers.
- When you make the caramel, make sure you stir constantly and get right into the edges of the pan or it can very easily burn.
- Use a sugar thermometer to eliminate the guesswork and stress. They’re cheap and handy to have around!
- If your caramel has burnt bits running through it, while it’s still very hot, pass it through a fine sieve straight onto your brownie. This should remove most of them.
- Don’t overheat the chocolate when melting it for the topping. Be patient and you’ll be rewarded.
How to store red velvet millionaire brownies
I’ve found that these store well in a metal tin at room temperature and are best consumed within 7 days.
I wouldn’t put them in the fridge as this draws out moisture. We want gooey, fudgy brownies – not dry horrible ones!
Red Velvet Millionaire Brownies -Step by Step Picture Recipe
(For a printer friendly version, see the recipe card at the end of this post)
Ingredients and equipment
Here is what you will need to make 16.
Red velvet brownie
- 150g (2/3 Cup) Unsalted Butter
- 220g (1 + 1/8 Cup) Caster/Superfine Sugar
- 2 tbsp Cocoa Powder
- 1 Large Egg
- 1 Egg Yolk
- 1 tsp Vanilla Extract
- 1 tsp Strong Red Food Colouring Gel *
- 130g (1 Cup) Plain/All Purpose Flour
- 1/4 tsp Salt
- 2 tsp White Wine Vinegar
Caramel
- 200g (2/3 cup) Sweetened Condensed Milk
- 125g (1/2 cup) Unsalted Butter
- 125g (2/3 cup) Caster/Superfine Sugar
- 2 tbsp Golden Syrup (Corn Syrup in US)
- 1 tsp Vanilla Extract
- Pinch Salt
Chocolate topping
- 150g (5.3 oz) White Chocolate
Essential equipment
- 20cm (8″) Square Baking Tin
- Large Microwavable Bowl
- Rubber Spatula
- Medium Saucepan
- Wooden Spoon
- Sugar Thermometer
*Sugarflair extra red food colouring gel is my favourite. (Affiliate link.)
Red velvet brownie instructions
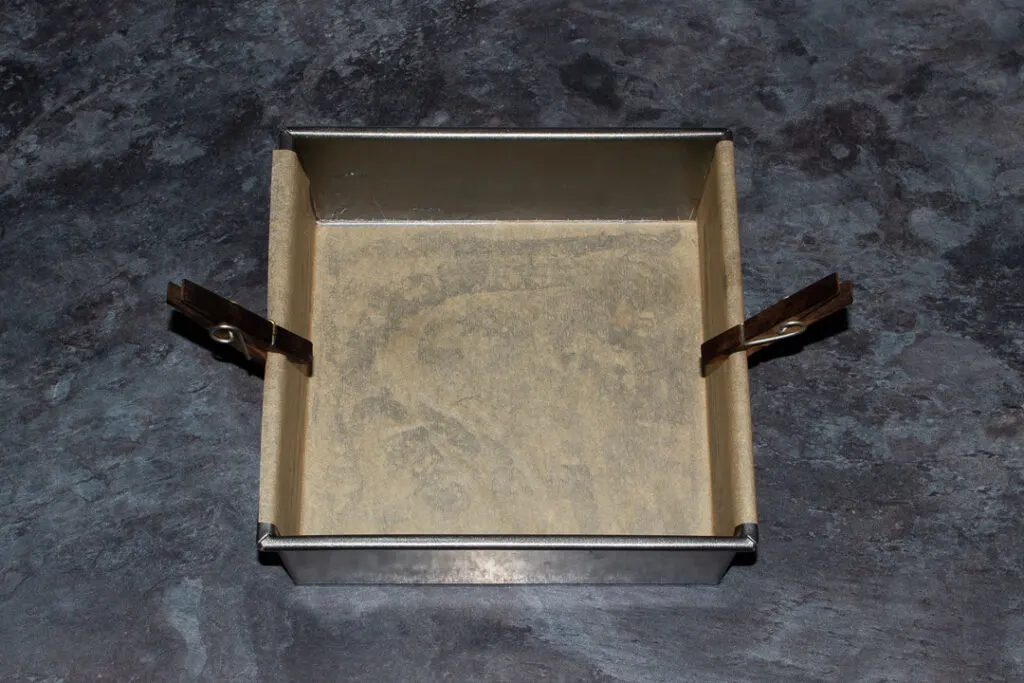
Firstly, line your baking tin with baking paper and preheat your oven to 180ºC/Fan 170ºC/356ºF. Oh the pegs? Yeah… I’m a very lazy liner haha!
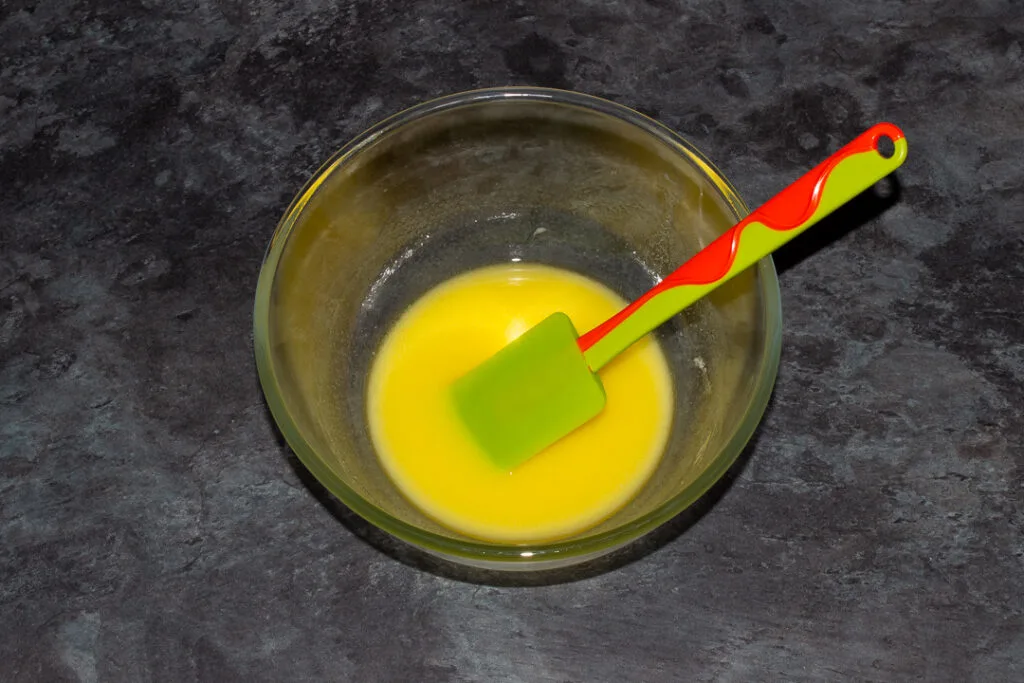
Next, melt the butter (150g | 2/3 Cup) in a large microwavable bowl in the microwave in 10 second intervals.
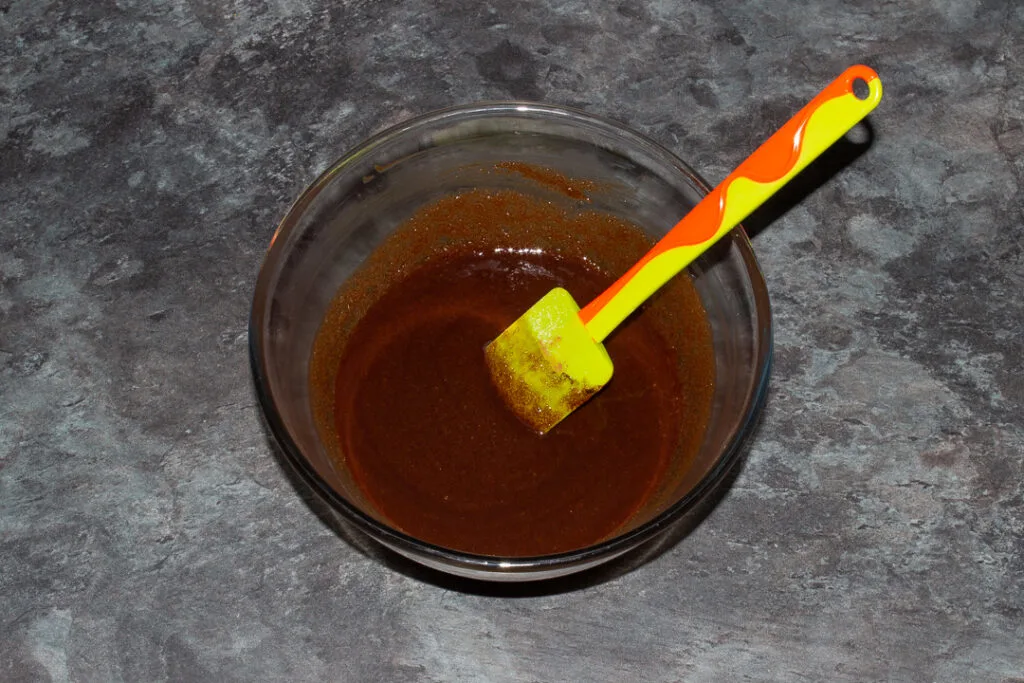
Now beat in the sugar (220g | 1 + 1/8 Cup) and cocoa powder (2 tbsp) with a rubber spatula. Beat quite vigorously for at least 1 minute.
Time to add in the egg (x 1), egg yolk (x 1), vanilla (1 tsp) and red food colouring gel (1 tsp).
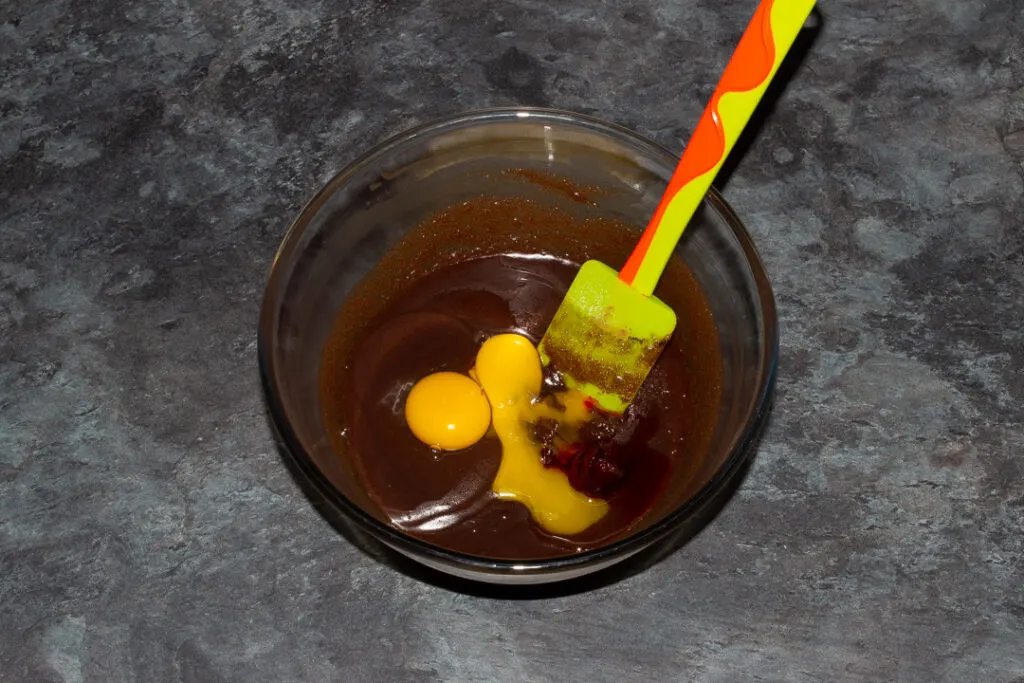
Give it a really good beat with your spatula, until everything is nicely blended together.
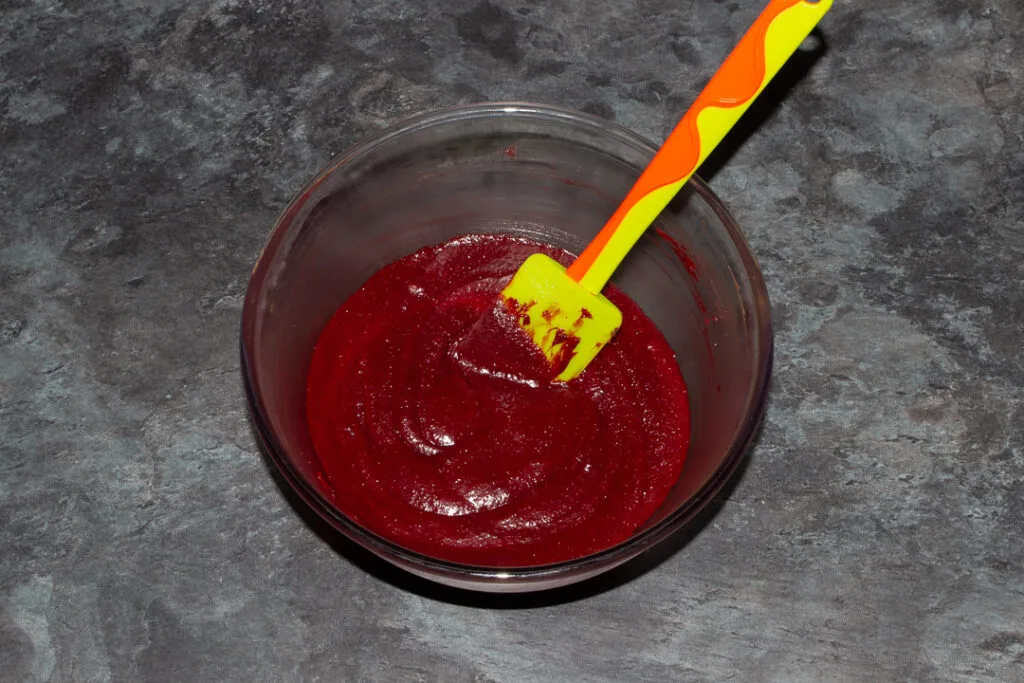
Next, carefully fold in the flour (130g | 1 Cup) and salt (1/4 tsp) until there are no more visible streaks of flour.
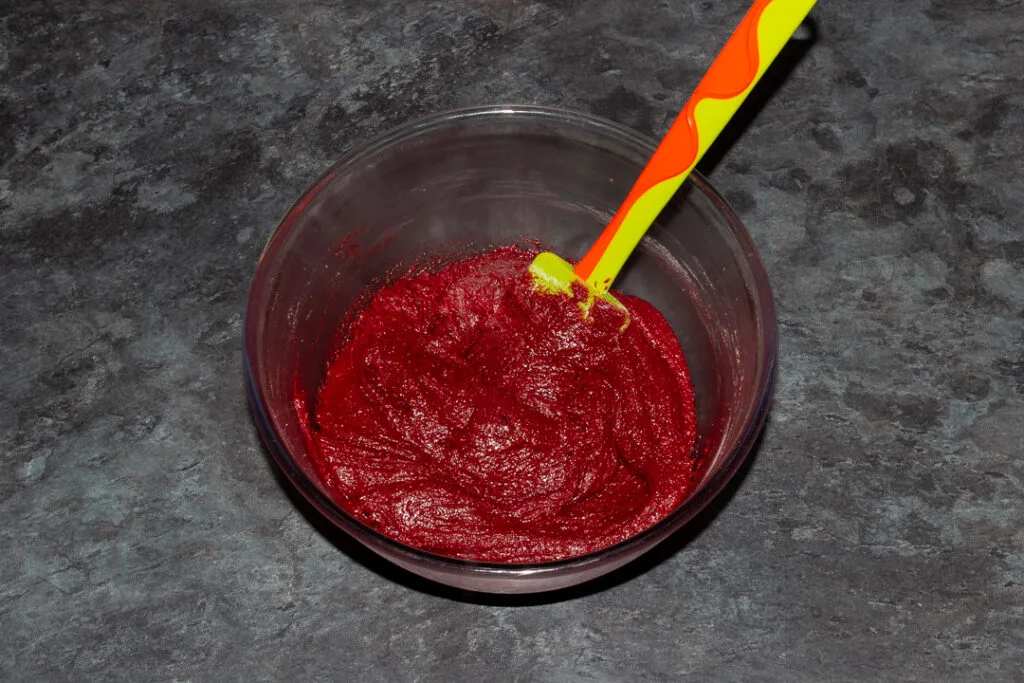
Finally, gently mix the white wine vinegar (2 tsp) through the batter. Try not to over mix it though.
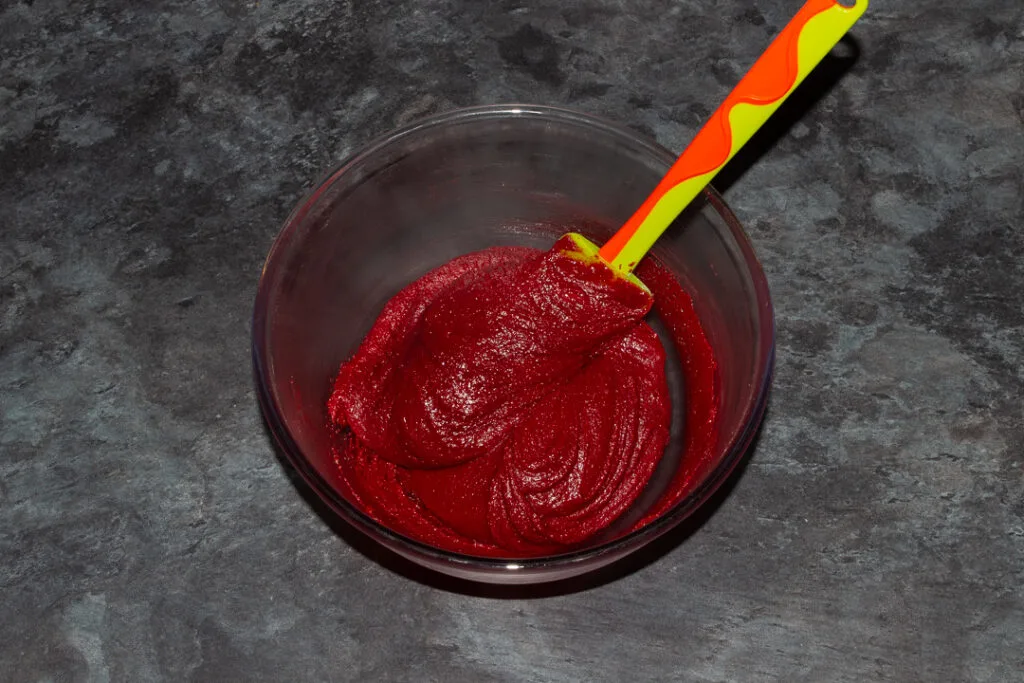
Pour your red velvet brownie batter into your prepared tin and smooth out with your spatula.
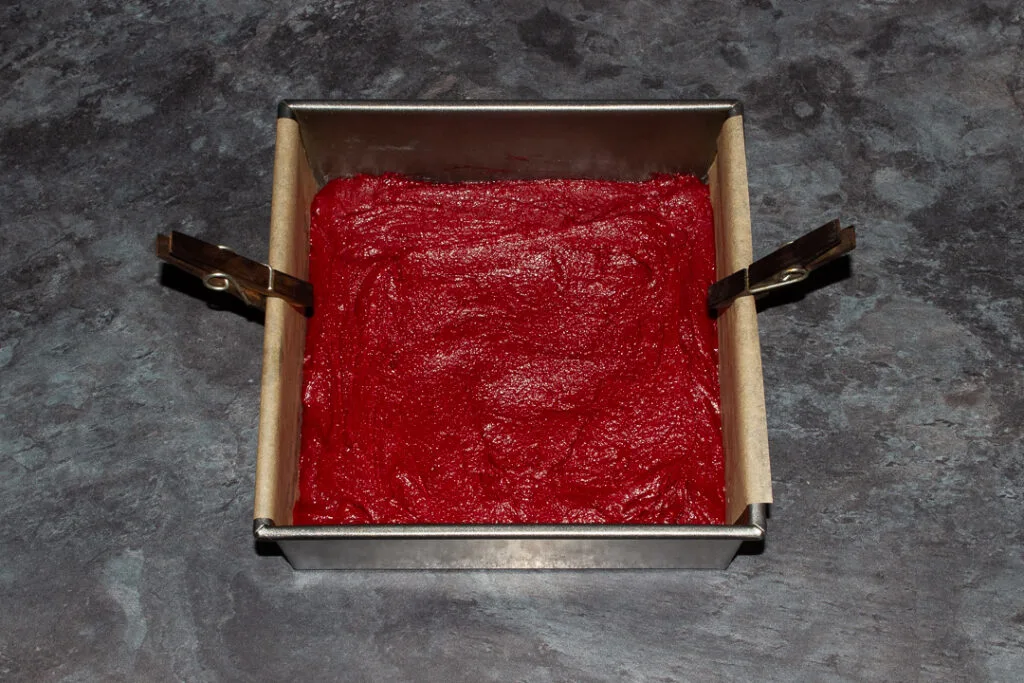
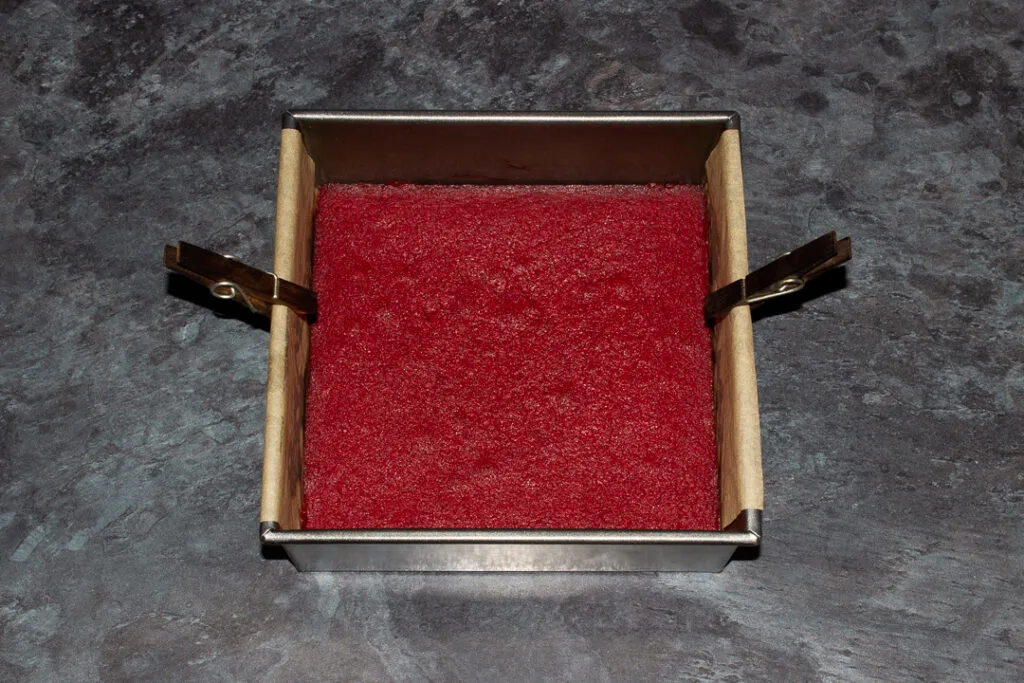
Bake in your preheated oven on the top shelf for 18-20 minutes. It will feel soft and almost cake like on the top at first but don’t worry, it will crisp up and stay perfectly fudgy inside.
Allow to cool completely (this usually takes a few hours) at room temperature before moving on to the caramel layer.
Caramel instructions
To make the caramel, weigh out all the ingredients into a medium saucepan and set over a low/medium heat. (200g | 2/3 cup condensed milk, 125g | 1/2 cup unsalted butter, 125g | 2/3 cup caster sugar, 2 tbsp golden syrup, 1 tsp vanilla extract, pinch of salt.)
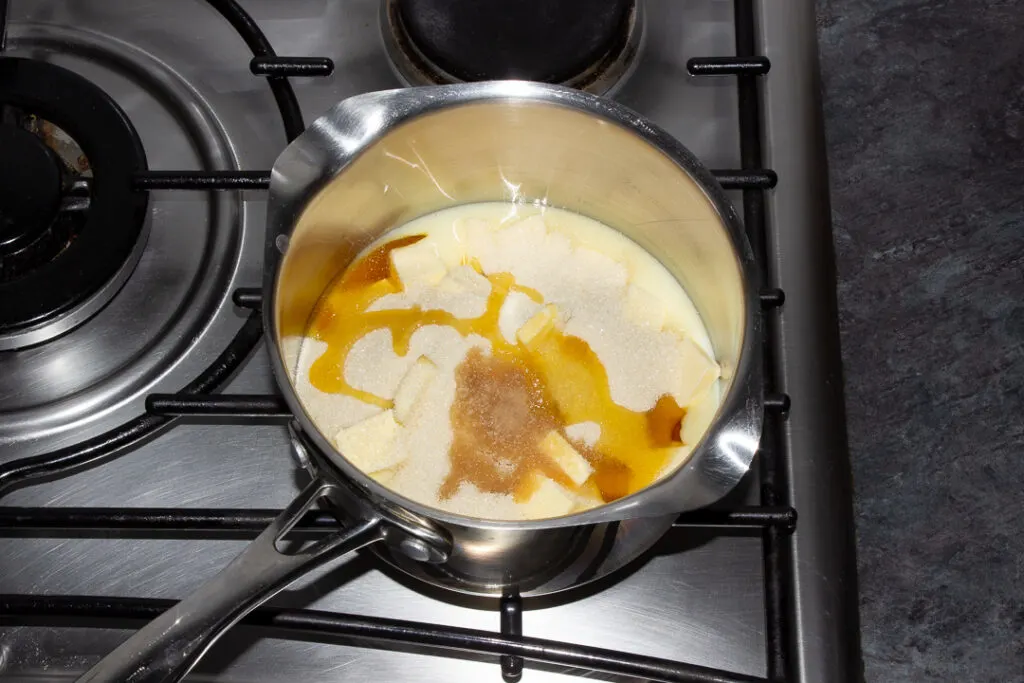
Stir constantly with a wooden spoon throughout this whole process to prevent burning. If at any point you are worried it’s too hot – simply turn down the heat a little.
Stir until all the ingredients have melted.
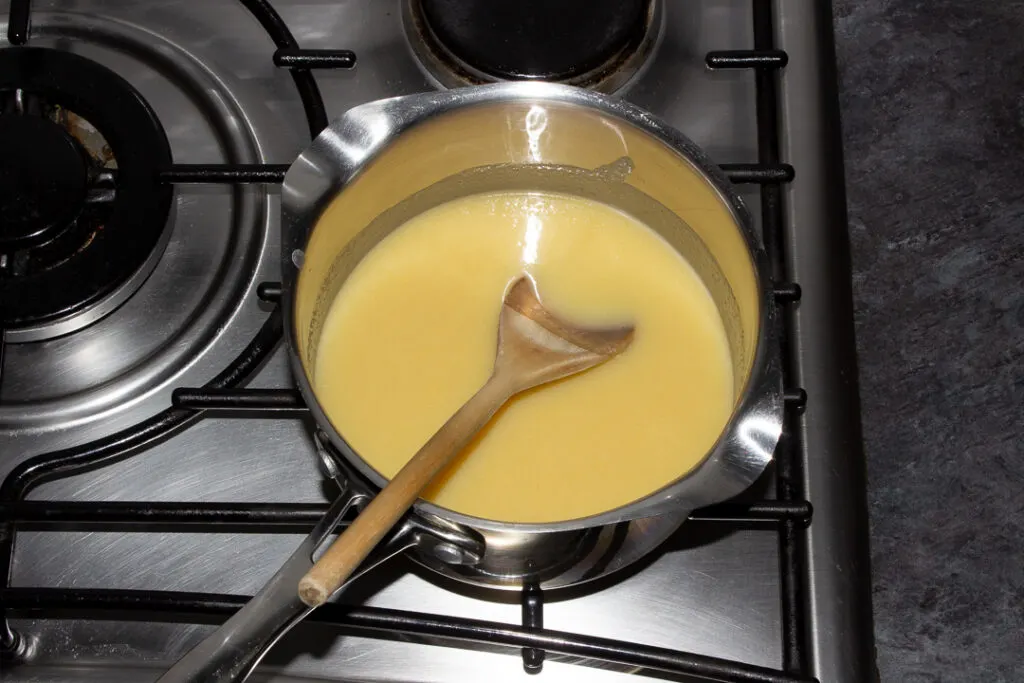
Bring it up to the boil and simmer, stirring continuously, right into the edges of the pan, until it reaches 107ºC/225ºF on a sugar thermometer. It should become a light golden brown colour.
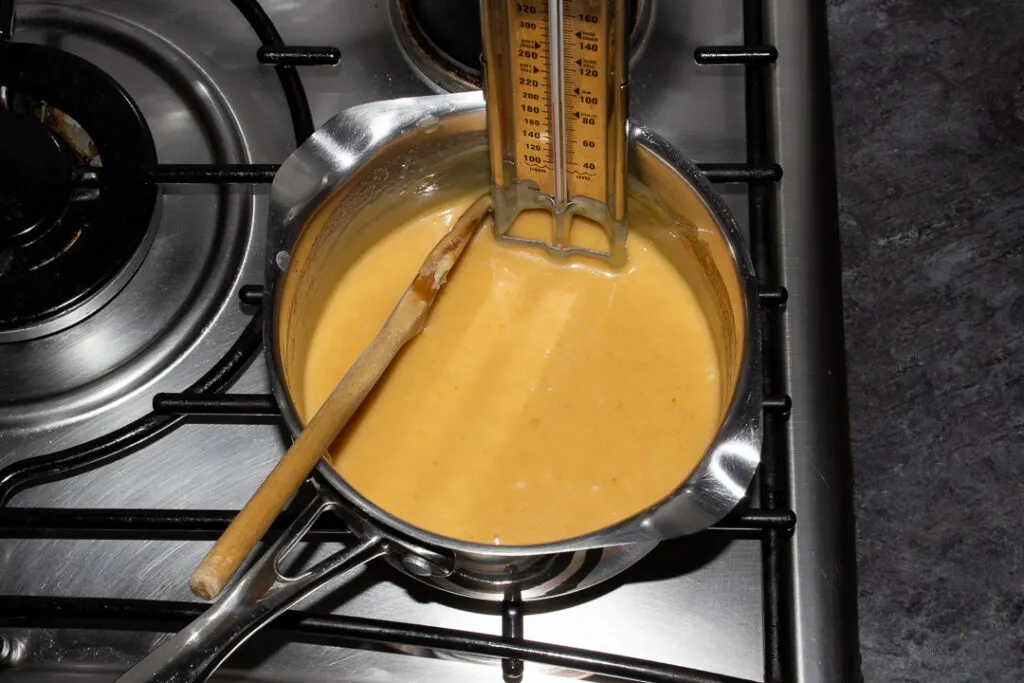
At this point, turn off the heat, remove the thermometer and continue to stir for a few minutes to allow the caramel to cool and thicken slightly. Then pour it on top of the red velvet brownie layer and smooth out with the back of your wooden spoon.
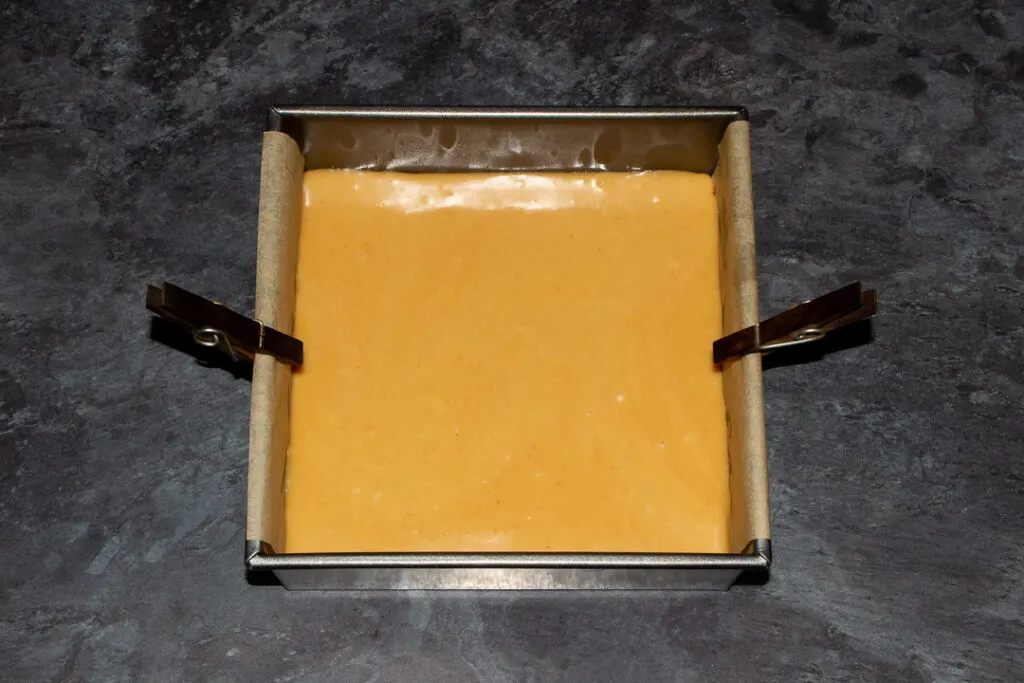
Allow to cool completely (this usually takes an hour or so) at room temperature before moving on to the chocolate topping layer.
Chocolate topping instructions
Break the white chocolate (150g | 5.3 oz) into a microwavable mixing bowl.
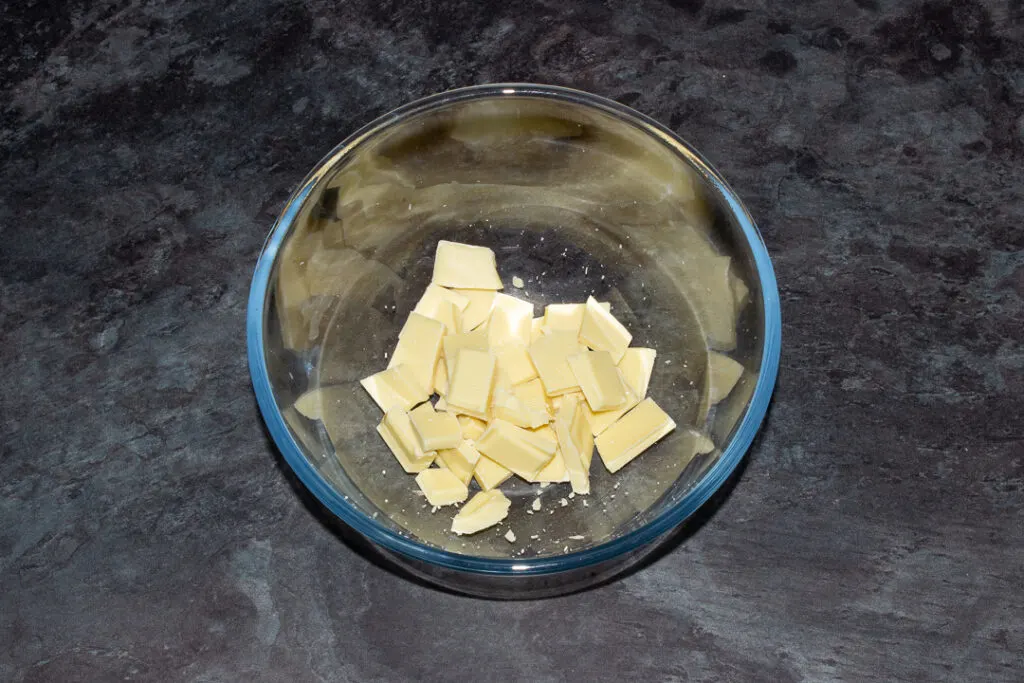
Heat in 10 second intervals in the microwave, making sure you stir it well after each time. Once it’s two thirds melted, don’t heat anymore. Just keep stirring until it’s completely melted.
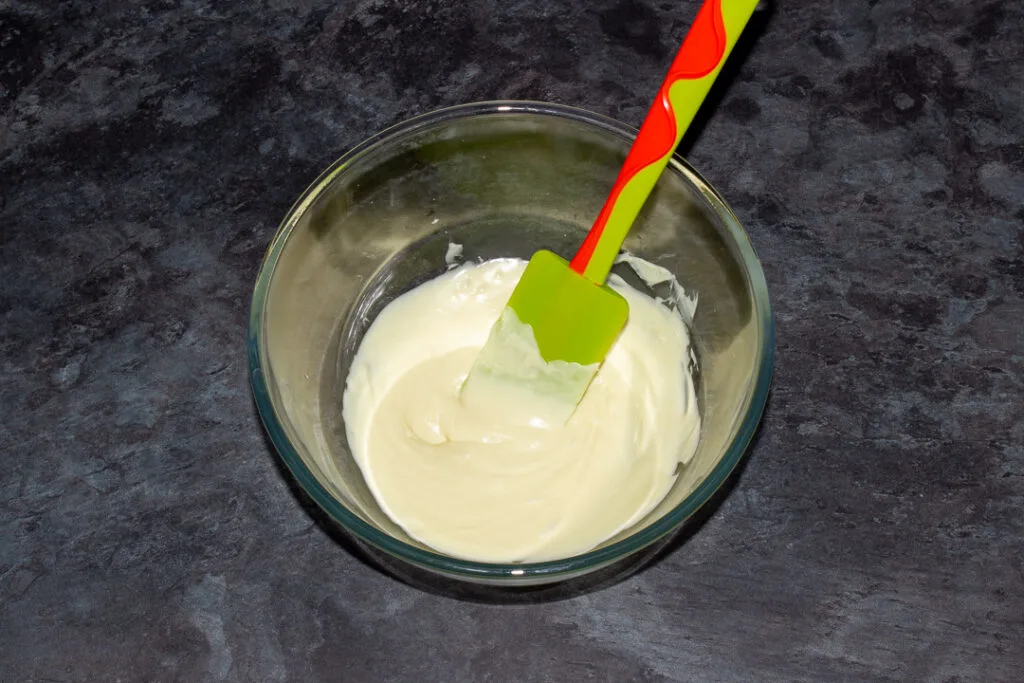
Pour the melted chocolate on top of the cooled caramel layer and smooth out with your spatula.
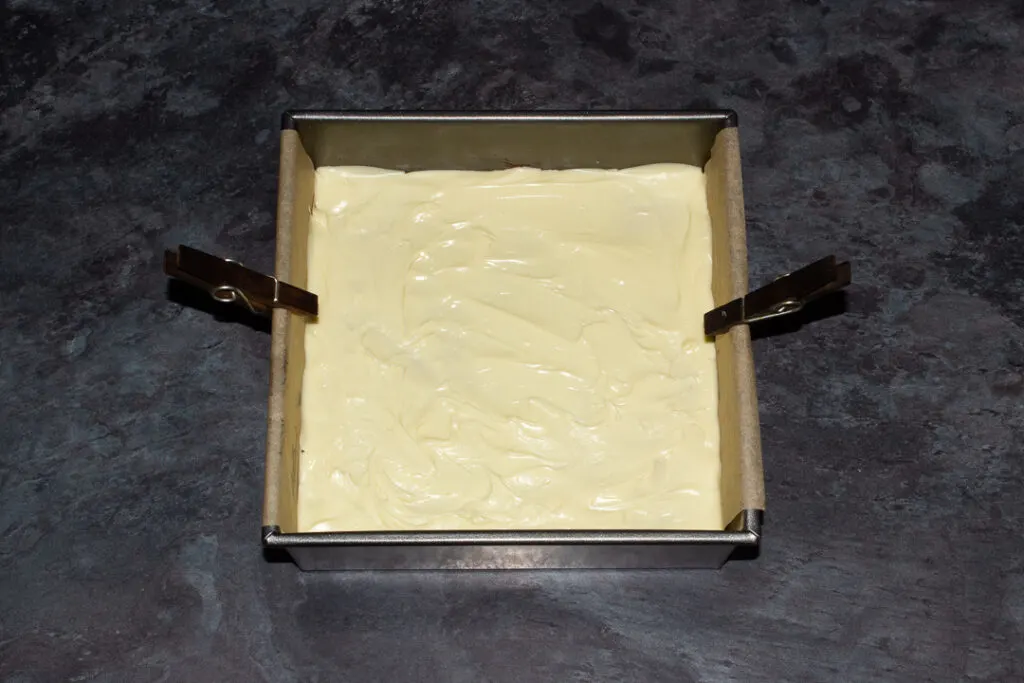
Allow to set completely then carefully remove from the tin and slice into 16 bars.
Other recipes you might like…
- One bowl red velvet brownies
- Millionaire brownie bars
- Millionaire’s shortbread
- Easy red velvet cupcakes
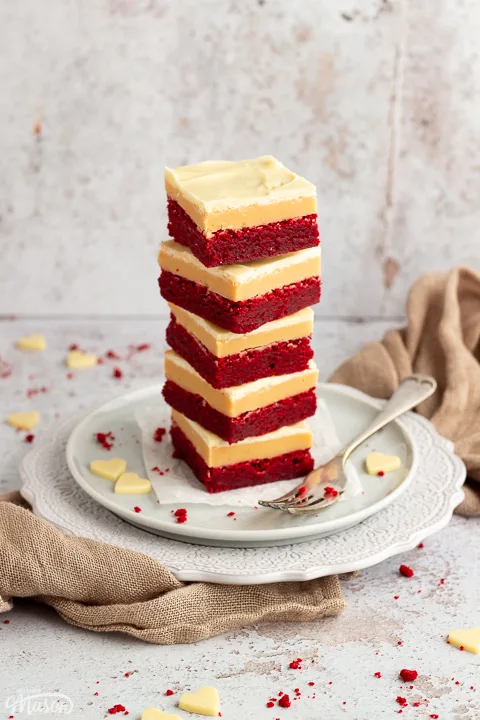
Have you made this recipe?
Have you made these insanely indulgent red velvet millionaire brownies? I’d love to know if you have! Send me your pics, comments and questions on Facebook, Twitter and Instagram or email me at emma@kitchenmason.com.
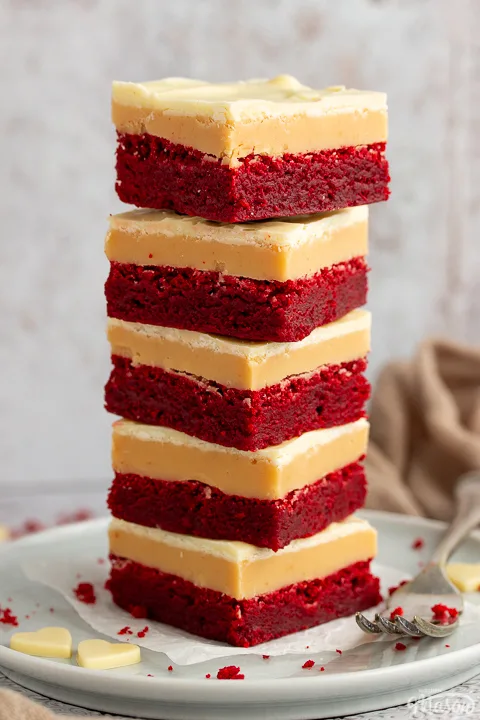
Loved this recipe? Pin it!
Red Velvet Millionaire Brownies - Printable Recipe
Gooey, sweet and downright INCREDIBLE, these seriously indulgent red velvet millionaire brownies are the perfect homemade valentines day gift!
Ingredients
For the red velvet brownie
- 150g (2/3 Cup) Unsalted Butter
- 220g (1 + 1/8 Cup) Caster/Superfine Sugar
- 2 tbsp Cocoa Powder
- 1 Large Egg
- 1 Egg Yolk
- 1 tsp Vanilla Extract
- 1 tsp Strong Red Food Colouring Gel *
- 130g (1 Cup) Plain/All Purpose Flour
- 1/4 tsp Salt
- 2 tsp White Wine Vinegar
For the caramel
- 200g (2/3 cup) Sweetened Condensed Milk
- 125g (1/2 cup) Unsalted Butter
- 125g (2/3 cup) Caster/Superfine Sugar
- 2 tbsp Golden Syrup (Corn Syrup in US)
- 1 tsp Vanilla Extract
- Pinch Salt
For the chocolate topping
- 150g (5.3 oz) White Chocolate
Essential equipment
- 20cm (8″) Square Baking Tin
- Large Microwavable Bowl
- Rubber Spatula
- Medium Saucepan
- Wooden Spoon
- Sugar Thermometer
Instructions
For the red velvet brownie
- Line your tin and preheat the oven to 180ºC/Fan 170ºC/356ºF.
- Melt the butter in a large bowl in the microwave in 10 second intervals (stirring between).
- Beat in the sugar and cocoa powder with a spatula, stirring vigorously for at least 60 seconds.
- Add the egg, egg yolk, vanilla and food colouring gel and mix thoroughly.
- Fold in the flour and salt until you can't see anymore streaks.
- Gently mix in the vinegar.
- Pour into your prepared tin, smooth out and bake for 18-20 mins on the top shelf.
- Leave to cool completely at room temperature before moving on to the next step.
For the caramel
- Add all of the caramel ingredients into a medium saucepan and place over a low/medium heat.
- Stir continuously with a wooden spoon until everything is melted.
- Bring to the boil then keep simmering, stirring constantly, until it reaches 107ºC/225ºF on a thermometer and looks a golden brown colour.
- Remove from the heat and continue stirring for a few minutes, then pour over the red velvet brownie layer and smooth out.
For the chocolate topping
- Break the chocolate into a microwavable bowl.
- Heat in 10 second intervals, stirring after every time, until two thirds melted. When at this stage, don't microwave again - simply stir until it's completely melted.
- Pour over the caramel layer and smooth out with your spatula. Allow to set completely at room temperature, then remove from the tin and cut into 16 bars.
Notes
* Sugarflair extra red food colouring gel is my favourite (see recommended products below).
Recommended Products
As an Amazon Associate and member of other affiliate programs, I earn from qualifying purchases at no extra cost to you.
Nutrition Information:
Yield: 16 Serving Size: 1Amount Per Serving: Calories: 346Total Fat: 19gSaturated Fat: 11gTrans Fat: 0gUnsaturated Fat: 6gCholesterol: 66mgSodium: 78mgCarbohydrates: 42gFiber: 0gSugar: 35gProtein: 3g
Nutritional information on kitchenmason.com should only be used as a general guideline, I am not a certified nutritionist. Please always check labels for allergens where applicable.


Sue
Sunday 7th of February 2021
oh nooooooooooooooooooooo these sound delicious !!!! and I will definitely be making them this coming week thank you Emma for your wonderful recipes, I am so happy I found your site !
Emma
Sunday 7th of February 2021
Hi Sue. Hahaha aww thank you so much! I’m happy you found my site too! :) Don’t forget to tag me in any pics you post to social media when you make it, I LOVE seeing your bakes!! Emma x