
This post may contain affiliate links. Where I make a small commission on purchased items, at no extra cost to you. See my disclosure for details.
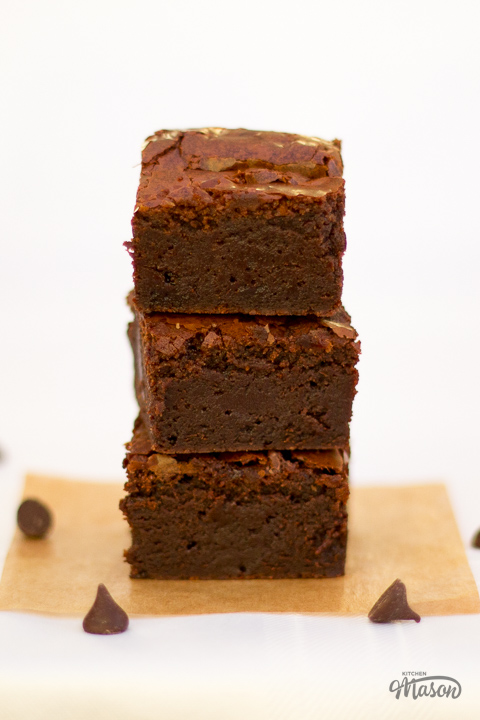
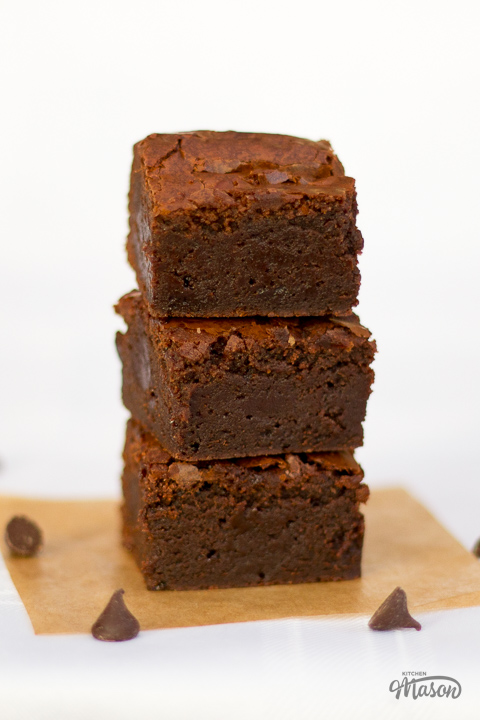
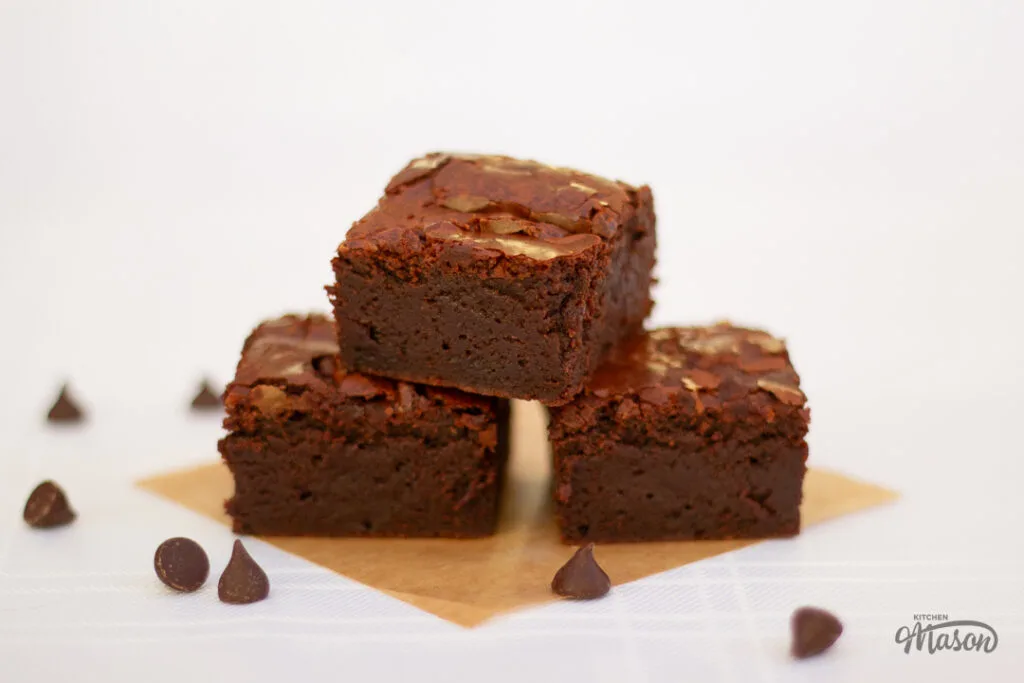
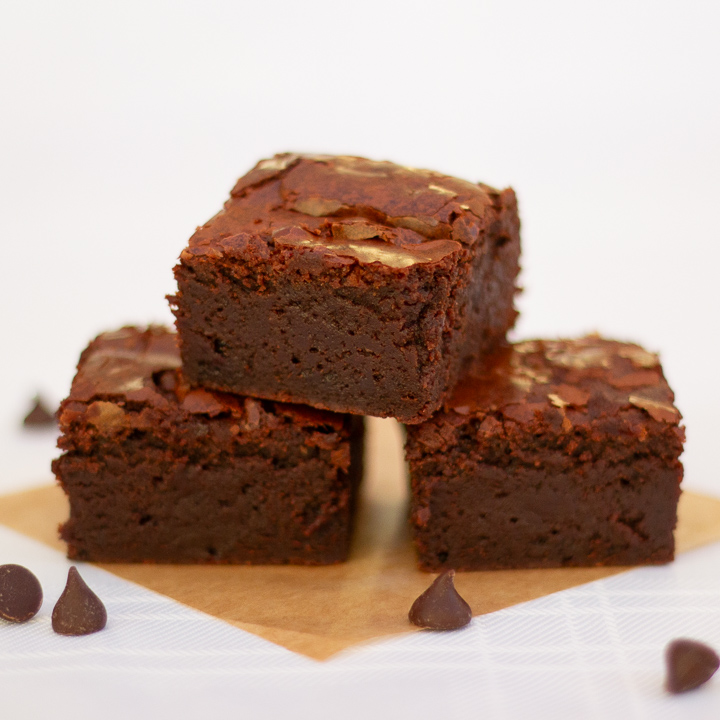
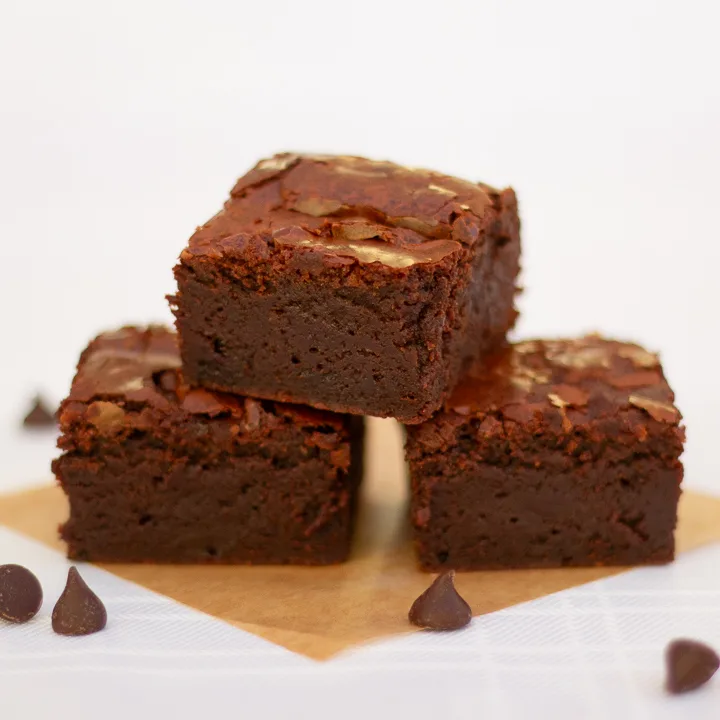
Rich, indulgent, exquisite, luxurious… those are just a few words to describe how irresistible these ultimate chocolate brownies are! One bite will have you sinking into a world of fudgy, silky smooth chocolate HEAVEN. Keep reading to learn how to impress your loved ones…
Why you (and everyone you know) will love this recipe
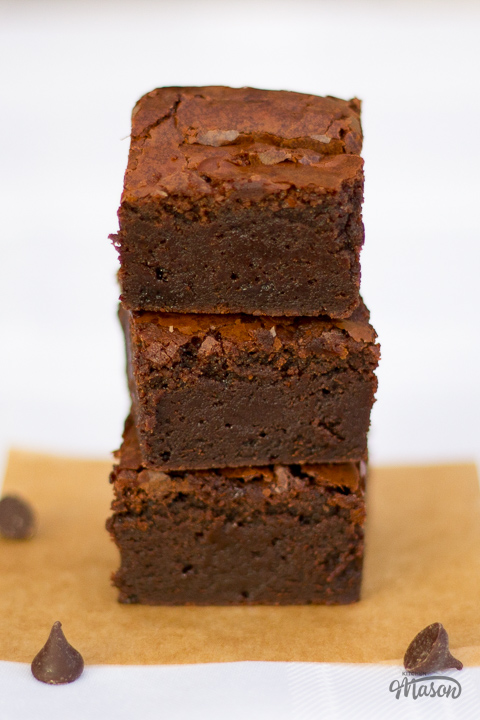
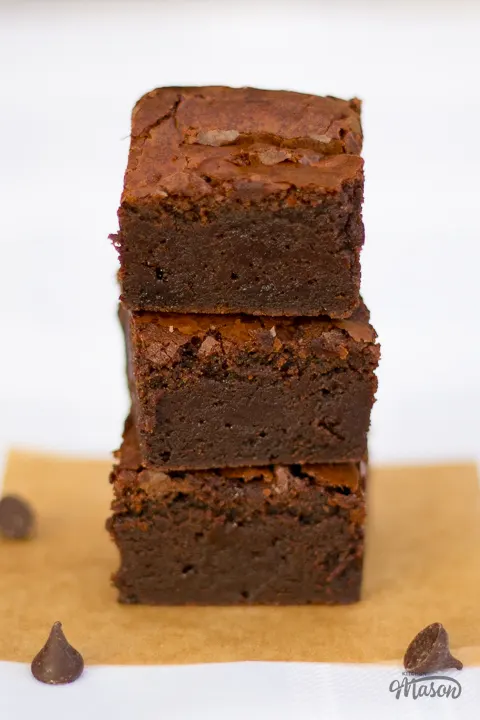
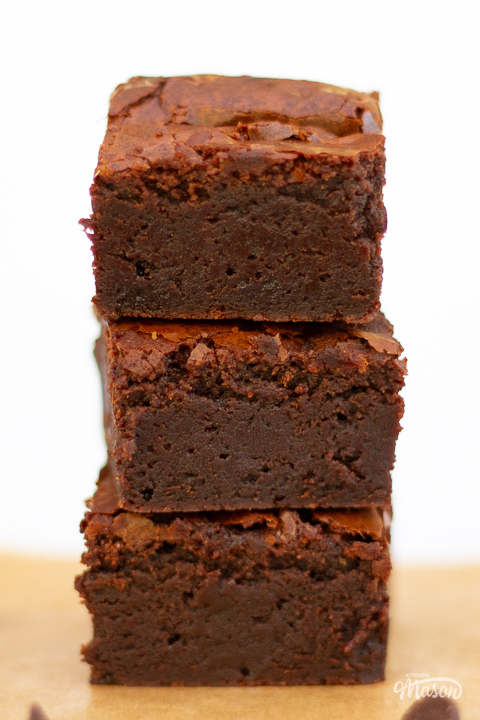
I’ve made hundreds of brownies over the years. And, although these might not be as quick and straight forward as easy one bowl brownies, they are SO worth the effort! It’s texture and deep, rich chocolate flavour are unparalleled by any other. No dry cakey brownies here, thank you!!!
Yes, you can always add extras to make them more stand-out (like Kinder Bueno brownies or millionaire brownies), but if you can conquer a classic chocolate brownie as is? You will be eternally rewarded! (And regularly pestered by friends and family to make more!)
Not a confident baker yet?
You might like to read through baking for beginners first. It’s full of helpful tips to boost your baking knowledge and confidence.
Ingredients
Confused about what ingredients to buy? Not sure about a substitution? Here’s everything you might need to know…
- Chocolate – Although chocolate with a low cocoa content still tastes great in a brownie, I highly recommend using good quality chocolate. You really will taste the difference!
- Butter – You can use salted or unsalted butter, it doesn’t make a big difference in this recipe.
- Eggs – The recipe was written using large free range eggs. You may need to adjust if your eggs are particularly small or very large.
- Sugar – Dark muscovado sugar adds to the deep, rich flavour of these brownies. You can use light brown sugar instead, but it will alter the flavour a little.
- Vanilla – I always recommend using a good quality vanilla like Little Pod. Supermarket versions aren’t real vanilla, and don’t taste of anything! Don’t waste your money.
- Flour – You need self raising flour in this recipe. If you only have plain/all purpose, you can make homemade self raising flour.

Emma’s top tips
Here are tips you’ll find helpful when making this recipe.
- Read through the recipe, and prepare your ingredients BEFORE you begin. It’s the easiest way to avoid unnecessary, costly mistakes.
- If you want a ‘cleaner cut’ on your brownies, chill in the fridge before slicing into pieces.
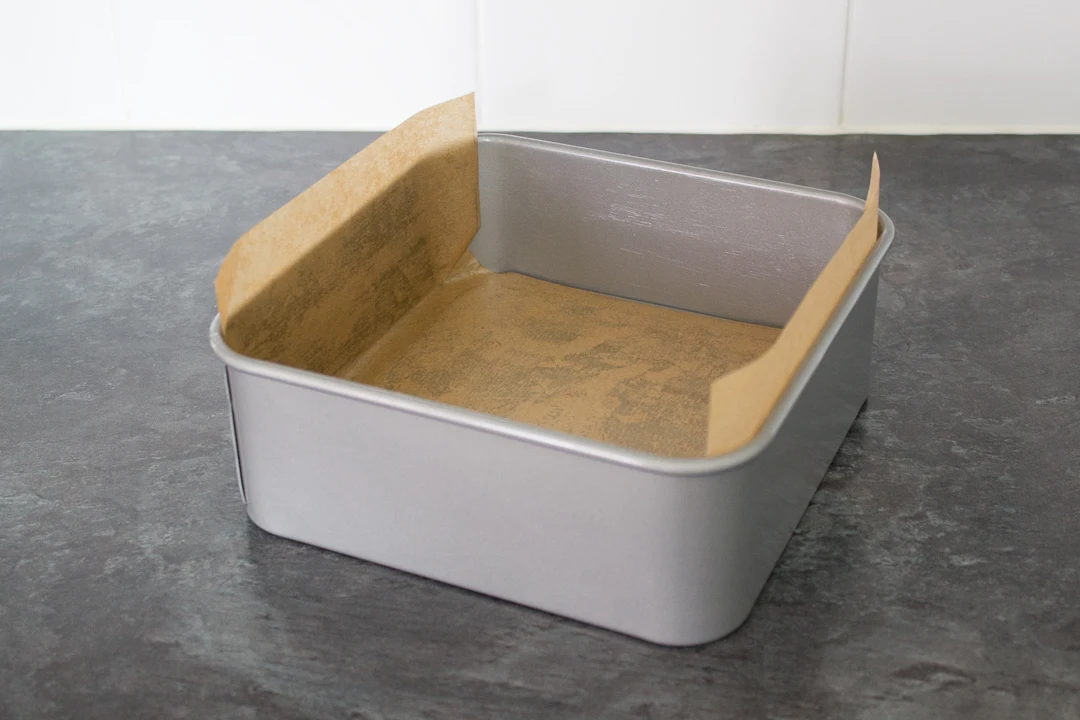
- Lining your tin with baking paper not only stops your ultimate chocolate brownies from sticking, it also acts as a helpful handle to lift out the brownie once cooled.
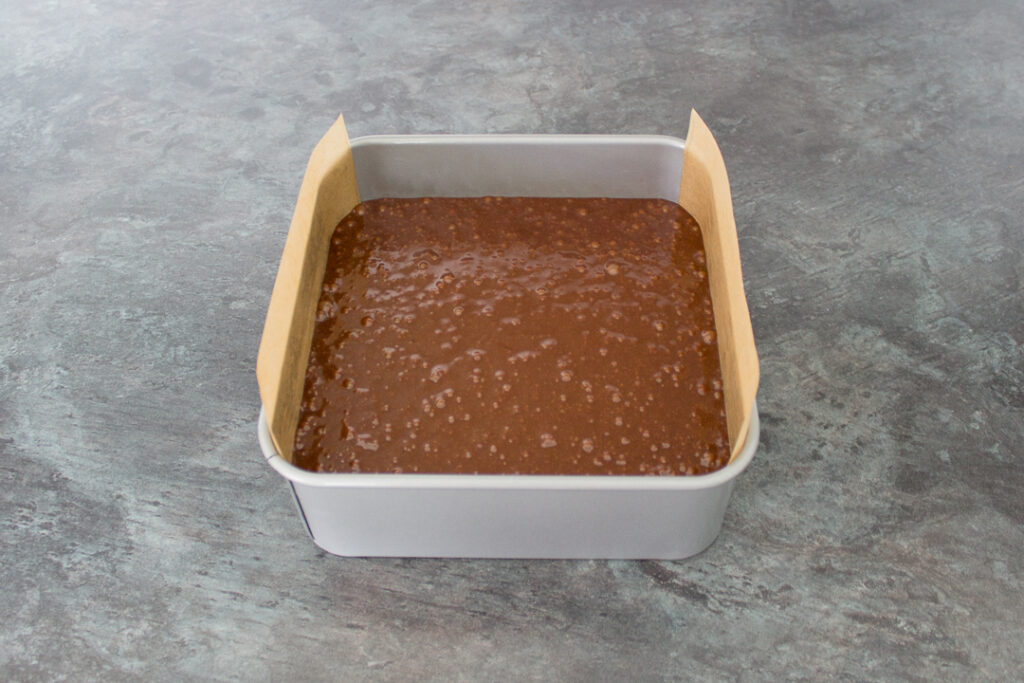
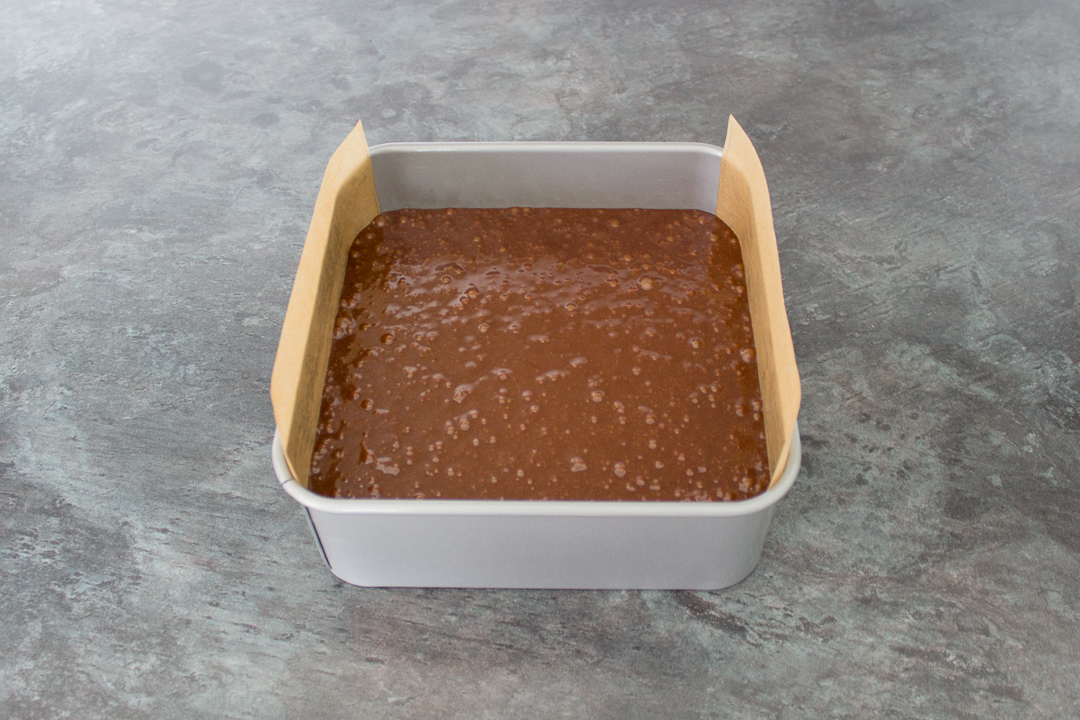
- Don’t pour the batter into the tin from a great height! You will knock out all the air you spent ages putting into it. Instead, pour it from as close to the tin as possible.

Timings
Have limited time? Struggle with recipe timings? Or juggling around other things? Here’s some time managing info to make your life easier!
- Making the brownie batter will take about 15 minutes.
- Baking ultimate chocolate brownies takes 30-35 minutes.
- You need to allow at least a few hours for them to fully cool before slicing. (Overnight is a safer bet.)

Ultimate Chocolate Brownie – Step by Step Picture Recipe
(For a printer friendly version, see the recipe card at the end of this post)
Ingredients
Here is what you will need to serve 16.
Please note, this recipe includes both UK metric and US Cup measurements.
- 250g (8.8 oz) Dark Chocolate (good quality)
- 100g (3.5 oz) Milk Chocolate (good quality)
- 200g (3/4 Cup + 1/8 Cup) Unsalted Butter, Room Temp
- 3 Eggs, Room Temp
- 250g (1 + 1/4 Cups) Dark Muscovado Sugar
- 1 tsp Vanilla Extract
- 50g (1/3 Cup) Self Raising Flour
Essential Equipment
- 20cm (8″) Square Baking Tin
- Baking Paper
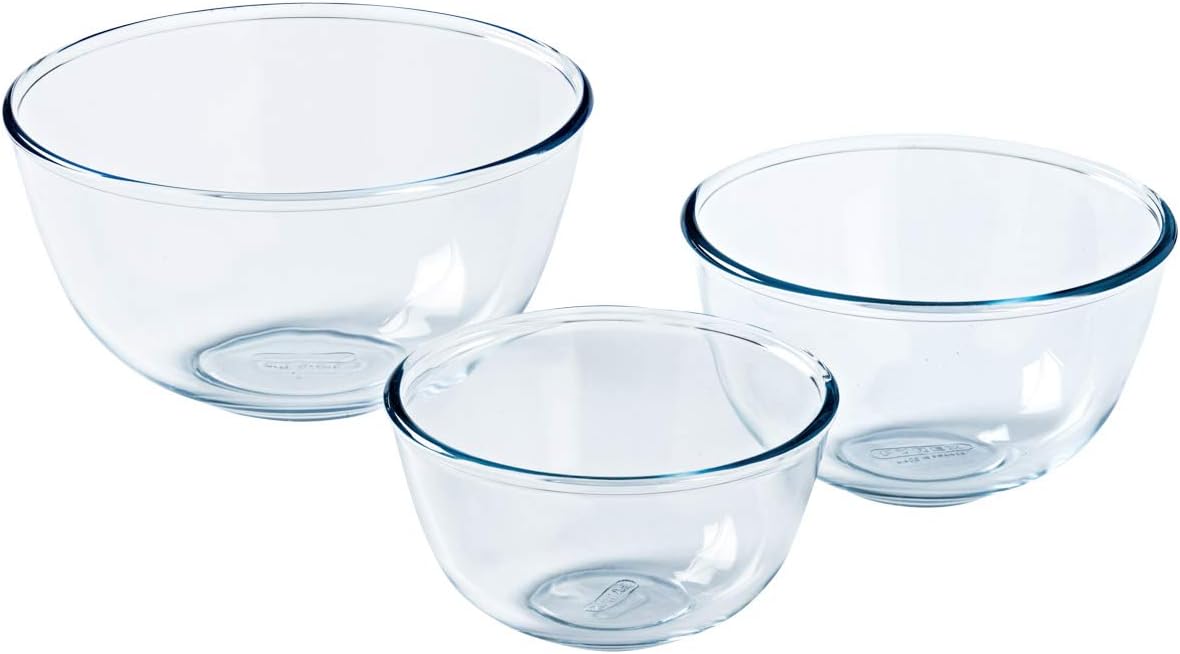
- Large Mixing Bowl
- Spatula
- Electric Stand Mixer or Electric Hand Whisk
- Sieve
- Wire Cooling Rack
Instructions
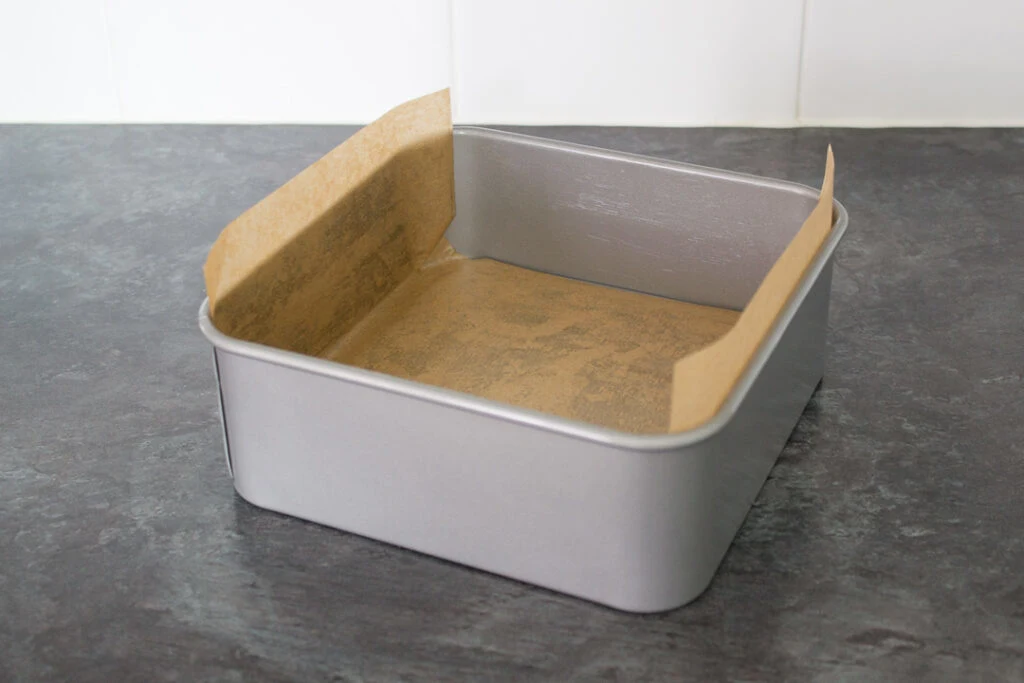
Preheat the oven to 190°C/Fan 170°C/374ºF. Then lightly grease and line the base and two sides of the tin with baking paper.

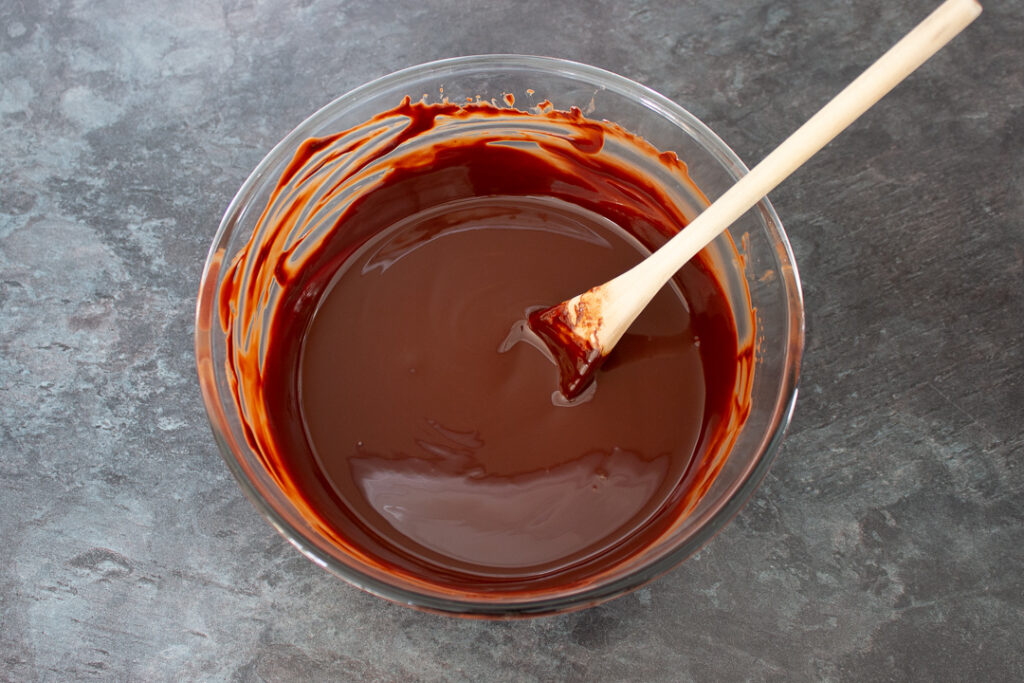
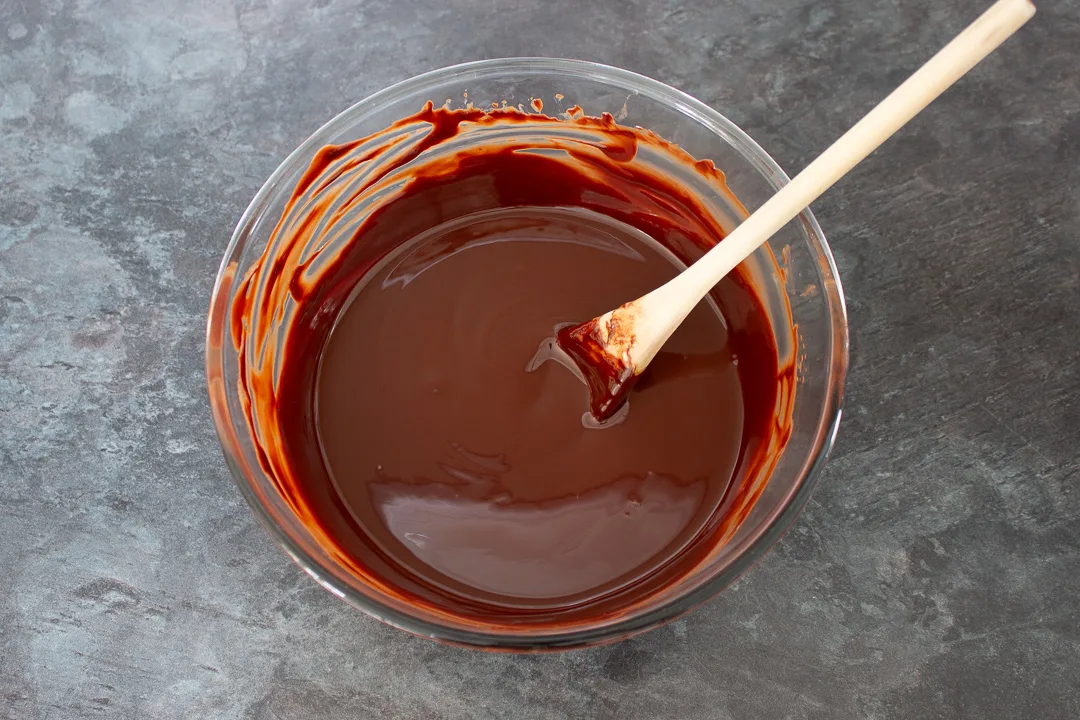
Next, break the dark chocolate (200g | 3/4 Cup + 1/8 Cup) and milk chocolate (100g | 3.5 oz) into pieces, and place it into a large mixing bowl with the butter (200g | 3/4 Cup + 1/8 Cup). Then heat in 10 second intervals in a microwave, stirring well after each time, until fully melted.

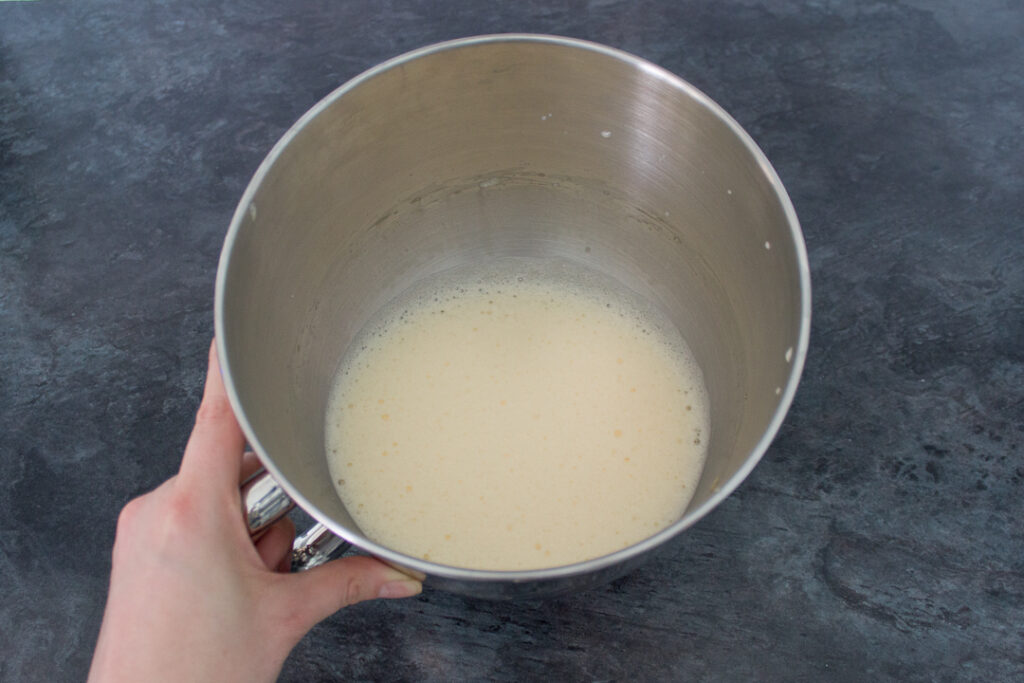
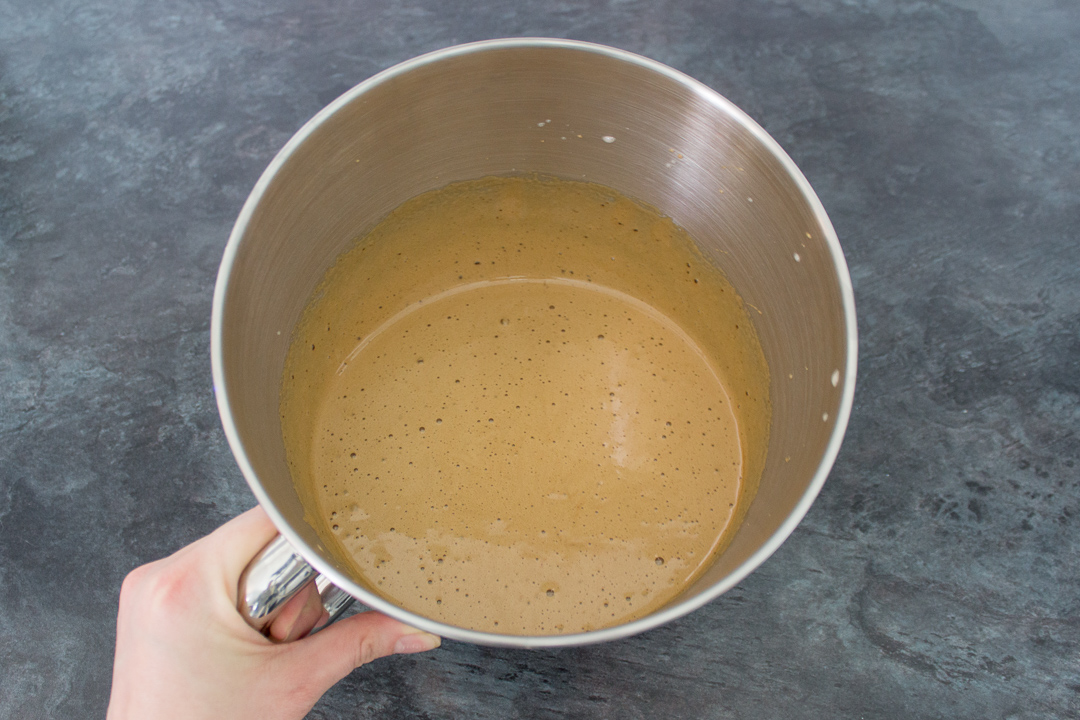
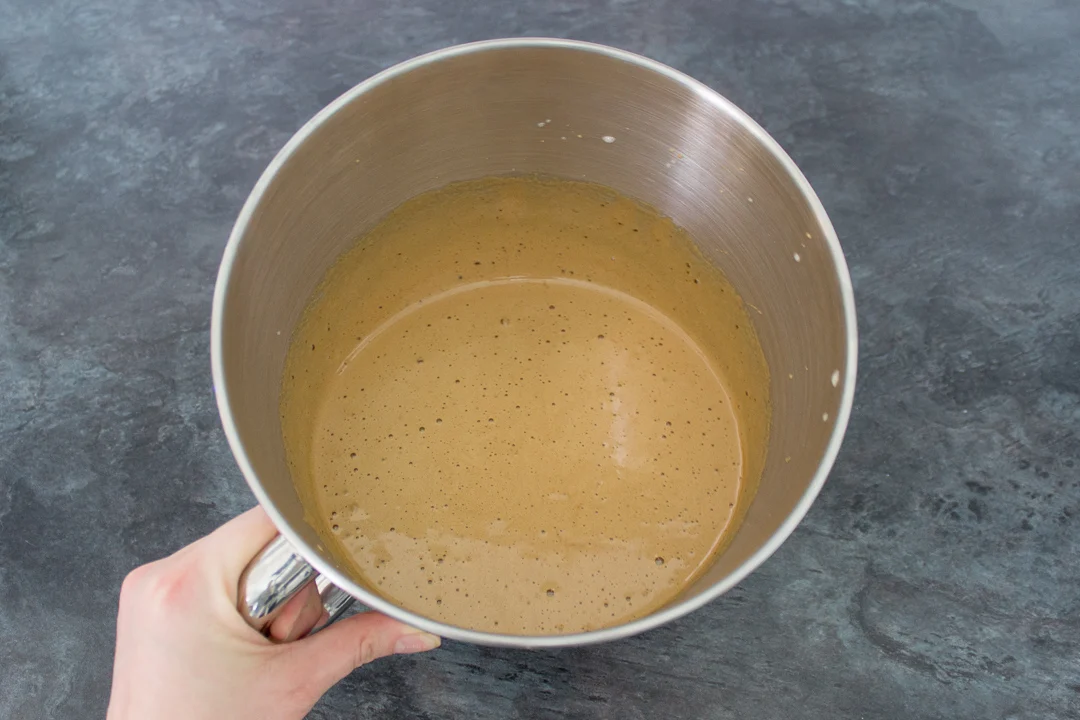
Now crack all 3 eggs into the bowl of an electric stand mixer with the whisk attachment (or a large bowl with an electric hand whisk), and whisk for at least 3-4 minutes on a high setting.
They should become pale in colour, and very airy.

Next add in the muscovado sugar (250g | 1 + 1/4 Cups) and vanilla extract (1 tsp) and whisk again, until evenly blended but still light in texture.


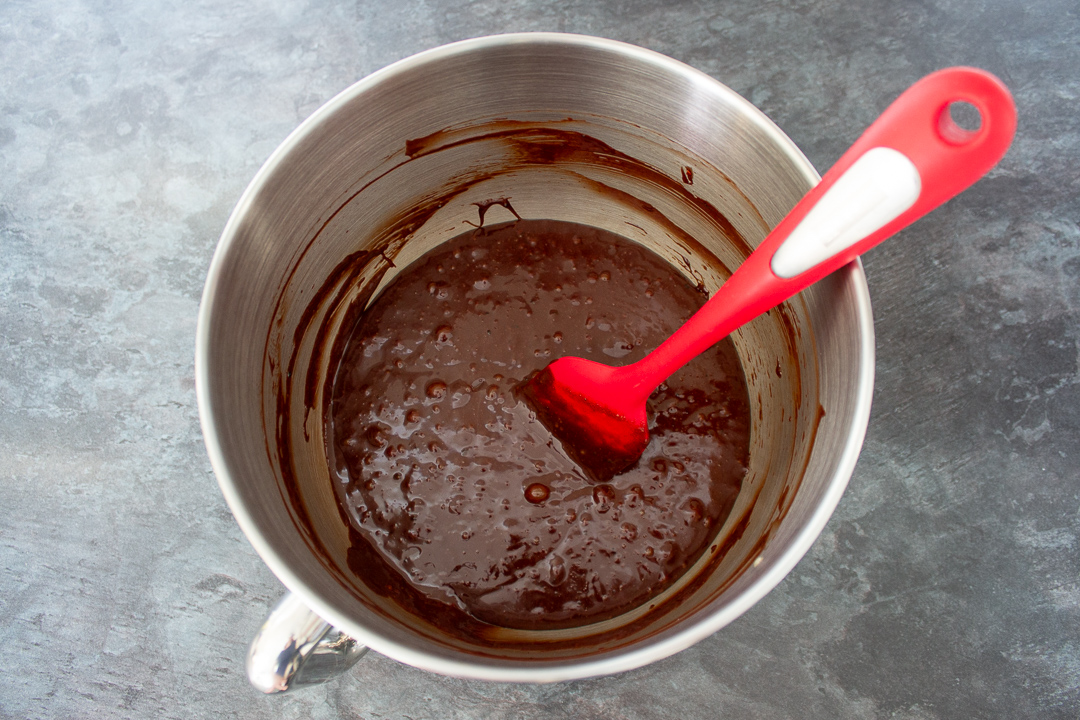
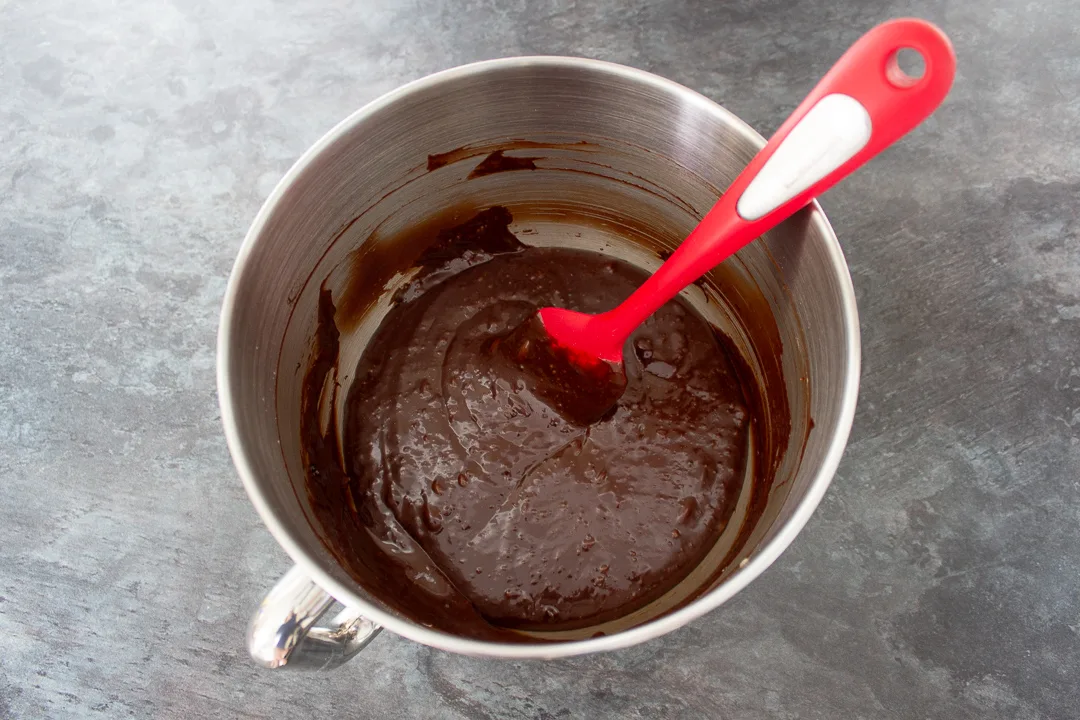
Then, in thirds, pour the melted chocolate into the egg mixture, and gently fold in using a spatula.


Once all the chocolate is incorporated, sift in the flour (50g | 1/3 Cup) and fold it in, just until you can’t see anymore streaks.
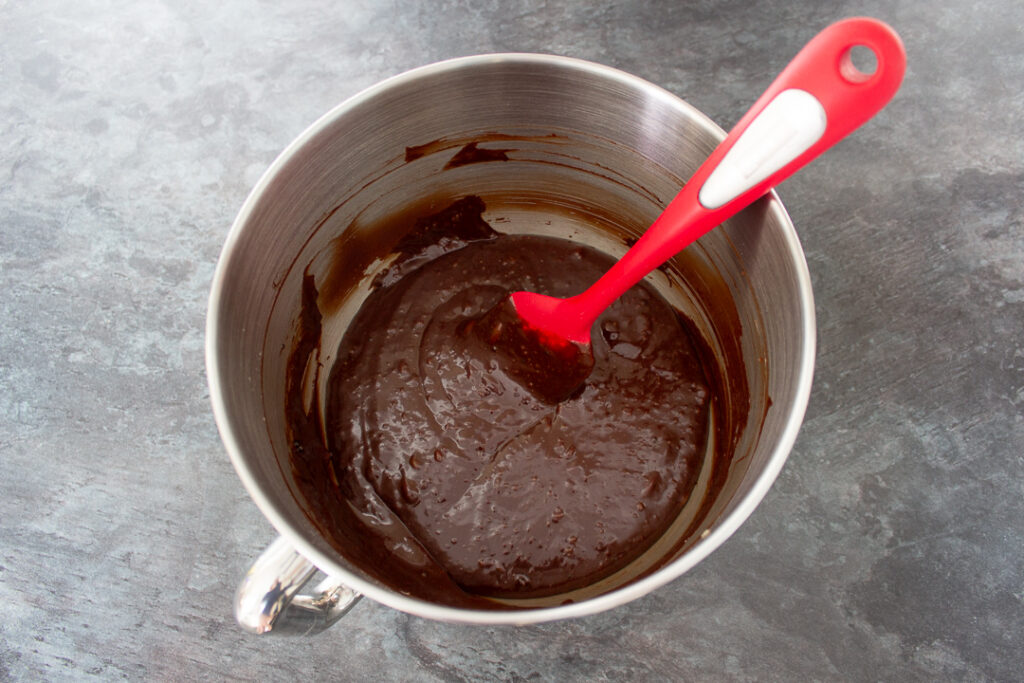

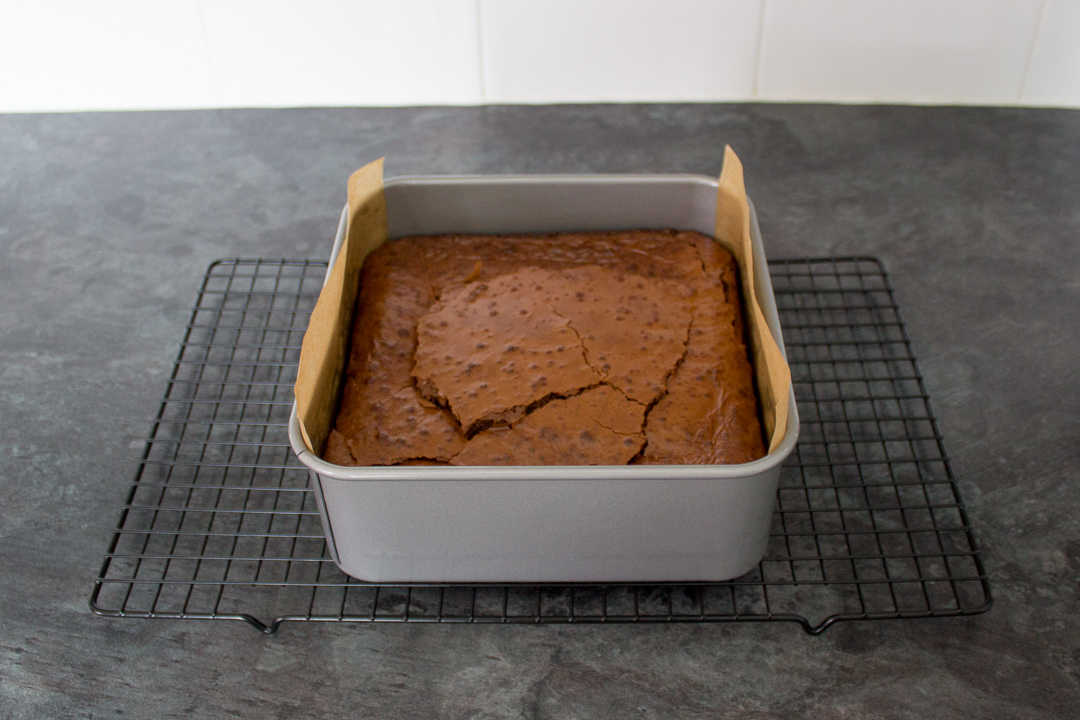
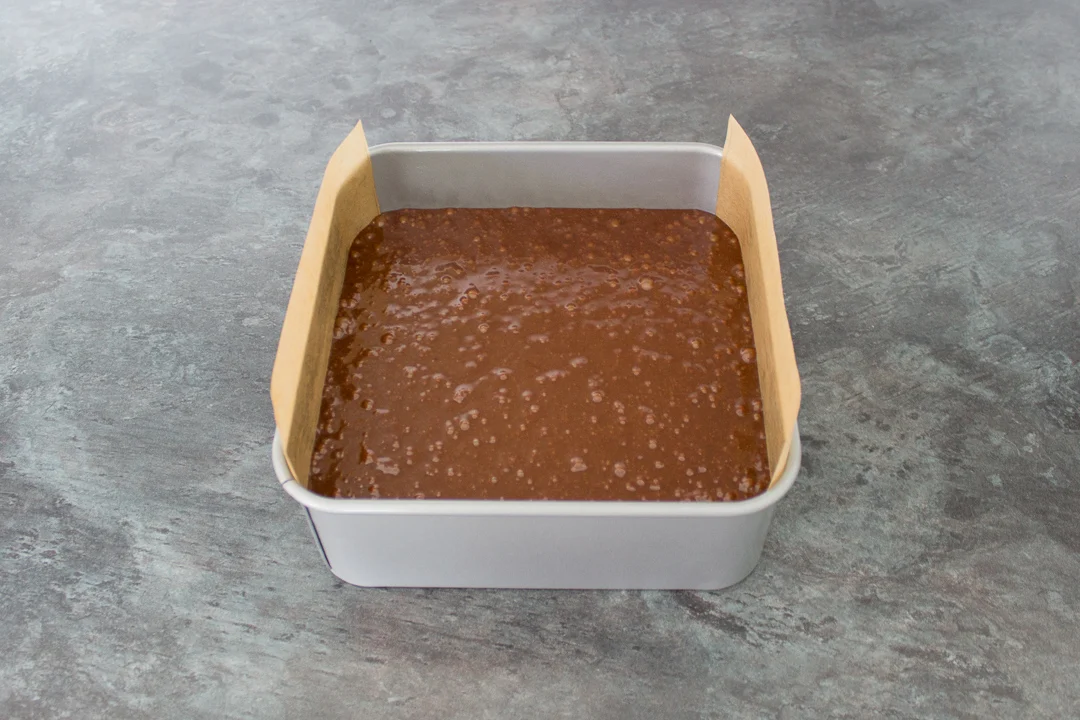
Now pour the brownie batter into the prepared tin, and bake in the centre of your preheated oven for 30-35 minutes. There should still be a little movement in the centre.

When the time is up, place the baking tin onto a wire rack to cool completely. (Don’t worry, any cracking will mostly sink in once cooled.)


Finally, allow your brownies to cool completely in the tin. (Don’t rush this stage, or things will get messy!)
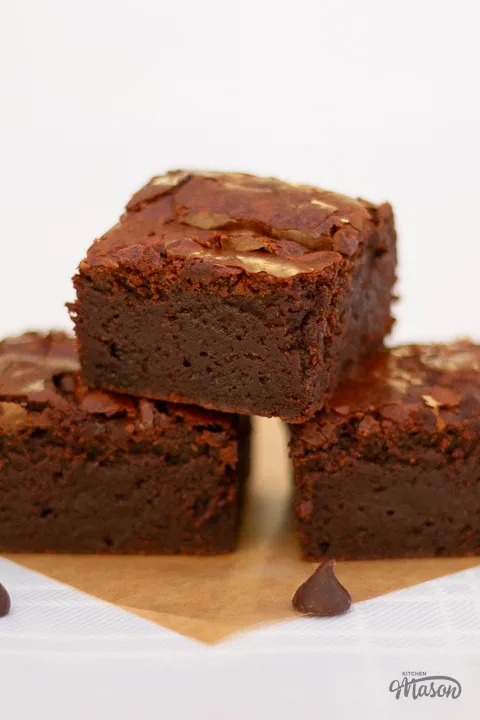
Once cooled, remove from the tin, peel off the baking paper, and slice into 16 pieces.

How to store your ultimate chocolate brownies
Store your brownies in an airtight container (I prefer a metal tin lined with baking paper), and store at room temperature. Consume within 5-6 days.
FAQs
Yes! Brownies actually freeze very well. Just make sure you wrap them properly, and defrost thoroughly before eating. You can freeze them for up to 3 months.
The difference between cakey and fudgy brownies is usually down to the fat content. Brownies with a higher fat content tend to be more fudgy, and those with a low fat content are usually cakey.
Loved this ultimate chocolate brownies recipe? Pin it!

Ultimate Chocolate Brownies Recipe
Rich, indulgent, exquisite, luxurious... just a few words to describe the unparalleled texture and taste of these ULTIMATE chocolate brownies!
Ingredients
- 250g (8.8 oz) Dark Chocolate, broken into pieces
- 100g (3.5 oz) Milk Chocolate, broken into pieces
- 200g (3/4 Cup + 1/8 Cup) Unsalted Butter, Room Temp
- 3 Eggs, Room Temp
- 250g (1 + 1/4 Cups) Dark Muscovado Sugar
- 1 tsp Vanilla Extract
- 50g (1/3 Cup) Self Raising Flour
Essential Equipment
- 20cm (8″) Square Baking Tin
- Baking Paper
- Large Mixing Bowl
- Spatula
- Electric Stand Mixer or Electric Hand Whisk
- Sieve
- Wire Cooling Rack
Instructions
- Preheat the oven to 190°C/Fan 170°C/374ºF, then grease and line your tin with baking paper.


- Place the dark chocolate, milk chocolate and butter into a large mixing bowl. Heat in 10 second intervals in the microwave, stirring well each time, until fully melted.

- In an electric stand mixer with the whisk attachment (or large mixing bowl with an electric hand whisk), whisk the 3 eggs until pale in colour, and light and foamy. (At least 3-4 mins.)

- Add the sugar and vanilla, and whisk again until fully incorporated, but still light and foamy.
- Pour the melted chocolate into the egg mixture in thirds. Folding gently each time.
- Finally, sift in the flour, and carefully fold it through. Until you can't see any more streaks.

- Pour the batter into your prepared tin. Bake in the centre of the preheated oven for 30-35 mins. It should still be slightly wobbly in the middle.
- Place the tin onto a wire rack, and allow to cool completely before slicing.


Notes
If you would rather use a more in depth picture recipe, please see the main body of this post. Where you’ll also find lots of extra FAQs and helpful tips, should you need them.
Please note, this recipe includes both UK metric and US Cup measurements.
Storage
Store your brownies in an airtight container (I prefer a metal tin lined with baking paper), and store at room temperature. Consume within 5-6 days.
Tips
- Read through the recipe, and prepare your ingredients BEFORE you begin. It’s the easiest way to avoid unnecessary, costly mistakes.
- If you want a ‘cleaner cut’ on your brownies, chill in the fridge before slicing into pieces.
- Lining your tin with baking paper not only stops your ultimate chocolate brownies from sticking, it also acts as a helpful handle to lift out the brownie once cooled.
- Don't pour the batter into the tin from a great height! You will knock out all the air you spent ages putting into it. Instead, pour it from as close to the tin as possible.
Recommended Products
As an Amazon Associate and member of other affiliate programs, I earn from qualifying purchases at no extra cost to you.

Nutrition Information:
Yield: 16 Serving Size: 1Amount Per Serving: Calories: 294Total Fat: 18gSaturated Fat: 11gTrans Fat: 0gUnsaturated Fat: 6gCholesterol: 64mgSodium: 61mgCarbohydrates: 31gFiber: 1.4gSugar: 26gProtein: 2.8g
If you like this ultimate chocolate brownies recipe…
…you might also like:
I want to see YOUR baking!
Have you made these stunning ultimate chocolate brownies? I’d love to know if you have! Tag me in your pics on Facebook, Twitter and Instagram or email me at emma@kitchenmason.com.


Experienced British Online Publisher, recipe writer, and home cook, Emma has a background of over 20 years in British cuisine and cooking. Born and bred in the UK, she excels in classic British dishes, is passionate about air frying, and loves sharing her Gran’s old school recipes. She has been featured in popular publications such as Food Network, Cosmopolitan, and The Huffington Post.
Knowledgeable On: Traditional British Cuisine, Recipe Writing, Air Frying, Home Cooking.
Helena
Saturday 8th of February 2025
I rarely comment on recipe sites but I just wanted to say, I have been making these brownies once or twice a year for nearly ten years now. Seriously, I just found an email I sent to my mum in 2015 with the recipe. They are without a doubt the greatest thing I have ever baked - you have my eternal thanks.
Emma
Saturday 8th of February 2025
Hi Helena. What a LOVELY comment to receive!! I'm so happy you love my brownie recipe so much. Thank you for taking the time to share your kind words, you've made my day! Emma x
Sam
Friday 12th of September 2014
So I followed your recipe to a T despite having misgivings about the small amount of flour. Currently I have a liquid goop mess. What have I done wrong? We even have exactly the same pans!
Miss KitchenMason
Friday 12th of September 2014
Honestly? I'm not sure without knowing exactly what you did. Did you let it cool completely before trying to remove from the tin? Or even popping it in the fridge to set it a little more?
nat
Thursday 31st of July 2014
These are being made tomorrow for Saturday :P I already know I will struggle to share them... xx
Miss KitchenMason
Thursday 31st of July 2014
Hahaha yeah, welcome to my world :)
gs
Saturday 28th of June 2014
Where did you find the cute sugar decorations?
Miss KitchenMason
Saturday 28th of June 2014
I made them with fondant icing and cookie stamps x
ericrynne
Wednesday 25th of June 2014
These look like the perfect chewy brownie! I have a weakness for baked goods, brownies in particular lol. If it wasn't for my love of BBQ I would have been a baker. :)
http://www.smokingpigbbq.net
Miss KitchenMason
Wednesday 25th of June 2014
Aww thank you so much! X