
This post may contain affiliate links. Where I make a small commission on purchased items, at no extra cost to you. See my disclosure for details.
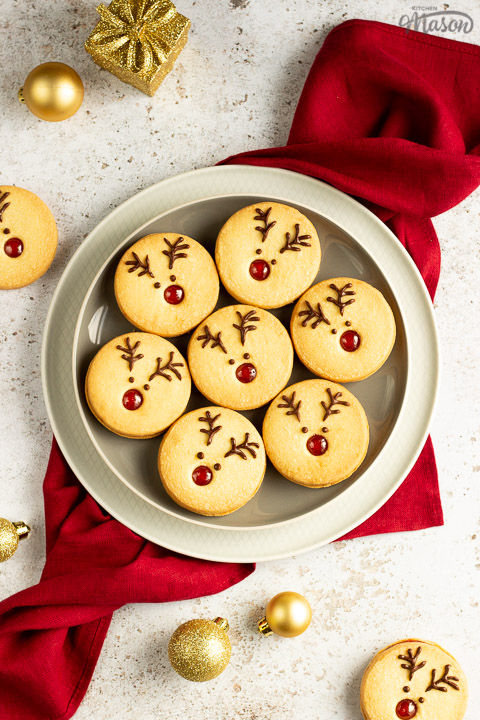
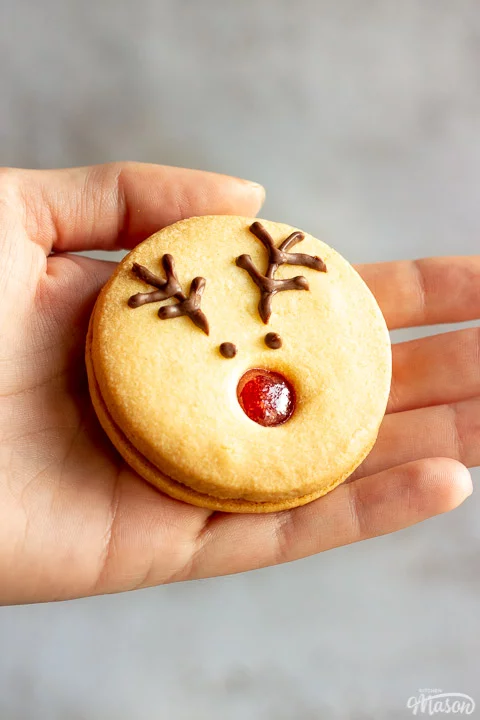
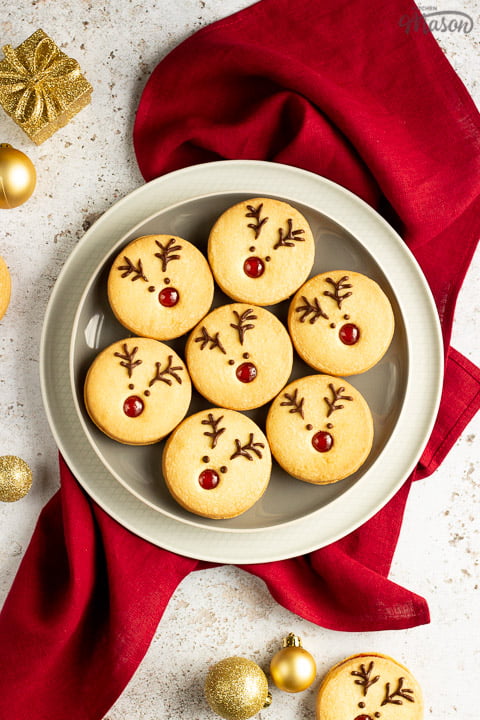
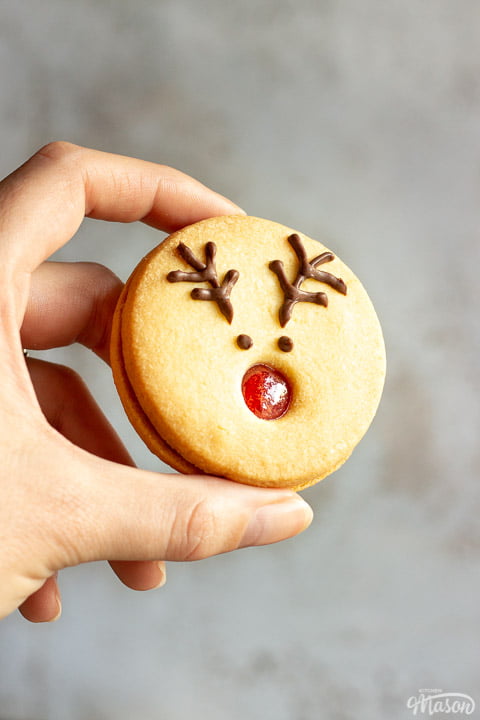
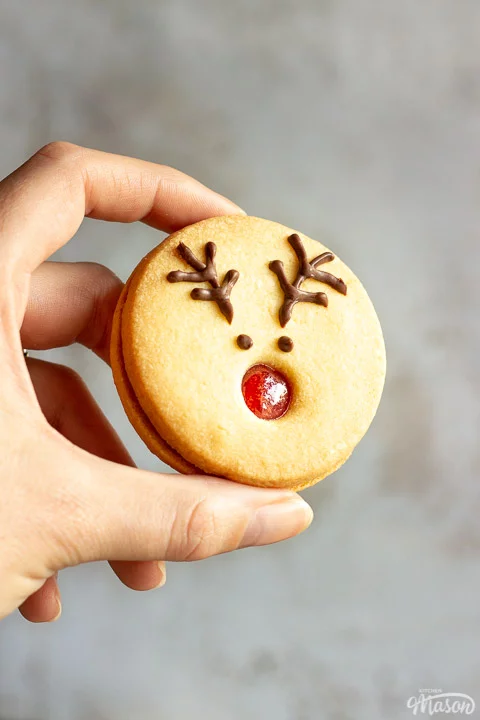
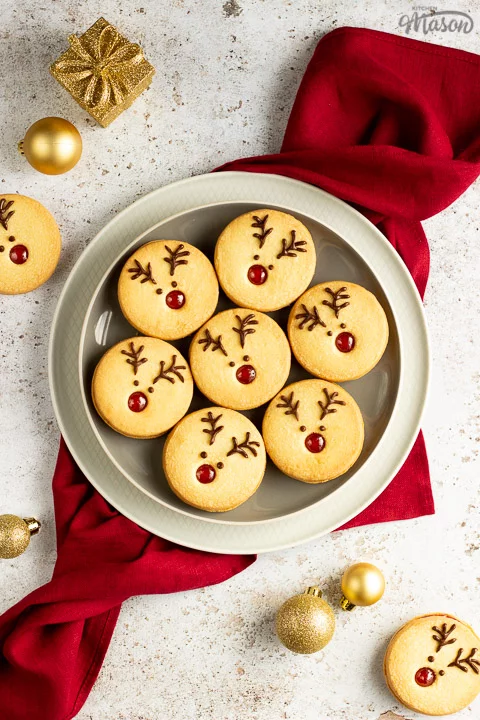
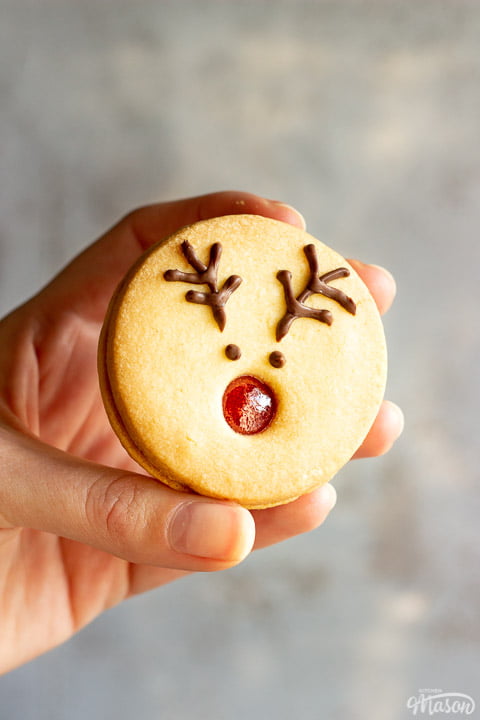
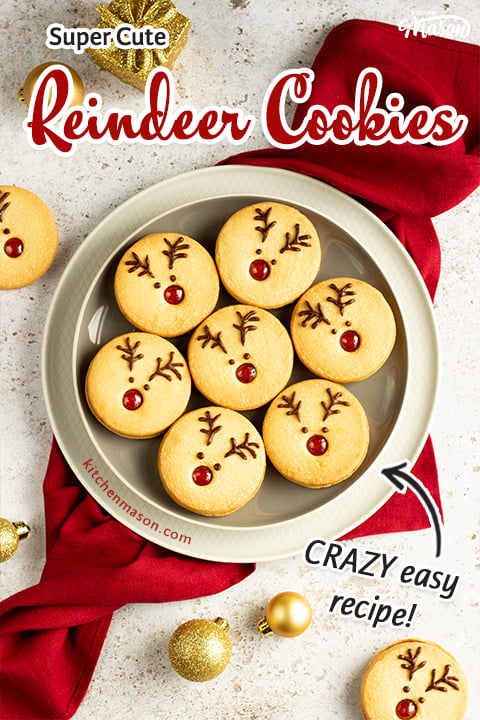
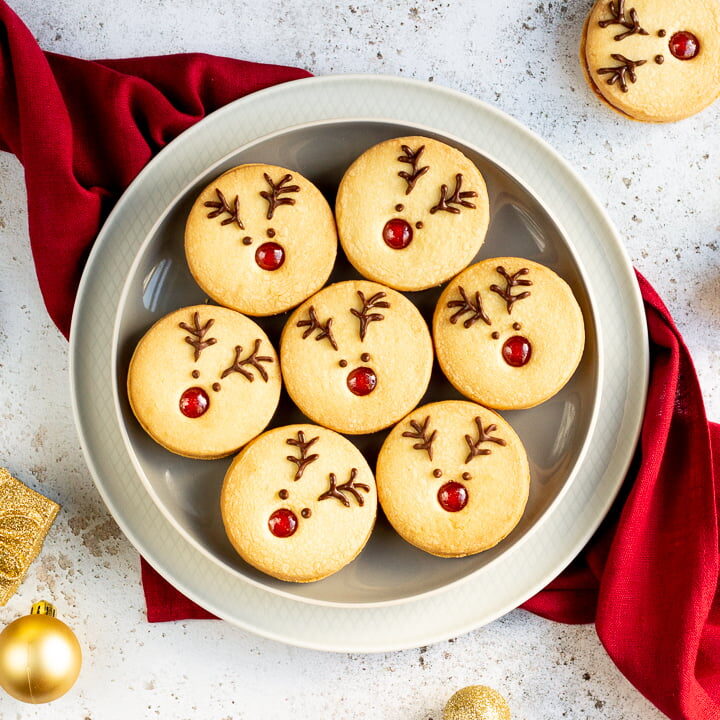
If you’re looking to impress this year, these super cute reindeer cookies are exactly what you need! Adorable, melt in the mouth delicious and easy to make. Just like my easy Christmas rocky road, these would be a lovely Christmas gift or treat!

How do you decorate reindeer cookies?
There are many ways to decorate Christmas cookies, as I’m sure you’ve seen already!
Some use red and green Smarties or sweets like these M&M Christmas cookie bars, others use fancy piping techniques. You can even bake colour right into the dough, like these vibrant Christmas pinwheel cookies!
Can't face cooking dinner on Fridays? 😩
Imagine a guilt free Friday night dinner, without the exhausting mental load. BYOD Fridays are a fun and supportive Friday night community for tired people who still need to cook, but really cba 💛
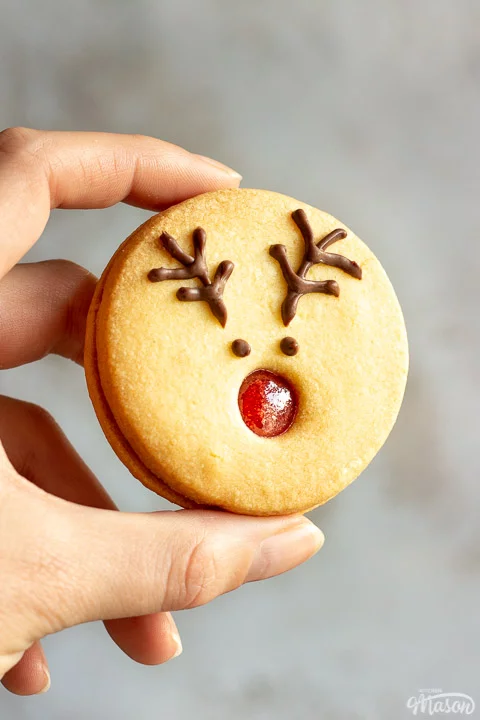
Join The CommunityWith these reindeer cookies I keep it simple. Just sandwich them and allow the jam to be the nose. Then pipe on the eyes and antlers with melted chocolate.

When should you start baking Christmas cookies?
These particular Christmas cookies taste best straight after baking and won’t last a long time so I recommend baking these when needed.

How long do cookies stay fresh?
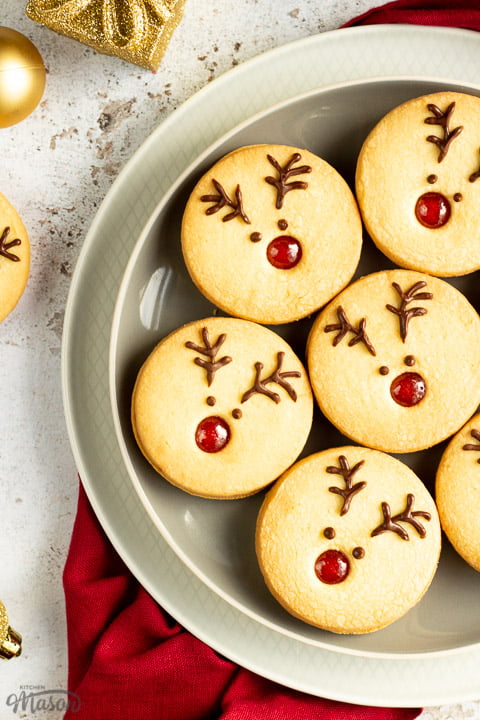
Similar to a Christmas cookie tree, these reindeer cookies stay fresh for about 4-5 days when stored at room temperature in an airtight container. My preference is a metal container as they keep their texture better.


How do you make reindeer cookies?
It really is easy peasy!
- Cream together butter, sugar, egg yolk, vanilla and salt until light and fluffy.
- Fold in the flour and mix to form a dough.
- Knead gently then roll out between two sheets of baking paper.
- Cut out circles then cut smaller circles (for noses) out the middle of half of them.
- Chill for 30 mins, then bake for 11-13 mins until golden on the edges.
- Cool completely before sandwiching together with jam.
- Pipe on eyes and antlers with melted chocolate.
- Set at room temperature then store in a metal tin.
Keep scrolling for a more in depth recipe and the ingredients you need.
Reindeer cookie ingredients and substitutions
Here’s everything you need to know about the ingredients needed to make reindeer cookies…
- Butter – Always use unsalted and add salt separately. Using room temperature butter is also key!
- Icing Sugar – Also known as confectioners sugar, this dissolves into the dough more easily.
- Egg – Yolk only! Save that egg white to make some meringue.
- Vanilla – Use the best you can afford, it makes a huge difference to the overall flavour!
- Salt – Regular table salt is fine here. We want flavour not texture so save your fancy salts.
- Flour – Plain/all purpose flour is needed, don’t substitute it for other types.
- Jam – Using strawberry jam with no ‘bits’ in is best. It gives a nice red colour that’s easy to pipe.
- Milk Chocolate – You can use any you like, from cheap supermarket own brands to Lindt. It doesn’t really matter too much here.

Reindeer cookie recipe tips
Would you believe it? Even I make mistakes. (All the time actually!) But I do that so you don’t have to! Here’s some tips to help you get it right first time.
And if you still feel unsure after reading them, brush up on the basics with baking for beginners first.
- Make sure you let the butter come to room temperature before using. It’ll make your life a lot easier!
- Don’t skip the chilling stage before baking, it helps the cookies hold their shape.
- Nose holes closed up a little during baking? While they’re still hot, carefully push them with a chopstick to open them up again.
- Don’t overload the biscuits with too much jam. Less is more. You don’t want it to ooze out the sides!
- When piping the chocolate eyes/antlers take your time and practice on a plate first.
- Store your cookies in a metal tin at room temperature to keep their texture for longer.
Other recipes you might like…
Easy Reindeer Cookies – Step by Step Picture Recipe
(For a printer friendly version, see the recipe card at the end of this post)
Please note, this recipe includes both UK metric and US Cup measurements.
Ingredients
Here is what you will need to make 10-12.
- 140g (1/2 Cup + 1/8 Cup) Unsalted Butter, room temperature
- 60g (1/2 Cup) Icing/Confectioners Sugar
- 1 Egg Yolk
- 1 tsp Vanilla Extract
- Pinch of Salt
- 210g (1 + 2/3 Cup) Plain/All Purpose Flour
- 200g (1/2 Cup + 2 tbsp) Strawberry Jam
- 75g (2.6 oz) Milk Chocolate
Essential Equipment
- Electric Stand Mixer or Large Bowl with Electric Hand Whisk
- Rolling Pin
- 6cm Round Cookie Cutter
- 1cm Circle Cutter *
- Baking Tray
- 2 x Small Bowls
- 2 x Disposable Piping Bags
*you don’t need to buy one – you could use a round piping nozzle or even an apple corer!
Cookie instructions
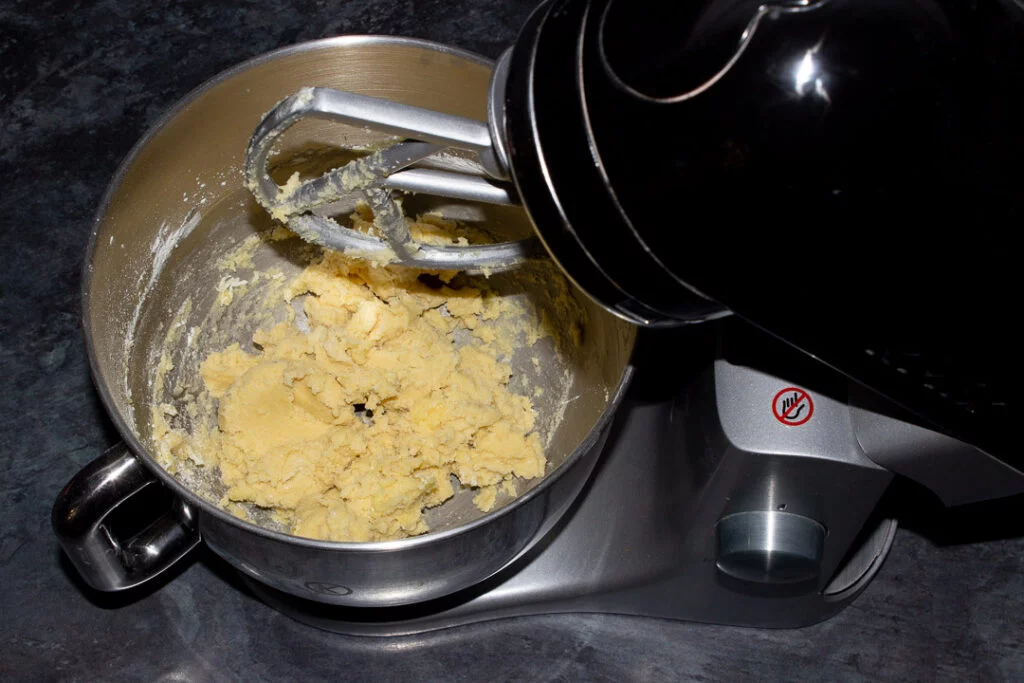
First up, place the butter (140g | 1/2 Cup + 1/8 Cup), icing sugar (60g | 1/2 Cup), egg yolk (x 1), vanilla (1 tsp) and a pinch of salt into the bowl of an electric stand mixer. If you don’t have one, you can also use a large bowl with an electric hand whisk.
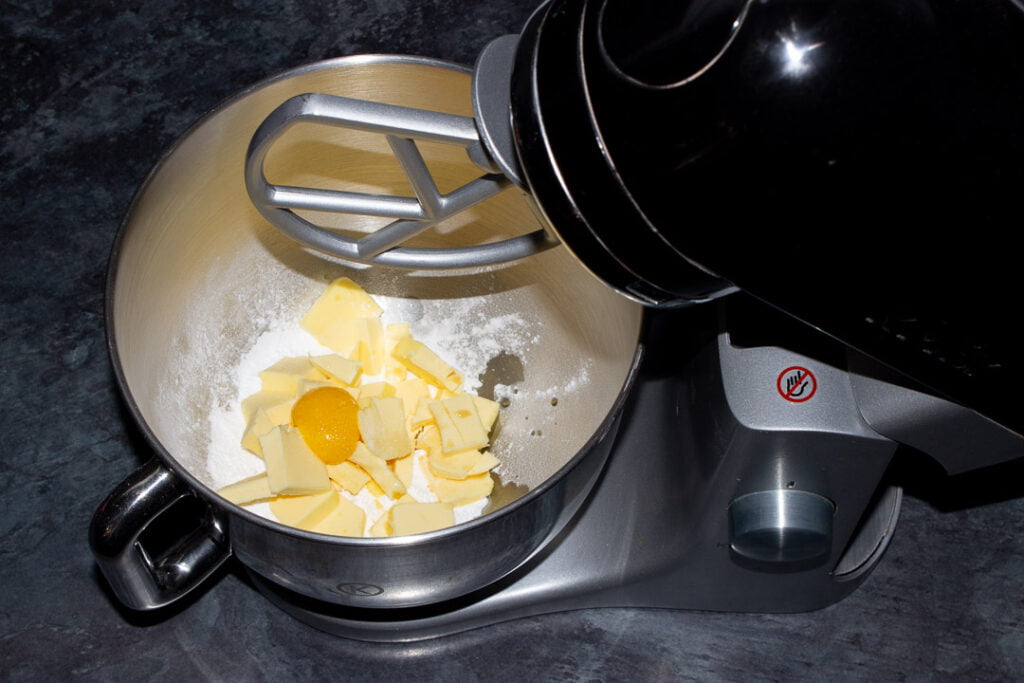

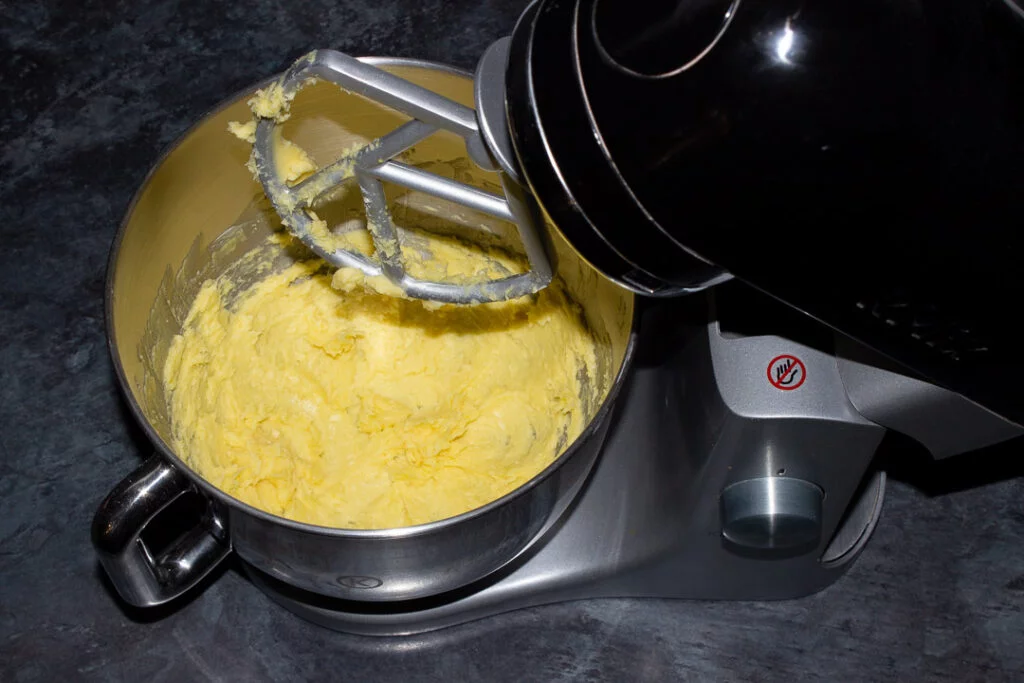
Beat on a medium speed (scraping the bowl down once or twice) until it becomes light and fluffy.

Next, add in the flour (210g | 1 + 2/3 Cup) and gently fold through until it forms a soft dough.

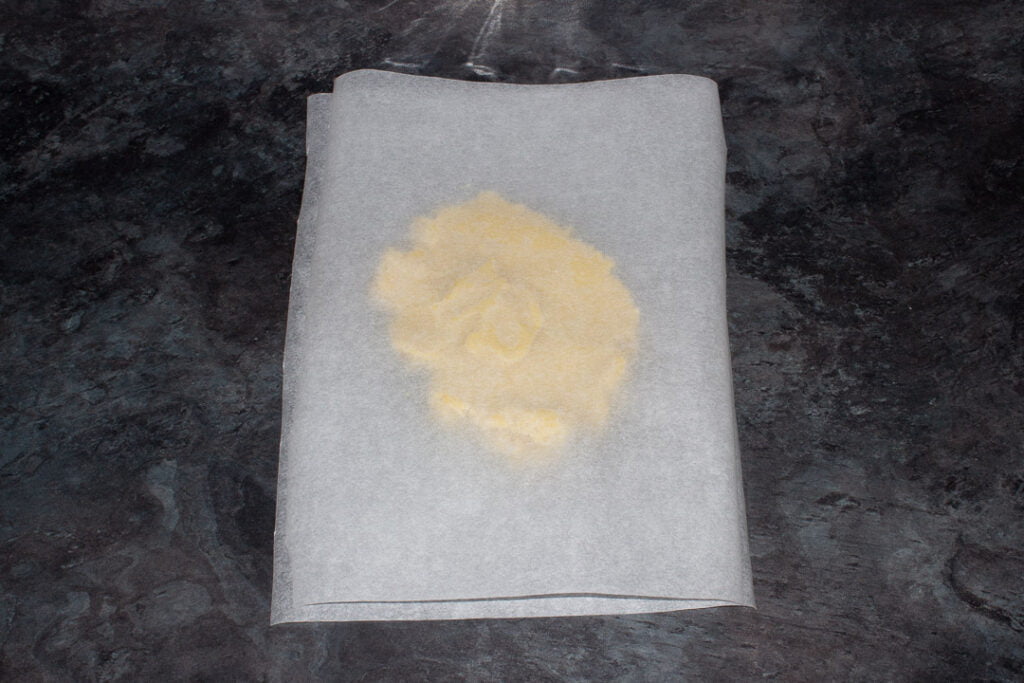
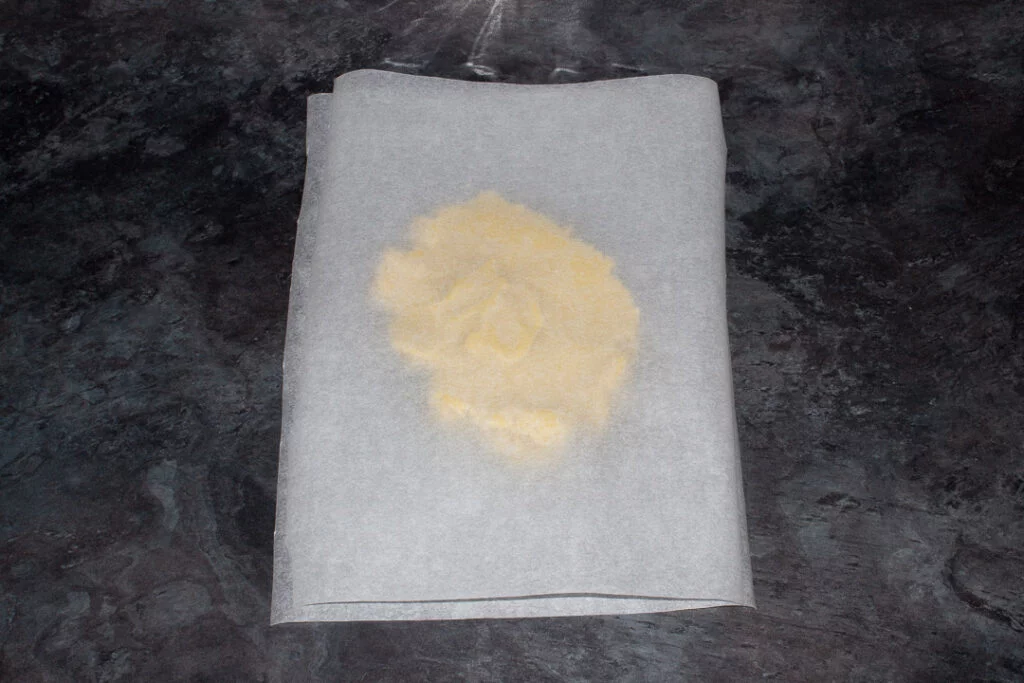
Tip the dough out and knead gently to bring it all together, then place it between two sheets of baking paper.
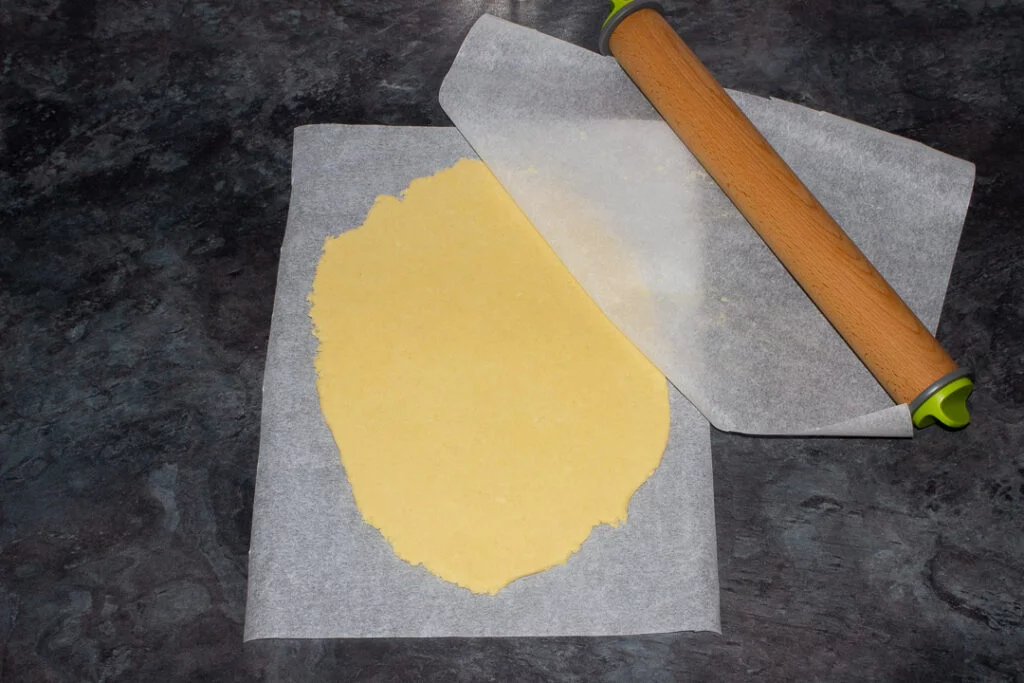
Now, using a rolling pin, roll the dough out to about 6mm thick.

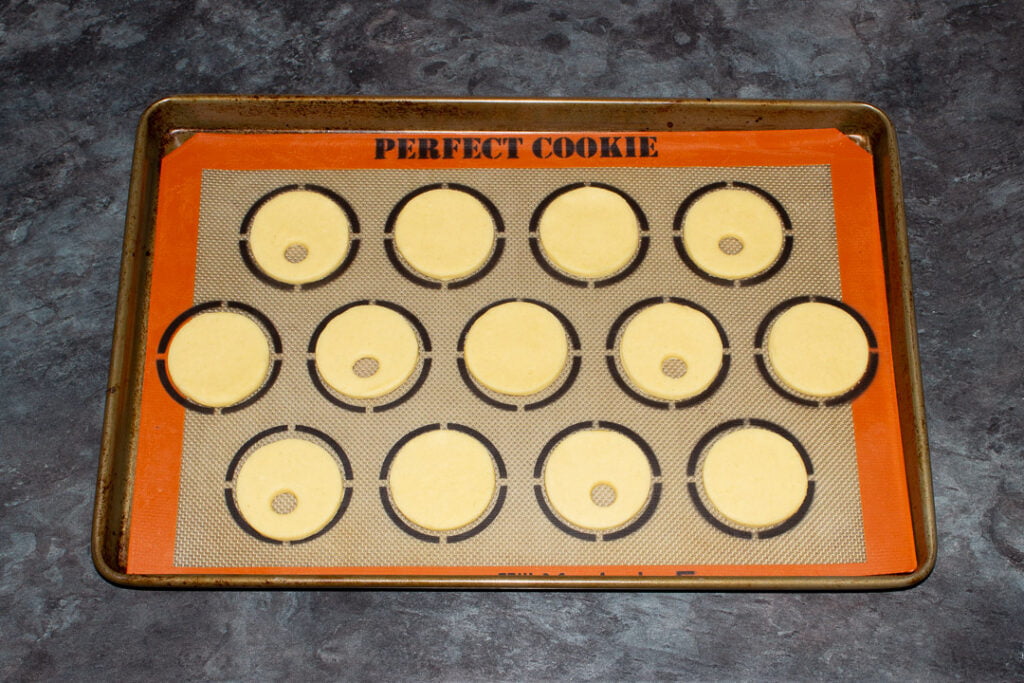
Using a 6cm circular cookie cutter, cut out as many cookies as you can.
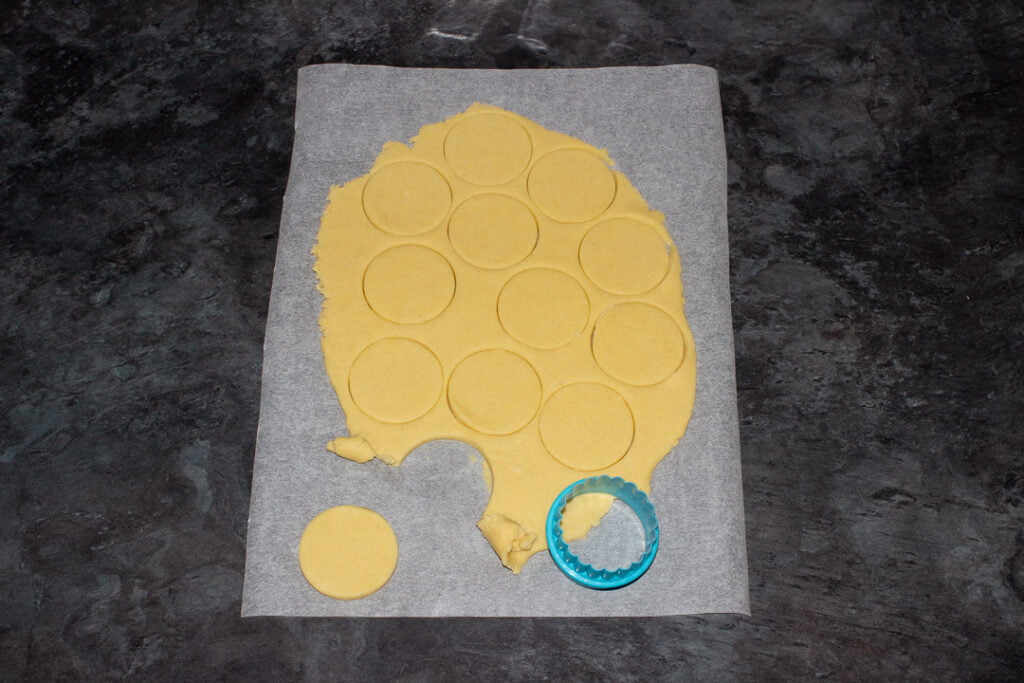

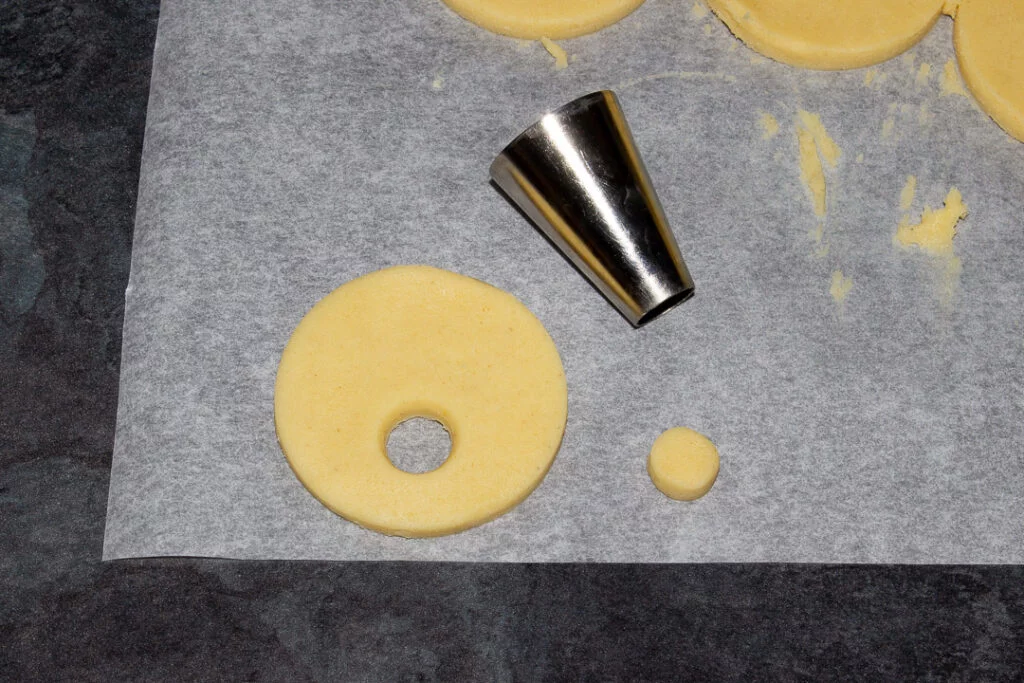
Using a circular piping nozzle or apple corer – cut out small circles (for the noses) about two thirds of the way down. Do this for half of the cookies.

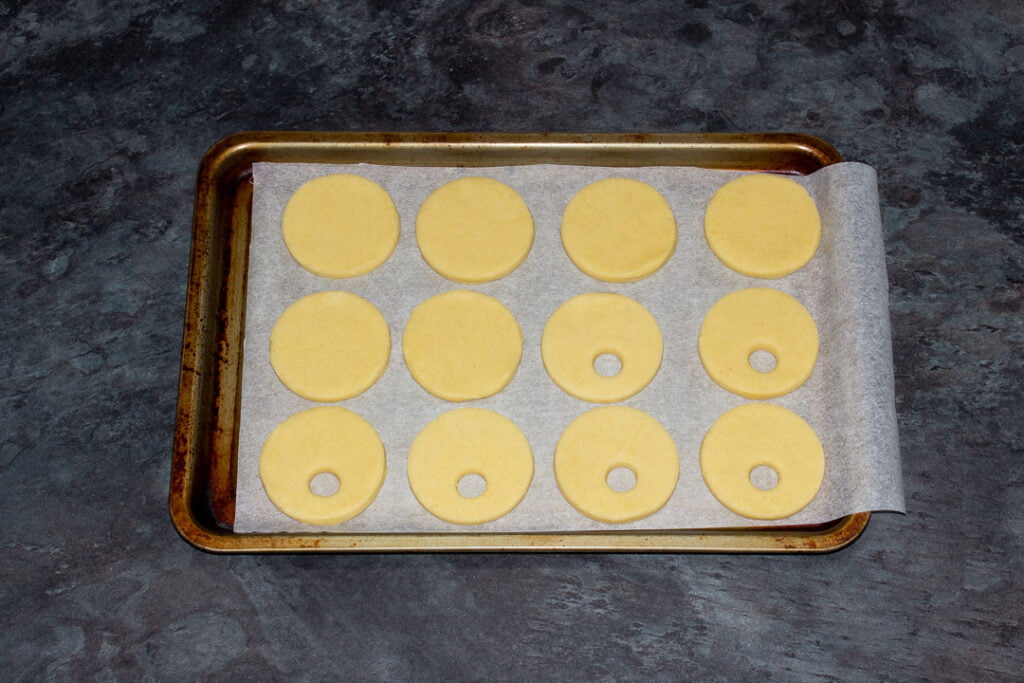
Continue doing this until you have run out of dough then place them all on a lined baking sheet and refrigerate for 30 minutes. Meanwhile, preheat your oven to 180ºC/Fan 170ºC/356ºF.
Baking instructions
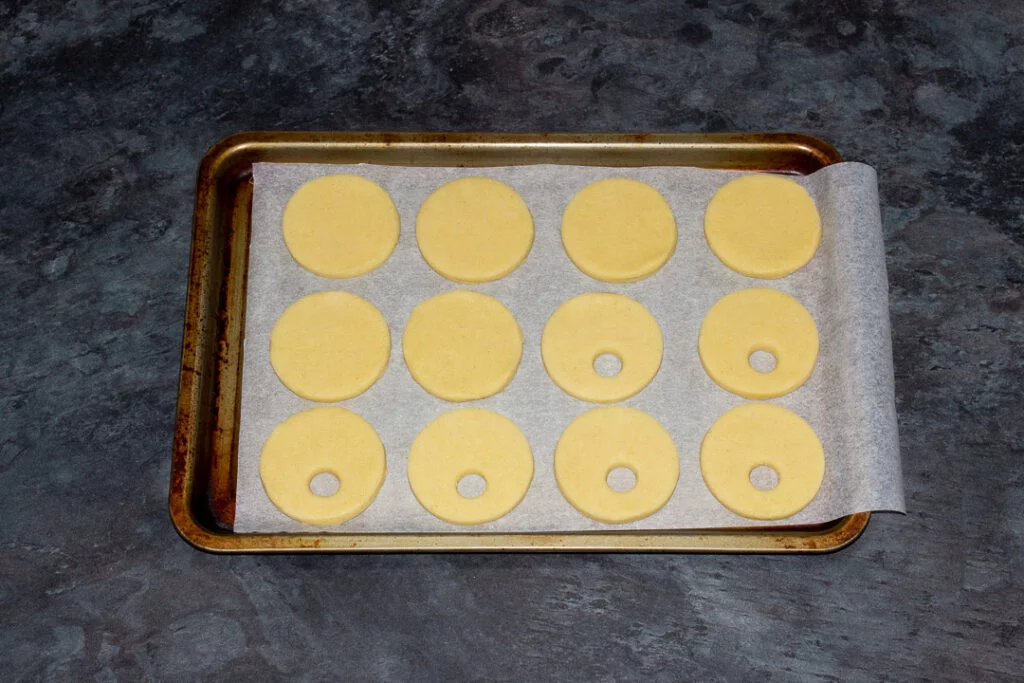
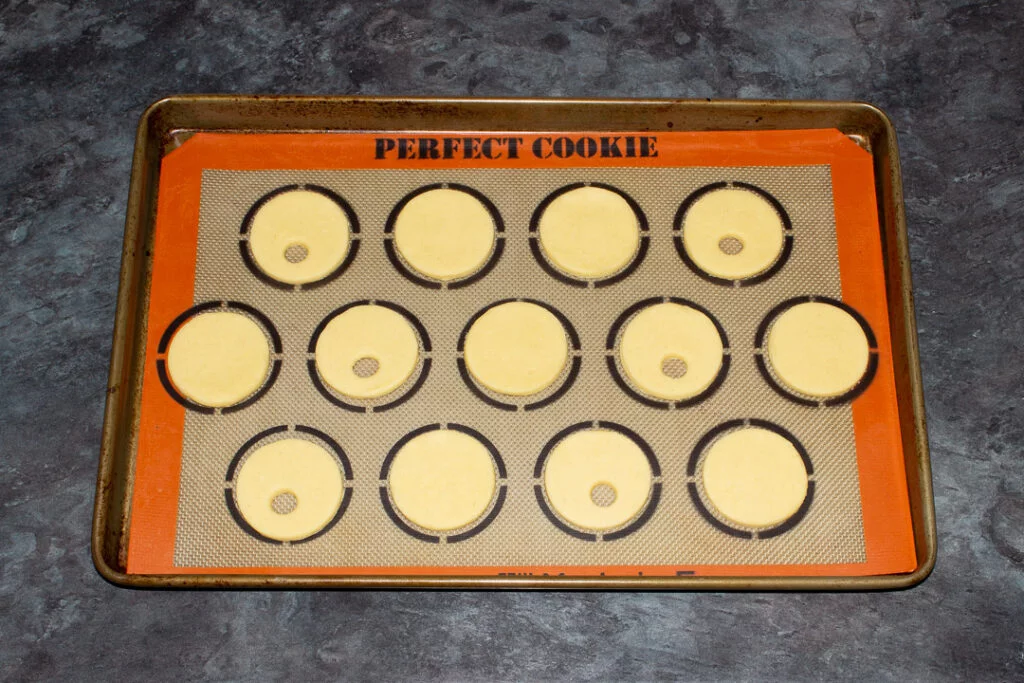
Space the cookies out evenly on a lined baking tray. They shouldn’t spread too much during baking but still, allow a little room between each one. It’s ok to bake in batches.
Bake the cookies for 11-13 mins until they’re just turning golden on the edges.
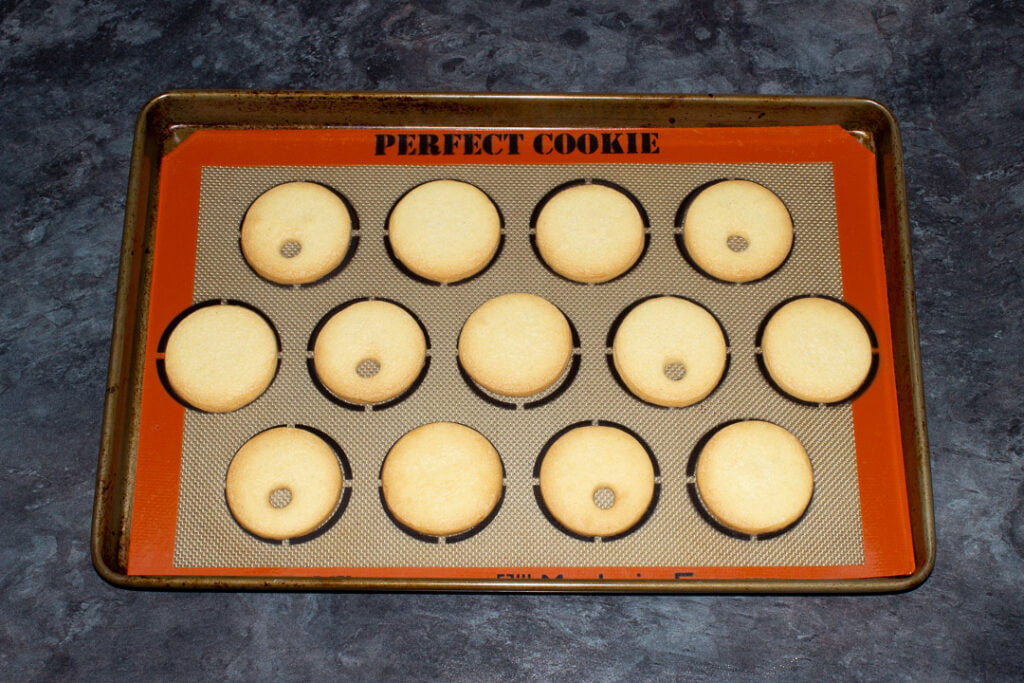
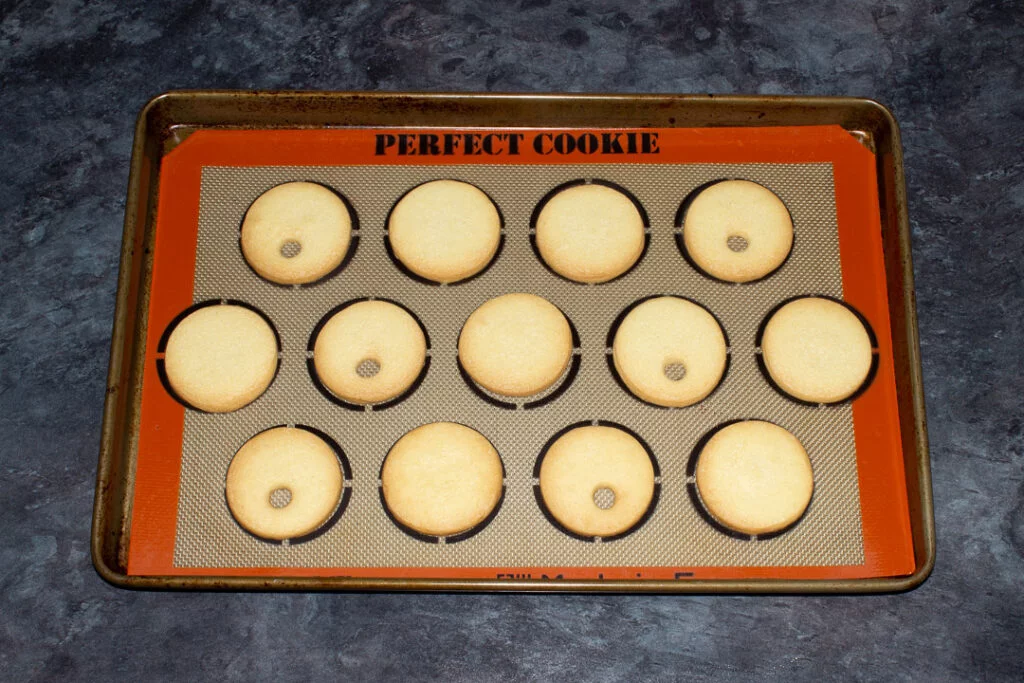
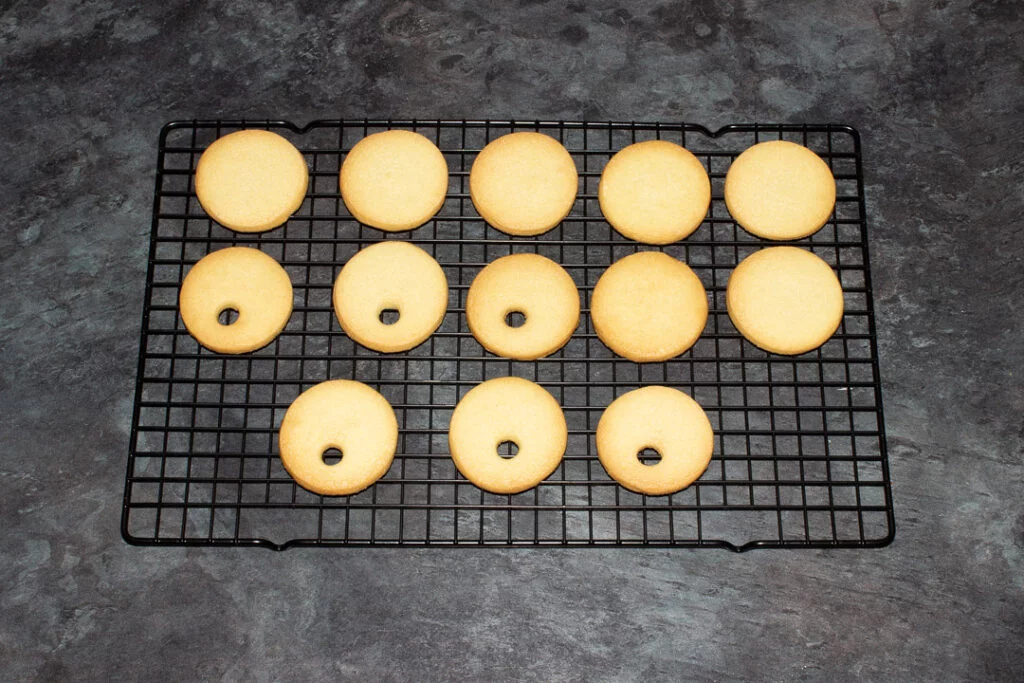
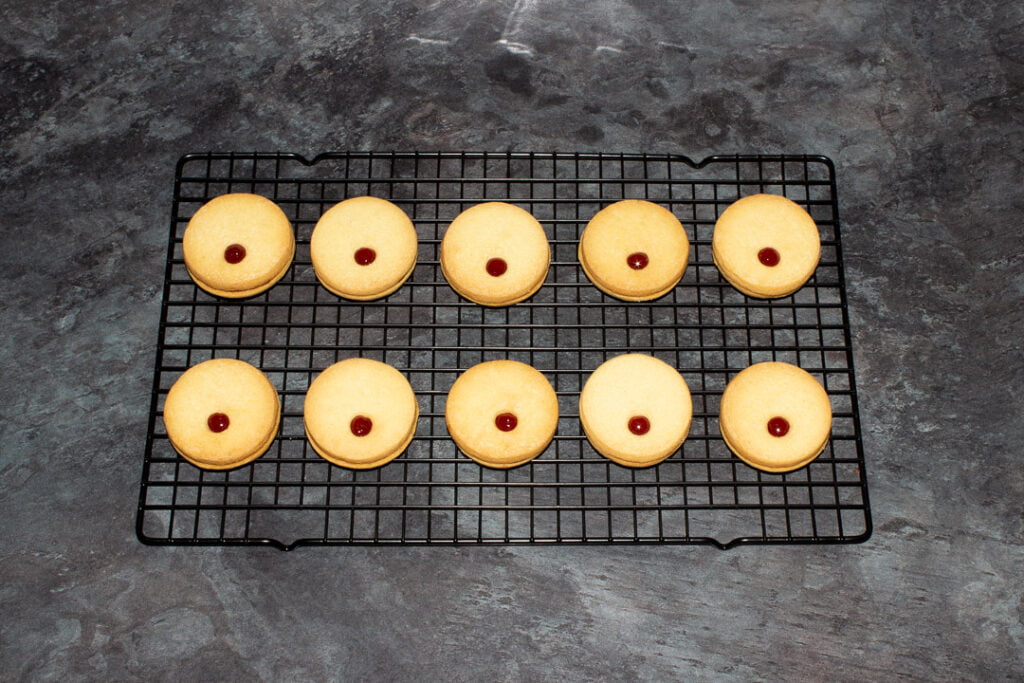
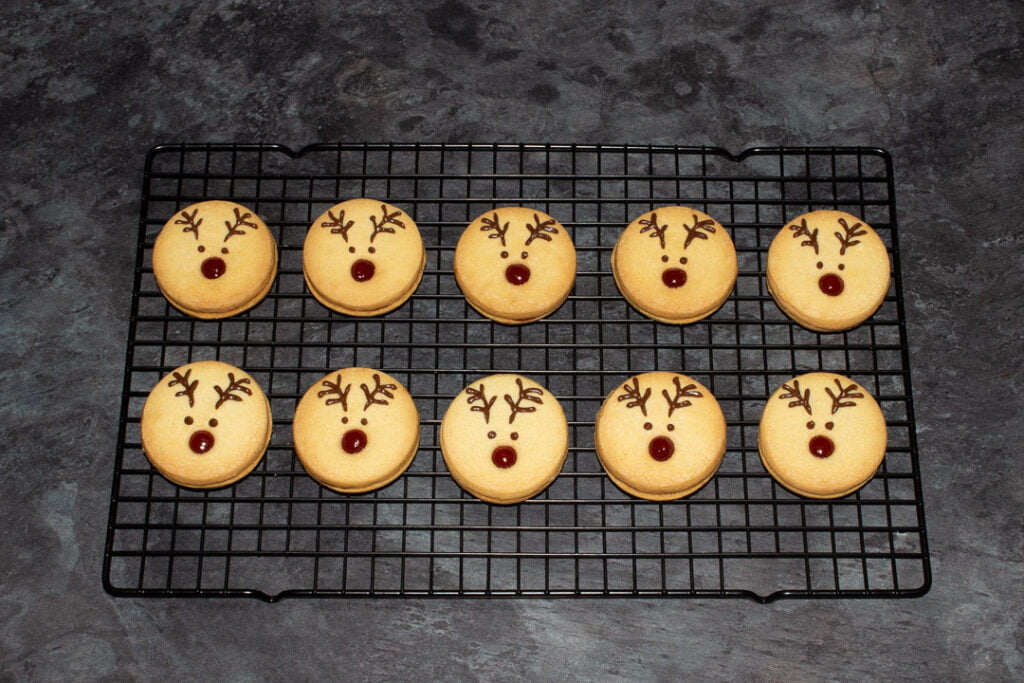
Allow the cookies to firm up on the tray for a few minutes then transfer them to a wire rack to cool completely.

Filling instructions
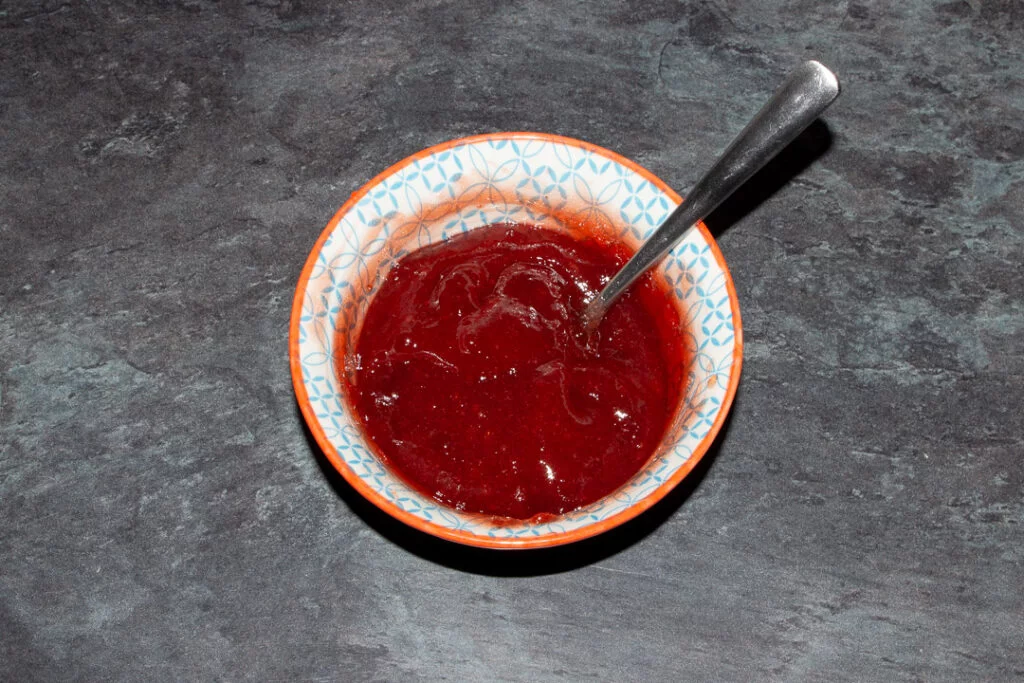
Once the cookies have cooled, weight the strawberry jam (200g | 1/2 Cup + 2 tbsp) into a small bowl and beat with a spoon to soften it.

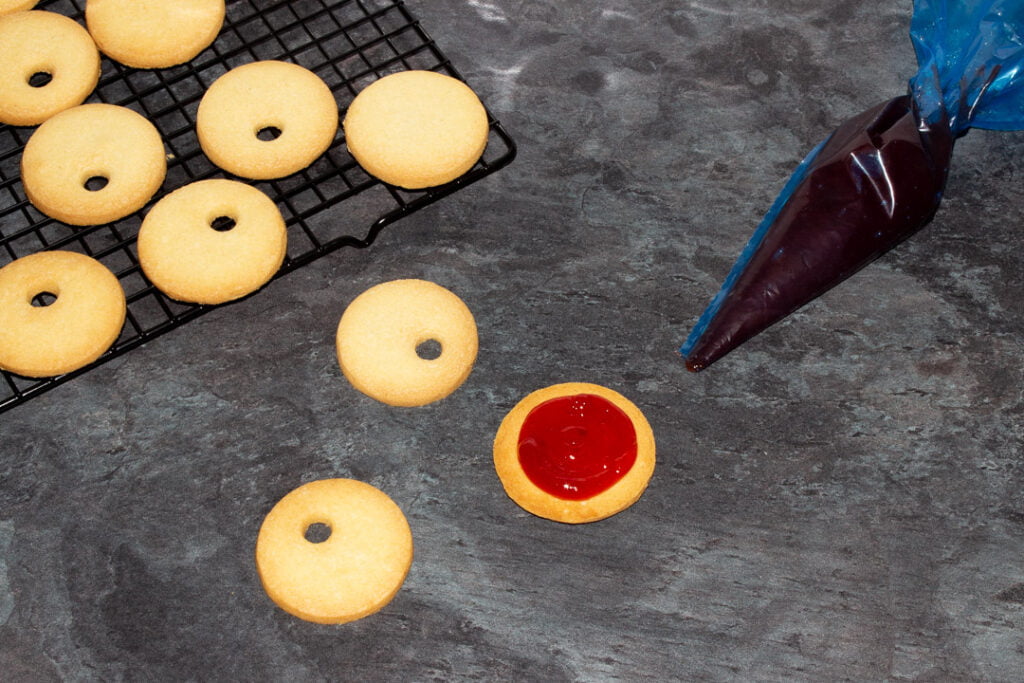
Pour the jam into a piping bag and pipe circles of jam onto each biscuit without a ‘nose’ hole. Be careful not to add too much or go too close to the edge as they will spread once you press the other cookie on top.

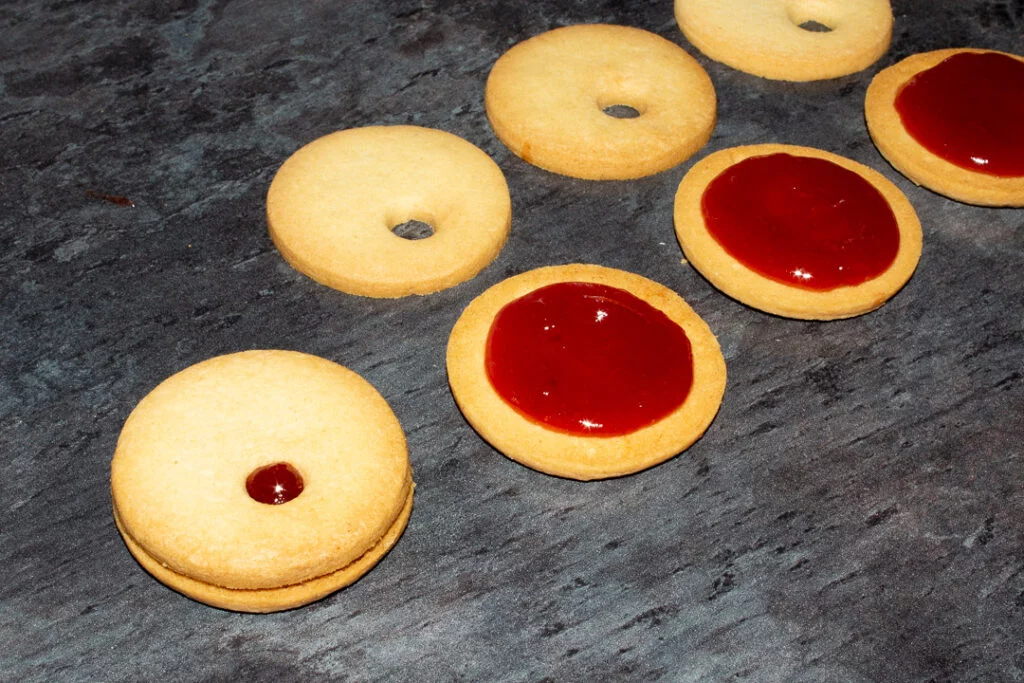
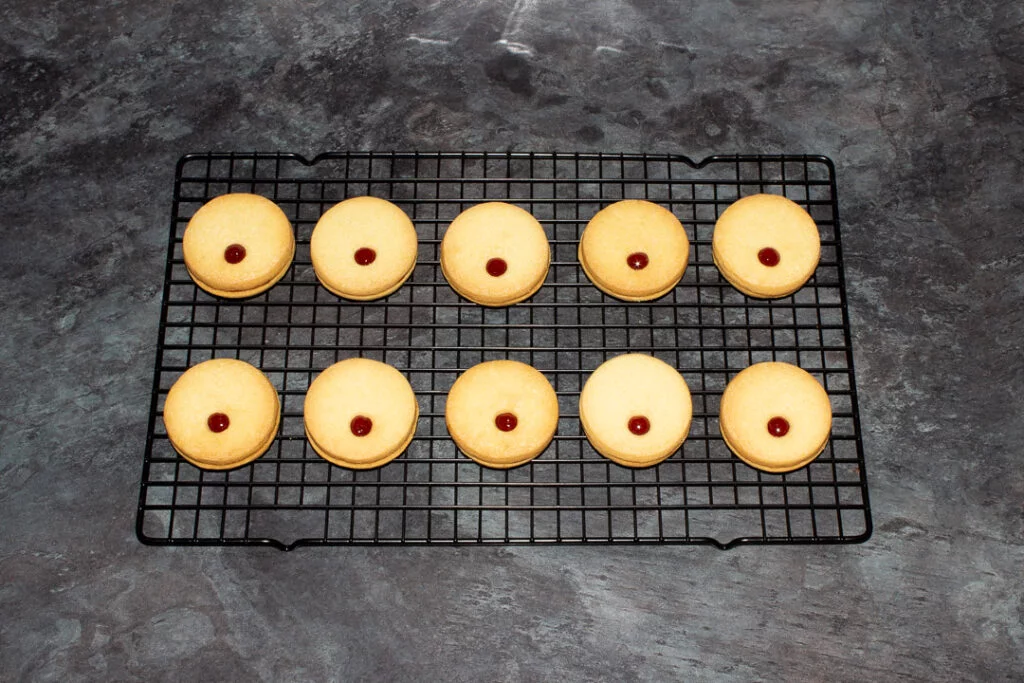
Then carefully press the cookies with ‘nose’ holes onto top of each jam topped cookie. Don’t squash too hard, just enough that a little jam nose pops through the hole.

The jam should set up again quite quickly but, if you’re careful, it’s ok to move on to piping the chocolate.
Decorating instructions
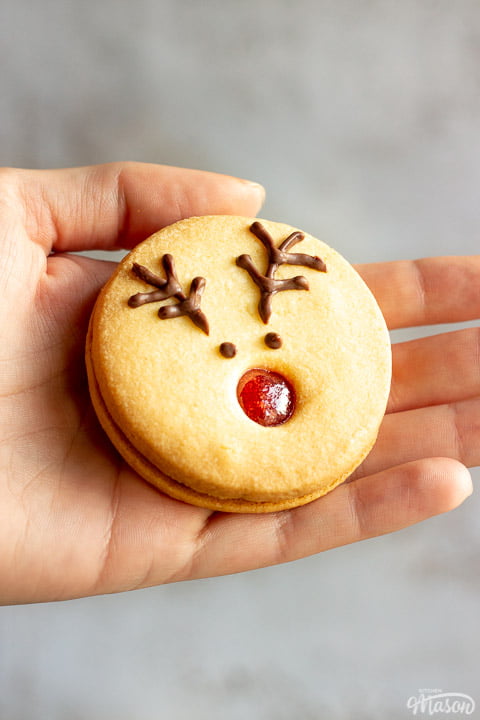
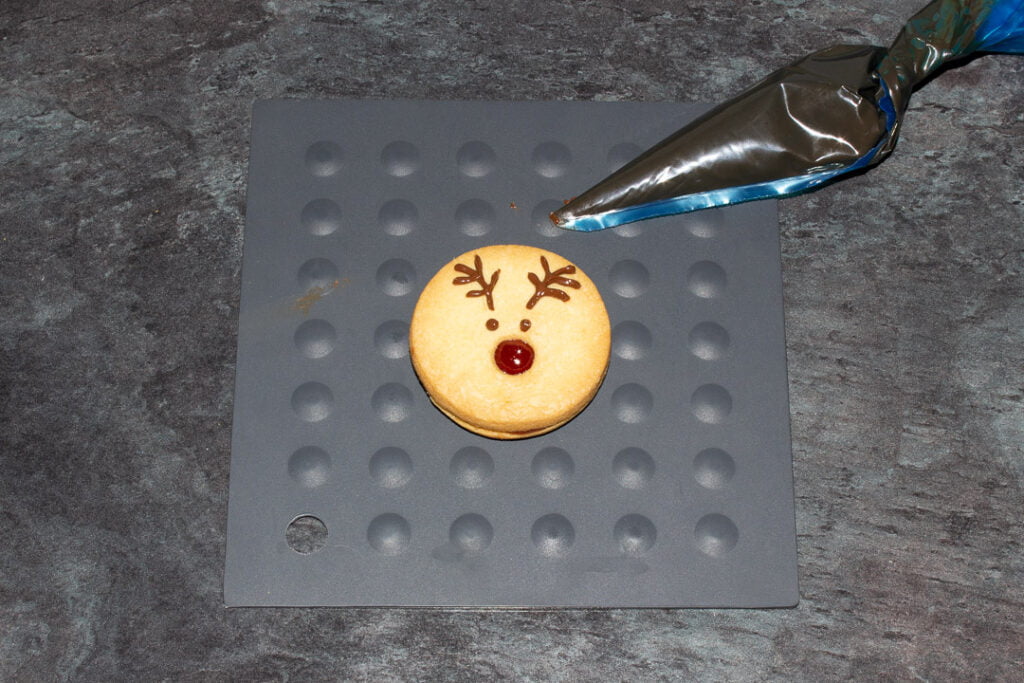
Melt your chocolate (75g | 2.6 oz) in a small bowl in the microwave in 10 second intervals. Stir well after each time. Once it’s two thirds melted, keep stirring until it’s completely melted, then pour into a piping bag. Snip the end and begin by piping on the eyes.
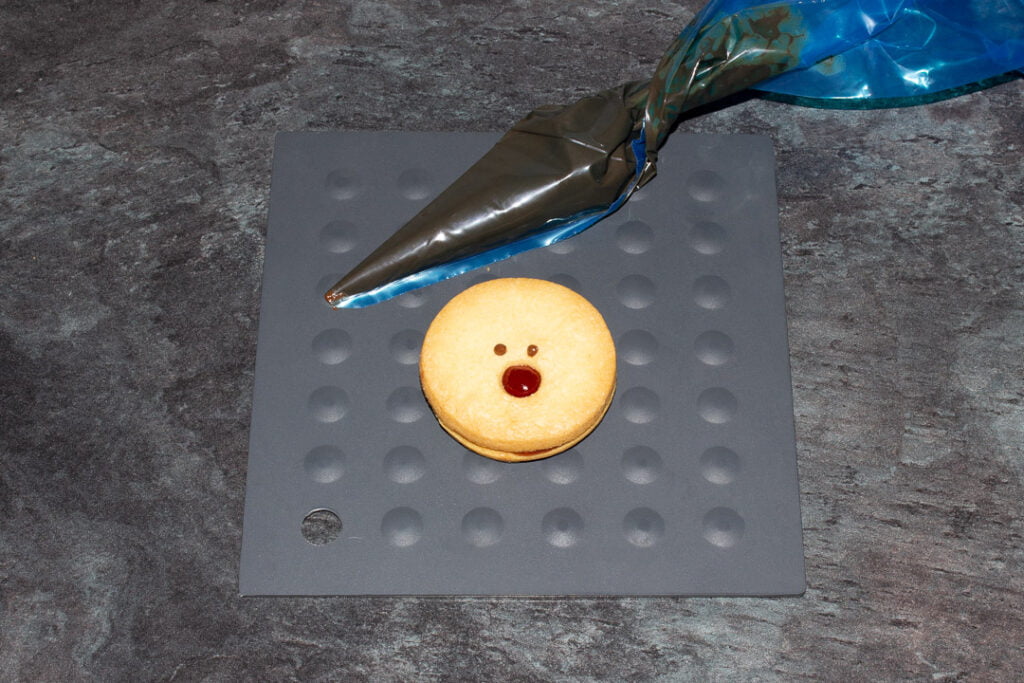
Next, pipe the two main lines for the antlers…


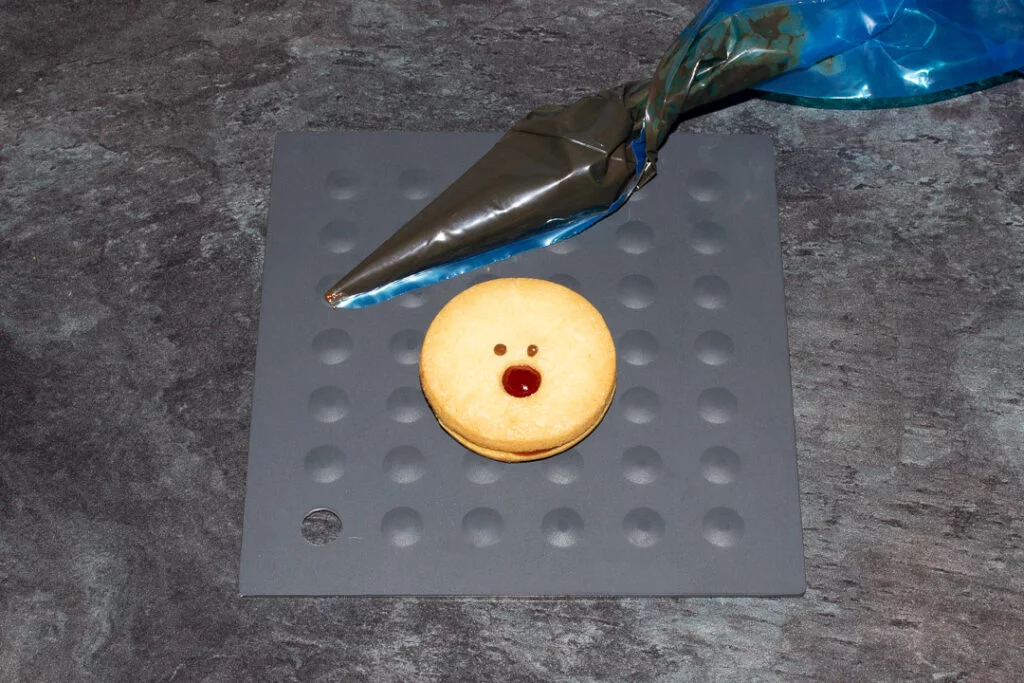
Kind of looks a bit angry doesn’t it haha?! Next, pipe on the details of the antlers. I found it easiest to pipe a downward pointing arrow for each part.
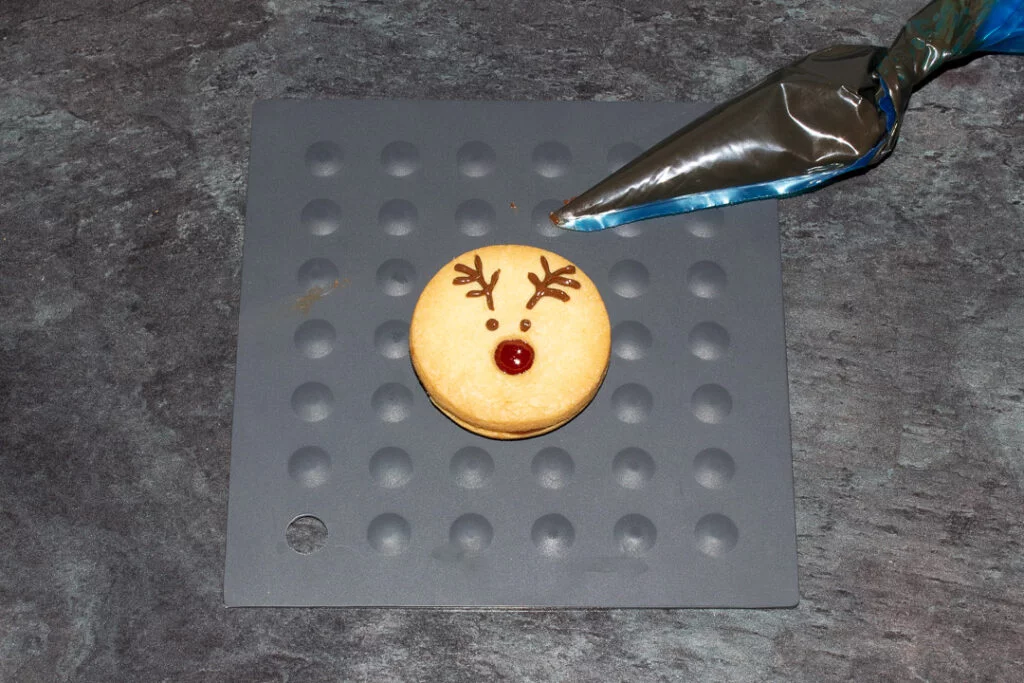
Repeat until all the cookies have their facial features then leave to set completely at room temperature on a wire rack.

How to store reindeer cookies
Once cooled, store in an airtight container (I prefer metal) at room temperature and consume within 4-5 days.

Have you made this recipe?
Have you made this insanely indulgent no bake Baileys cheesecake? I’d love to know if you have! Send me your pics, comments and questions on Facebook, Twitter and Instagram or email me at emma@kitchenmason.com.

Loved this recipe? Pin it!


Easy Reindeer Cookies Recipe
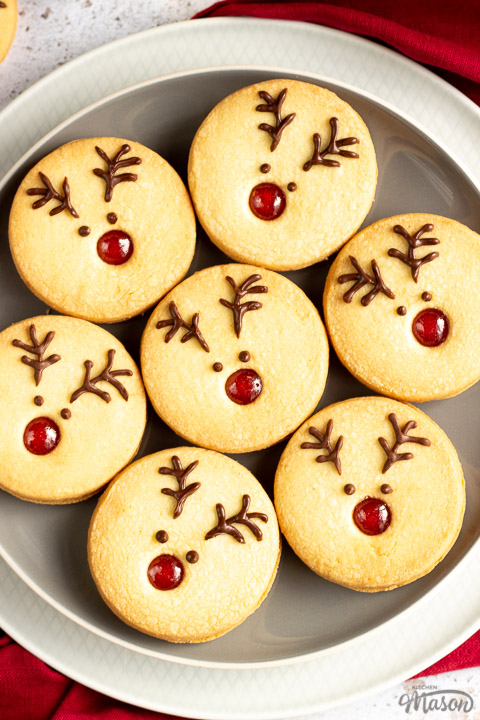
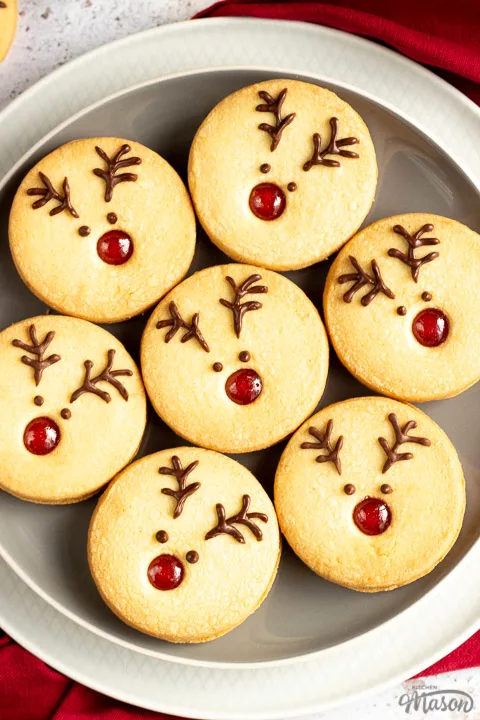
CRAZY cute, these easy reindeer cookies are guaranteed to bring joy to everyone you love this Christmas!
Ingredients
- 140g (1/2 Cup + 1/8 Cup) Unsalted Butter, room temperature
- 60g (1/2 Cup) Icing/Confectioners Sugar
- 1 Egg Yolk
- 1 tsp Vanilla Extract
- Pinch of Salt
- 210g (1 + 2/3 Cup) Plain/All Purpose Flour
- 200g (1/2 Cup + 2 tbsp) Strawberry Jam
- 75g (2.6 oz) Milk Chocolate
Essential Equipment
- Electric Stand Mixer or Large Bowl with Electric Hand Whisk
- Rolling Pin
- 6cm Round Cookie Cutter
- 1cm Circle Cutter *
- Baking Tray
- 2 x Small Bowls
- 2 x Disposable Piping Bags
Instructions
- Place the butter, sugar, yolk, vanilla and salt into the stand mixer and beat until light and fluffy.


- Add the flour and fold through until it becomes a soft dough. Take out the bowl and knead together briefly.

- Roll the dough between 2 sheets of baking paper to 6mm thick, then cut out circles using a cookie cutter.

- Cut a smaller circle (off centre) for the noses on half of them. Repeat until all the dough is used up.

- Place on a lined baking tray and chill for 30 mins. Preheat your oven to 180ºC/Fan 170ºC/356ºF.

- Space the cookies out on a lined baking tray and bake for 11-13 mins until golden around the edges. (Bake in batches if you need to.)

- Allow to firm on the tray for a minute or two then transfer to a rack to completely cool.

- Mix the jam in a small bowl to soften it then pour into a piping bag.

- Snip the end and pipe jam circles onto each of the biscuits without nose holes. (Don't add too much and don't go too close to the edge.)

- Carefully push the cookies with the nose holes on top. You don't want it squishing out the sides but you do want a little rounded red nose to pop through the holes.

- Melt the chocolate in a bowl in the microwave in 10 second blasts. When two thirds melted, stir until completely melted. Pour in a piping bag and snip the end then pipe eyes above each red nose.

- Then pipe the main lines for each antler.

- Finally, pipe the details on for each antler. (I found it easiest to pipe a 'downward pointing arrow each time.)

- Allow to set on a rack then store in a metal tin at room temperature and consume within 4-5 days.


Notes
* you don’t need to buy one – you could use a round piping nozzle or even an apple corer!
If you would rather use a more in depth picture recipe, please see the main body of this post. Where you’ll also find lots of extra FAQs and helpful tips, should you need them.
Please note, this recipe includes both UK metric and US Cup measurements.
Tips
- Make sure you let the butter come to room temperature before using. It’ll make your life a lot easier!
- Don’t skip the chilling stage before baking, it helps the cookies hold their shape.
- Nose holes closed up a little during baking? While they’re still hot, carefully push them with a chopstick to open them up again.
- Don’t overload the biscuits with too much jam. Less is more. You don’t want it to ooze out the sides!
- When piping the chocolate eyes/antlers take your time and practice on a plate first.
- Store your cookies in a metal tin at room temperature to keep their texture for longer.
Recommended Products
As an Amazon Associate and member of other affiliate programs, I earn from qualifying purchases at no extra cost to you.


Nutrition Information:
Yield: 11 Serving Size: 1Amount Per Serving: Calories: 275Total Fat: 13gSaturated Fat: 8gTrans Fat: 0gUnsaturated Fat: 4gCholesterol: 46mgSodium: 26mgCarbohydrates: 37gFiber: 1gSugar: 18gProtein: 3g
Nutritional information on kitchenmason.com should only be used as a general guideline, I am not a certified nutritionist. Please always check labels for allergens where applicable.

Emma is a British recipe writer, home cook, and founder of Kitchen Mason. For over 15 years, she has been creating simple, comforting recipes and practical kitchen tips that help tired, everyday people make dinner feel easier and more enjoyable again. Passionate about British home cooking, Emma shares reliable recipes, comforting classics, and realistic kitchen guidance designed for real life. Her work has also been featured in publications including Food Network, Cosmopolitan, and The Huffington Post.
Knowledgeable On: British home cooking, Easy dinner ideas, Comford food recipes, Recipe writing