This post may contain affiliate links. Where I make a small commission on purchased items, at no extra cost to you. See my disclosure for details.
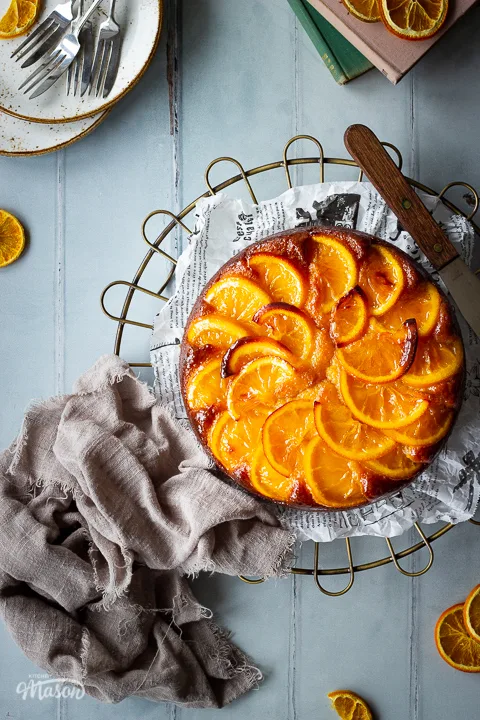
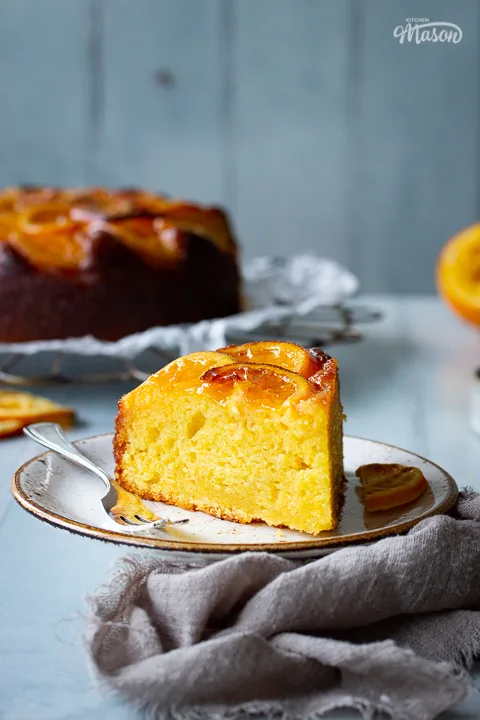
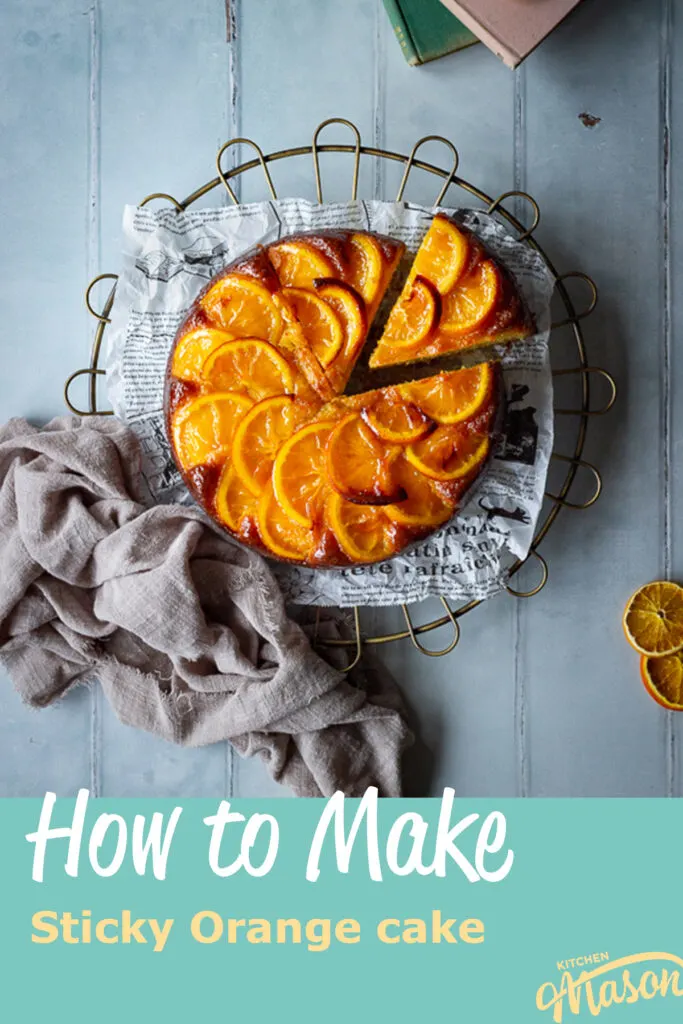
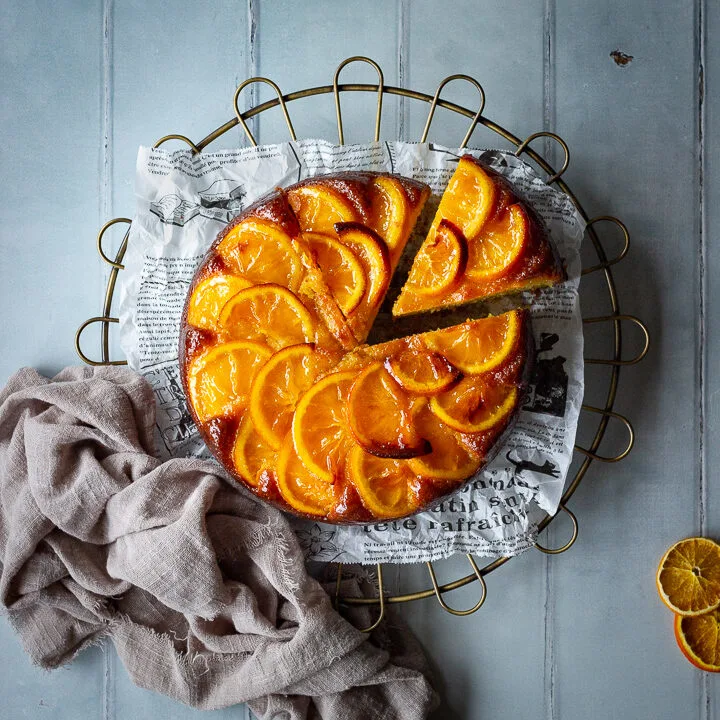
This stunning sticky orange cake not only looks impressive but has the flavour to back it up! With a supremely fresh citrus tang and an off the charts moisture level – your taste buds will be thanking you emphatically!
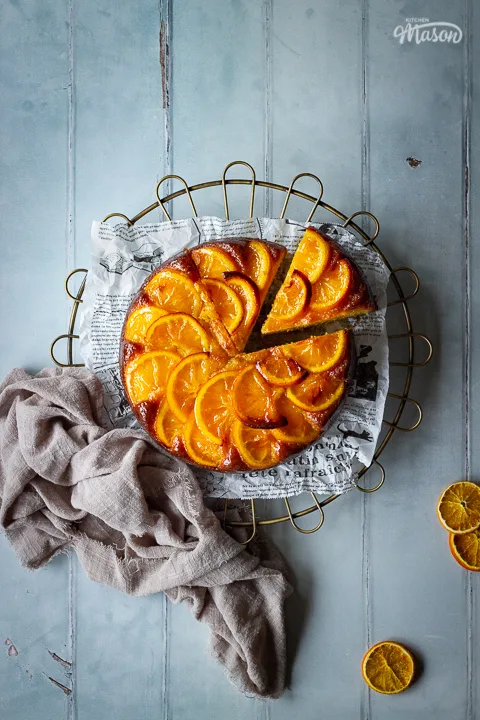
You know what I mean by fresh don’t you? I don’t mean that fake, over saturated orange flavour – I mean it tastes like you’ve just peeled an orange and magically turned it into cake fresh!
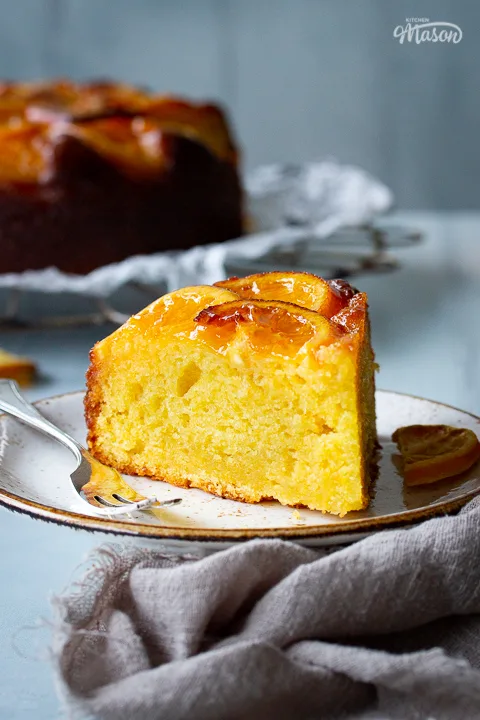
I’ve never tasted a cake like it before in my life. It really is quite challenging to express just how fresh this cake really tastes!
Other orange bakes I’ve made before, like one bowl Terry’s Chocolate Orange brownies, rely on the zest and pre-flavoured orange chocolate for their flavour.
However, just like my easy chocolate orange cake recipe, this cake utilises the whole orange and, my word, does it add to the flavour!
And the texture? Oh my life, It’s just drool inducing! The addition of Greek yoghurt and the use of oil instead of butter creates the softest most wonderfully moist cake you’ve EVER had. It’s just incredible.
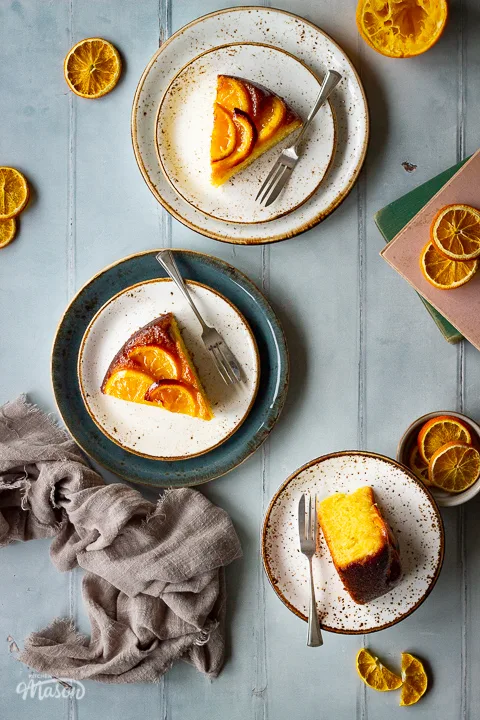
As easy as this recipe is to follow, if your not yet an experienced baker, you might like to read through this guide on baking for beginners first. It’s packed full of super helpful tips that will help boost your baking confidence!
Right, onto the good stuff. Want to know how to make this beauty of a sticky orange cake for yourself? Keep reading…
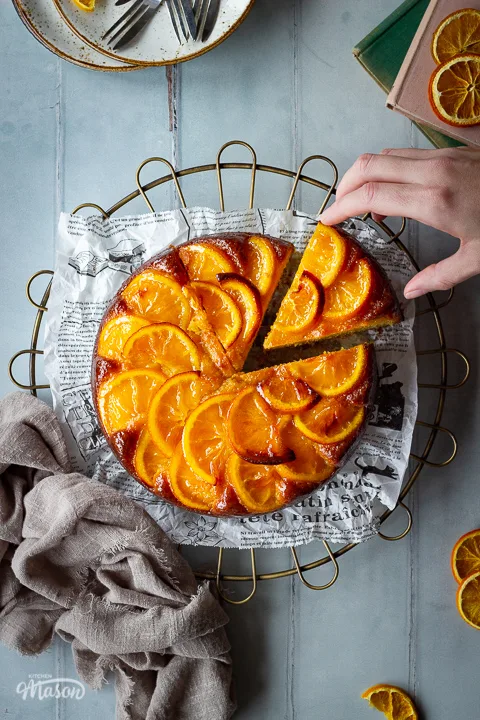
How to make sticky orange cake – recipe summary
For the decoration
- Slice oranges into semicircles and boil with orange juice, water and sugar until soft.
- Remove slices then reduce the liquid to a syrup.
For the cake
- Mix oil, sugar, egg, Greek yoghurt and orange zest together.
- Add baking powder, flour and salt and mix to form a batter.
- Pour batter into a lined tin and top with the orange slices.
- Bake for 45-50 mins.
- Slowly pour over the syrup and leave to soak for 10 mins.
- Remove from the tin and cool completely.
If you need something a bit quicker? Air fryer cakes might be a good alternative.
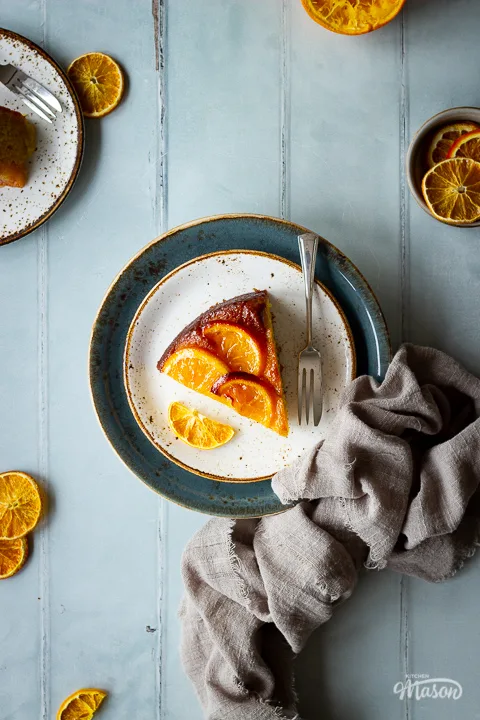
Ingredients
Here’s everything about the ingredients need for sticky orange cake.
For the decoration
- Oranges – Small/medium oranges are great. You’ll be using the zest, juice and slices so keep that in mind when you make your selection.
- Sugar – I like to use golden caster sugar as it gives a slight caramel flavour to your bakes. If you can’t get hold of this don’t worry, regular caster sugar (superfine in the US) will work just fine.
If you’d rather not add these onto the top during baking, you can make your own candied orange slices to decorate it afterwards instead.
For the cake
- Oil – Rapeseed oil is my go to with this cake but other predominantly flavourless oils would also work. (i.e. vegetable, sunflower.)
- Sugar – As said above, I used golden caster sugar but regular caster sugar works well too. (Superfine in the US.)
- Eggs – Medium eggs are great. You don’t want teeny tiny ones or mahoosive ones – but somewhere in-between.
- Yoghurt – Greek yoghurt works perfectly in this cake but you could also use natural yoghurt in a pinch. Don’t use fat free if you can help it though, the extra fat helps both flavour and texture.
- Baking Powder – Not to be confused with bicarbonate of soda, baking powder is the one that’s needed here to give a little lift.
- Flour – Plain (all purpose) flour is what’s needed. Don’t switch it out for self raising or other types as it will mess with the rise of the cake.
- Salt – You season your dinner why not your cakes?! Table salt is fine, no need to get fancy here. It’s going to dissolve anyway!
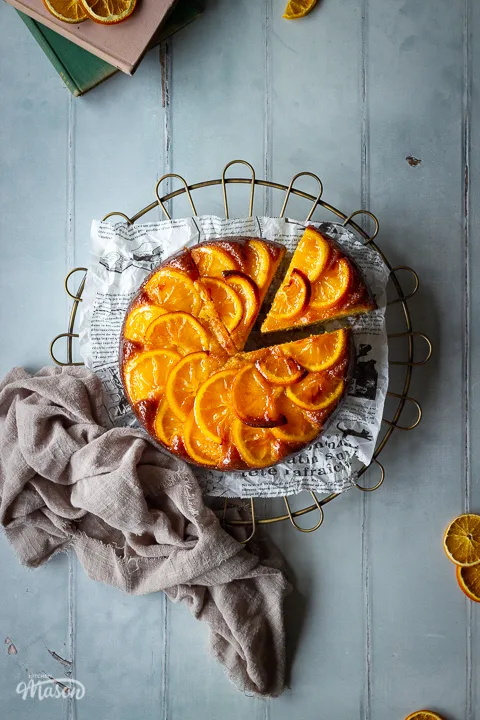
Recipe tips
Here are some tips I think you will find helpful when making this recipe.
I made a few wrong turns with this one (the bin got a good meal!!) so heed my advice! Remember – I make the mistakes so YOU don’t have to!
- When zesting an orange, only grate the outer orange layer. You don’t want to go into the white part of the skin (called the pith) as it tastes very bitter.
- Be sure to remove any seeds when you’re juicing your oranges. You don’t want one hidden in the middle of your cake!
- Don’t use a tin smaller than 20cm/8″ or it will take FOREVER to bake and the decoration may burn. If you’re using a slightly larger tin, check your cake throughout the cooking time as this will affect how it bakes.
- Bake your cake on a lower shelf in the oven to help prevent the orange slices on the top from burning.
- Notice the top of your cake burning? Cover with foil and continue baking.
- For the decoration, don’t slice your oranges too thin as they will be more likely to catch in the oven.
- Make sure you use un-zested oranges for the decoration slices. Zested slices will 100% burn more easily! (Trust me, my first attempt was AWFUL because of this!)
- When pouring the syrup over at the end, take it slowly. This will allow the syrup to soak into the cake more, rather than just flowing over the sides.
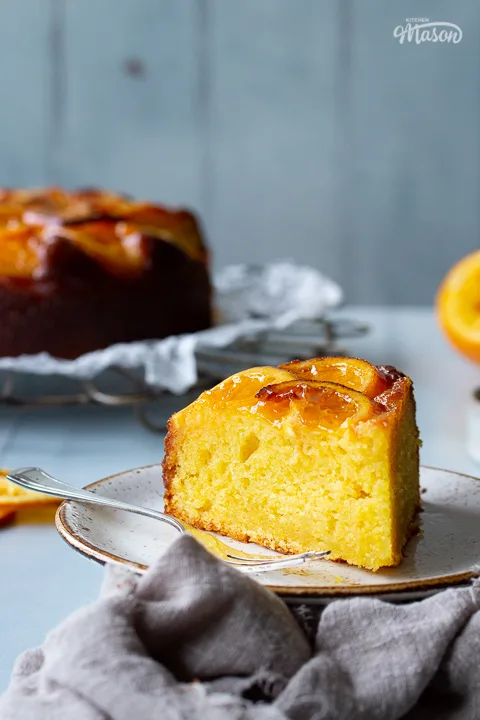
Sticky Orange Cake – Step by Step Picture Recipe
(For a printer friendly version, see the recipe card at the end of this post)
Please note, this recipe includes both UK metric and US Cup measurements.
Ingredients
Here is what you will need to serve 8.
For the decoration
- 3 Oranges
- 100g (1/2 Cup) Golden Caster Sugar
- 100ml (1/3 Cup + 1 tbsp) Water
For the cake
- 150g (2/4 Cup) Golden Caster Sugar
- 175ml (2/3 Cup + 1 tbsp) Rapeseed Oil
- 2 Eggs
- 175g (6.1 oz or 2/3 Cup) Greek Yoghurt
- 2 tsp Baking Powder
- 175g (1 + 1/3 Cup) Plain Flour
- 1/4 tsp Salt
Essential equipment
- 20cm (8″) Round Loose Bottomed Baking Tin
- Chopping Board
- Fine Grater
- Sharp Knife
- Citrus Juicer
- Saucepan
- Wooden Spoon
- Slotted Spoon
- Large Mixing Bowl
- Spatula
- Small Bowl
Decoration instructions
Grease your baking tin with oil and line the base with baking paper. Preheat your oven to 180ºC/Fan 170ºC/356ºF.
Zest 1 + 1/2 oranges on a chopping board using a fine grater and set to one side for later.
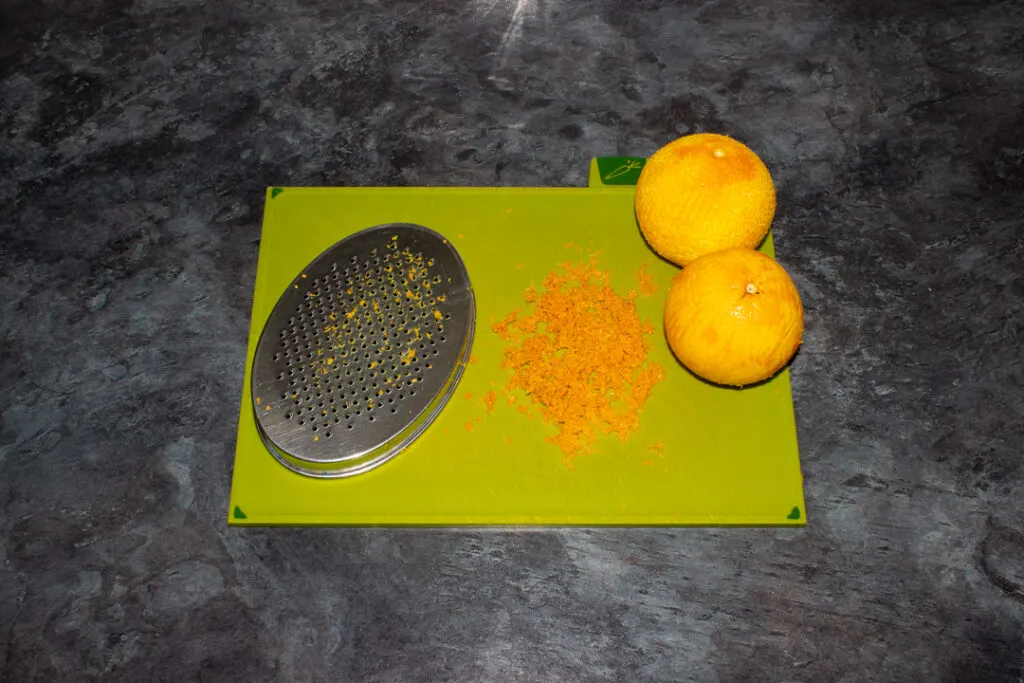
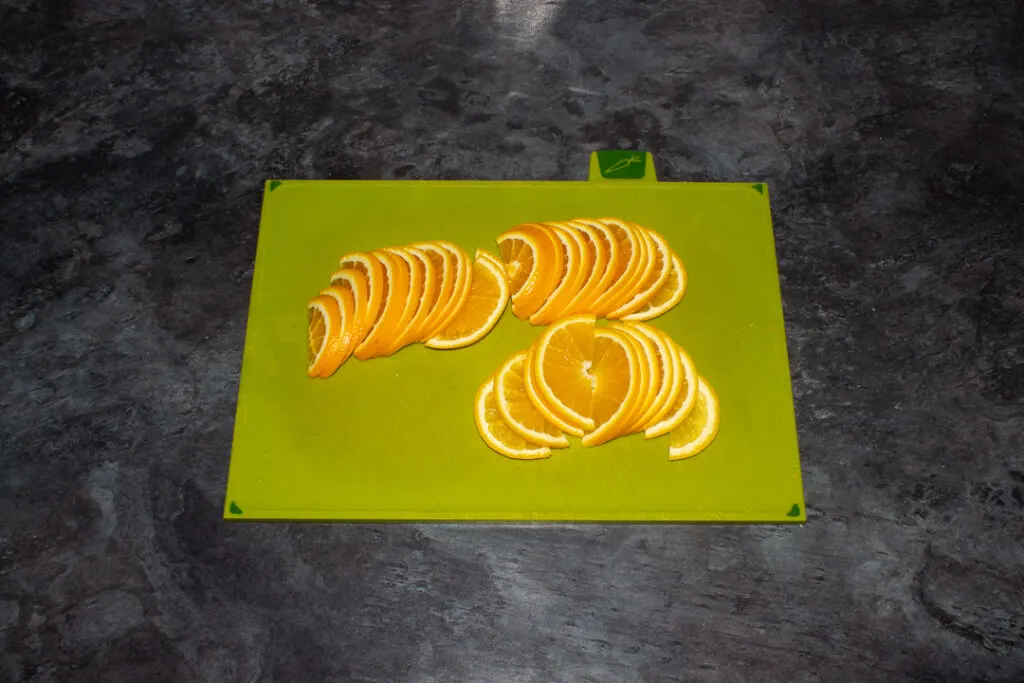
Then slice the remaining 1 + 1/2 oranges into semi circles with a sharp knife. Don’t go too thin or they will burn, aim for about 4mm.
It’s important to NOT use the zested oranges here, as they will burn too easily during baking.
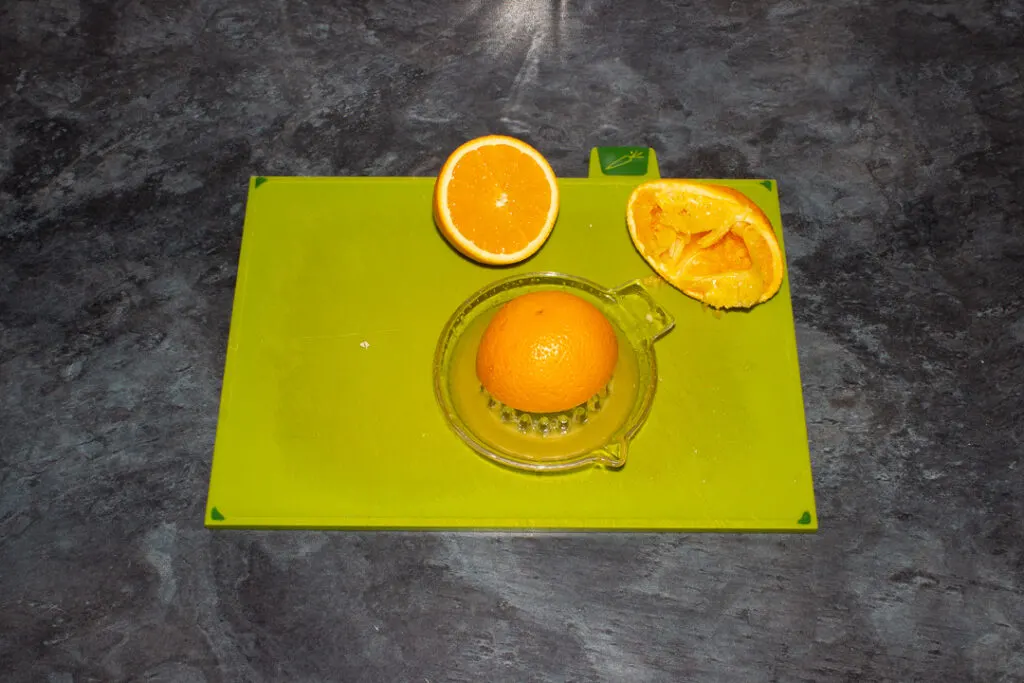
Using a citrus juicer, squeeze the juice from the remaining 1 + 1/2 zested oranges.
(Yes I know, the oranges in my image aren’t zested. This is from my first attempt, when my cake burnt pretty badly so just trust me haha!)
Now pour the orange juice into your saucepan along with the caster sugar (100g | 1/2 Cup), water (100ml | 1/3 Cup + 1 tbsp and orange slices.
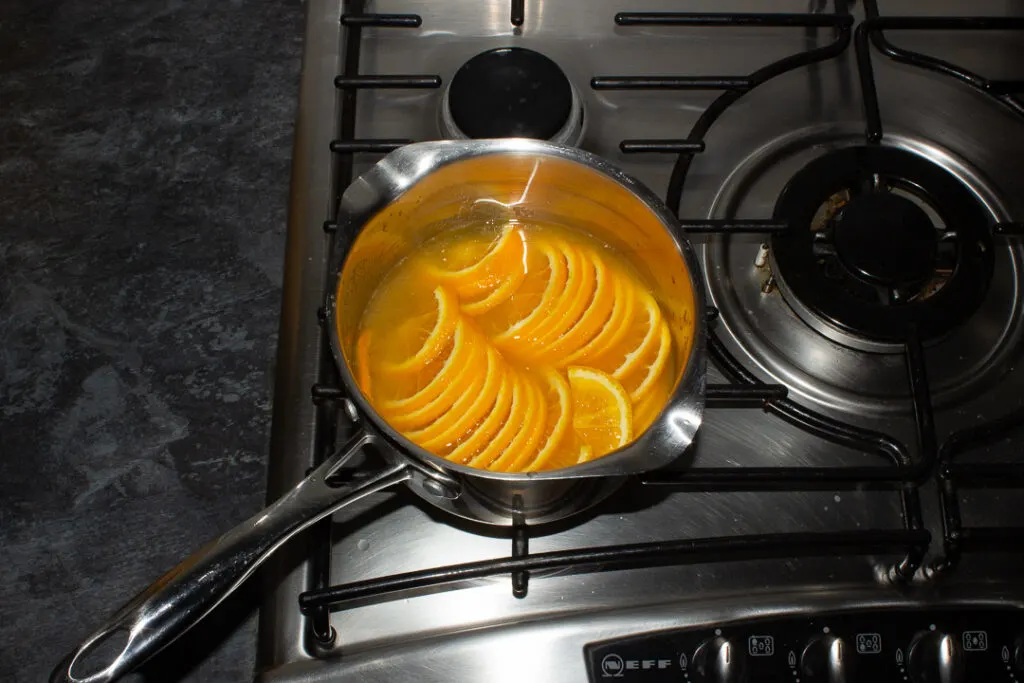
Bring to the boil, stirring occasionally (and gently) with a wooden spoon. Once boiling, reduce the heat and simmer for about 5 mins or so until the slices have softened.
Remove the slices with a slotted spoon and set aside for later.
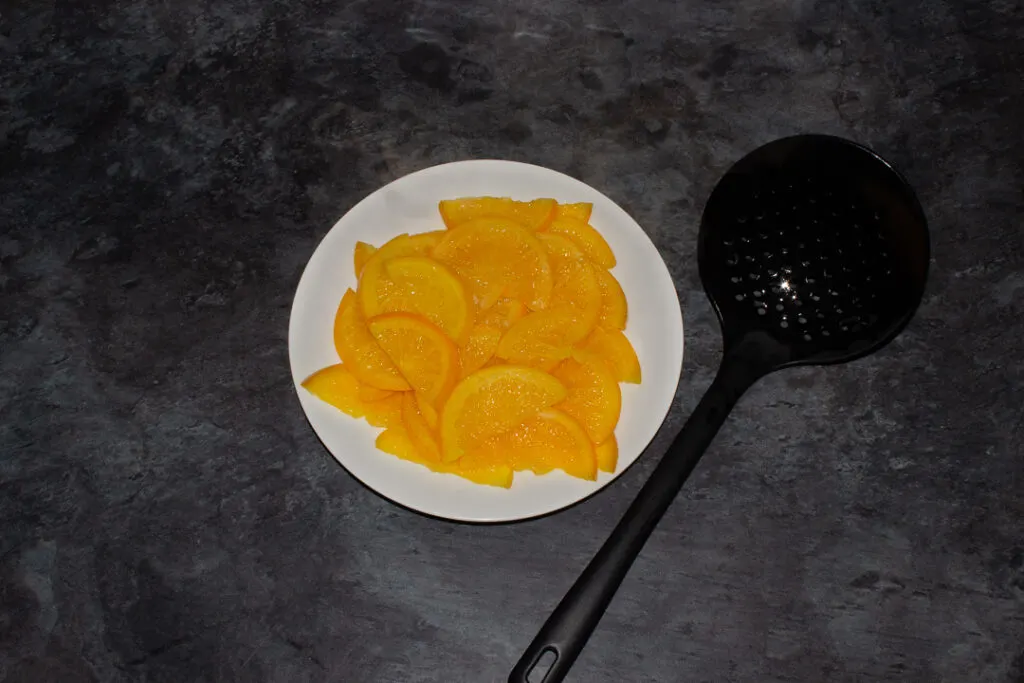
Meanwhile, continue to simmer the remaining juices in the pan (stirring occasionally) until you are left with about 90ml of runny syrup. Set aside for later.
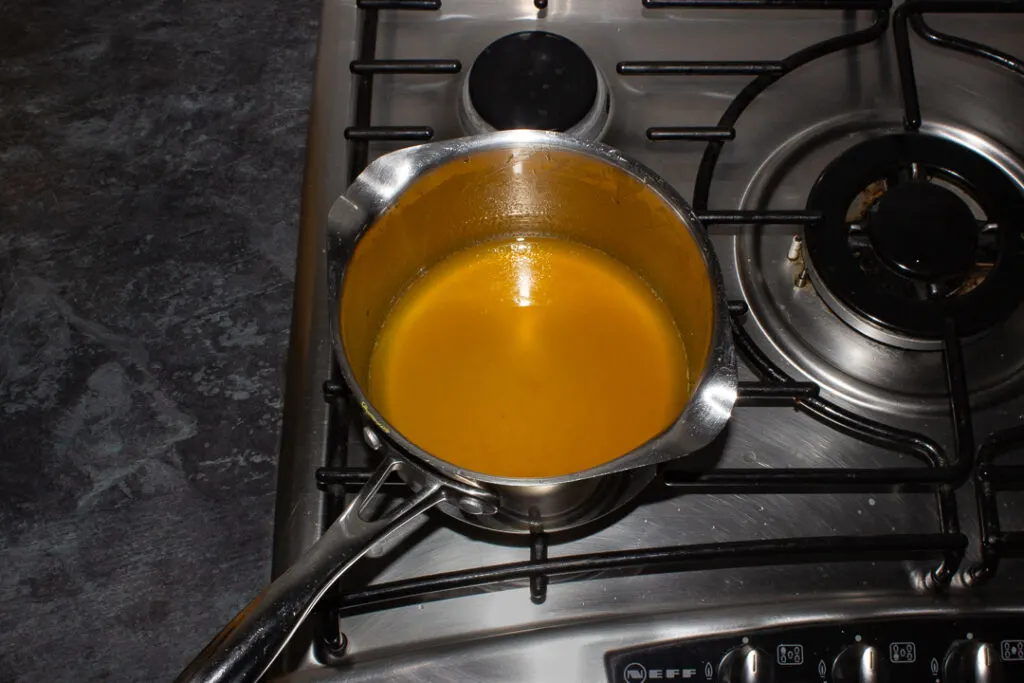
Cake instructions
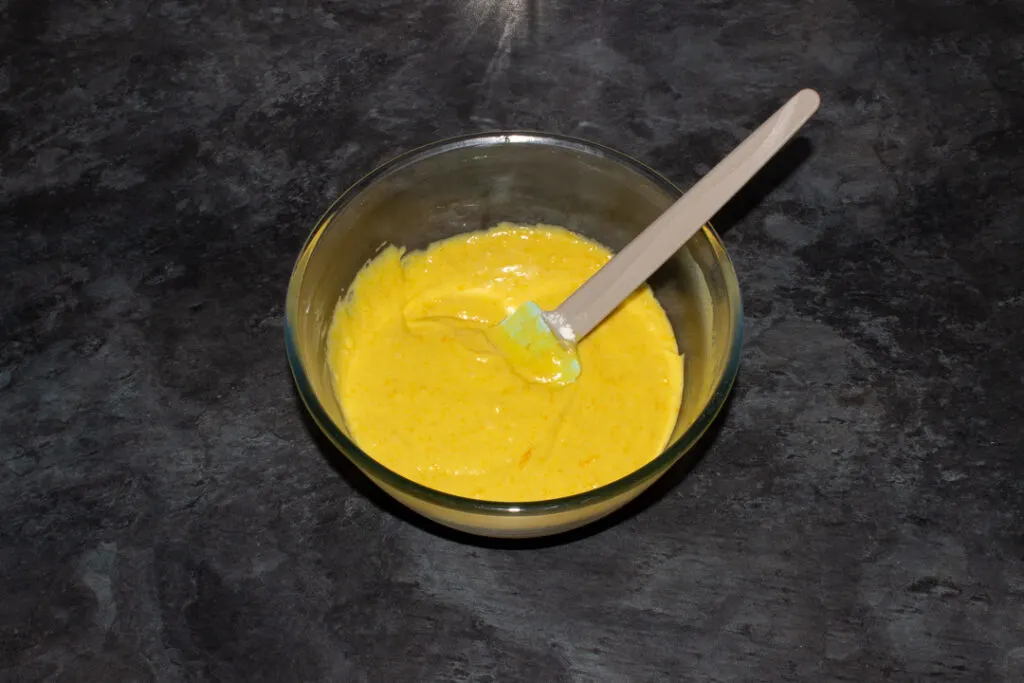
To make the cake batter, add the caster sugar (150g | 2/4 Cup), rapeseed oil (175ml | 2/3 Cup + 1 tbsp), Eggs (x 2), Greek yoghurt (175g | 6.1 oz | 2/3 Cup) and orange zest to a large mixing bowl.
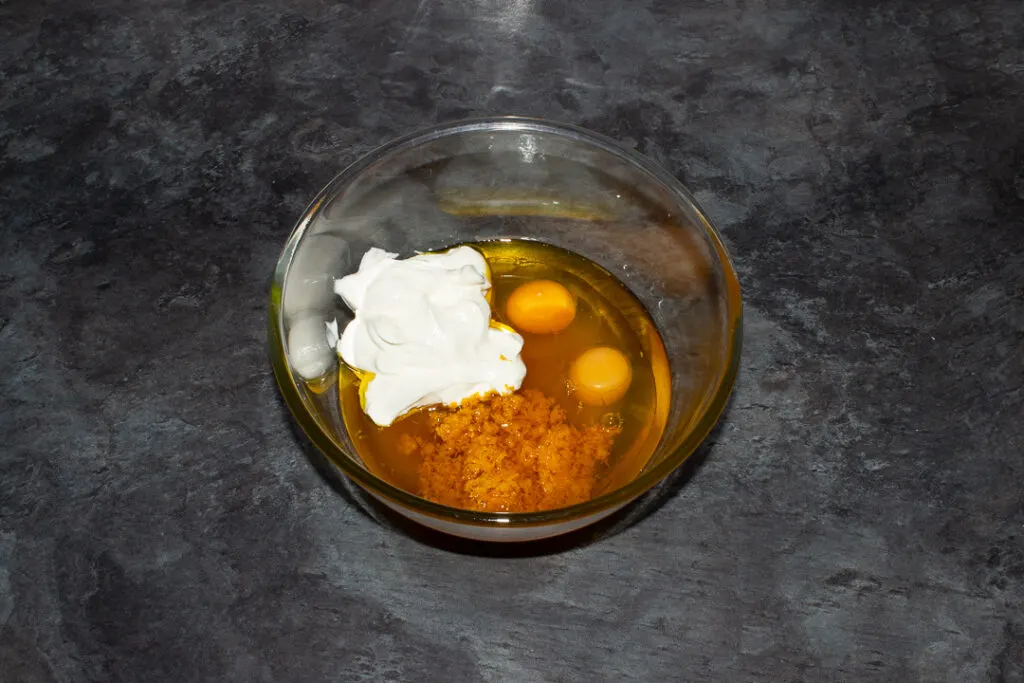
Beat thoroughly with a spatula until it’s nice and smooth.

Briefly stir together the baking powder (2 tsp), plain flour (175g | 1 + 1/3 Cup) and salt (1/4 tsp) in a small bowl.
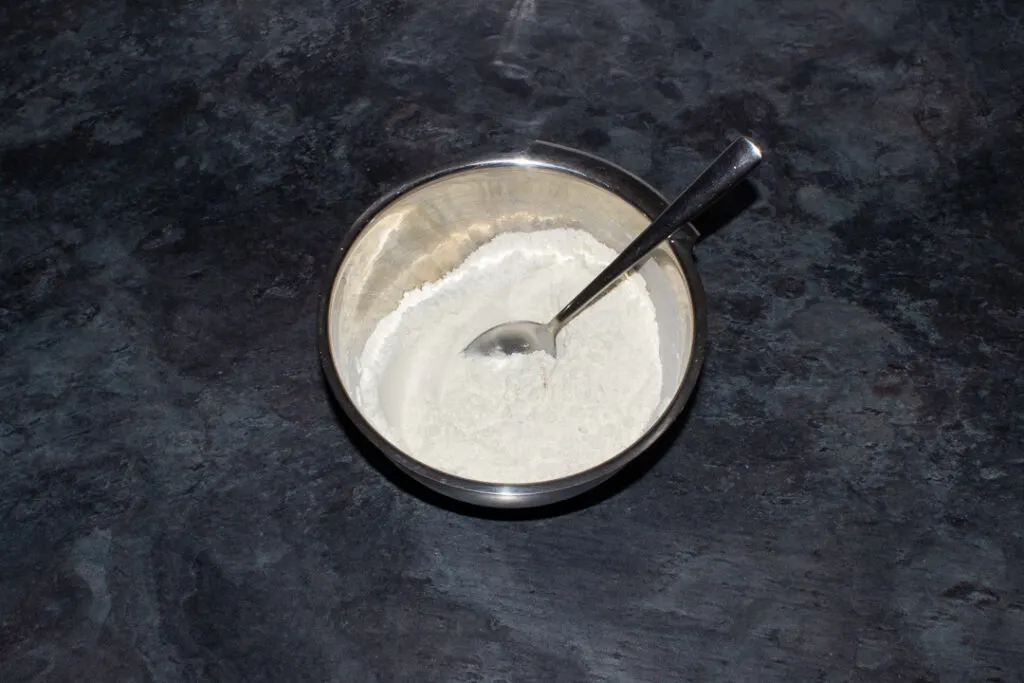
Then fold it into the wet ingredients. Continue to beat together until it’s nice and smooth but don’t over mix it. Stir just until there are no more visible streaks or lumps in the batter.
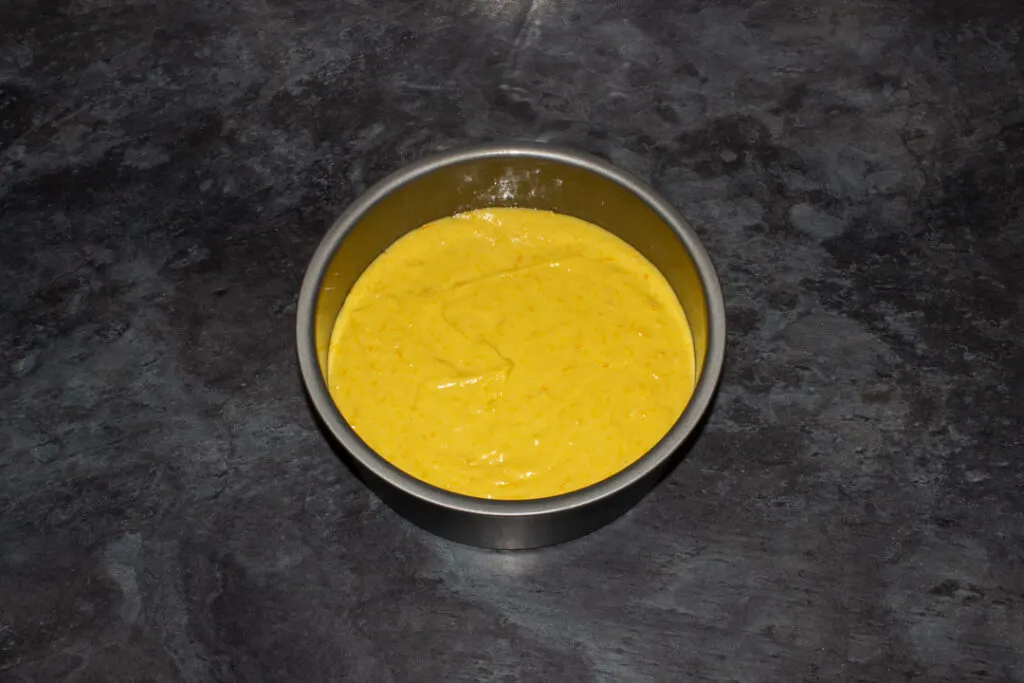
Pour the batter into your prepared tin and smooth out.
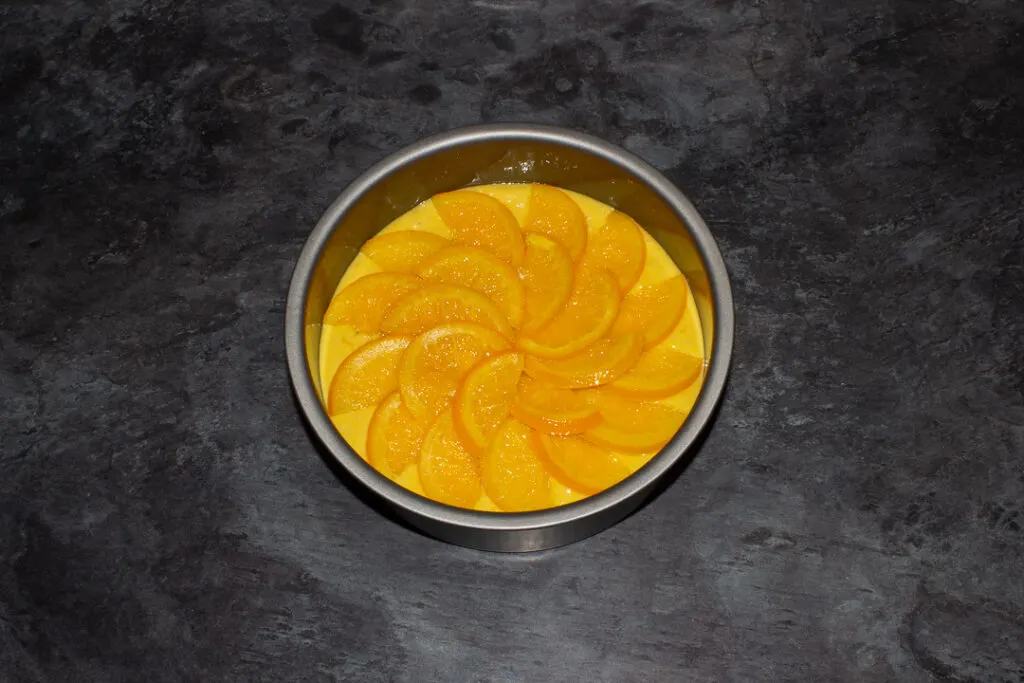
Now carefully lay the orange slices from earlier around the top in concentric circles.
Bake in your preheated oven on a lower shelf for 45-50 mins until golden, and a skewer inserted into the middle comes out clean.
Remember that all ovens vary so check your bake throughout cooking to ensure there’s no burning happening along the way.
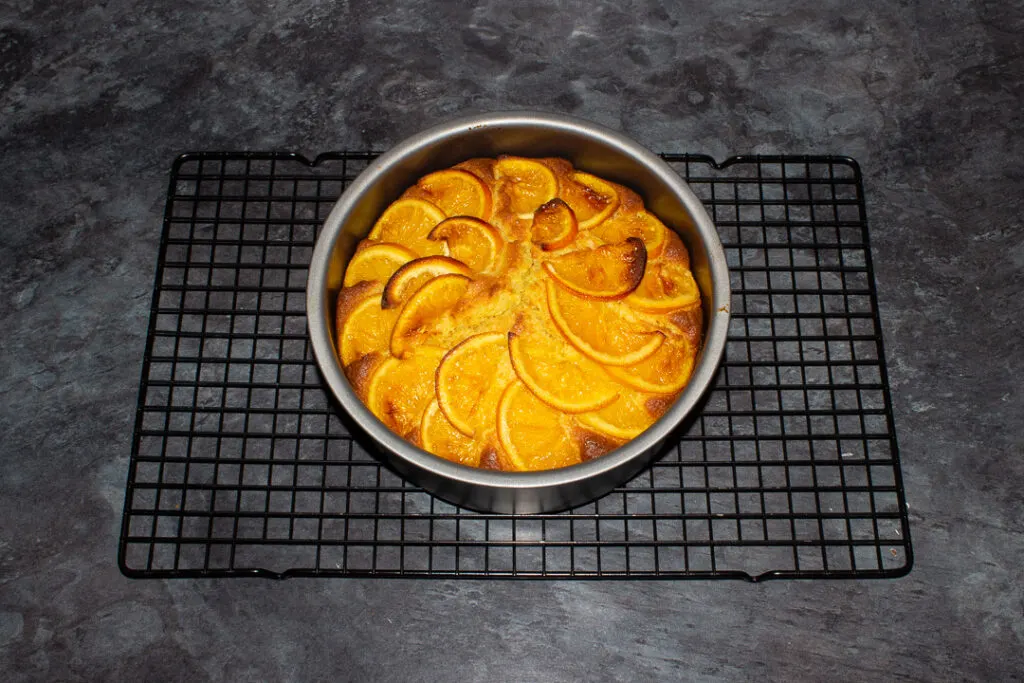
As soon as your orange cake is out the oven, you need to make it sticky! While it’s still in the baking tin, very slowly pour over the orange syrup you made earlier.
Leave your cake in the tin for 10-15 mins to soak up all those the juices.
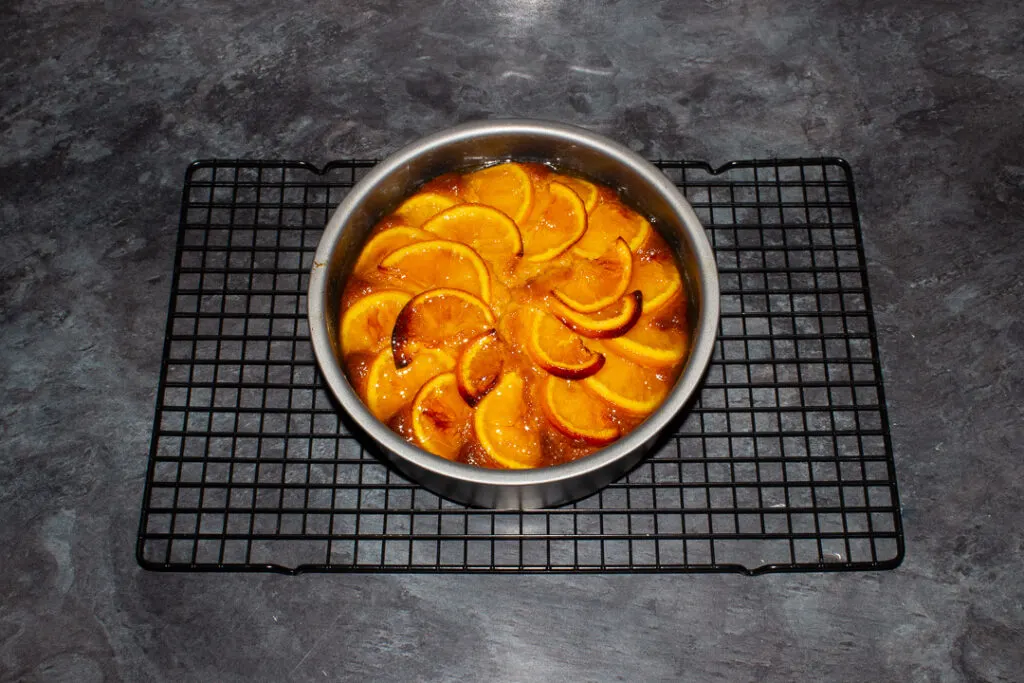
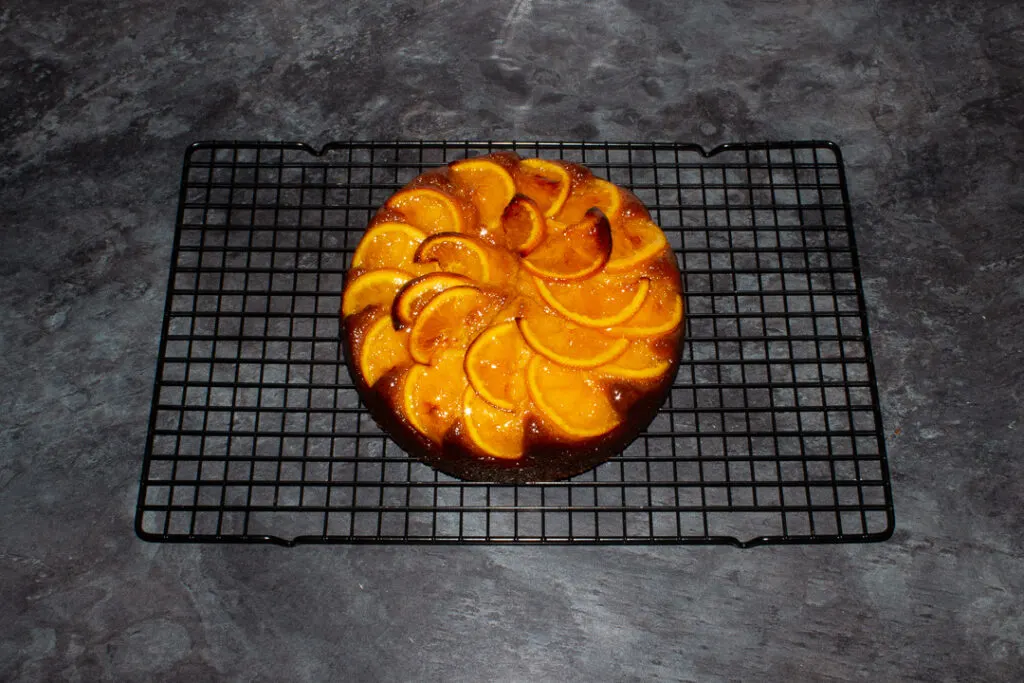
Then remove from the tin and allow to cool completely on a cooling rack.
How to store sticky orange cake
I don’t like to store bakes in plastic containers as it makes sugar sweat which can ruin the texture. For best results, store your sticky orange cake inside a metal tin, lined with baking paper, at room temperature. Consume within 5 days.

Why does my orange cake taste bitter?
This could be for a few reasons…
- You may have grated into the pith (the white part of orange skin) instead of just zesting the orange part. This tastes very bitter and can affect the flavour quite a bit.
- You may have over reduced (boiled) the sticky orange syrup which resulted in it burning a little. Burnt orange tastes very bitter.
- You could have baked your cake on a higher shelf in the oven or used the zested oranges for the decorative slices on top, which would lead to burning. Again, this tastes very bitter.
Can I use bicarbonate of soda instead of baking powder?
No. Both of these ingredients require different things to work effectively in baking.
Bicarbonate of soda needs both an acid and a liquid to activate it’s raising properties. Baking powder only needs liquid.
It’s safer to stick to the recipe you are using instead of going freestyle on this one!

Loved this recipe? Pin it!
Have you made this recipe?
Have you made this stunning sticky orange cake? I’d love to know if you have! Send me your pics, comments and questions on Facebook, Twitter and Instagram or email me at emma@kitchenmason.com.
Beautiful Sticky Orange Cake Recipe
This stunning sticky orange cake not only looks impressive but has the flavour to back it up too! Fresh citrus tangs and next level moisture!
Ingredients
For the Decoration
- 3 Oranges
- 100g (1/2 Cup) Golden Caster Sugar
- 100ml (1/3 Cup + 1 tbsp) Water
For the Cake
- 150g (2/4 Cup) Golden Caster Sugar
- 175ml (2/3 Cup + 1 tbsp) Rapeseed Oil
- 2 Eggs
- 175g (6.1 oz or 2/3 Cup) Greek Yoghurt
- 2 tsp Baking Powder
- 175g (1 + 1/3 Cup) Plain Flour
- 1/4 tsp Salt
Essential Equipment
- 20cm (8″) Round Loose Bottomed Baking Tin
- Chopping Board
- Fine Grater
- Sharp Knife
- Citrus Juicer
- Saucepan
- Wooden Spoon
- Slotted Spoon
- Large Mixing Bowl
- Spatula
- Small Bowl
Instructions
For the Decoration
- Lightly oil the round tin and line the base with baking paper. Preheat your oven to 180ºC/Fan 170ºC/356ºF. Zest 1 + 1/2 oranges and set to one side for later.

- Slice the none zested 1 + 1/2 oranges into semicircle slices approx 4mm thick.

- Juice the zested 1 + 1/2 oranges and pour this into a saucepan along with the sugar, water and orange slices.

- Bring to the boil, reduce the heat them simmer for 5 mins until soft, stirring every now and then. Remove slices with a slotted spoon and set aside.

- Continue to simmer the juices left in the pan until about 90ml of syrup remains. Remove from the heat and set aside.

For the Cake
- Place the sugar, oil, eggs, Greek yoghurt and reserved orange zest into a mixing bowl and beat until smooth.

- Mix together the baking powder, flour and salt in a small bowl.

- Fold the flour mixture into the wet ingredients. Continue until smooth and lump free.

- Pour the batter into your prepared tin and smooth out. Gently lay the orange slices on the top in concentric circles.

- Bake on a lower shelf for 45-50 mins. It should be golden and a skewer inserted into the middle comes out clean.

- While still in the tin, slowly pour the orange syrup over the top of the cake.

- Allow the cake to soak up the juices for 10 minutes then remove from the tin and cool completely on a rack.

Notes
If you would rather use a more in depth picture recipe, please see the main body of this post. Where you’ll also find lots of extra FAQs and helpful tips, should you need them.
Please note, this recipe includes both UK metric and US Cup measurements.
Tips
- When zesting an orange, only grate the outer orange layer. You don’t want to go into the white part of the skin (called the pith) as it tastes very bitter.
- Be sure to remove any seeds when you’re juicing your oranges. You don’t want one hidden in the middle of your cake!
- Don’t use a tin smaller than 20cm/8″ or it will take FOREVER to bake and the decoration may burn. If you’re using a slightly larger tin, check your cake throughout the cooking time as this will affect how it bakes.
- Bake your cake on a lower shelf in the oven to help prevent the orange slices on the top from burning.
- Notice the top of your cake burning? Cover with foil and continue baking.
- For the decoration, don’t slice your oranges too thin as they will be more likely to catch in the oven.
- Make sure you use un-zested oranges for the decoration slices. Zested slices will 100% burn more easily! (Trust me, my first attempt was AWFUL because of this!)
- When pouring the syrup over at the end, take it slowly. This will allow the syrup to soak into the cake more, rather than just flowing over the sides.
Recommended Products
As an Amazon Associate and member of other affiliate programs, I earn from qualifying purchases at no extra cost to you.
Nutrition Information:
Yield: 8 Serving Size: 1Amount Per Serving: Calories: 438Total Fat: 22gSaturated Fat: 2gTrans Fat: 0gUnsaturated Fat: 19gCholesterol: 48mgSodium: 229mgCarbohydrates: 56gFiber: 2gSugar: 37gProtein: 5g
Nutritional information on kitchenmason.com should only be used as a general guideline, I am not a certified nutritionist. Please always check labels for allergens where applicable.

Experienced British Online Publisher, recipe writer, and home cook, Emma has a background of over 20 years in British cuisine and cooking. Born and bred in the UK, she excels in classic British dishes, is passionate about air frying, and loves sharing her Gran’s old school recipes. She has been featured in popular publications such as Food Network, Cosmopolitan, and The Huffington Post.
Knowledgeable On: Traditional British Cuisine, Recipe Writing, Air Frying, Home Cooking.




Lynda
Saturday 17th of February 2024
Hello Emma, We really enjoyed this cake & I’ll be making it again soon, having a mooch around your other recipes now. I have really bad tremors in my hands which meant the orange slices were a little bit wonky so my husband will be slicing them next time. The wonky oranges didn’t affect the taste though which was really lovely, lots of love & thank you for all your creativeness
Emma
Sunday 18th of February 2024
Hi Lynda. I'm so happy you enjoyed my recipe! I wouldn't worry too much about wonky orange slices, sounds like you did a wonderful job, and it tasted delicious! Thank you so much for taking the time to leave such a lovely comment :) Emma x
Dawn
Thursday 13th of April 2023
Hi Emma
I was just wondering if using Red Grapefruit would work in your recipe, instead of Oranges 🤔
Emma
Thursday 13th of April 2023
Hi Dawn. Oooh I’m not sure if it would. I’ve never tried it myself, so can’t be sure I’m afraid. Emma x
Christine
Monday 18th of July 2022
This is a seriously delicious cake, we couldn't wait until dinner just had to have a piece with a cuppa. I blob of creme fraiche makes it really special. Thank you.
Emma
Monday 18th of July 2022
Aww thank you so much for your kind words Christine! I’m SO pleased you love my recipe :) Love the idea of adding a dollop of creme fraiche too! Emma x
Katy
Sunday 26th of December 2021
I am not a great baker! So was super excited when I made this cake that not only looked great but, tasted amazing! I made it for Christmas and even the In-laws wanted seconds! So moist and full of flavour and drizzle some cream on it, my goodness that’s a game changer too!
Emma
Monday 27th of December 2021
Hi Katy. Aww I’m SO happy you and your family loved my recipe! Thank you for taking the time to share this with me, you’ve made my day! Emma x
Janet Cooper
Wednesday 17th of November 2021
Made this cake today. Lovely cake and very moist. Will be making it again for sure. 😁😁
Emma
Wednesday 17th of November 2021
Hi Janet. Oh I’m SO happy you enjoyed my recipe and it turned out well for you! Thanks for taking the time to share this with me - you’ve made my day :) Emma x