


This post may contain affiliate links. Where I make a small commission on purchased items, at no extra cost to you. See my disclosure for details.
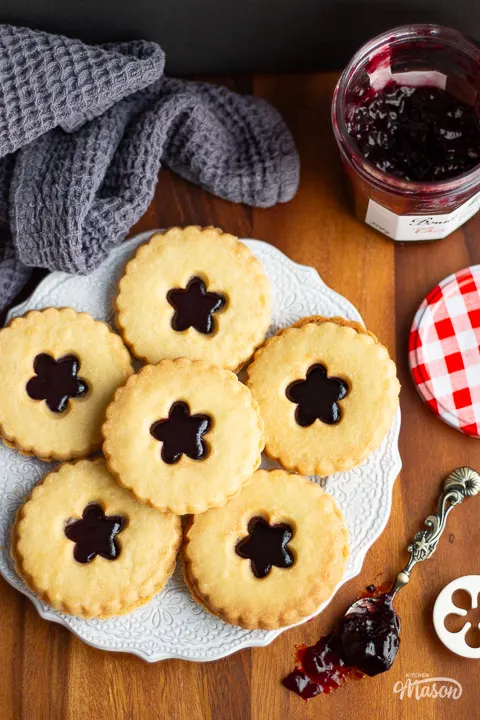
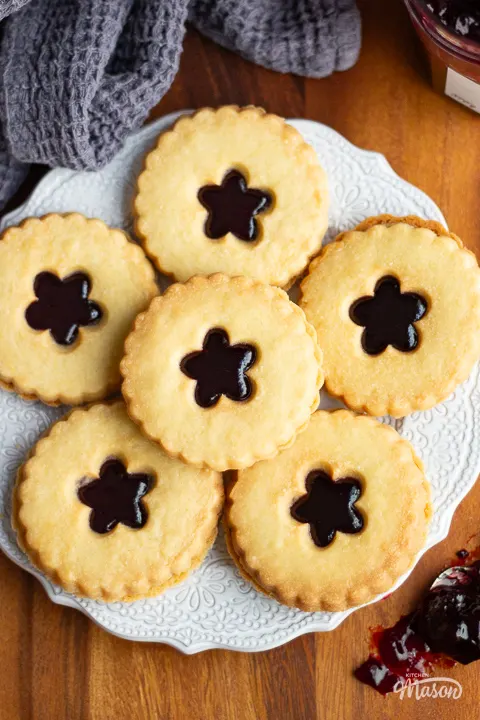
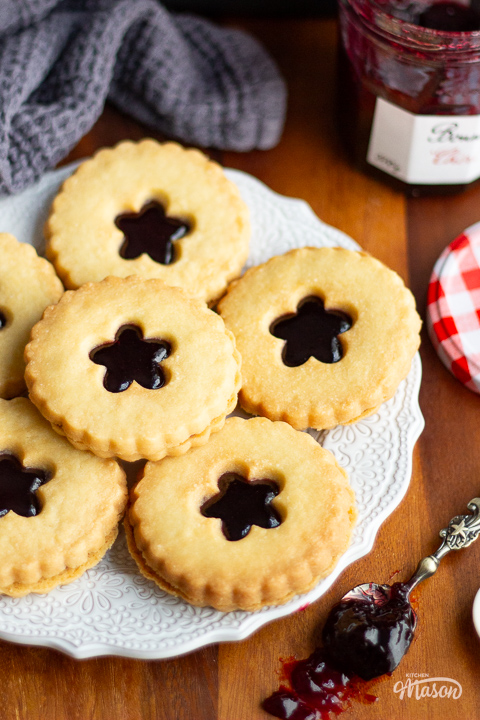
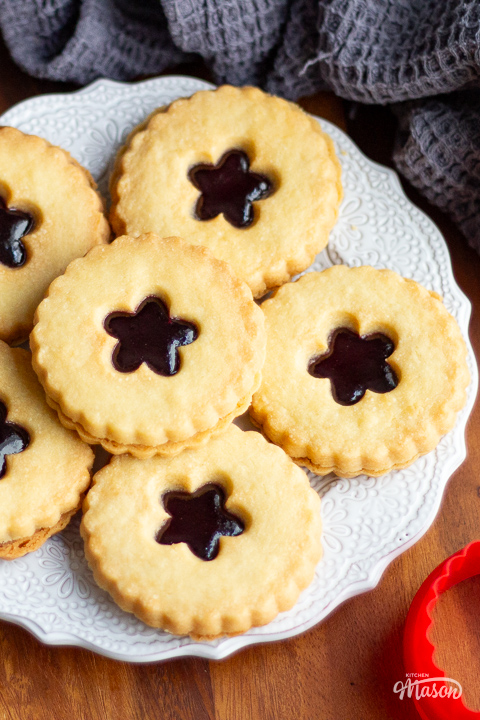
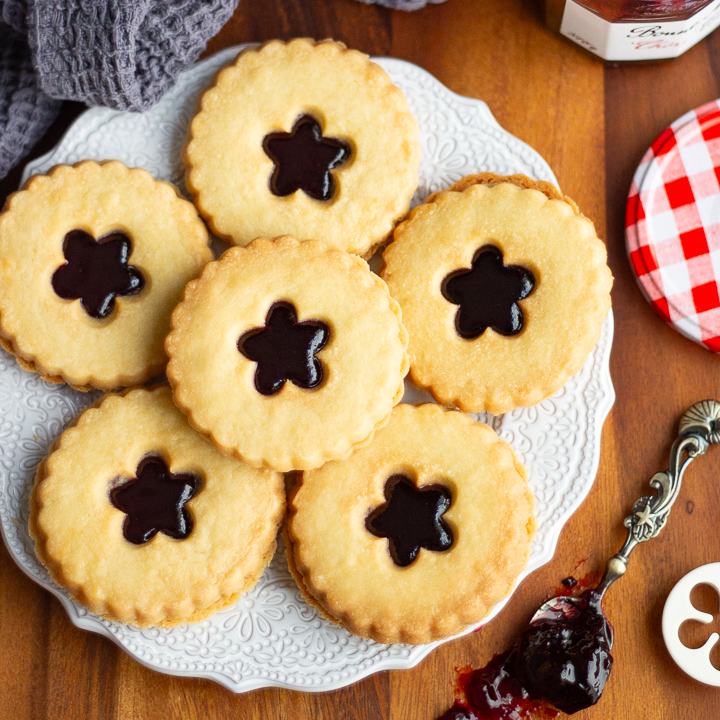
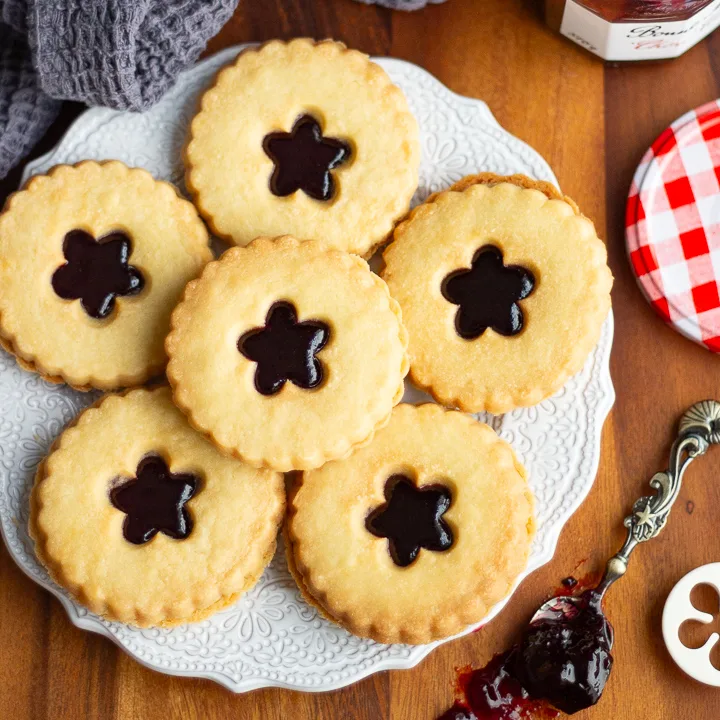
Fancy a grown up twist on a childhood favourite? These black cherry jammy dodgers are buttery and indulgent, with a rich and fruity jam centre that’s a little more grown up than the original. Follow my easy step by step recipe, and enjoy homemade biscuits that are delightfully nostalgic, and just a little bit sophisticated… but not too much!

Why you’ll love this recipe
I used to eat Jammy Dodgers ALL the time as a kid. But as an adult, I found myself wanting a little more from the classic biscuit. So I created this beautiful black cherry jammy dodger recipe! And, trust me, these are much more indulgent than the pre-packed version!
Obviously you can use any jam you like. And you could even turn them into festive treats, like these reindeer sandwich biscuits!
New to baking, or not baked in a while? Brush up on the basics beforehand with baking for beginners.

Ingredients
Confused about what ingredients to buy? Not sure about a substitution? Here’s everything you might need to know…
- Flour – You need plain/all purpose flour. Don’t swap for self raising, or it will completely alter the texture of your biscuits.
- Sugar – This biscuit is quite soft in texture, to achieve that we use icing sugar. I wouldn’t personally substitute it for a granular sugar in this recipe.
- Butter – Unsalted butter is my go to. I like to add the salt separately so I know exactly how much is going in. You can use salted if you like, just don’t add any more salt.
- Salt – Biscuits need salt. It lifts the flavour, and helps with the gluten structure. Don’t leave it out.
- Egg – We only use the yolk in this recipe. Don’t like waste? Make chewy meringues with the leftover egg white.
- Jam – I chose black cherry for a really grown up flavour, but you can use your favourite or whatever you have in your cupboard!

Emma’s top tips
Here are tips you’ll find helpful when making homemade jammy dodgers.
- Don’t skip chilling the dough. This is quite a delicate biscuit dough, and it needs that cold and rest to hold it’s shape better when baked.
- You don’t need to use a flower cutter to cut out the holes in the middle. You could use any shape you like! Circle, triangle, snowflake – whatever takes your fancy.
- Have warm hands or struggle with finger ache? Use a pastry blender to make quick work of rubbing in the butter! My Gran recommended one to me a few years ago, and I’ve never looked back!

Timings
Have limited time? Struggle with recipe timings? Or juggling around other things? Here’s some time managing info to make your life easier!
- Making the dough will take around 10-15 minutes.
- You then need to allow 30 mins for the dough to chill.
- If you need to sieve your jam, it should only take 2 minutes.
- Rolling and shaping your jammy dodgers will take about 10 minutes.
- Baking the biscuits will take between 12-15 mins.
- Filling and sandwiching will take roughly 5-10 mins.
- Your jam will then need to set at room temperature which, depending on the time of year, could take anywhere from 20-60 mins.

Black Cherry Jammy Dodgers – Step by Step Picture Recipe
(For a printer friendly version, see the recipe card at the end of this post)
Please note, this recipe includes both UK metric and US Cup measurements.
Ingredients
Here is what you will need to make 10-12
- 250g (1 + 3/4 Cup) Plain Flour
- 100g (1 Cup) Icing Sugar
- 200g (3/4 Cup + 1 tbsp) Unsalted Butter, cold and cubed
- Pinch of Salt
- 1 Egg Yolk
- 250g (3/4 Cup) Black Cherry Jam *
Essential Equipment
- Large Mixing Bowl
- Pastry Blender (optional)
- Clingfilm
- Large Baking Tray
- Silicone Baking Mat or Baking Paper
- Sieve (optional)
- Small Bowl (optional)
- Spoon (optional)
- Rolling Pin
- 6.5cm Fluted Cookie Cutter
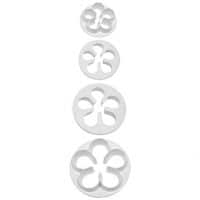
- 3cm Blossom Flower Cutter
- Wire Cooling Rack
*I used Bonne Maman Black Cherry Conserve
Dough instructions
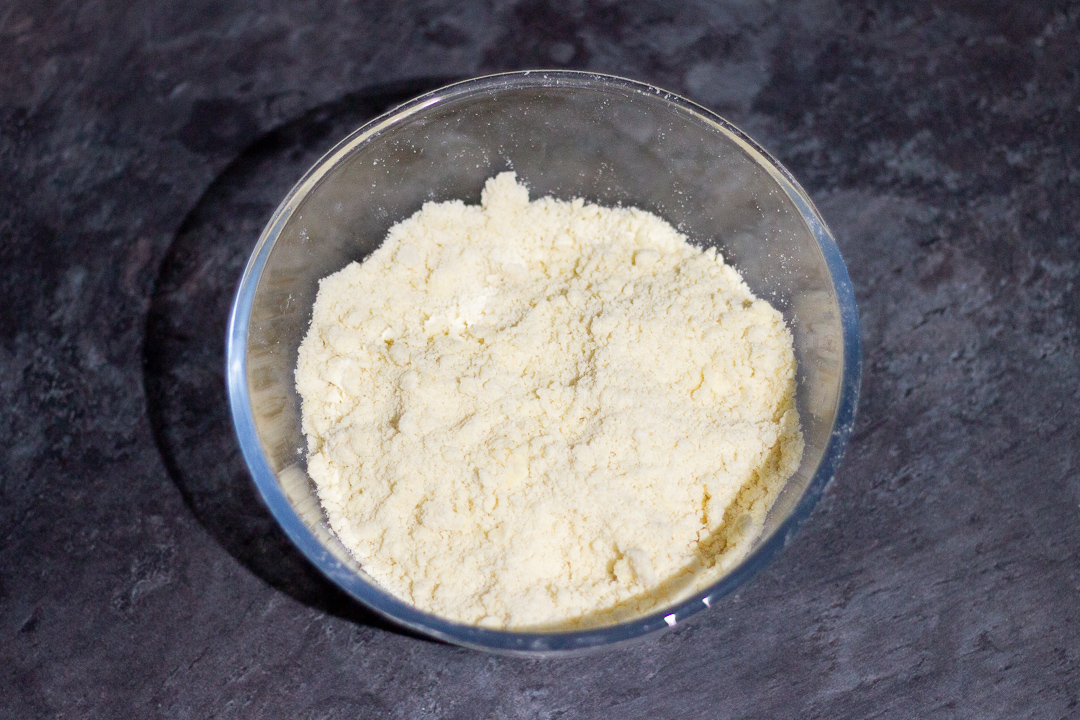
First, sift the flour (250g | 1 + 3/4 Cup) and icing sugar (100g | 1 Cup) into a mixing bowl, then add in the butter (200g | 3/4 Cup + 1 tbsp cold and cubed) and salt (pinch). Now rub it all together between your forefingers and thumbs (or use a pastry blender), until it becomes a fine breadcrumb consistency.


Next, add in the egg yolk (x 1) and give it a quick mix, until it comes together to form a dough. It may feel a little sticky.
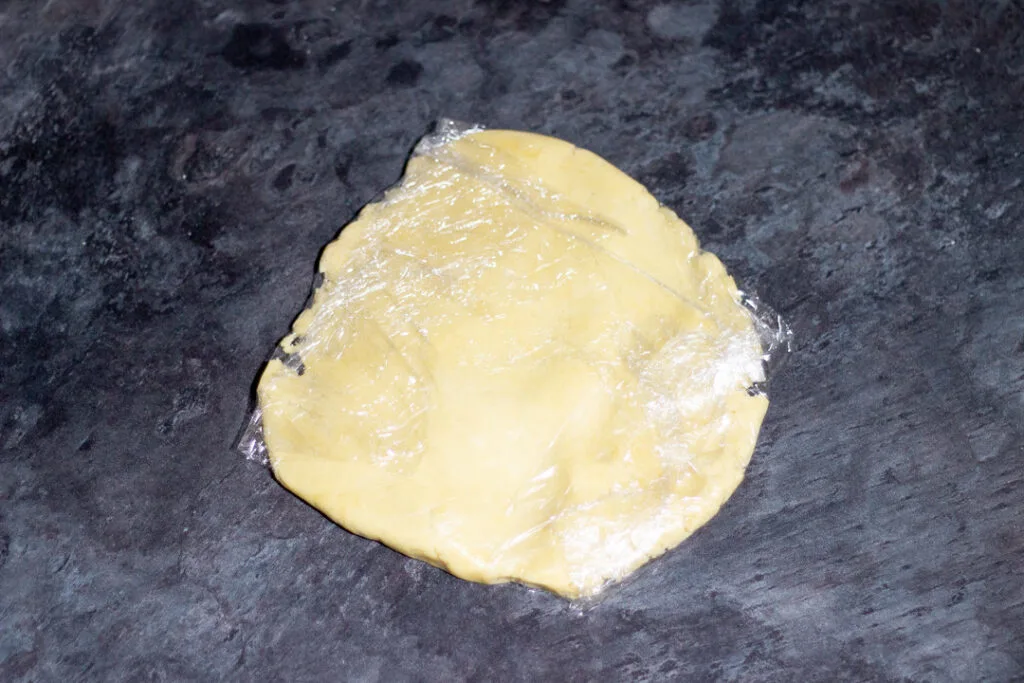
Now bring it all together into a ball, and place onto a piece of cling film. Flatten into a large disc, wrap up, and chill in the fridge for 30 minutes.

Meanwhile preheat your oven to 170°C/Fan 160°C/338ºF, and line your baking tray with a silicone baking mat or baking paper.
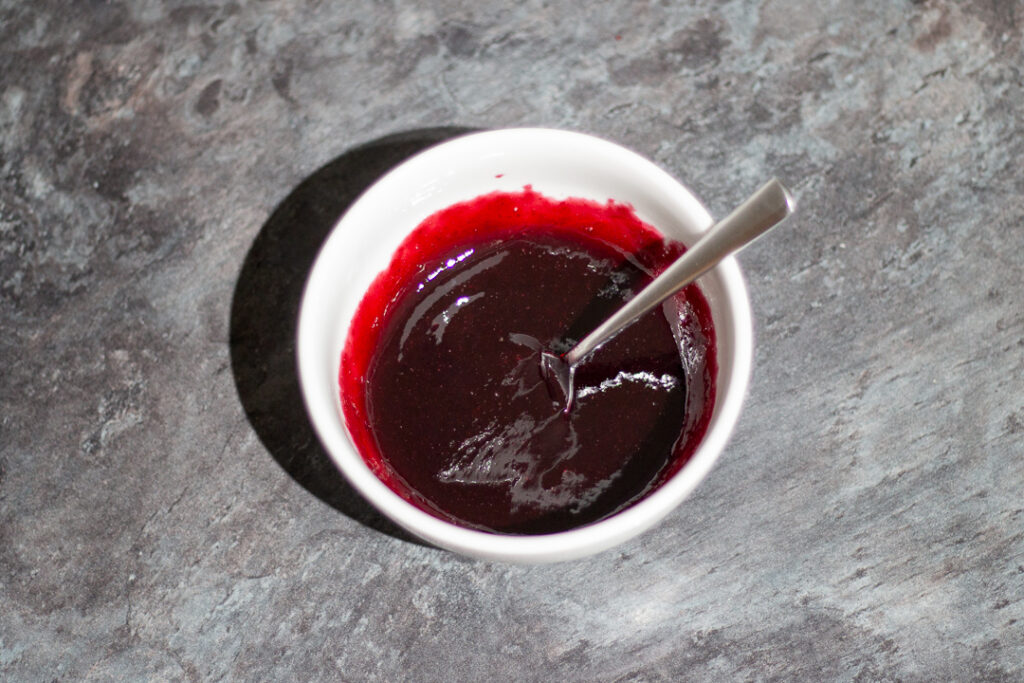
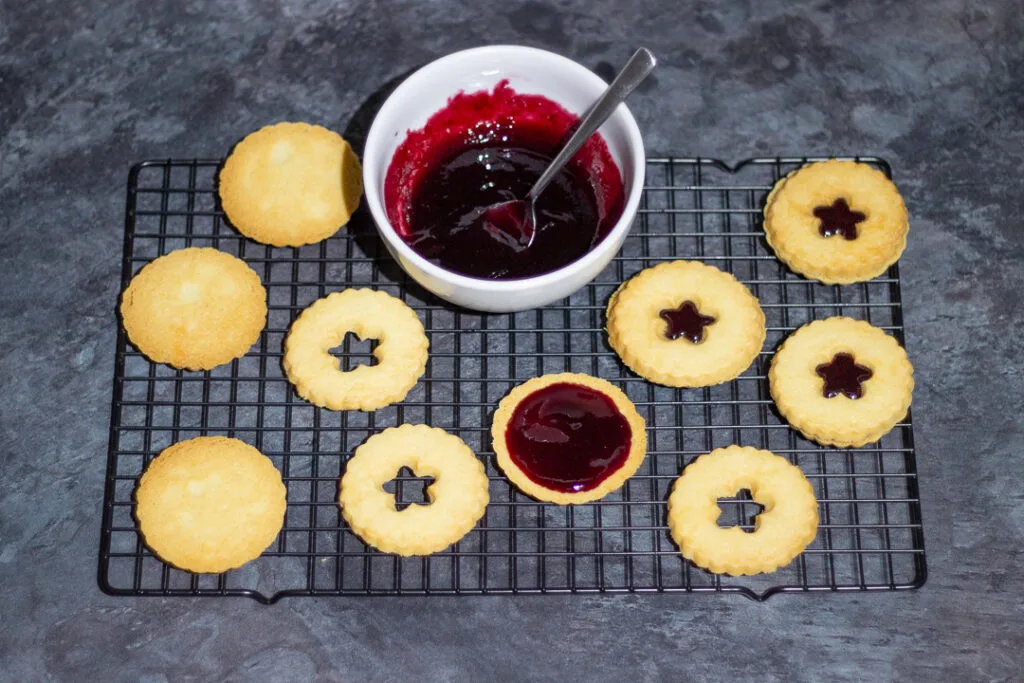
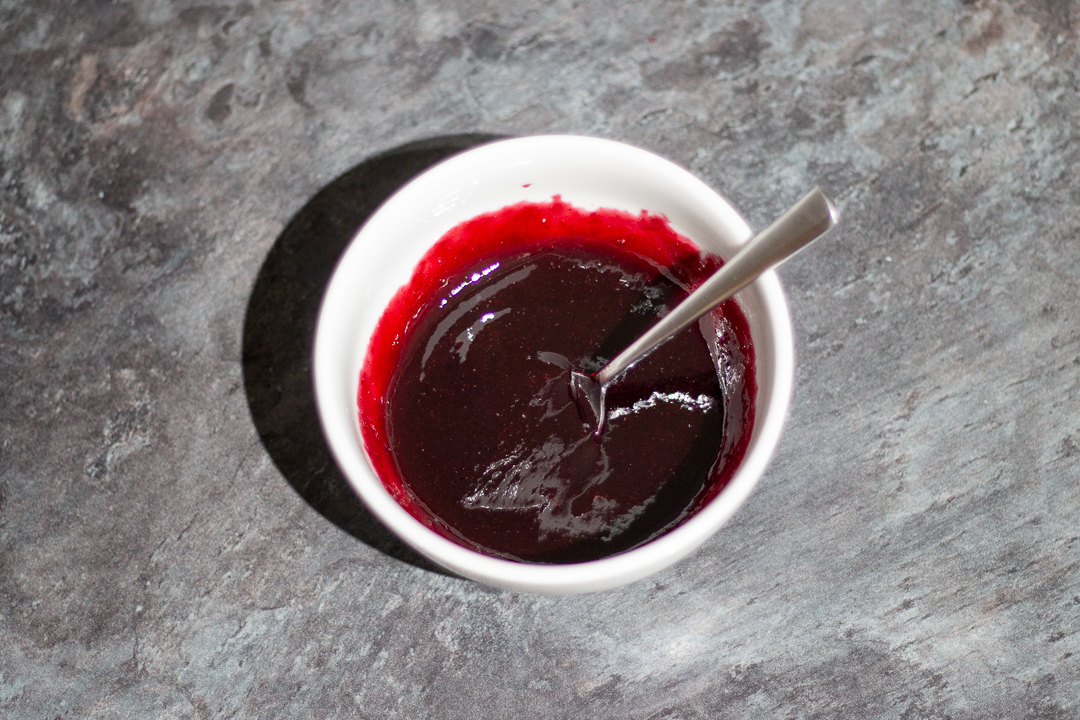
This next step is optional, but I like my jam (250g | 3/4 Cup) to be nice and smooth, so I push it through a sieve set over a small bowl with a spoon. Then pop it into the fridge until needed.


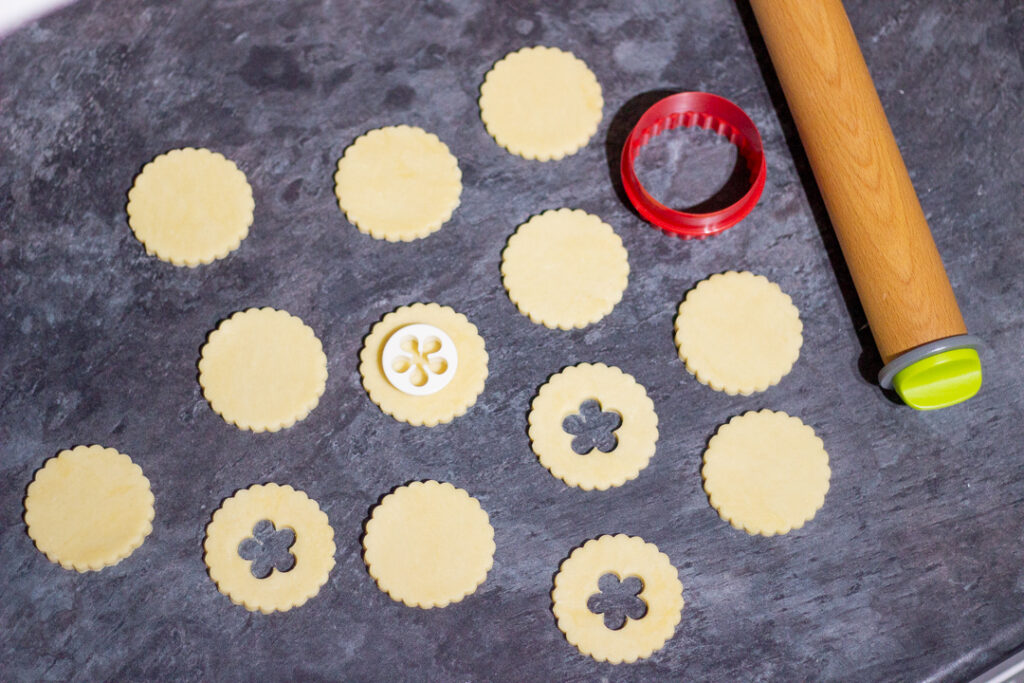
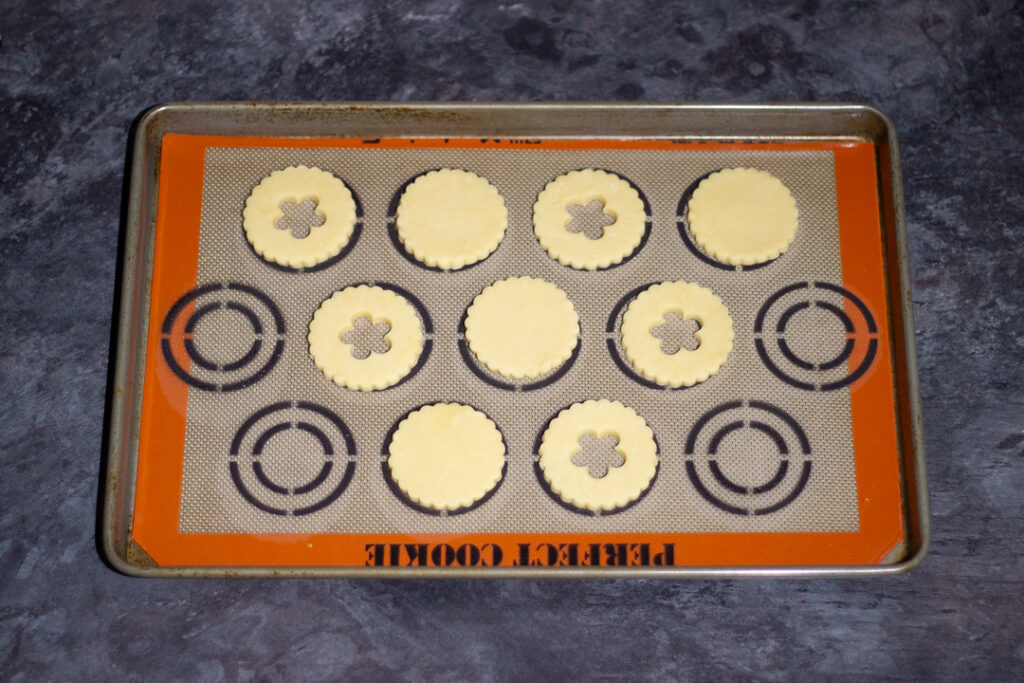
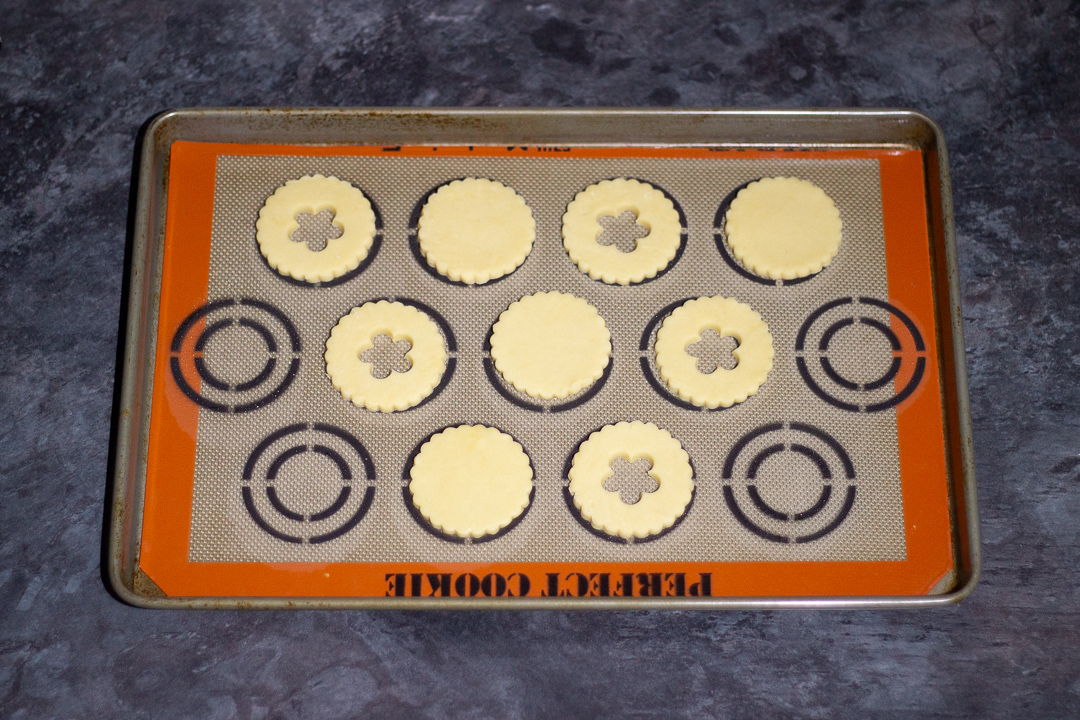
Once the dough is chilled, roll it out to approx 5mm thick, and cut out as many circles as you can (using a 6.5cm fluted circle cutter). Then re-roll any scraps of dough to 5mm, and repeat until all the dough is used up.
Next, cut out the middles of HALF the biscuits (using a 3cm blossom flower cutter). Don’t throw them away though! You might be able to make another biscuit from those scraps.

Baking instructions
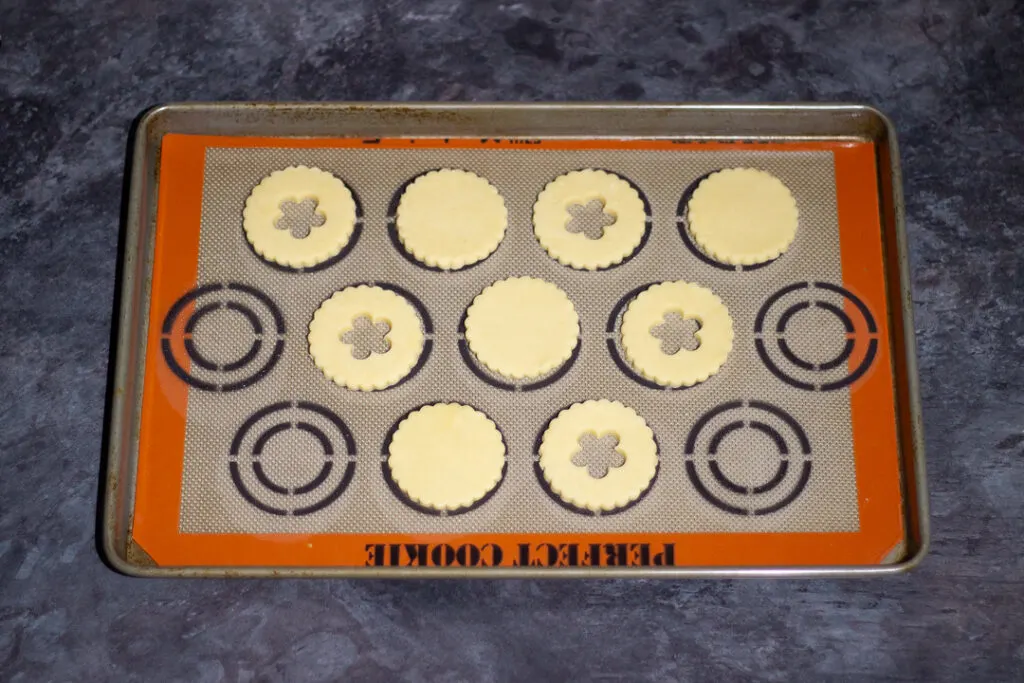
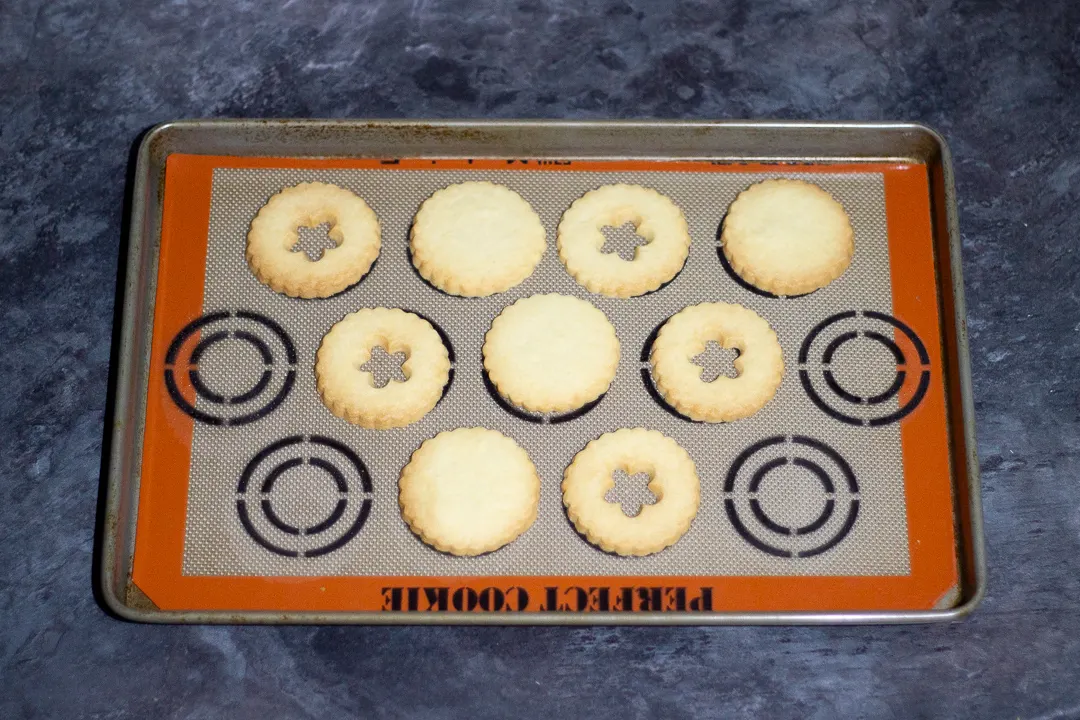
Next, evenly space out the biscuits on your prepared baking tray (leave a little room for spreading), and pop into the oven to bake for 12-15 mins, until golden brown round the edges.
Pop any unbaked ones back into the fridge, until just before you bake them.
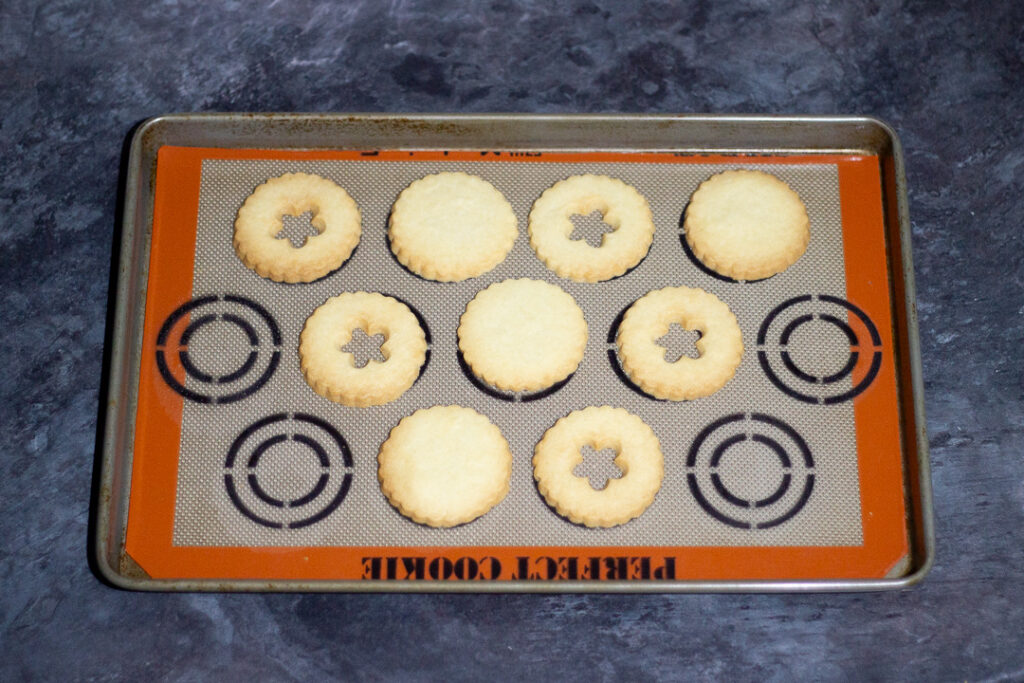
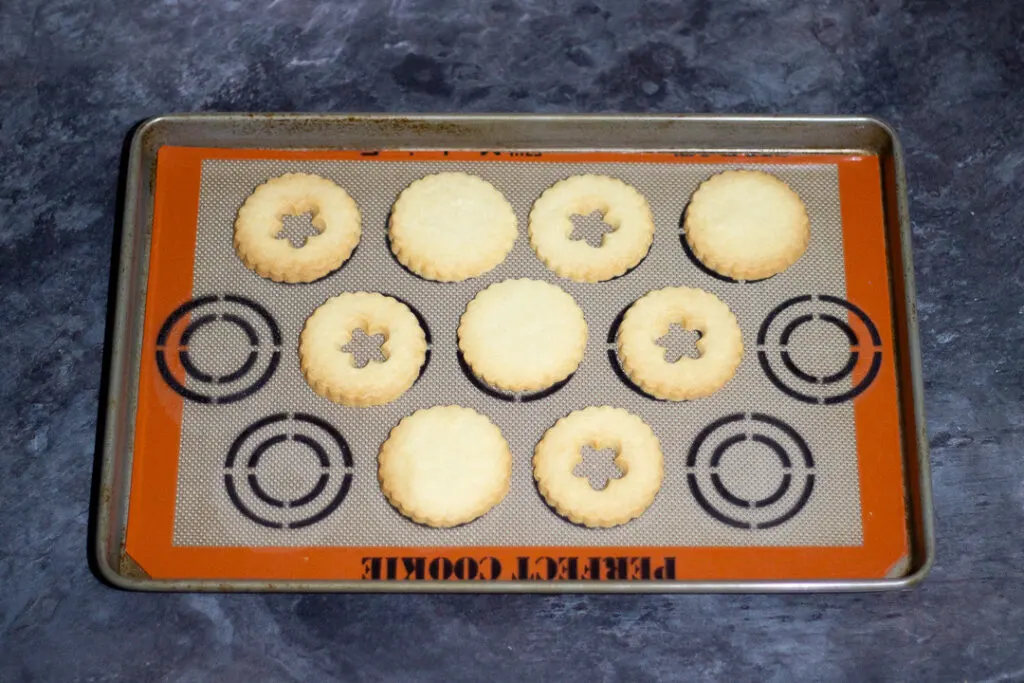
When cool enough to handle, transfer the baked biscuits to a wire rack to cool slightly.
While the biscuits are still a little warm, spoon a generous dollop into the middle of each ‘non holed’ biscuit and spread out almost to the edge. Then top with a ‘holed’ biscuit and push down gently.

Repeat until all the biscuits are filled and sandwiched together, then allow to sit on the cooling rack until the jam is set again.

How to store homemade jammy dodgers
Store your beautifully buttery black cherry jammy dodgers in an airtight container (I prefer metal, as they keep their crunch for longer) and consume within 4-5 days.
FAQs
100% YES! The joy of homemade baking is that you get to choose the flavours. Use whatever jam you have, or your favourite flavour.
If you don’t chill the dough for 30 minutes before cutting and baking, they will spread quite a lot. It’s also possible you got the ingredient ratio incorrect.
Yes, you can make the dough, wrap it well, and keep in the fridge for up to 48 hours. Let it sit at room temperature for a little before rolling, so it’s easier to work with.
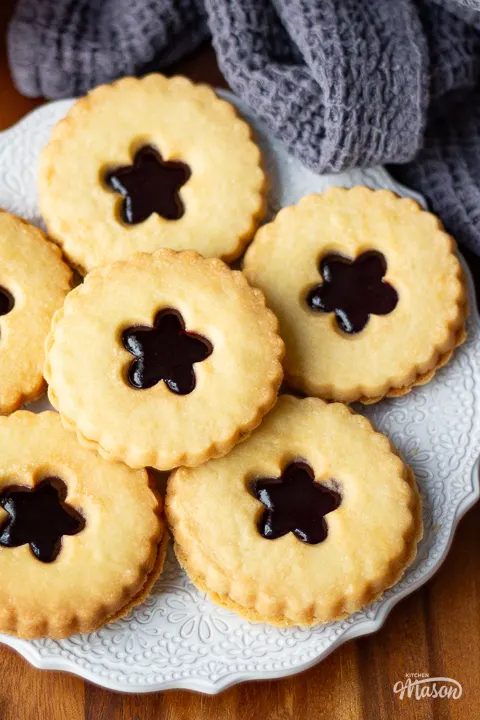
Loved this jammy dodgers recipe? Pin it!
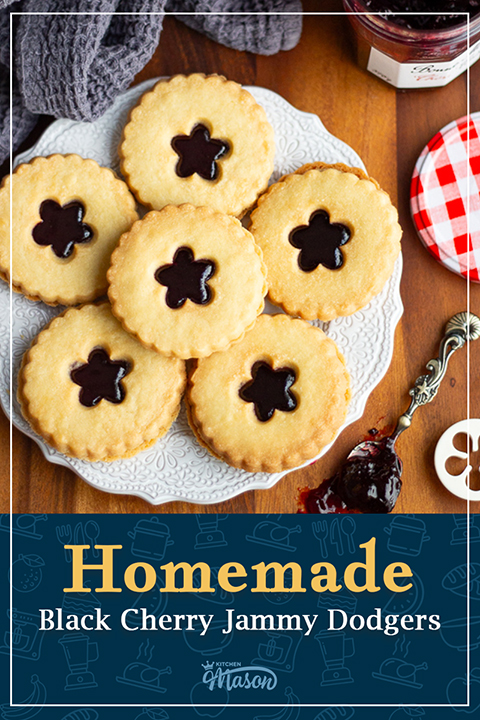
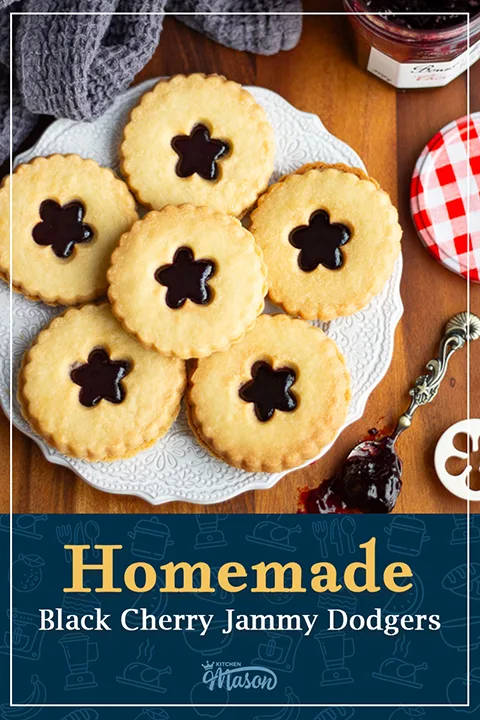
Black Cherry Jammy Dodger Recipe
A tasty twist on a childhood favourite, these Black Cherry Jammy Dodgers are fruity, buttery, indulgent, and a little more grown up!
Ingredients
- 250g (1 + 3/4 Cup) Plain Flour
- 100g (1 Cup) Icing Sugar
- 200g (3/4 Cup + 1 tbsp) Unsalted Butter, cold and cubed
- Pinch of Salt
- 1 Egg Yolk
- 250g (3/4 Cup) Black Cherry Jam *
Essential Equipment
- Large Mixing Bowl
- Pastry Blender (optional)
- Clingfilm
- Large Baking Tray
- Silicone Baking Mat or Baking Paper
- Sieve (optional)
- Small Bowl (optional)
- Spoon (optional)
- Rolling Pin
- 6.5cm Fluted Cookie Cutter
- 3cm Blossom Flower Cutter
- Wire Cooling Rack
Instructions
- Rub together the flour, icing sugar, butter and salt in a mixing bowl, until it becomes a fine breadcrumb consistency.

- Add the egg yolk, and mix until a dough forms. Then bring the dough together into a ball, wrap in cling film, flatten to a disc, and chill in the fridge for 30 minutes.

- Preheat your oven to 170°C/Fan 160°C/338ºF. Then, if seeded or chunky, push the jam through a sieve set over a small bowl with a spoon. Pop into the fridge until needed. (Optional)
- Roll the chilled dough out to approx 5mm thick, and cut out as many circles as you can. Re-roll any scraps of dough and repeat until it's all used up. Then cut out the middles of HALF the biscuits using a blossom flower plunge cutter (or similar).

- Evenly space out the cookies on a baking tray (with room for spreading) and bake in the oven for 12-15 mins, until golden brown on the edges. When cool enough to handle, transfer to a wire rack to cool slightly.
- While the biscuits are still a little warm, spoon a generous dollop of jam in the middle of each 'non holed' biscuit. Spread it out almost to the edge, then top with a 'holed' biscuit. Repeat for all of them, then allow to sit on the cooling rack until the jam has solidified again.


Notes
*I use Bonne Maman Black Cherry Conserve
If you would rather use a more in depth picture recipe, please see the main body of this post. Where you’ll also find lots of extra FAQs and helpful tips, should you need them.
Please note, this recipe includes both UK metric and US Cup measurements.
Storage
Store your beautifully buttery black cherry jammy dodgers in an airtight container (I prefer metal, as they keep their crunch for longer) and consume within 4-5 days.
Tips
- Don't skip chilling the dough. This is quite a delicate biscuit dough, and it needs that cold and rest to hold it's shape better when baked.
- You don't need to use a flower cutter to cut out the holes in the middle. You could use any shape you like! Circle, triangle, snowflake - whatever takes your fancy.
- Have warm hands or struggle with finger ache? Use a pastry blender to make quick work of rubbing in the butter! My Gran recommended one to me a few years ago, and I've never looked back!
Recommended Products
As an Amazon Associate and member of other affiliate programs, I earn from qualifying purchases at no extra cost to you.


Nutrition Information:
Yield: 10 Serving Size: 1Amount Per Serving: Calories: 363Total Fat: 18gSaturated Fat: 11gTrans Fat: 0gUnsaturated Fat: 6gCholesterol: 61mgSodium: 34mgCarbohydrates: 48gFiber: 1gSugar: 23gProtein: 3g
Nutritional information on kitchenmason.com should only be used as a general guideline, I am not a certified nutritionist. Please always check labels for allergens where applicable.
If you like this jammy dodgers recipe…
…you might also like:
- Easy peasy lemon biscuits recipe
- Classic bourbon biscuit recipe
- Chocolate florentines recipe
- Chewy white chocolate chip cookies
- Easy gingerbread biscuits
I want to see YOUR baking!
Have you made these posh black cherry jammy dodgers? I’d love to know if you have! Tag me in your pics on Facebook, Twitter and Instagram or email me at emma@kitchenmason.com.


Experienced British Online Publisher, recipe writer, and home cook, Emma has a background of over 20 years in British cuisine and cooking. Born and bred in the UK, she excels in classic British dishes, is passionate about air frying, and loves sharing her Gran’s old school recipes. She has been featured in popular publications such as Food Network, Cosmopolitan, and The Huffington Post.
Knowledgeable On: Traditional British Cuisine, Recipe Writing, Air Frying, Home Cooking.