This post may contain affiliate links. Where I make a small commission on purchased items, at no extra cost to you. See my disclosure for details.
When it comes to hot chocolate sticks, the possibilities are literally endless. Think of all the flavour combinations or toppings you could use! And guess what? You can absolutely make vegan and gluten free versions of these without even breaking a sweat. These hot chocolate stirrers are honestly the most perfect homemade Christmas gift EVER! Want to know more? Read on my friend…

Someone once told me “Time is the most valuable thing you ever get. You can’t buy more and you can never get it back.” It’s a phrase that’s always resonated with me. This is why I love homemade gifts as I feel like, if you take the time to make something for someone, it’s so much more precious than a big expensive gift could ever be!
With that in mind, I’ve been trying to think of super easy (and not too expensive) homemade Christmas gifts that you can make for your loved ones this year. Whether you’re trying to cut back on spending or just want to show someone how much you love them, these hot chocolate sticks really are the perfect homemade gift! Oh and super cute reindeer cookies, they’re pretty perfect too!
If it’s more of a treat you’d like to make for yourself at home, or for loved ones when they visit – you might like to try this Christmas hot chocolate recipe. Needed for more of a crowd? Slow cooker hot chocolate might be your best bet.
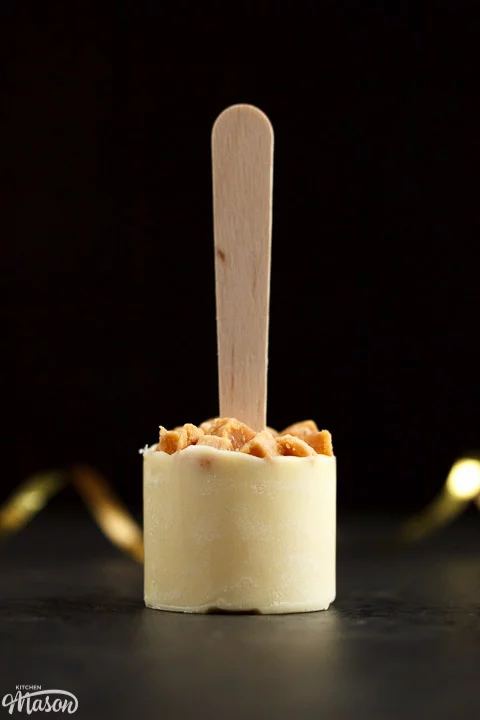
Are hot chocolate sticks expensive to make?
They don’t have to be expensive at all! I’ve tried making these with the cheap supermarket own brand bars of chocolate and they’ve still been really delicious. Do bear in mind that, whatever chocolate you decide to buy, will be the dominant overall flavour. So make sure it’s one you/your loved ones really like.
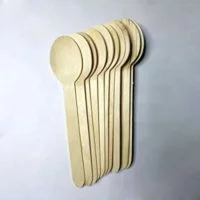
As for the equipment, (wooden teaspoons/lollipop sticks, cellophane wrap, curling ribbon etc) all of it can be bought from places like eBay or Amazon very cheaply.
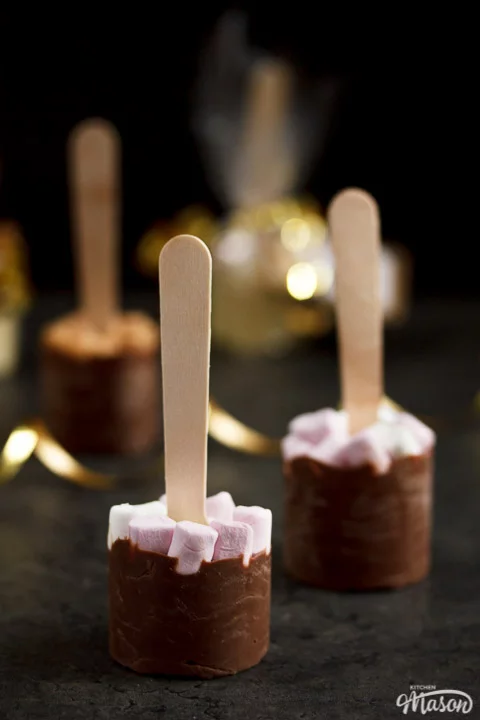
What chocolate can I use?
Any chocolate you like! If you can melt it, you can use it. I do recommend using the best quality chocolate you can afford though, as that’s what is going to give the hot chocolate it’s flavour. Usually, chocolate with a higher cocoa content gives the best overall flavour. As is the same when you make hot chocolate in a Velvetiser.
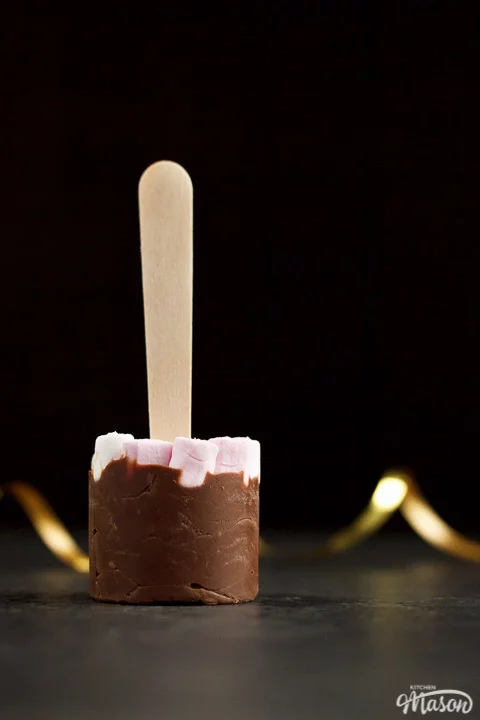
What flavour hot chocolate sticks can I make?
Now this is a seriously fun question! Here are some that I am desperate to try…
- Galaxy chocolate topped with little white chocolate stars
- Dairy Milk chocolate topped with white chocolate buttons
- Terry’s Chocolate Orange topped with mini segments
- Melted Maltesers with a handful of Maltesers in the bag for topping
- Melted Mint Aero topped with chopped Mint Aero pieces
- Milk chocolate topped with Reese’s peanut butter chips
- Bourneville Chocolate Orange topped with marshmallows
- Lindt Lindor topped with marshmallows
- Kinder bar topped with chopped Kinder bar
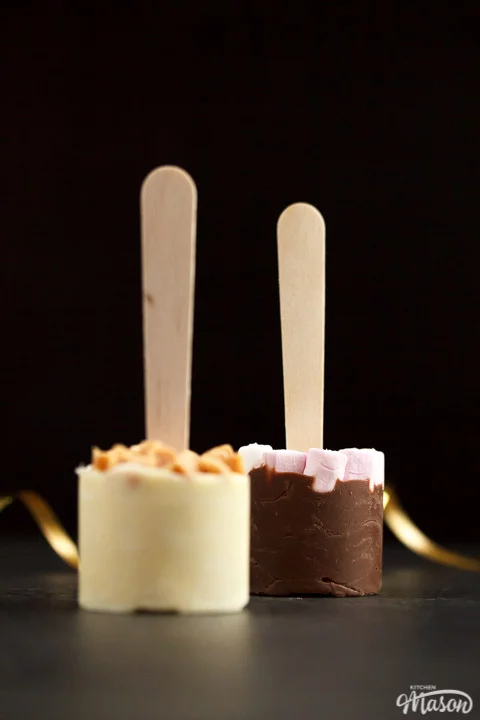
What toppings can I use for hot chocolate sticks?
Ideally you want to try and use things that will melt. Here are a few ideas…
- Milk chocolate buttons
- White chocolate buttons
- Maltesers
- Marshmallows
- Fudge Pieces
- Chocolate Chips
- Reese’s peanut butter chips
- Chopped chocolate
- Chocolate jazzies
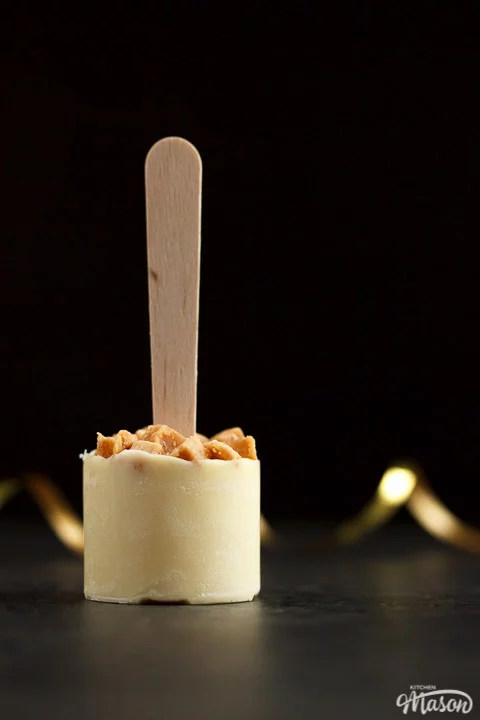
How long do homemade hot chocolate sticks keep for?
These will easily last for 2 – 3 weeks once wrapped. And if you don’t use marshmallows? They’ll last even longer! Marshmallows harden over time once taken out their packet. So if you want a really long shelf life, stick to things like fudge pieces, chocolate buttons or Reese’s peanut butter chocolate chips.
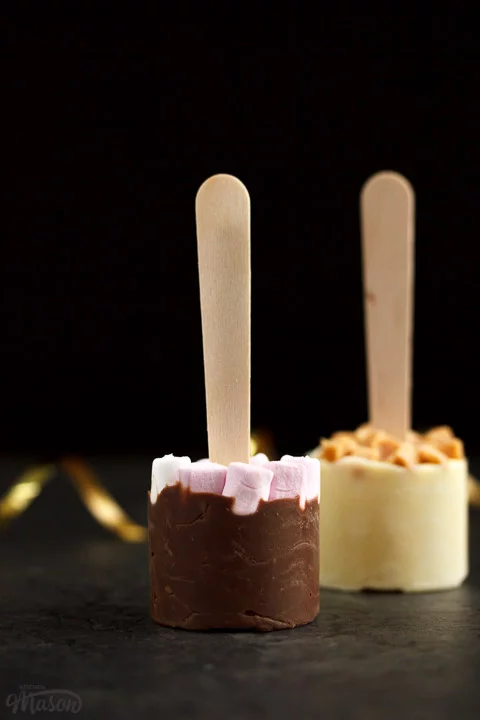
How much chocolate do I need for 1 hot chocolate stick?
You will need about 50g chocolate per stick, plus whatever you are going to top it with.
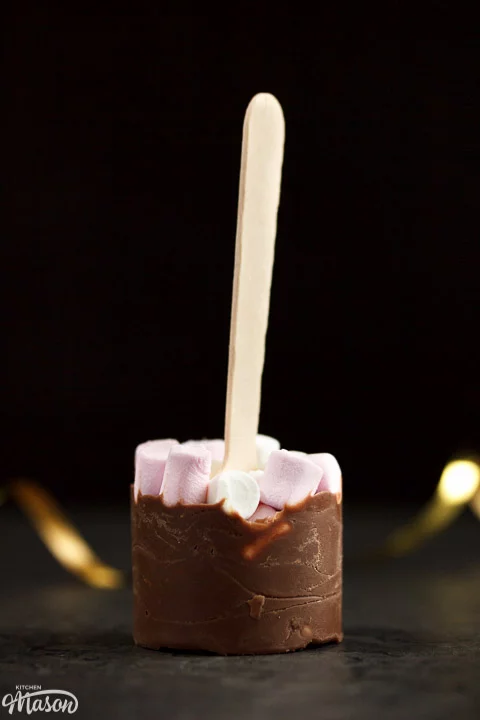
What can I use as a hot chocolate sticks mould?
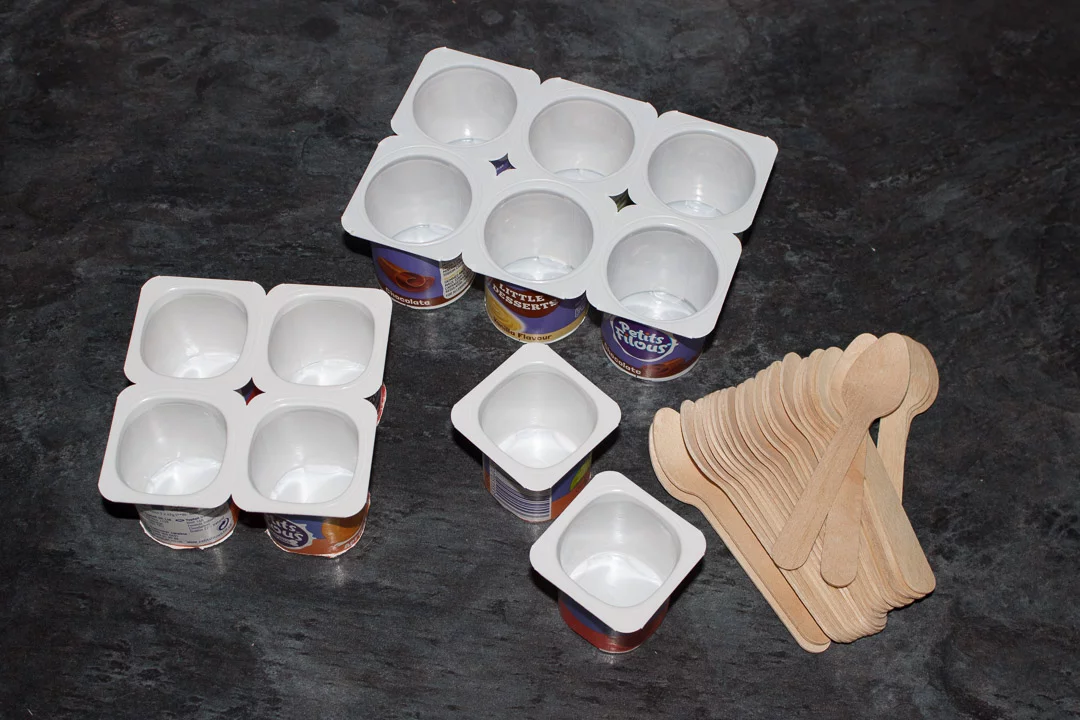
Of course you can use all kinds of crazy expensive silicone moulds but honestly? I like to use small fromage frais yoghurt pots. You know, those cute little ones that toddlers eat? (i.e. petit filous). They’re SO much cheaper plus you get free yoghurt! Just make sure you wash them well before you use them.
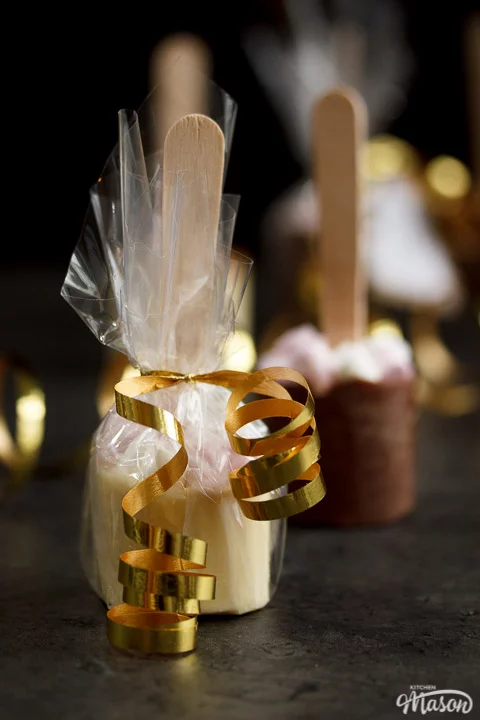
Can I make vegan / gluten free hot chocolate sticks?
Absolutely! It’s much easier than you think too. There are plenty of vegan and gluten free chocolates available now and not all of them are super expensive either. For example, you could use Bourneville Dark Chocolate Orange topped with vegan mini marshmallows – YUM! A lot of supermarket own brand dark chocolate is accidentally vegan too. Remember to always check the labels though, especially if you are making hot chocolate sticks for people with allergies.
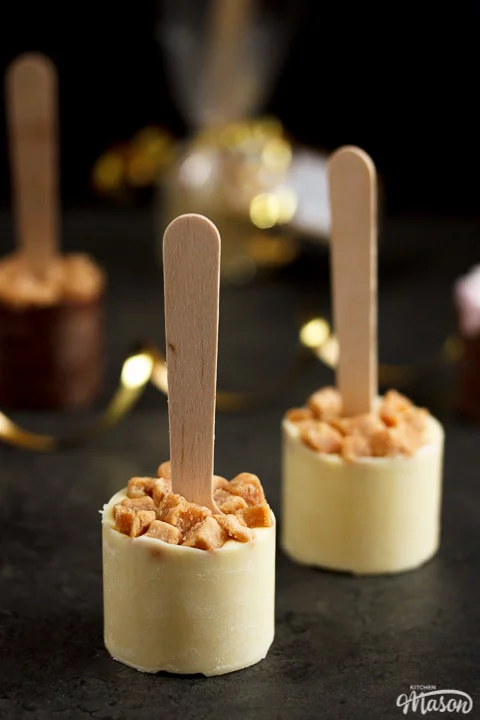
Tips for making hot chocolate sticks
- Do NOT forget to lightly oil the yoghurt pots before filling them with melted chocolate! If you don’t, you will really struggle to get them out.
- Use the best quality chocolate you can afford. The chocolate is what gives all the flavour, so make it count!
- Try using your favourite brands of chocolate. (Galaxy, Dairy Milk, Mint Aero etc)
- Bear in mind that white chocolate will be very sweet, milk chocolate less so but still quite sweet and dark chocolate will be a more rich flavour.
- Make up to 2 weeks in advance for cute Christmas / Valentines gifts.
- Get the kids involved and let them write the tags. This will make beautiful homemade gifts for family.
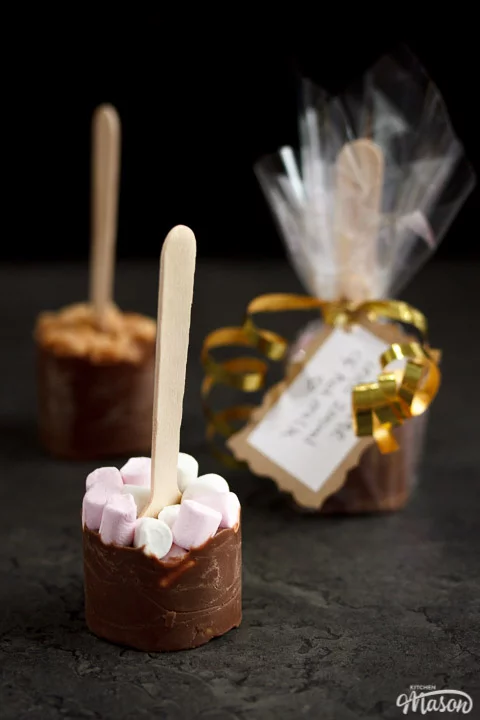
Other homemade Christmas gifts you might like…
- Christmas pudding teacakes
- CRAZY cute reindeer cookies
- Cranberry white chocolate tiffin
- 3 Ingredient Oreo truffles
- Shortcrust pastry mince pies – from scratch!
- White chocolate pecan cranberry fudge
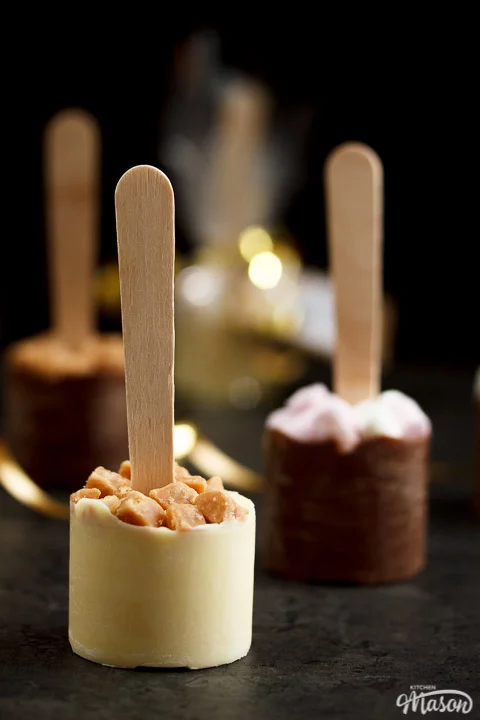
Easy Hot Chocolate Sticks – Step by Step Picture Recipe
(For a printer friendly version, see the recipe card at the end of this post)
Ingredients
Here is what you will need to make 12.
- Flavourless Oil (such as sunflower or vegetable), for greasing
- 300g (10.5 oz) White Chocolate
- 300g (10.5 oz) Milk Chocolate
- Mini Marshmallows
- Fudge Pieces
Essential equipment
- 12 Fromage Frais Yoghurt Pots (i.e. Petit Filous)
- 2 x Microwavable Bowls
- 2 x Disposable Piping Bags
- 12 Wooden teaspoons or lollipop sticks
- 12 Gift Tags
- Clear Cellophane Wrap
- Curling Ribbon
Instructions
First and most importantly lightly grease each yoghurt pot with a little oil and set to one side until needed. I find it easiest to use my fingers rather than a pastry brush.
Now break the white chocolate (300g | 10.5 oz) into a microwavable bowl and the milk chocolate (300g | 10.5 oz) into another microwavable bowl. For the white chocolate, heat in 10 second intervals in the microwave. Make sure you stir well between each time. When it’s two thirds melted, stir until it’s completely melted and smooth. Repeat for the milk chocolate.
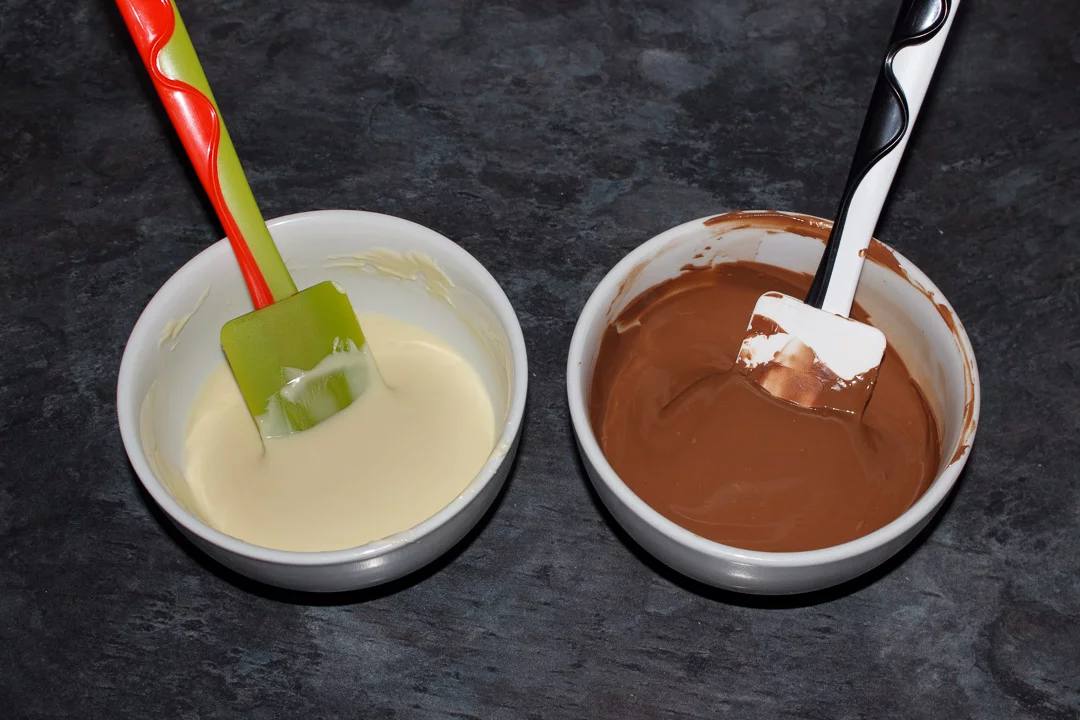
Fill each greased yoghurt pot with metled white or milk chocolate to about two thirds full. (I prefer to use disposable piping bags for this job as it’s less messy.)
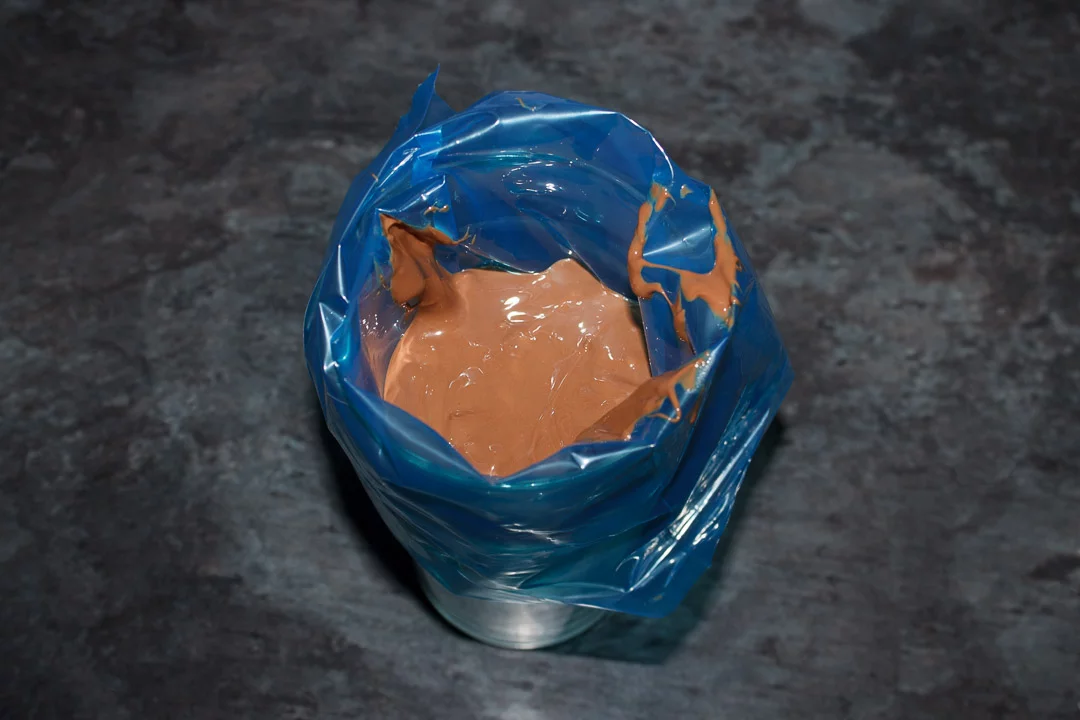
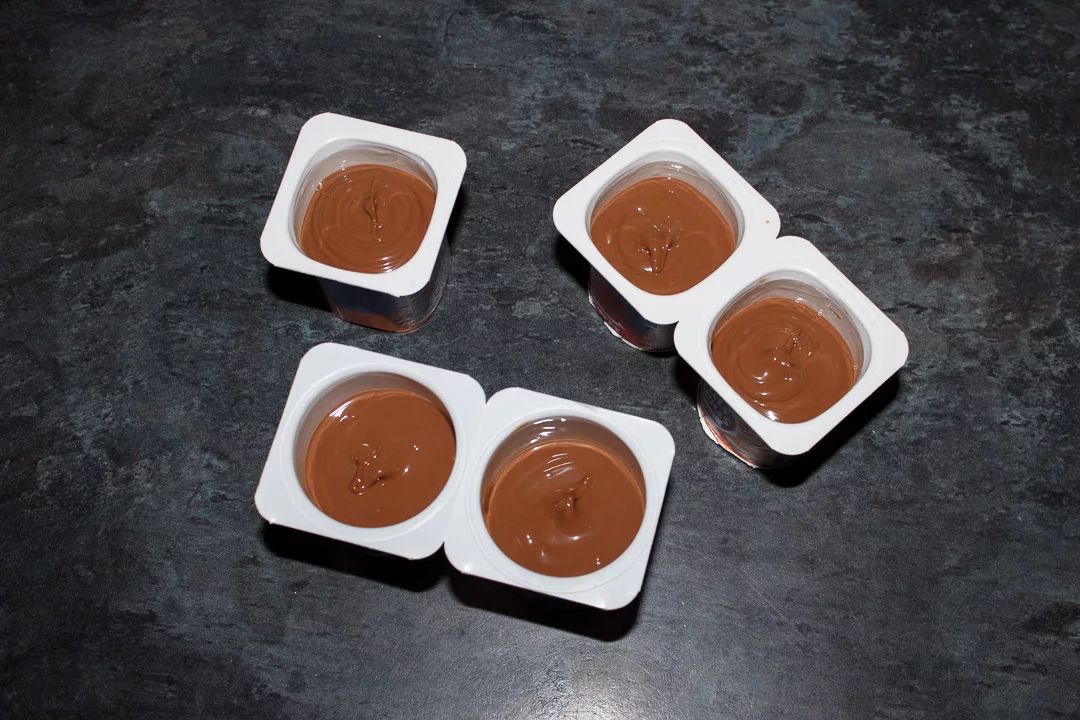
Once the pots have chocolate in, carefully push a wooden teaspoon or lollipop stick into the middle of each one. The chocolate should hold them in place.
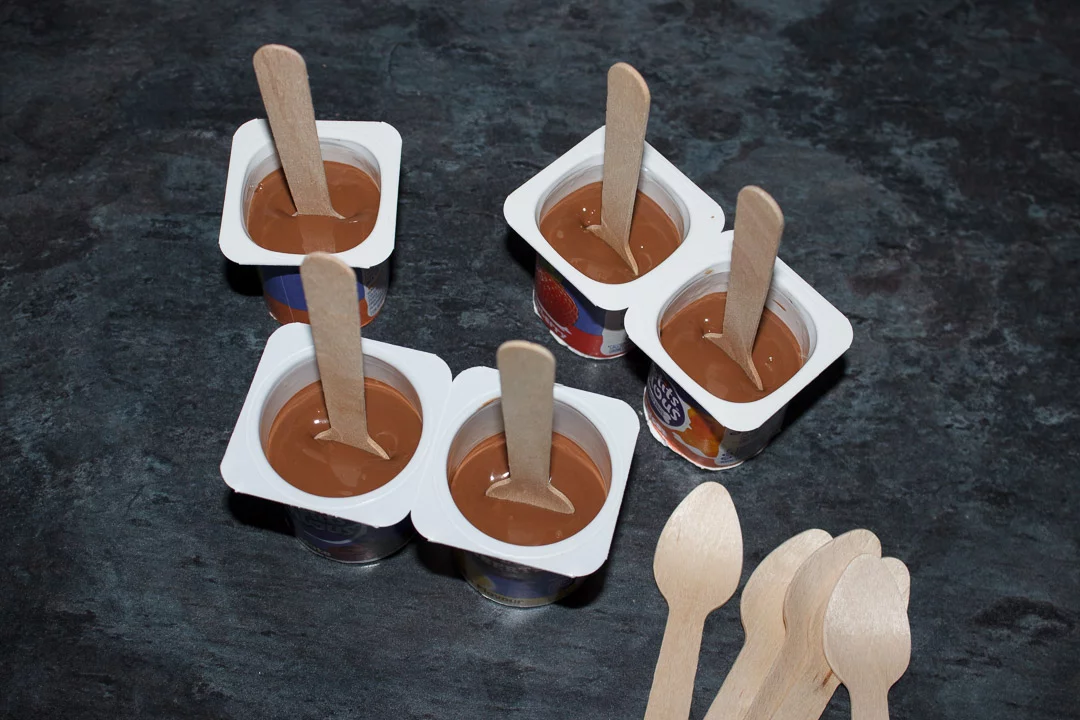
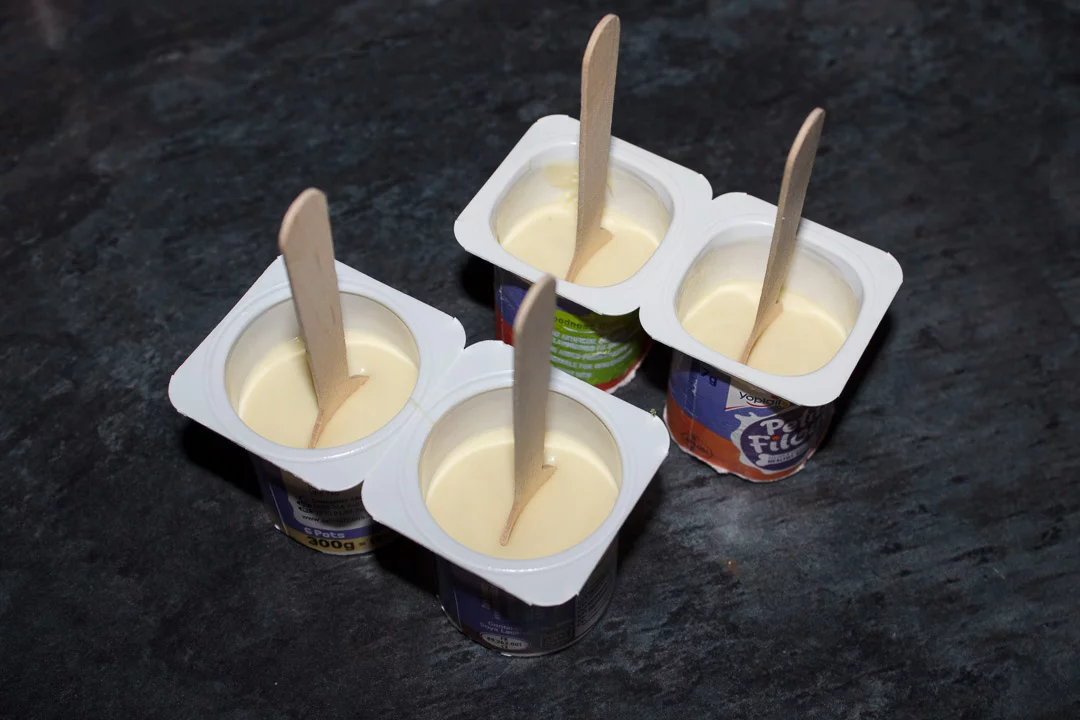
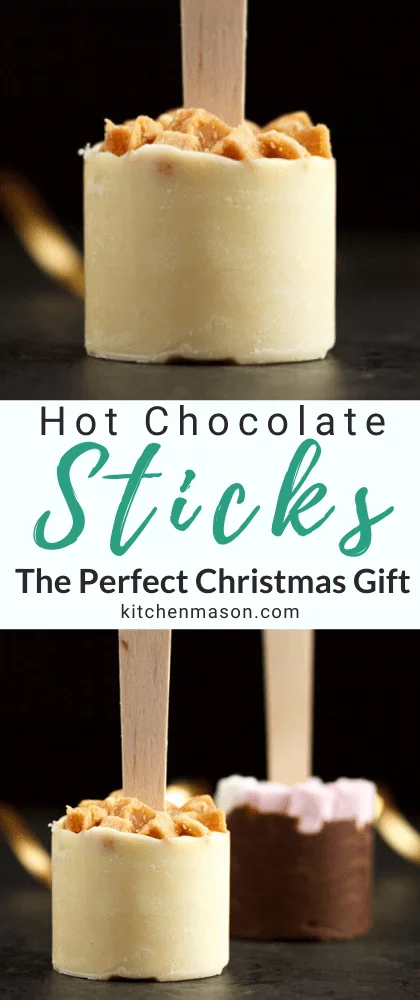
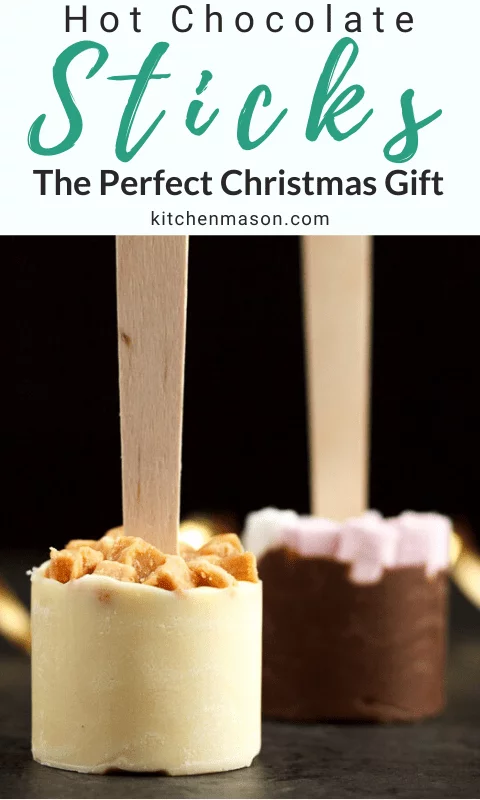
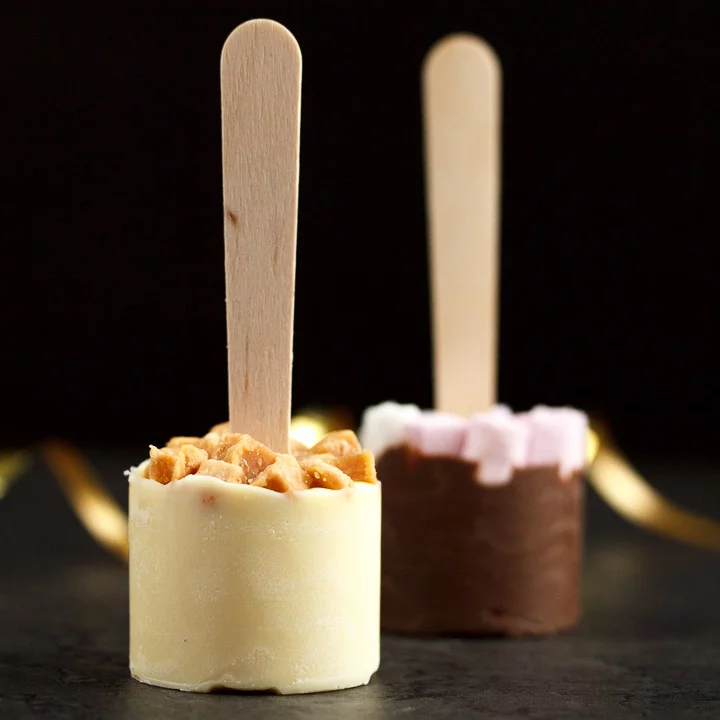
Time for the fun bit! The toppings. Top some with mini marshmallows and others with mini fudge pieces. Try and squeeze in as many as you can but try not to push them into the chocolate – keep them on the top.
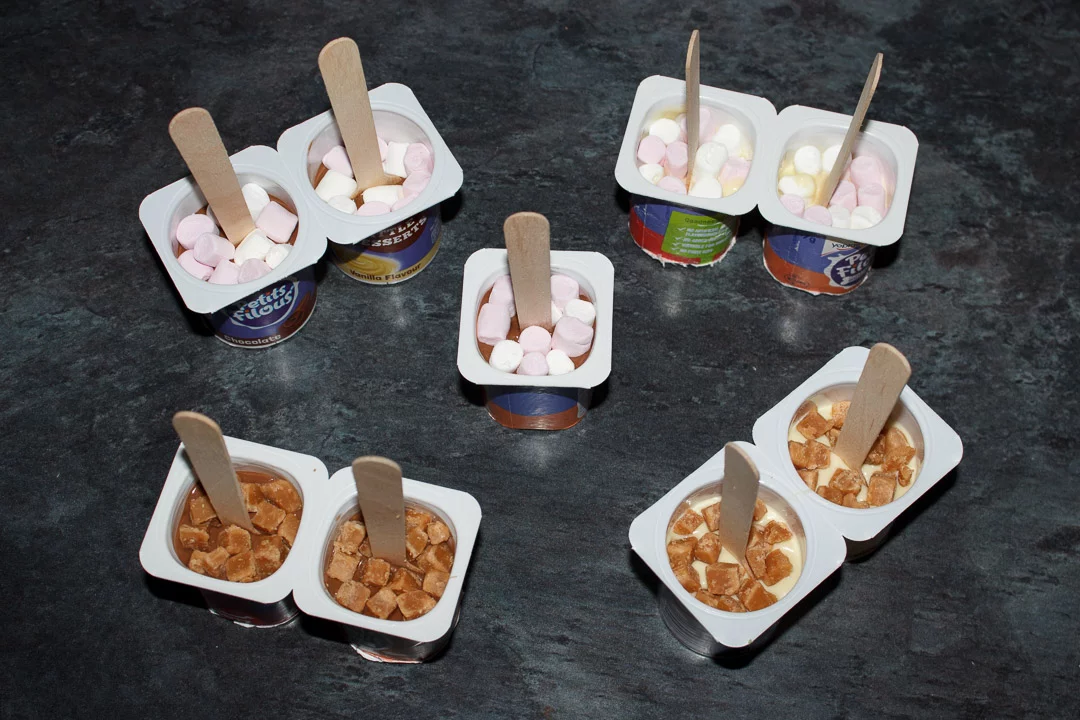
If you need to, re-centre the wooden teaspoons/lollipop sticks so they’re straight and in the middle. Then place them into the fridge to set completely for around 3 – 4 hours. (Overnight is fine too.)
When they’re completely set, carefully pull them out the yoghurt pot moulds. Now you’re ready to gift wrap!
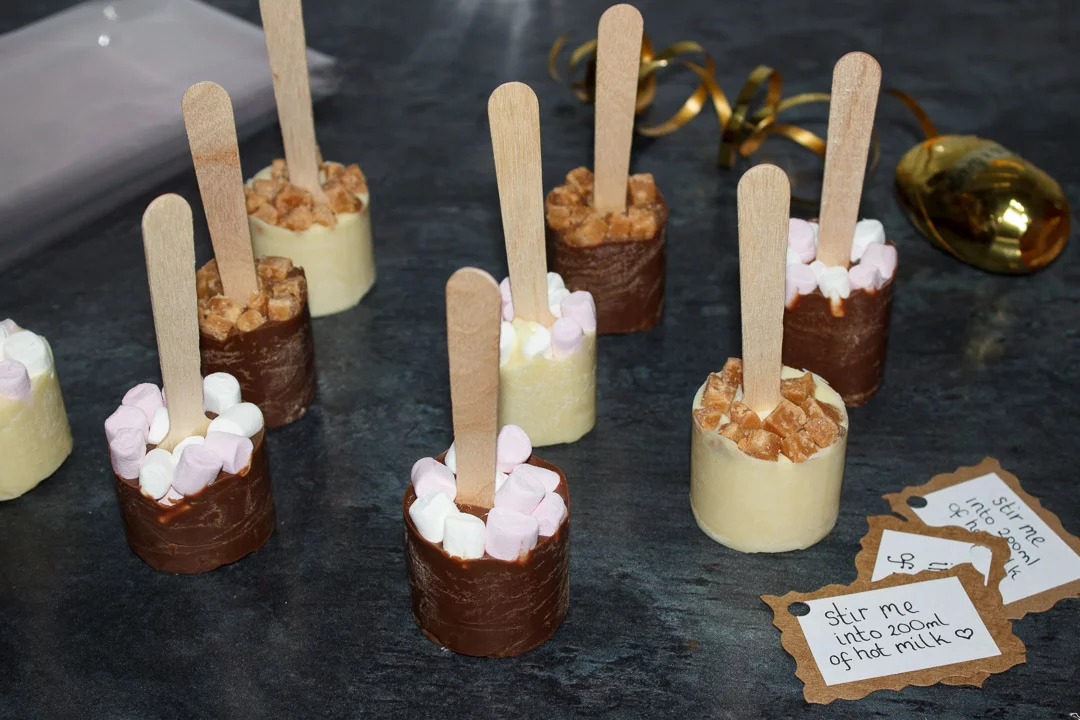
How to gift wrap hot chocolate sticks
- Write “Stir me into 200ml of hot milk” on each of your gift tags.
- Place a hot chocolate stick into the middle of a square of clear cellophane wrap.
- Thread a tag through some curling ribbon and bunch up the cellophane wrap around the hot chocolate spoon/stick.
- Tie the curling ribbon/tag tightly round to secure it.
- Trim and curl the ribbon.
- Repeat for all remaining hot chocolate sticks.
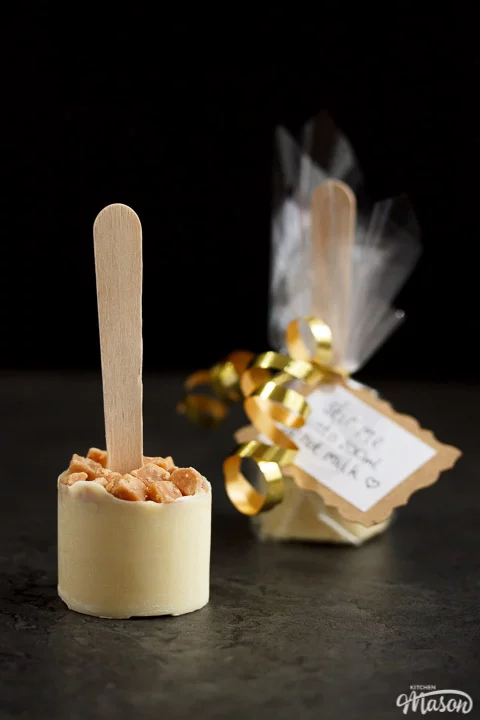
Tadah! You now have the cutest most delicious homemade gifts EVER! You should definitely keep one of two back for yourself though. I mean, all that making is thirsty work! Plus I guarantee you’re going to love them too…

Have you made this recipe? I want to know!
Will you be gifting some beautiful hot chocolate sticks this Christmas? I’d love to know if you are! Send me your pics and comments on Facebook, Twitter and Instagram or email me at emma@kitchenmason.com.
Loved this hot chocolate sticks recipe? Pin it!
Easy Homemade Hot Chocolate Sticks - Printable Recipe
These indulgent hot chocolate sticks are the perfect Christmas gift! With endless flavour possibilities and vegan/gluten free options, they're not only easy to make but suitable for everyone.
Ingredients
- 300g (10.5 oz) White Chocolate
- 300g (10.5 oz) Milk Chocolate
- Mini Marshmallows
- Fudge Pieces
Essential Equipment
- 12 Fromage Frais Yoghurt Pots (i.e. Petit Filous)
- 2 x Microwavable Bowls
- 2 x Disposable Piping Bags
- 12 Wooden teaspoons or lollipop sticks
- 12 Gift Tags
- Clear Cellophane Wrap
- Curling Ribbon
Instructions
- Grease each yoghurt pot with oil.
- Break the white and milk chocolate into separate bowls. Heat each one in 10 second intervals in the microwave, stirring well after each time. When two thirds melted, stir until thoroughly melted.
- Pour the melted white chocolate into one disposable piping bag and the melted milk chocolate into the other.
- Fill each pot to two thirds full and push a wooden teaspoon/stick into the middle.
- Top half with mini marshmallows and half with fudge pieces. Re-centre the spoons/sticks if necessary.
- Set in the fridge for 3 hours (or overnight).
- Carefully remove hot chocolate sticks from the yoghurt pots.
- Write "Stir me into 200ml of hot milk" on each tag and thread curling ribbon through each one.
- Wrap each hot chocolate stick in clear cellophane wrap and secure with the curling ribbon/tag.
- Repeat for each hot chocolate stick.
Notes
- Hot chocolate sticks with marshmallows will last for up to 2-3 weeks. Sticks without marshmallows will last much longer.
- For a vegan option, use vegan chocolate and top with vegan marshmallows.
- This should be naturally gluten free but please check the labels for allergy purposes.
Recommended Products
As an Amazon Associate and member of other affiliate programs, I earn from qualifying purchases at no extra cost to you.
Nutrition Information:
Yield: 12 Serving Size: 1Amount Per Serving: Calories: 167Total Fat: 9gSaturated Fat: 6gTrans Fat: 0gUnsaturated Fat: 3gCholesterol: 6mgSodium: 27mgCarbohydrates: 20gFiber: 0gSugar: 19gProtein: 2g
Nutritional information on kitchenmason.com should only be used as a general guideline, I am not a certified nutritionist. Please always check labels for allergens where applicable.

Kim
Sunday 26th of November 2023
Have you tried using metal non stick mini muffin tins? Wondering if it will work as Have on hand. Thanks
Emma
Monday 27th of November 2023
Hi Kim. I haven't personally tried that, no. I'd be inclined to line with cling film if you used metal tins. Otherwise it might be tricky to get them out! Emma :)
LYNNETTE
Friday 29th of October 2021
I made these awesome Chocolate Bombs; and they turned out awesome! I used DIXIE CUPS ! YOU DON'T HAVE TO USE ANY OIL! JUST SNIP THE TOP RIM OF THE DIXIE CUP AND THE BOTT0M OF THE DIXIE CUP. PEEL FROM THE BOTTOM OF THE CUP UP! Let them set for a few hours or over night. ALSO USE A GOOD QUILITY CHOCOLATE! I used a combination of light and dark Belgium Chocolate! Also used a peppermint stick in the center of the Dixie Cup
Ann Grisdale
Tuesday 18th of July 2023
@LYNNETTE, Hi can you post a picture of Dixie cups please?! Are they plastic or cardboard? And what size did you use please?
Emma
Saturday 30th of October 2021
Hi Lynette, thank you for your lovely comment - I’m really happy you love them so much! I’ve not heard of Dixie cups before (not a UK thing I’m guessing?) but glad you’ve found an easier way :) Emma x
Linda Wilkins
Tuesday 22nd of December 2020
Hi after a few days my dippers have got white marks on the chocolate which doesn't look very nice. I haven't done anything different except not cooling in the fridge. Are you able to explain what has happened. Thank you.
Emma
Tuesday 22nd of December 2020
Hi Linda. I’m so sorry you’ve had issues! It sounds like your chocolate may have bloomed. (At some point it’s experienced a dramatic temperature change which results in some separation/those unsightly white lines.) It could be that the chocolate was heated too much to begin with or it could even be down to the time of year. I’ve been as careful as I can and still had chocolate blooming in winter. This may sound utterly ridiculous but, if setting at room temp overnight in winter, I actually cover my treats in a couple of tea towels or scarves to keep them a little warmer which helps to prevent blooming. I hope this helps! Emma x
Anna
Wednesday 11th of November 2020
Hi I was just wondering if you would need to temper the chocolate (eg by using the seeding method) first before putting it into the moulds?
Emma
Wednesday 11th of November 2020
Hi Anna. I personally wouldn't go to the effort. I usually only temper when I want a 'snap' in my chocolate and, as these will be melted in hot milk, you don't really need that snap. Also, the oil that you grease the pots with will likely leave a few marks on the outside of the chocolate which I think might distract from any shine you'd get from doing it anyway. Emma x
Jane
Sunday 10th of May 2020
Hi, I was wondering if you could do a marble effect os mix both white and milk or dark chocolate together?
Emma
Sunday 10th of May 2020
Hi Jane. You could absolutely try that! Just be careful not to over-swirl as the marble effect would quickly disappear. Emma x