This post may contain affiliate links. Where I make a small commission on purchased items, at no extra cost to you. See my disclosure for details.
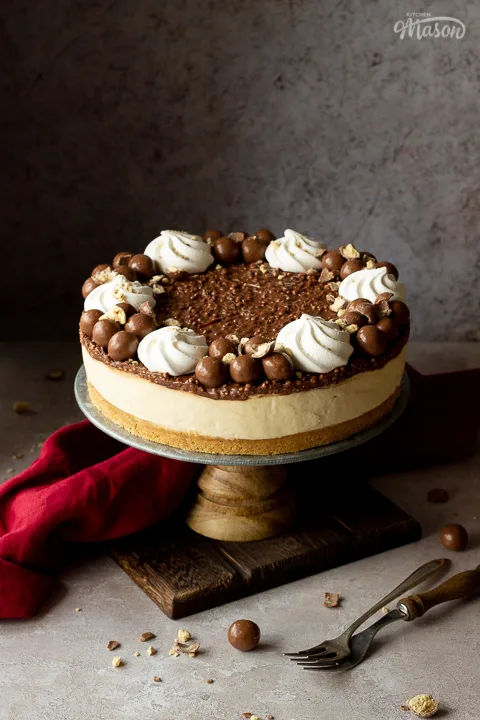
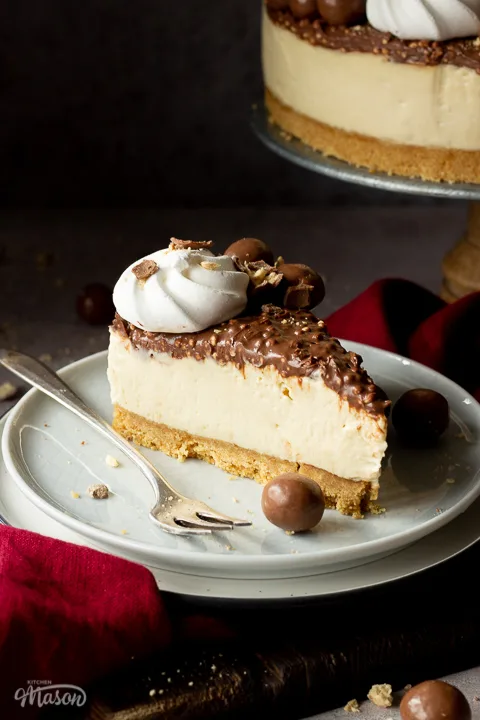
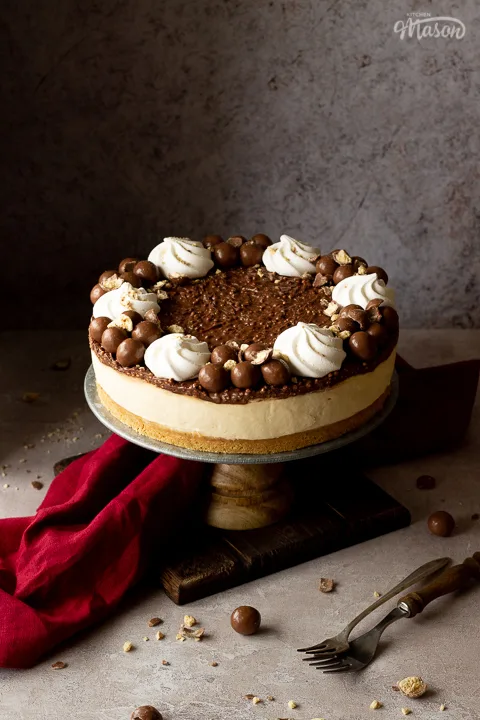
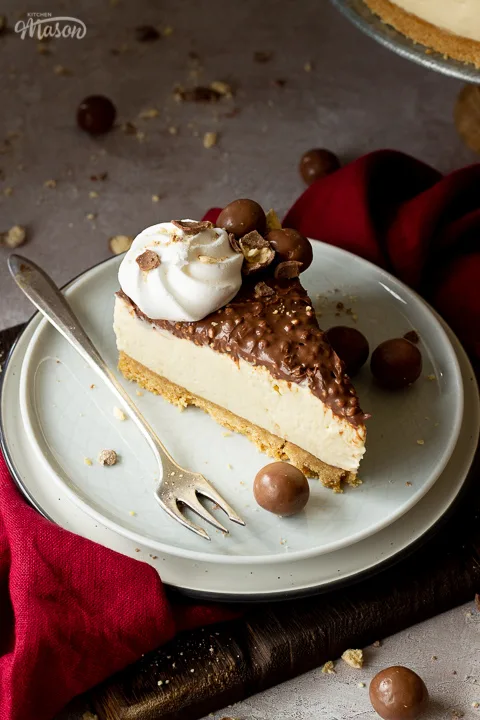
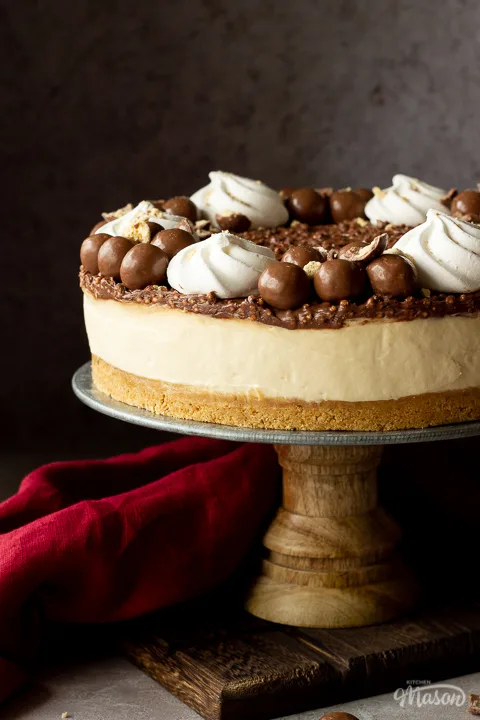
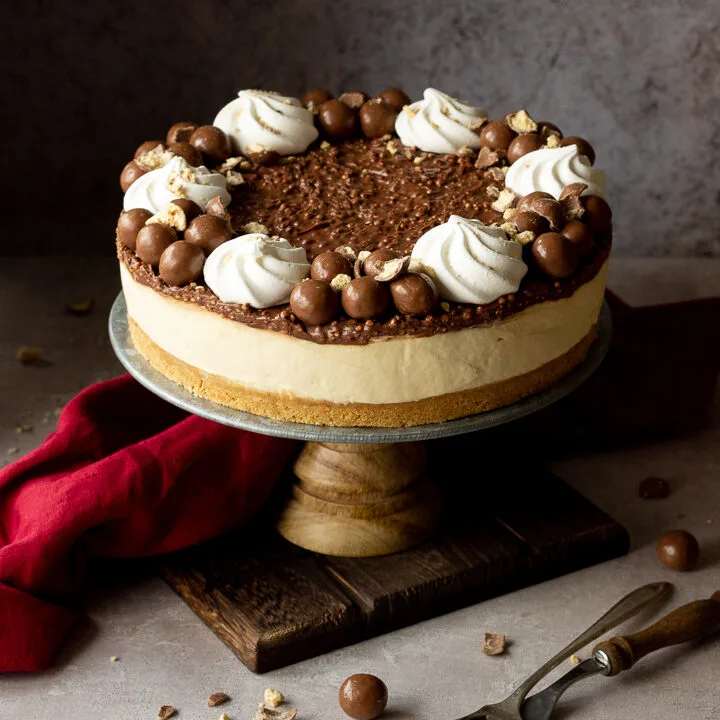
This glorious no bake Malteser cheesecake recipe yields a dessert of epic proportions! It’s light, creamy, tastes exactly like Maltesers and guaranteed to please your friends and family! Keep reading for the easy recipe…

This showstopping dessert really is stunning in every way. It’s so light and creamy in texture, unlike baked cheesecakes, which tend to be heavier and thicker. Making no bake cheesecakes the perfect sweet treat after a big meal!
Not only that, it’s also an ideal make ahead dessert. All you have to do is decorate just before serving, and let’s be honest – that’s the really fun part! Stress free baking is always a winner isn’t it?
Why is my no bake cheesecake not firm?
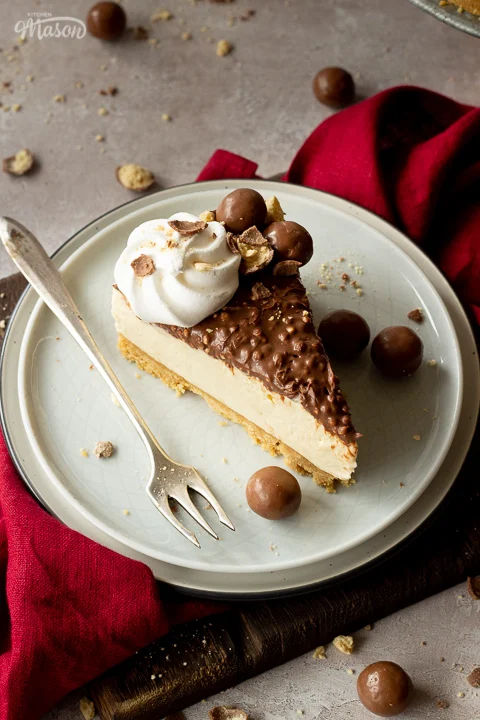
No bake cheesecakes have a delicate balance of ingredients which help it to set without the aid of gelatine. Using a good quality full fat cream cheese is essential as low fat/cheaper versions tend not to work very well. They also require a long chilling time (at least 4-6 hours) to set fully, so make sure you allow enough time for this before you plan to serve.
Which is better, baked or no bake cheesecake?
I personally prefer a no bake cheesecake. They’re easy to make, lighter in texture and very smooth/creamy on your palate. Baked cheesecakes can be tricker to make, are much heavier in texture and an awful lot thicker/firmer. Having said that, if you put a baked cheesecake in front of me, I wouldn’t say no! I just prefer slightly lighter desserts after meals.
How do you tell if a no bake cheesecake is set?
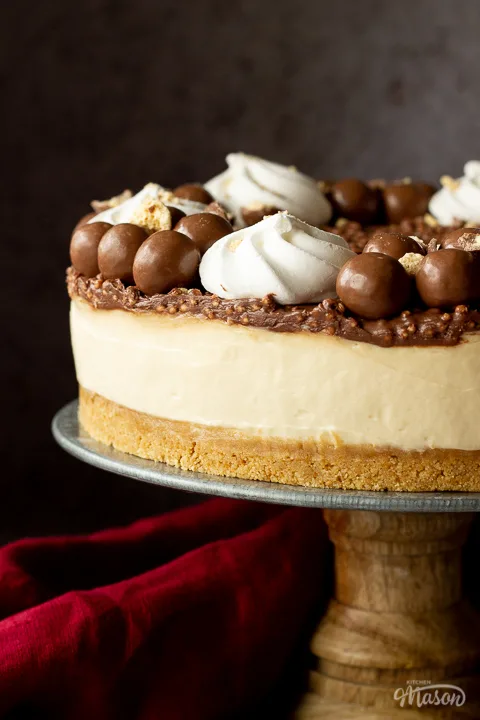
When a no bake cheesecake is set, it should be firm to the touch. I recommend allowing for at least 4-6 hours refrigeration time (overnight is always better) to ensure a firm enough set.
What you need to know
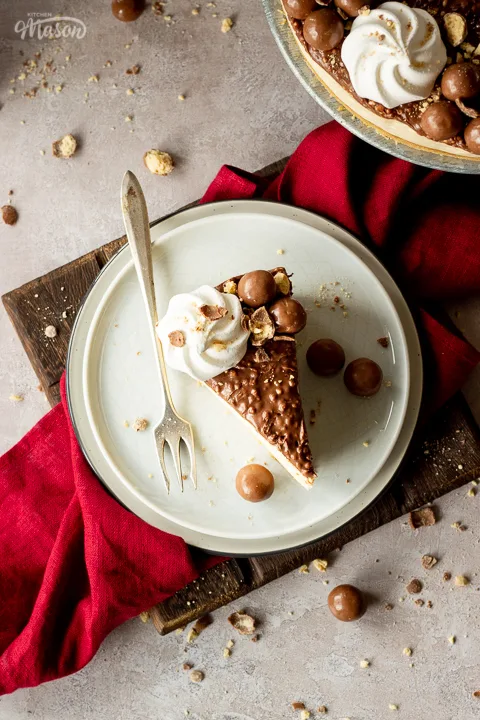
Here’s the good bit! I’m going to share everything I know about making an AMAZING no bake Maltesers cheesecake so you can get it right first time.
Ingredients
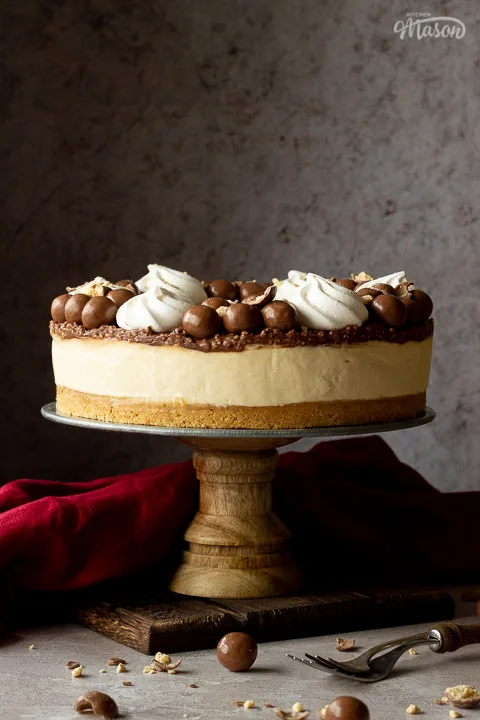
Great bakes start with great ingredients. Here’s everything you need to know about the fundamentals needed for this recipe…
Biscuit base
- Biscuits – Malted milk biscuits are a must if you want an authentic Maltesers flavour.
- Butter – Always use good quality unsalted butter in baking. It gives you full control of the overall flavour.
Cheesecake filling
- Cream – Double cream (heavy cream in the US) is best as you need to be able to whip it to stiff peaks.
- Icing Sugar – Also known as confectioners sugar, this dissolves easily into the cream so don’t substitute this.
- Cream Cheese – Full fat Philadelphia original cream cheese is the only way to go if you don’t want to be disappointed. It’s the most stable of all the cream cheeses I’ve ever tried and it always sets. (Cheaper/low fat versions don’t!)
- Caster Sugar – Golden caster sugar is my favourite for it’s slight caramel flavour, but regular caster sugar will work too.
- Malt Powder – Supermarket own brands work as well as the leading brands (like Horlicks). No need to get expensive here! (Known as malted milk powder in the US.)
- Vanilla – Always use a good quality vanilla extract like Little Pod. You will really taste the difference!
Decoration
- Malteser Spread – This is optional but I highly recommend it! Only the original Maltesers Spread (affiliate link) will do though.
- Meringue Nests – My cheat if you struggle to pipe perfect whipped cream swirls! Mini meringue nests look perfect without any of the hard work!
- Maltesers – It wouldn’t be a Maltesers cheesecake without Maltesers would it?! Again, only the real deal will do here!
How to make no bake Malteser cheesecake – recipe summary
Biscuit base
- Crush malted milk biscuits in a food processor.
- Mix with melted butter.
- Press into a lined tin and chill.
Cheesecake layer
- Whip double cream and icing sugar to stiff peaks.
- Mix softened cream cheese, caster sugar, malt powder and vanilla together.
- Fold whipped cream into cream cheese mixture.
- Smooth over biscuit base and refrigerate.
Decoration
- Smooth over some Maltesers spread.
- Top with mini meringue nests and Maltesers.
Recipe tips
Believe it or not, it’s easy to get a no bake cheesecake wrong. Here’s some helpful tips to ensure you don’t make those mistakes and end up with a beautiful Malteser cheesecake!
- Make sure you freeze the biscuit base for at least 10 mins to set it firmly. Otherwise it may go soggy when you add the filling.
- Check you’ve whipped the cream and icing sugar to stiff peaks. (Test by tipping the bowl upside down. If nothing falls out, you’ve done it.) This is important or your cheesecake may not set!
- Only use full fat Philadelphia original cream cheese. Other brands / low fat versions may not set and it could end in heartbreak!
- Allow at least 4-6 hours for refrigeration to achieve a firm enough set. Overnight is better if you have the time.
- Don’t smooth over the Maltesers spread until the cheesecake has set! If you do it before, it will ‘smush’ into the cheesecake mixture.
How to store no bake Malteser cheesecake
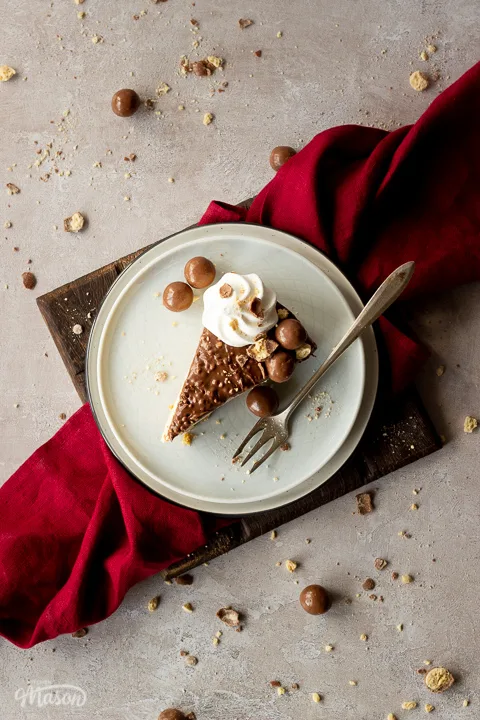
Store your cheesecake in the fridge and consume within 4-5 days.
No Bake Malteser Cheesecake – Step by Step Picture Recipe
(For a printer friendly version, see the recipe card at the end of this post)
Please note, this recipe includes both UK metric and US Cup measurements.
Ingredients
Here is what you will need to serve 12.
Biscuit base
- 250g (2 + 1/3 Cup) Malted Milk Biscuits
- 100g (1/2 Cup) Unsalted Butter
Cheesecake filling
- 300ml (1 + 1/4 Cups) Double Cream
- 60g (1/2 cup) Icing Sugar
- 500g (17.6 oz) Full Fat Philadelphia Cream Cheese
- 110g (1/2 Cup + 1 tbsp) Caster Sugar
- 95g (1/2 Cup + 1 tbsp) Malt Powder *
- 1 tsp Vanilla Extract
*I used Horlicks but you can get cheaper brands that will work great too.
Decoration
- 280g (9.8 oz) Maltesers Spread (optional)
- 6 x Mini Meringue Nests
- Maltesers (a mixture of whole and crushed)
Essential equipment
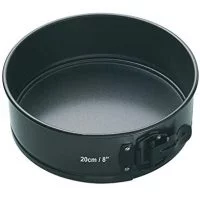
- 20cm (8″) Springform Baking Pan
- Food Processor
- Small Bowl
- Spoon
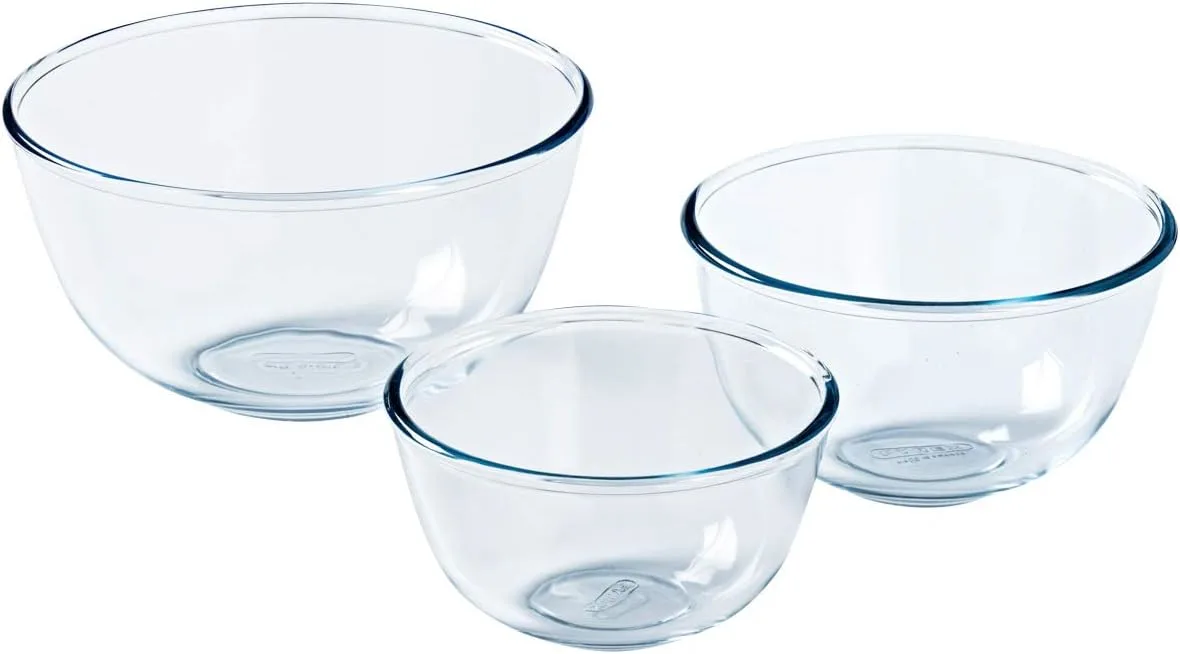
- 2 x Large Mixing Bowls
- Electric Hand Whisk
- Spatula
Biscuit base instructions
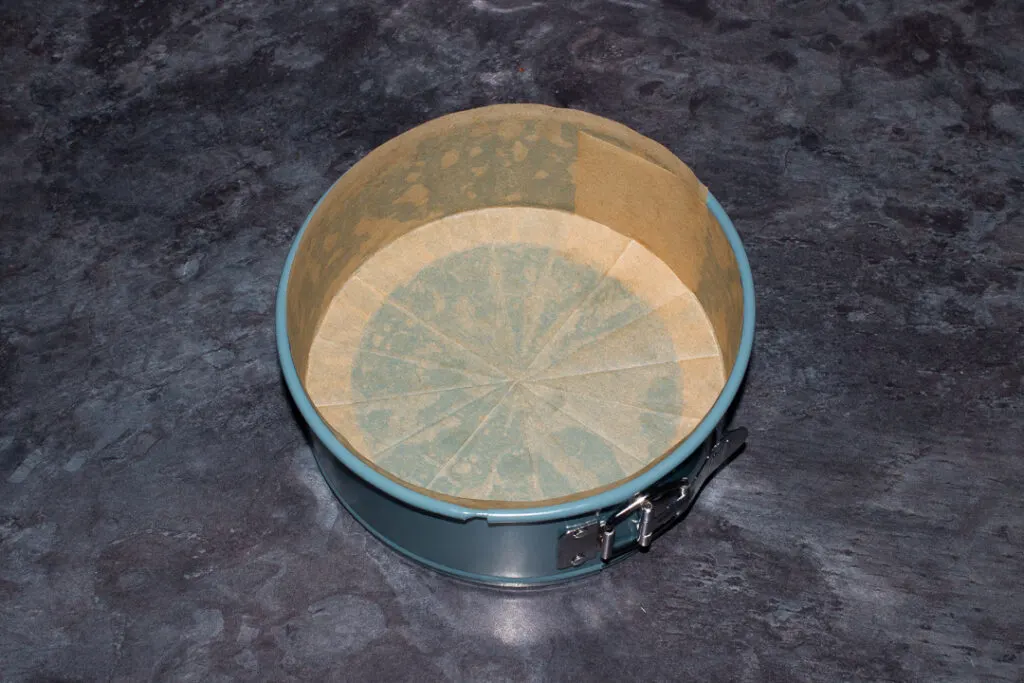
First of all, lightly grease and line the base and sides of your springform baking pan (20cm/8″) and set to one side until needed.
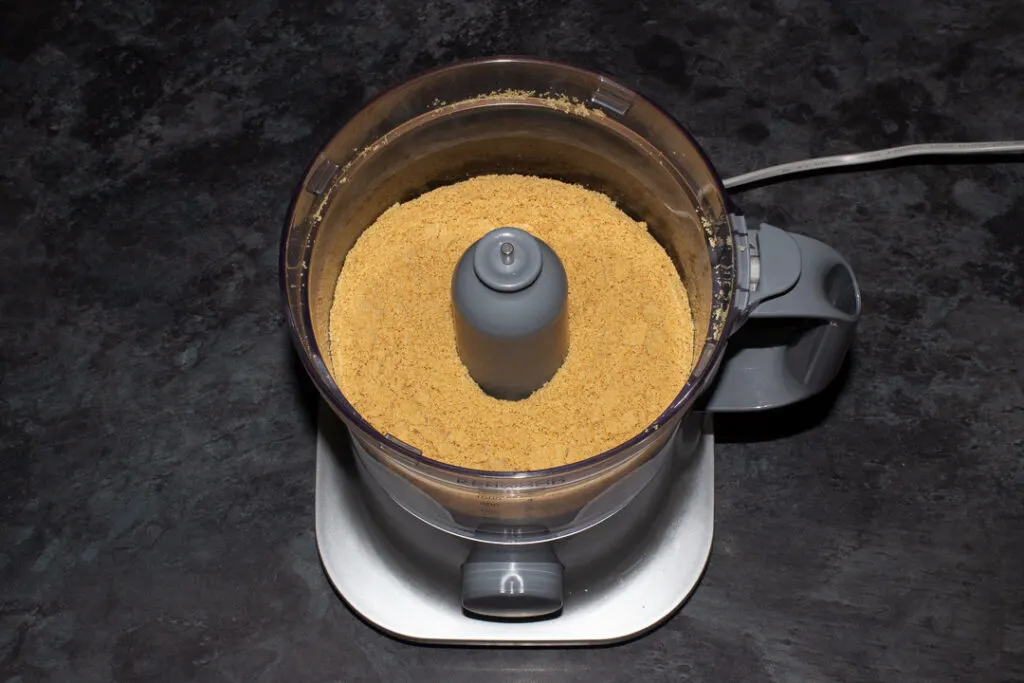
Weigh out the malted milk biscuits (250g | 2 + 1/3 Cup), place into a food processor and blitz until they become very fine crumbs.
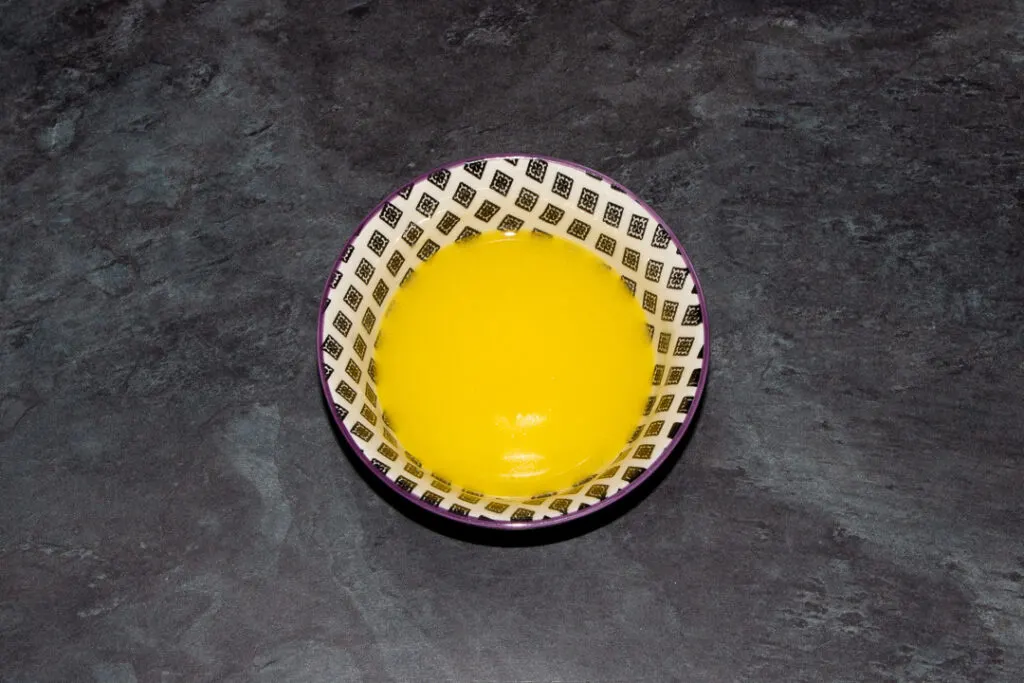
Melt the butter (100g | 1/2 Cup) in a small bowl in the microwave in 10 second bursts. Stir between each time.
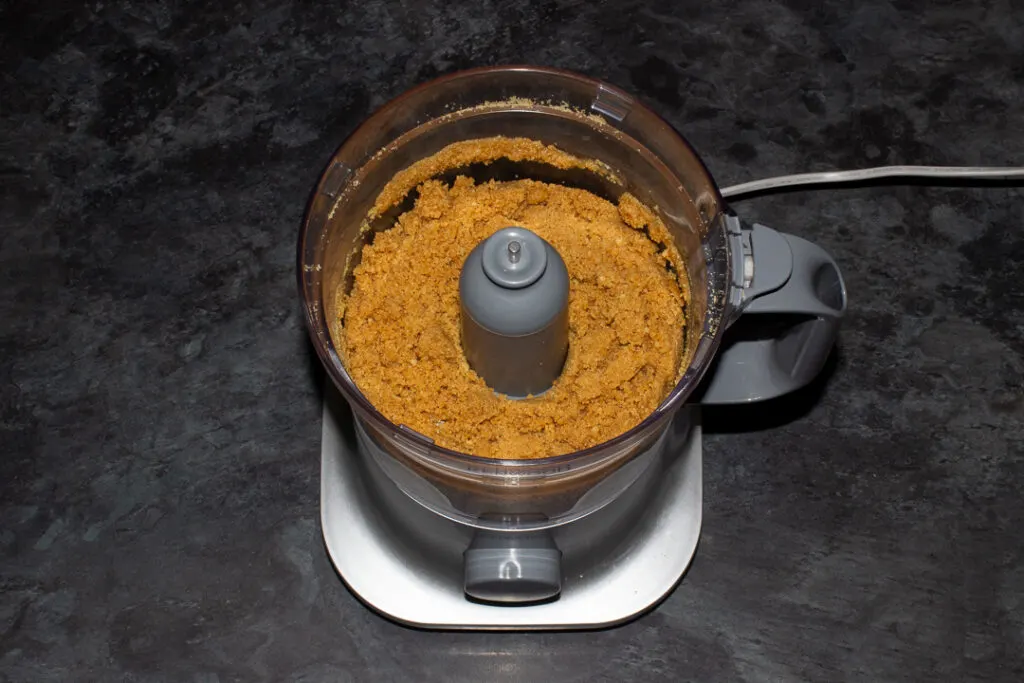
Pour the melted butter into the food processor along with the biscuit crumbs and pulse briefly until it begins to clump together.
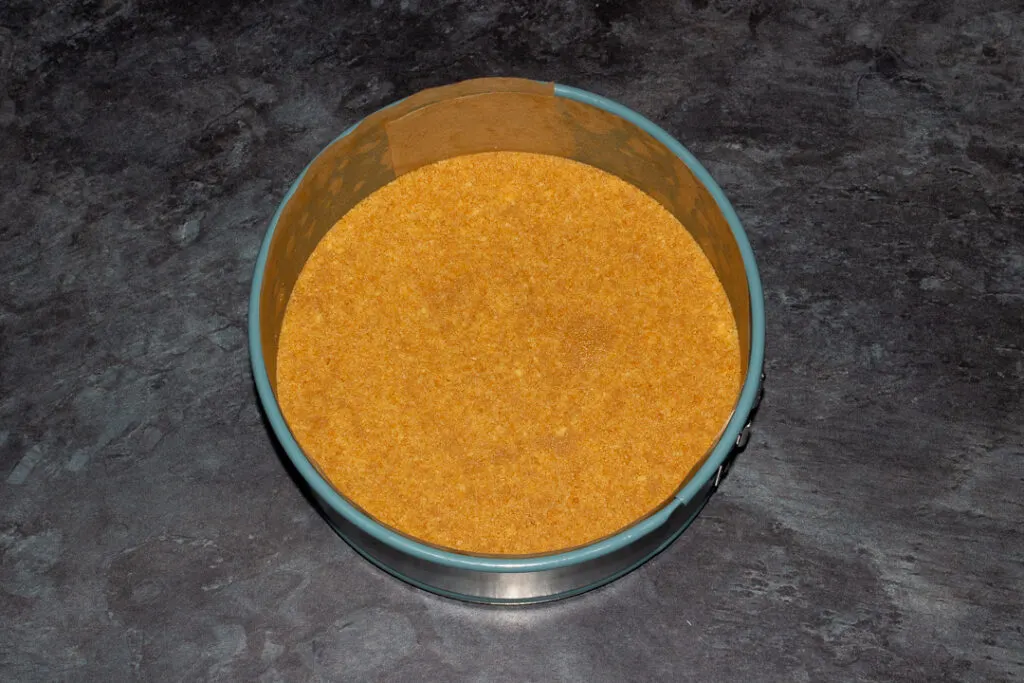
Tip the mixture into your prepared tin and press in firmly with the back of a metal spoon. Place into the freezer to firm up while you make the filling.
Cheesecake filling instructions
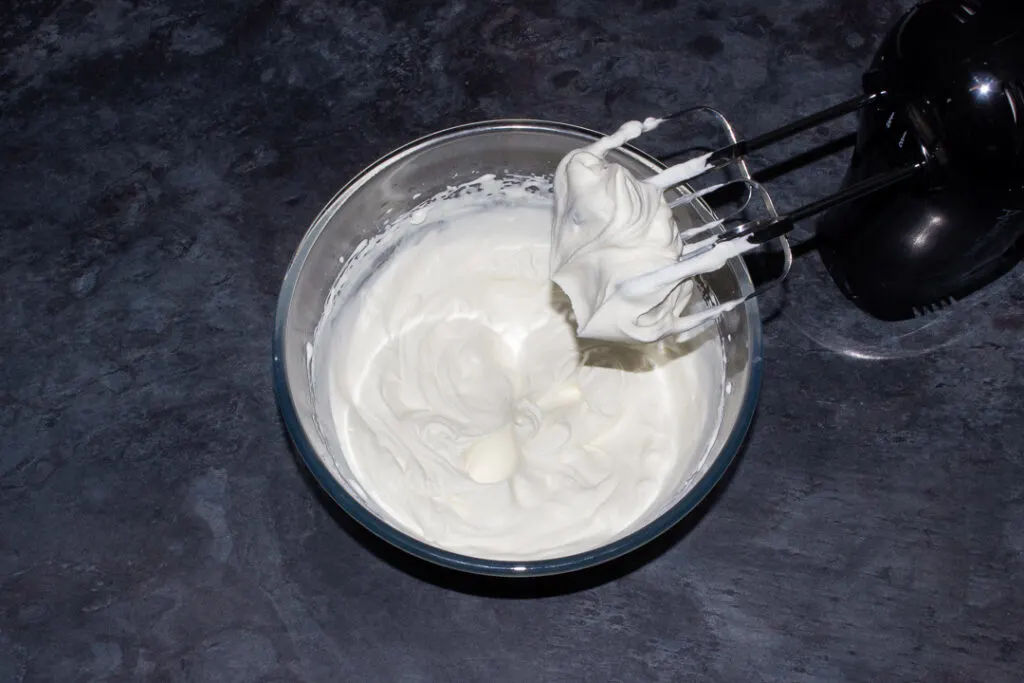
Place the double cream (300ml | 1 + 1/4 Cups) and icing sugar (60g | 1/2 cup) into a mixing bowl. Whip to stiff peaks using an electric hand whisk. When it’s ready, you should be able to tip the bowl upside down and nothing fall out. Be cautious though, it’s very easy to over whip it!
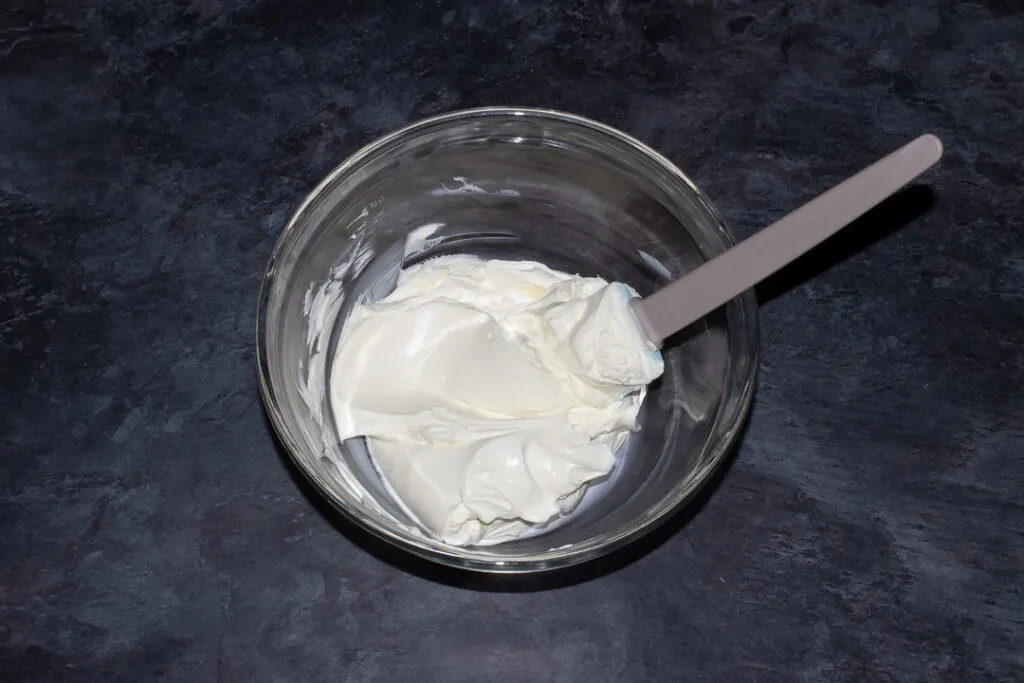
In another mixing bowl, beat the cream cheese (500g | 17.6 oz) until it’s smooth and softened with a spatula.
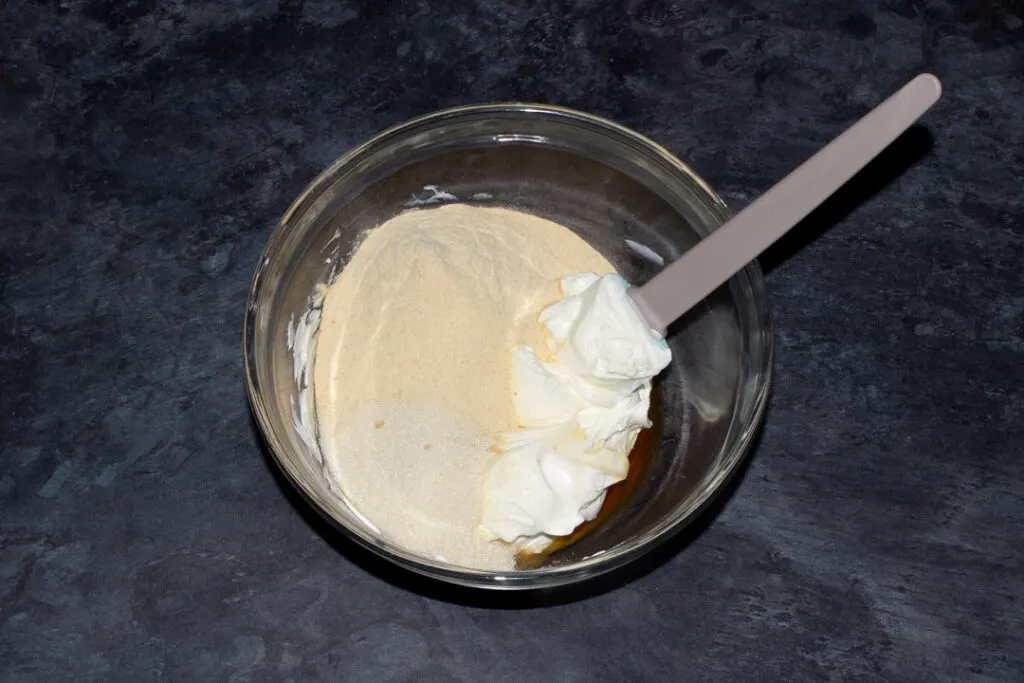
Then add in the caster sugar (110g | 1/2 Cup + 1 tbsp), malt powder (95g | 1/2 Cup + 1 tbsp) and vanilla (1 tsp) and beat until the sugar and malt powder have completely dissolved. It should be smooth, shiny and no longer grainy on the bottom of the bowl when you mix it.
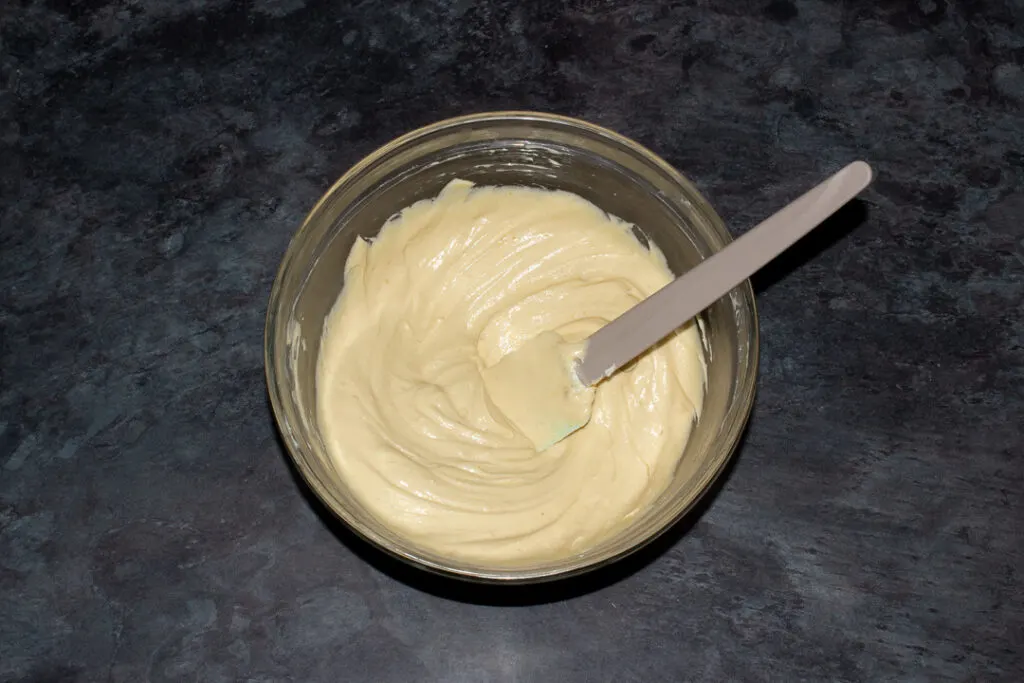
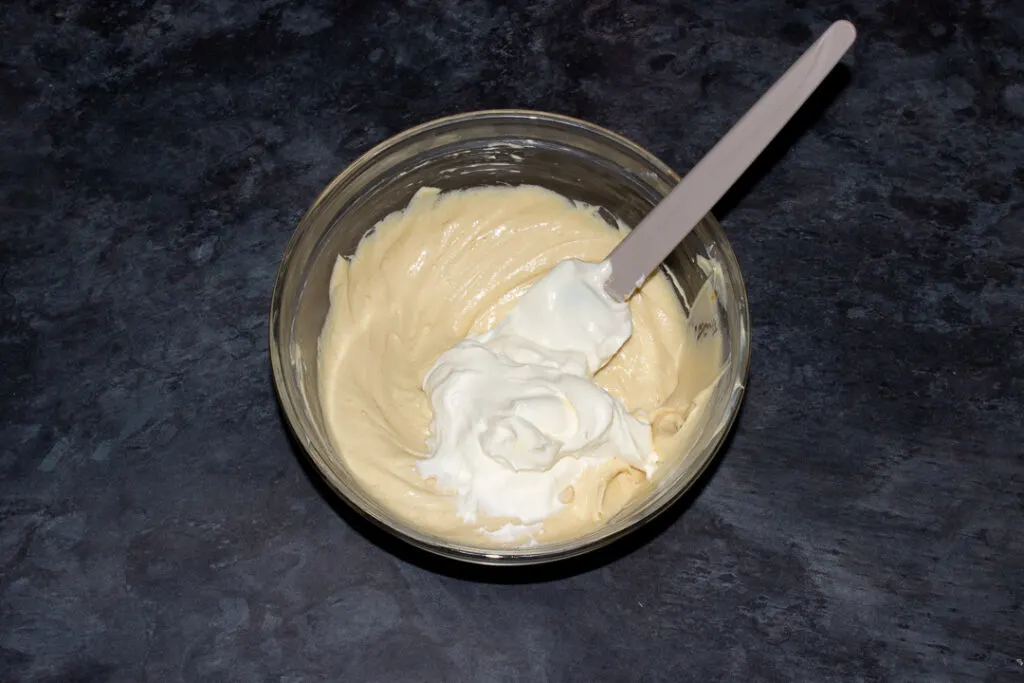
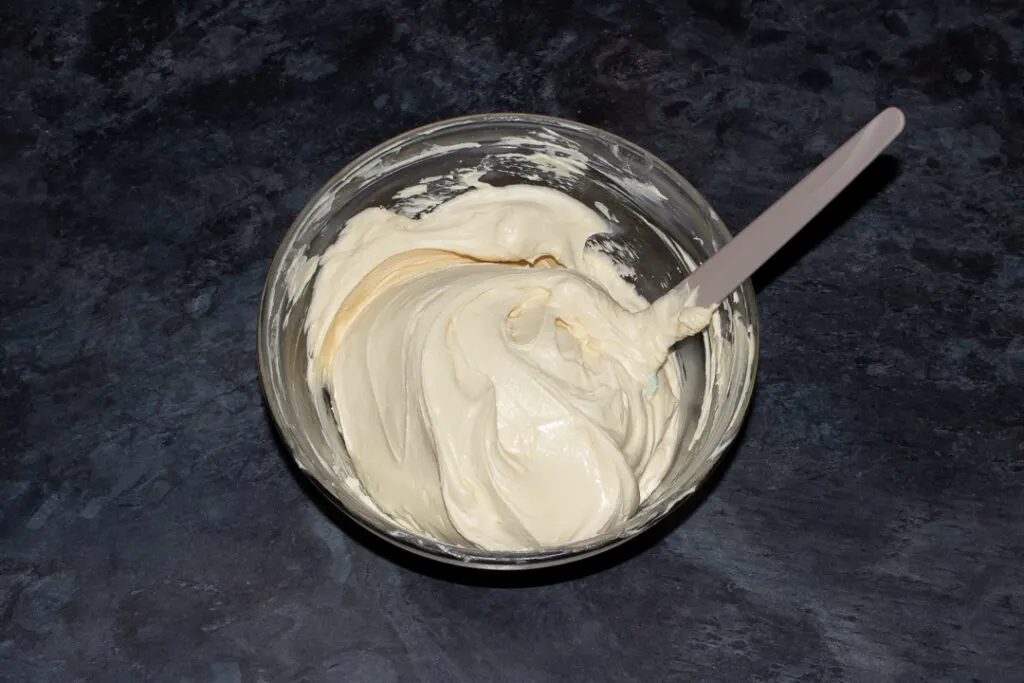
Next, fold the whipped cream into the malted cream cheese mixture in thirds. Take your time and be careful not to knock out the air you spent so long putting in!
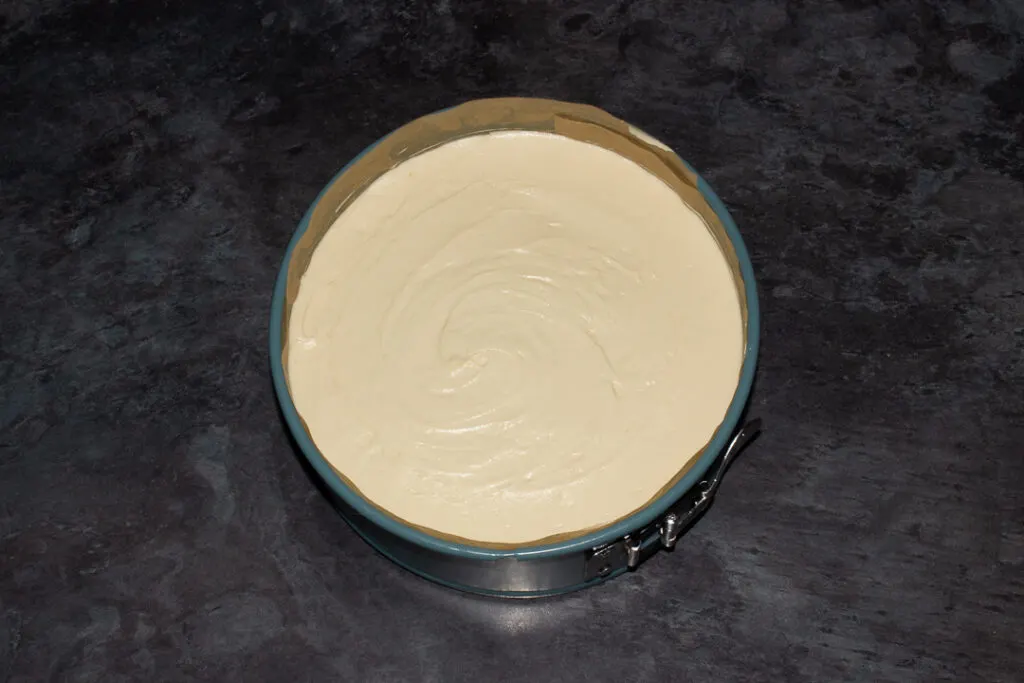
Now pour the cheesecake filling over your chilled base (which should be firm by now) and smooth out using a spatula or spoon. Be careful not to leave any air pockets throughout.
Chill the cheesecake in the fridge for a minimum of 4 hours to set firmly. 6 hours is better and overnight even better still. Don’t rush this part, it’s kind of important!
Decoration instructions
When your cheesecake has set (it should be firm to the touch) carefully remove it from the tin, peel off all the baking paper and place on a cake stand or serving plate.
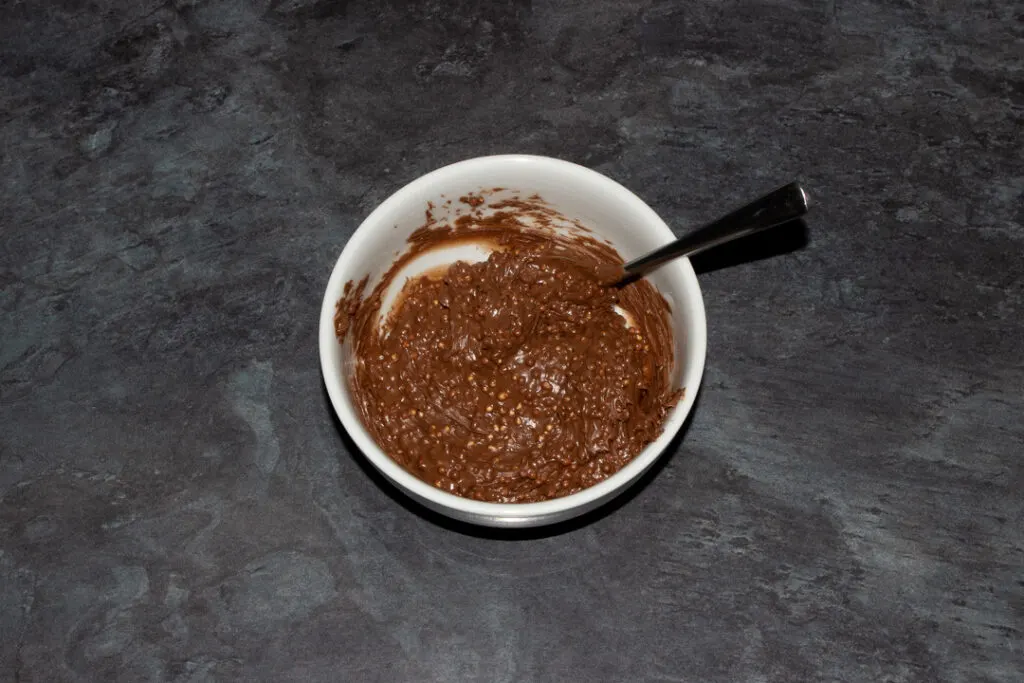
This part is optional but I highly recommend it! Weigh out the Maltesers spread (280g | 9.8 oz) into a small bowl and mix with a spoon to soften it up.
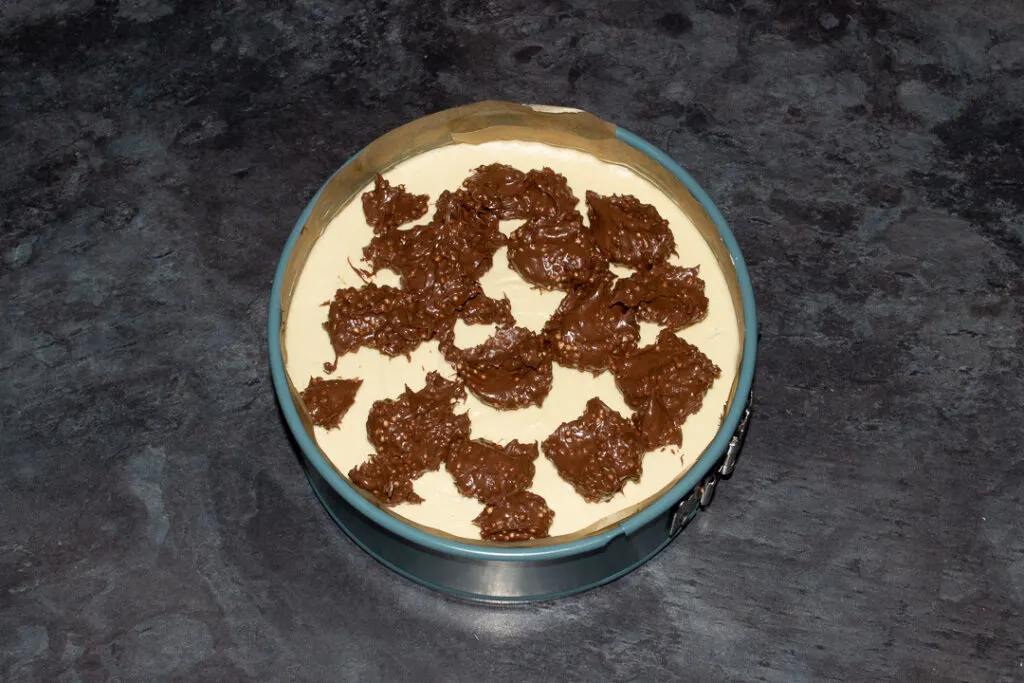
Dot blobs of the spread over the top of the cheesecake…
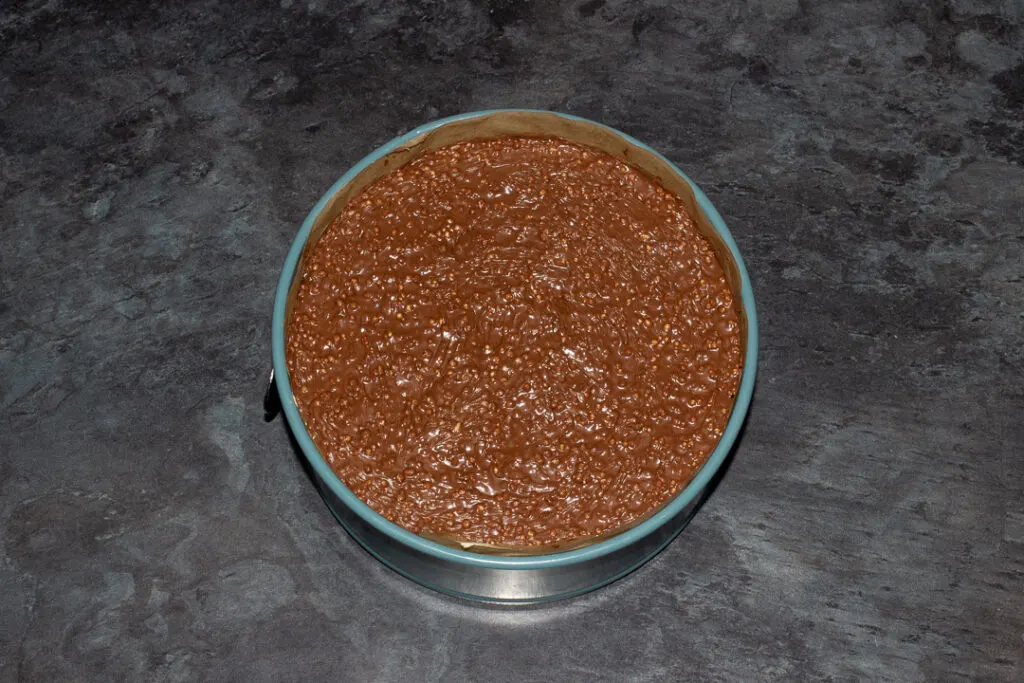
Now very carefully spread it out into a thin layer with the back of a spoon. Take your time and do this gently or you could end up swirling it into the cheesecake filling.
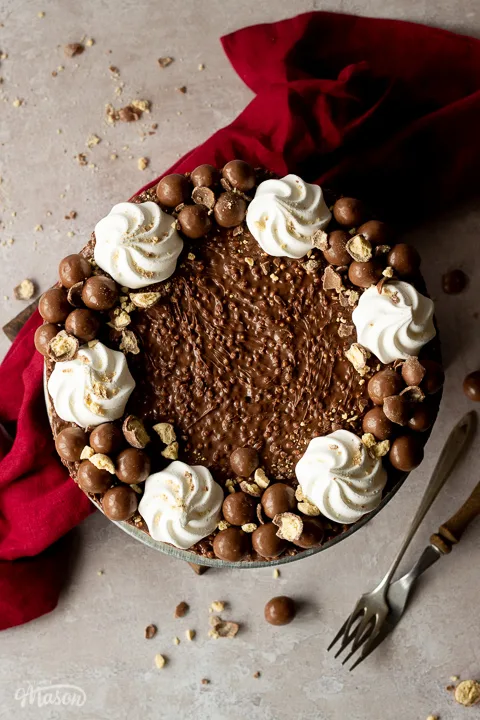
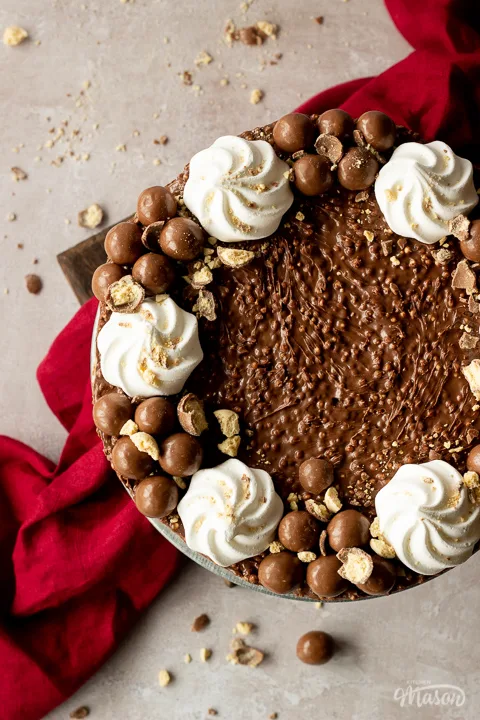
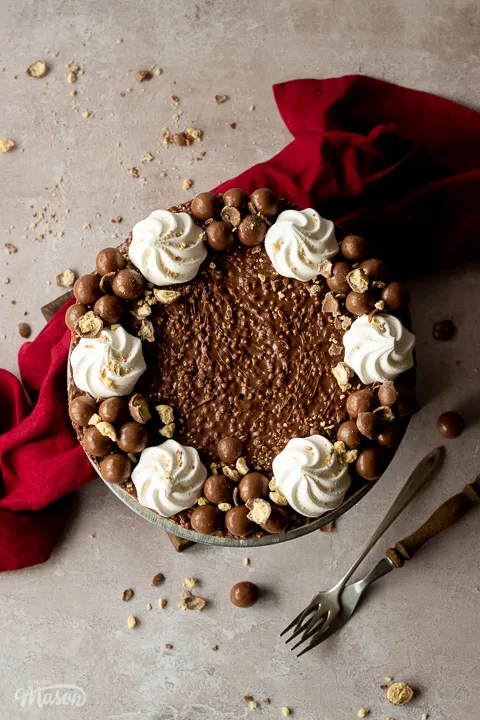
Finally, top with 6 mini meringue nests, some whole Maltesers and a few chopped ones. Serve immediately or refrigerate and consume within 4-5 days.
Other recipes you might like…
- Easy Malteser tiffin bars
- No bake Biscoff cheesecake
- Maltesers microwave fudge
- No bake chocolate cheesecake
Have you made this recipe?
Have you made this beautiful no bake Malteser cheesecake I’d love to know if you have! Send me your pics, comments and questions on Facebook, Twitter and Instagram or email me at emma@kitchenmason.com.
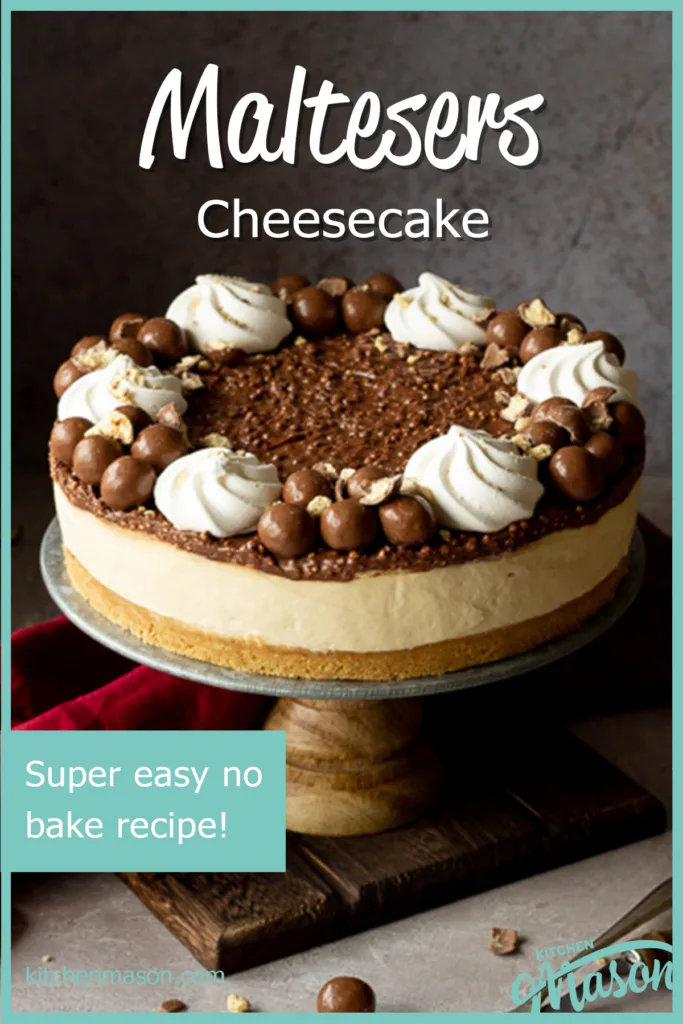
Loved this recipe? Pin it!
Easy No Bake Malteser Cheesecake Recipe
This glorious no bake Malteser cheesecake recipe yields a dessert of epic proportions! It's light, creamy, tastes exactly like Maltesers and guaranteed to please your friends and family!
Ingredients
For the biscuit base
- 250g (2 + 1/3 Cup) Malted Milk Biscuits
- 100g (1/2 Cup) Unsalted Butter
For the cheesecake filling
- 300ml (1 + 1/4 Cups) Double Cream
- 60g (1/2 cup) Icing Sugar
- 500g (17.6 oz) Full Fat Philadelphia Cream Cheese
- 110g (1/2 Cup + 1 tbsp) Caster Sugar
- 95g (1/2 Cup + 1 tbsp) Malt Powder *
- 1 tsp Vanilla Extract
For the decoration
- 280g (9.8 oz) Maltesers Spread (optional)
- 6 x Mini Meringue Nests
- Maltesers (a mixture of whole and crushed)
Essential equipment
- 20cm (8″) Springform Baking Pan
- Food Processor
- Small Bowl
- Spoon
- 2 x Large Mixing Bowls
- Electric Hand Whisk
- Spatula
Instructions
For the biscuit base
- Grease and line your springform pan.

- Blitz the biscuits in a food processor to fine crumbs.

- Melt the butter in a small bowl in the microwave in 10 second intervals.

- Pour the melted butter into the biscuit crumbs and blitz until it starts to clump together.

- Tip the mixture into the prepared tin and press firmly with the back of a spoon. Freeze while you make the filling.

For the cheesecake filling
- Whip the double cream and icing sugar together to stiff peaks in a mixing bowl with an electric hand whisk.

- In another mixing bowl, beat the cream cheese with a spatula until softened.

- Add the caster sugar, malt powder and vanilla and beat until everything has dissolved. (It should be shiny and not be grainy at all.)

- Gently fold the whipped cream into the cream cheese mixture in thirds. Take care not to knock out the air.

- Pour the filling into the tin over the biscuit base and smooth out with a spatula. Refrigerate for 4 hours minimum to set. (6 hours is better, overnight is best.)

For the decoration
- Beat the Maltesers spread in a bowl to soften it. (Optional)

- Dot blobs of the spread over the top of the cheesecake.

- Very carefully smooth it out into a thin layer over the top of the whole cheesecake.

- Top with mini meringue nests, whole Maltesers and some chopped Maltesers. Serve immediately. Store any uneaten cheesecake in the fridge and consume within 4-5 days.

Notes
*I used Horlicks but you can get cheaper brands that will work great too.
If you would rather use a more in depth picture recipe, please see the main body of this post. Where you’ll also find lots of extra FAQs and helpful tips, should you need them.
Please note, this recipe includes both UK metric and US Cup measurements.
Tips
- Make sure you freeze the biscuit base for at least 10 mins to set it firmly. Otherwise it may go soggy when you add the filling.
- Check you’ve whipped the cream and icing sugar to stiff peaks. (Test by tipping the bowl upside down. If nothing falls out, you’ve done it.) This is important or your cheesecake may not set!
- Only use full fat Philadelphia original cream cheese. Other brands / low fat versions may not set and it could end in heartbreak!
- Allow at least 4-6 hours for refrigeration to achieve a firm enough set. Overnight is better if you have the time.
- Don’t smooth over the Maltesers spread until the cheesecake has set! If you do it before, it will ‘smush’ into the cheesecake mixture.
Recommended Products
As an Amazon Associate and member of other affiliate programs, I earn from qualifying purchases at no extra cost to you.
Nutrition Information:
Yield: 12 Serving Size: 1Amount Per Serving: Calories: 578Total Fat: 41gSaturated Fat: 24gTrans Fat: 0gUnsaturated Fat: 13gCholesterol: 109mgSodium: 214mgCarbohydrates: 49gFiber: 1gSugar: 40gProtein: 7g
Nutritional information on kitchenmason.com should only be used as a general guideline, I am not a certified nutritionist. Please always check labels for allergens where applicable.

Experienced British Online Publisher, recipe writer, and home cook, Emma has a background of over 20 years in British cuisine and cooking. Born and bred in the UK, she excels in classic British dishes, is passionate about air frying, and loves sharing her Gran’s old school recipes. She has been featured in popular publications such as Food Network, Cosmopolitan, and The Huffington Post.
Knowledgeable On: Traditional British Cuisine, Recipe Writing, Air Frying, Home Cooking.

