
Butterscotch Tart (School Recipe!) 1 hr 45 mins 8
This post may contain affiliate links. Where I make a small commission on purchased items, at no extra cost to you. See my disclosure for details.
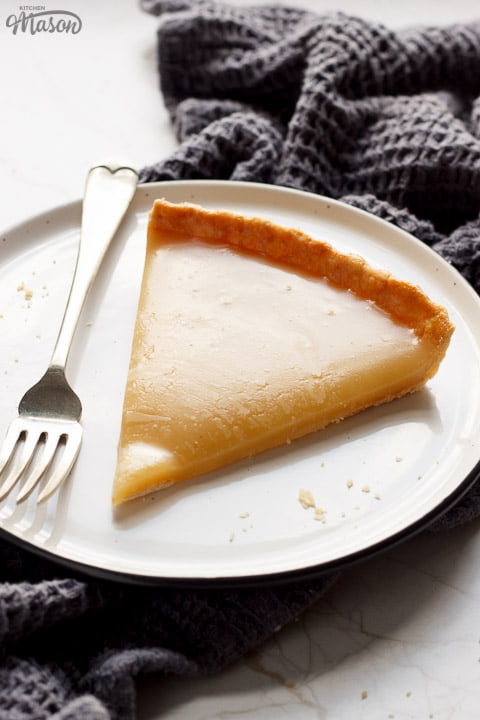
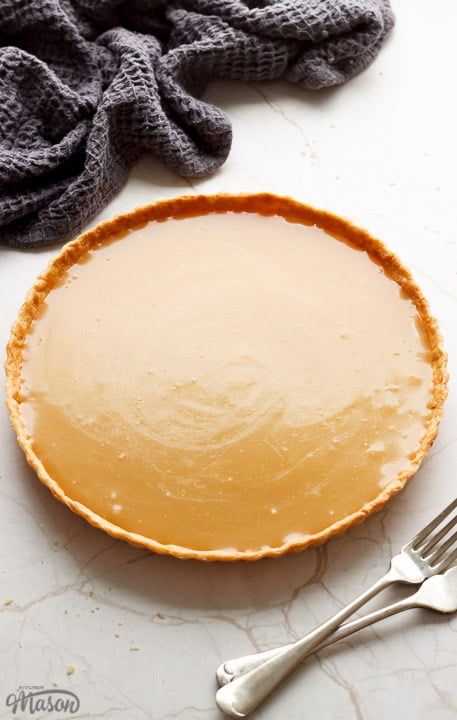
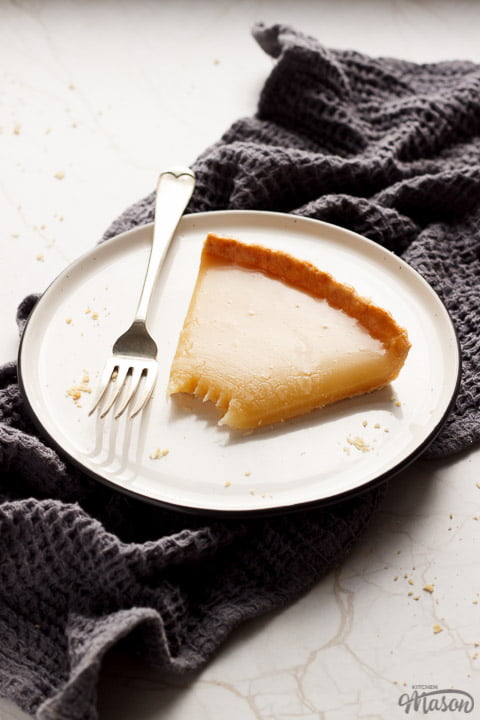
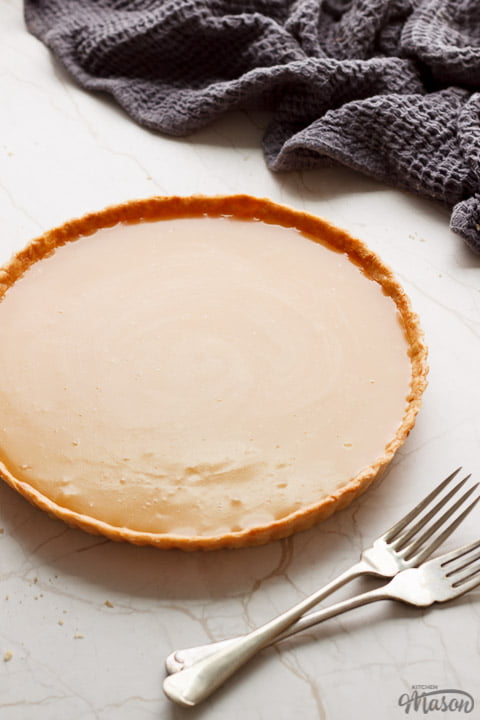
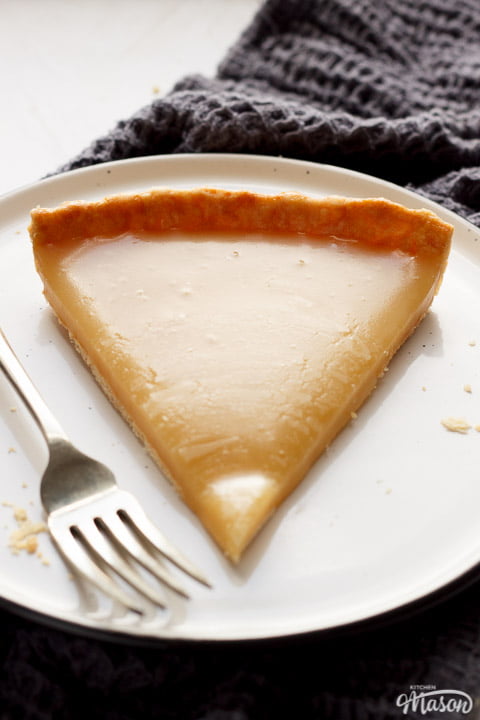
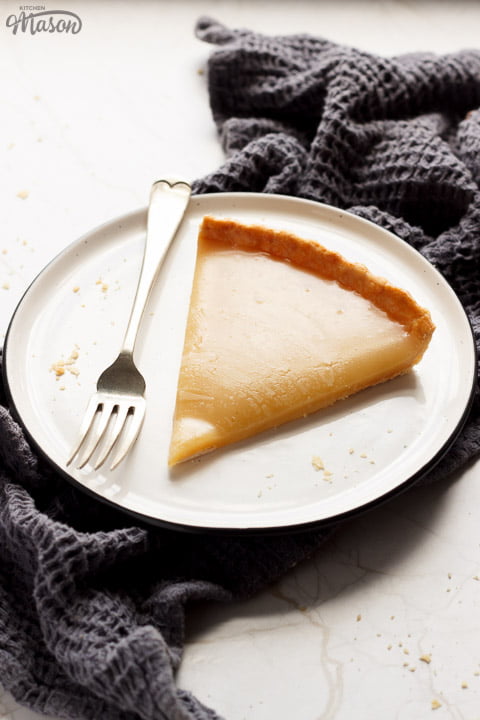
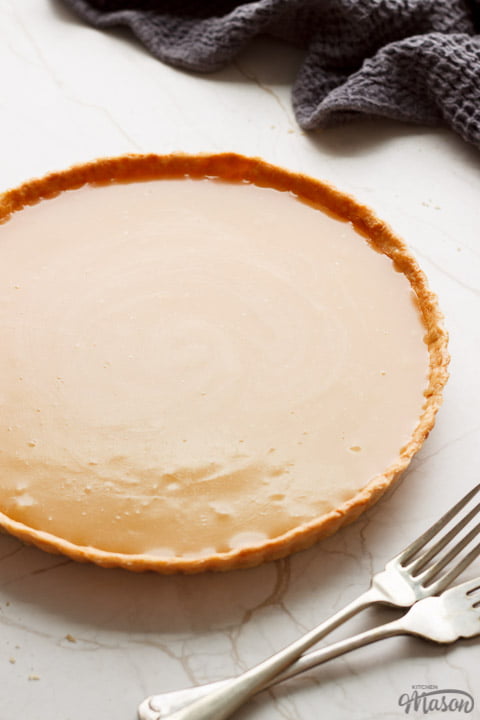
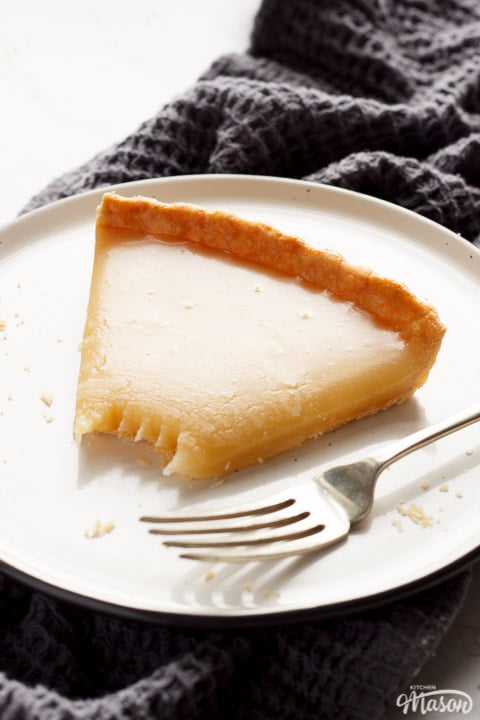
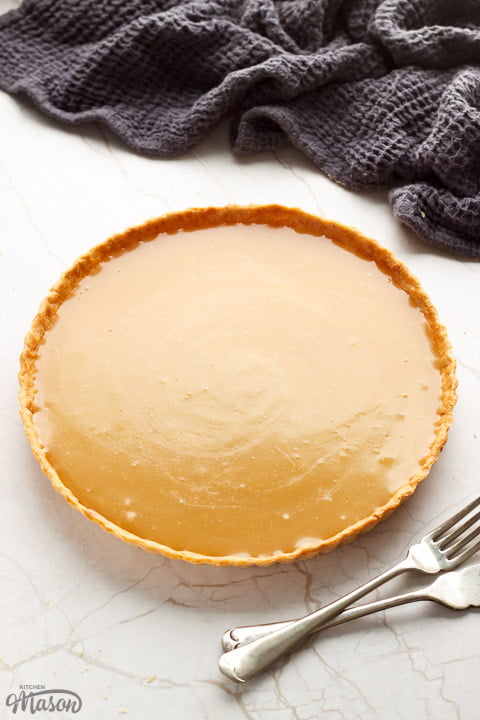
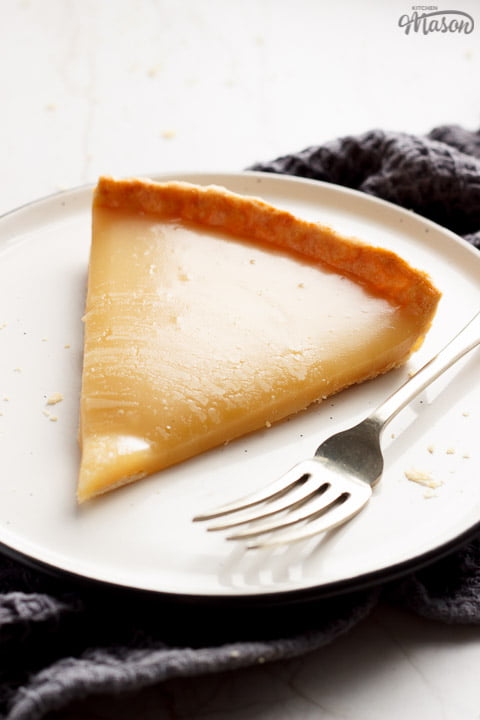
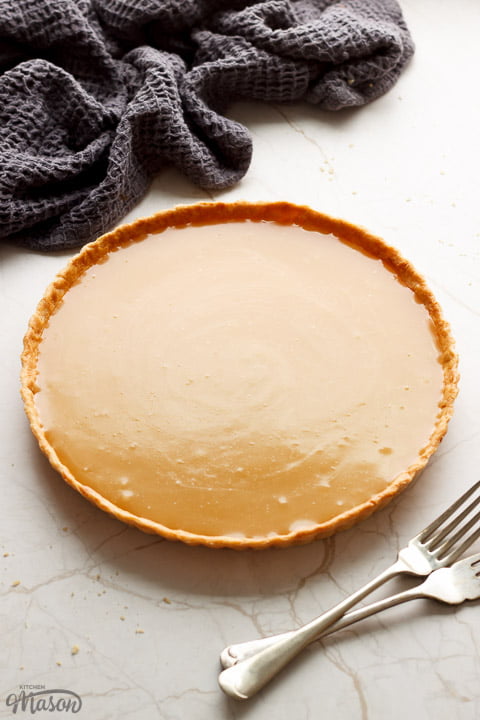
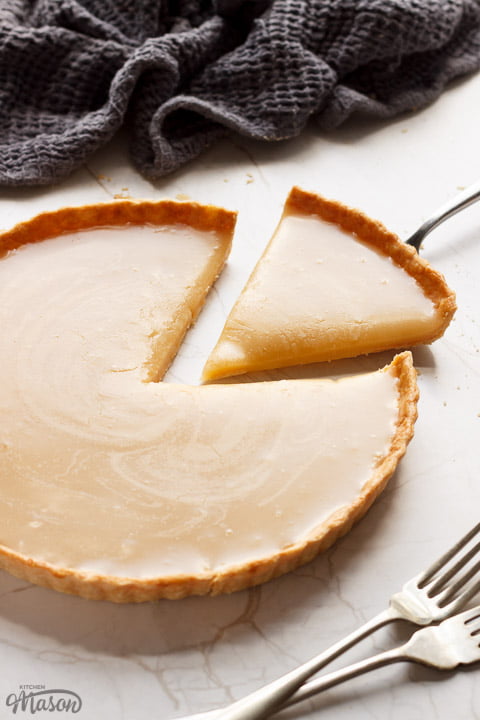
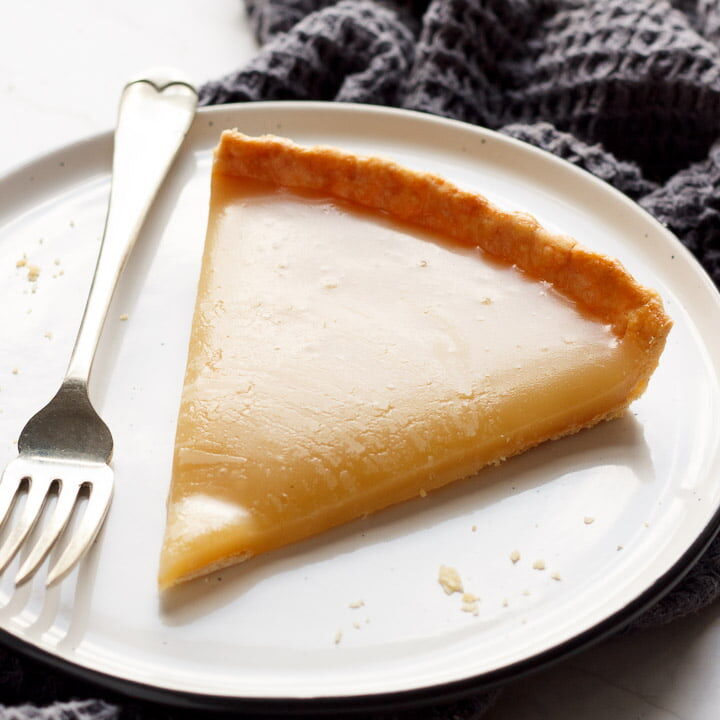
Flaky shortcrust pastry filled with a smooth and creamy butterscotch filling - butterscotch tart is the stuff of childhood dreams! Adapted from an original dinner lady recipe, this classic school dessert will take you straight back to your childhood (just like cornflake tart and treacle tart do!). Learn how to make your very own with my nostalgic recipe, helpful tips and much more...
I've always been a huge fan of desserts. From apple crumble to sticky toffee pudding, it's a world of sweet, all encompassing comfort!
And I loved butterscotch tart so much in school that I used to skip dinner and have two puddings whenever it was on the menu! So on my very last day in secondary school, I actually asked a dinner lady for their butterscotch tart recipe.
She wrote it down on a scrappy little piece of paper for me. Sadly, after leaving home, the recipe got mislaid and I thought it was lost forever. Until one day, to my surprise and delight, I found it in a little box at my parent's house!
I was so so happy! It was a little on the vague side but I was determined to fill in the gaps and share the recipe with the world. After all, I knew you'd love it as much as I did. (Being in Kitchen Mason's top 5 recipes every day since I originally published it in 2014 proves as much!)
Alternative names
This old school dessert goes by many names across the United Kingdom. Butterscotch tart, caramel tart and even gypsy tart. But they were all slight variations of the very same thing and all tasted amazing! If you know of any more names for this dessert, let me know in the comments below or email me at emma@kitchenmason.com.
What you need to know
In this section I'm going to help you understand everything you need to know in order to make butterscotch tart perfectly first time! From notes on the ingredients you need, right down to making perfect shortcrust pastry and helpful tips. Trust me, this is a worthwhile read!
But if you're still unsure, read through baking for beginners first, to boost your confidence and baking knowledge.
Butterscotch tart ingredients
While mostly very basic, there are a few key things you need to know about some ingredients when making butterscotch tart.
For the pastry
- Flour - Always use plain (all purpose in the US) flour for shortcrust pastry.
- Salt - Table salt is fine. You're going for flavour here not texture.
- Butter - I always use unsalted as it puts me in full control of the salt content/flavour.
- Water - No need to get fancy, tap water is fine!
For the butterscotch filling
- Milk - Whole/full fat milk gives the best flavour but most milks (including dairy free) will work.
- Flour - Again, plain (all purpose in the US) flour works best in this recipe.
- Butter - Use unsalted to give you control of the salt content and overall flavour.
- Sugar - Golden caster sugar is my favourite but light brown soft sugar would work well too.
- Salt - As you're looking for flavour not texture, table salt is perfect.
- Vanilla Extract - A very good quality vanilla (like Nielsen Massey) is key in this recipe!
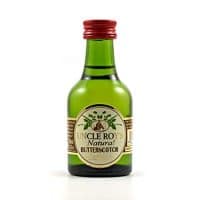
- Butterscotch Essence - The single most important ingredient for authentic flavour. Whatever you do, don't leave this out!
Here is where I get my butterscotch essence.
Making shortcrust pastry
Worried about making the shortcrust pastry case? There's no need! Check out my easy shortcrust pastry recipe. It's packed full of super helpful tips to help you nail it first time!
Still not sure or short on time? You can always buy a 20 cm / 8" ready made pastry case from your local supermarket instead.
How to make butterscotch tart: recipe summary
It's much easier than you think! You can even cheat and buy a ready made pastry case if you like. I always believe homemade is better though.
- Mix flour, cold butter and salt to fine crumbs then add water. Mix to form a dough and rest in the fridge.
- Roll out and line a fluted tart tin. Blind bake then cool completely.
- Mix the milk and flour together.
- Melt together butter and sugar in a large saucepan.
- Gradually add the milk/flour mixture and stir until thickened.
- Remove from the heat and stir in salt, vanilla and butterscotch essence.
- Pour into the case and allow to set completely.
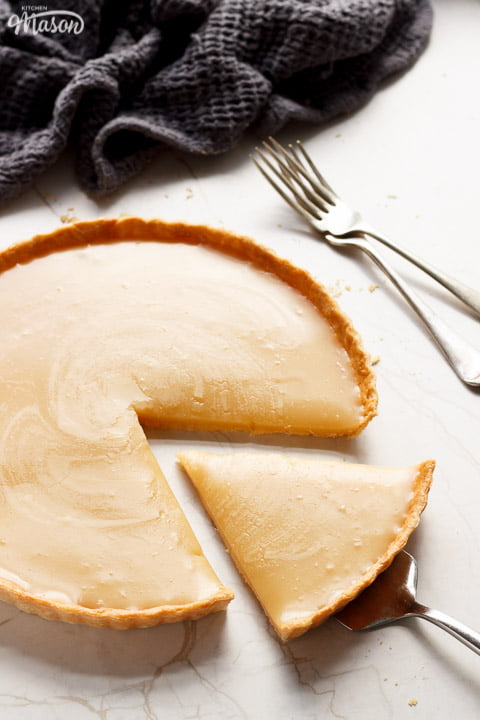
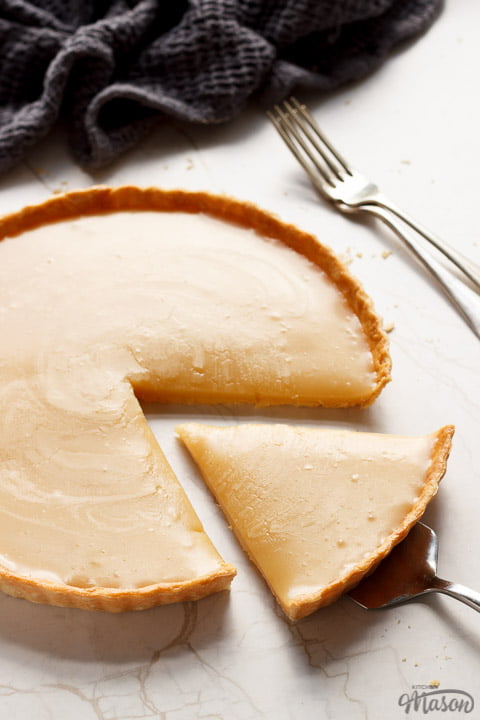
- Slice and serve.
Butterscotch tart tips and troubleshooting
Now we're into the good stuff!! Here's some super helpful tips (born from me making the mistakes so you don't have to!) that I think will really help you out.
Helpful tips
- Use a pastry blender to make your pastry. They're cheap and make pastry quicker, easier and better!
- Don't have a pastry blender? Make sure you have cold hands, cold butter and cold water instead.
- Try not to overwork your pastry. It will become chewy and not very nice. A light touch is key!
- Add the water gradually to your pastry. Remember, you can always add more but you can't take it out!
- Flattening your pastry into a disc before refrigerating will chill it faster. (Due to the larger surface area.)
- Don't have time to make your own shortcrust pastry case? Buy a ready made one and fill as per the recipe.
- Do not leave out the butterscotch essence! It's the key ingredient to making it taste exactly as it did in school.
- Be patient with the butterscotch filling. It needs to be the consistency of wallpaper paste to set properly.
Can't find butterscotch essence? I've used this one and this one. Both worked great. This is the pastry blender I use.
Troubleshooting
- My pastry was chewy - You overworked it. Try using a pastry blender and a lighter touch next time.
- The pastry was soft - you didn't bake it for long enough. Cook until it's golden brown and crispy to the touch.
- My filling didn't set - You didn't stir it over the heat for long enough. It needs to get to the same consistency as wallpaper paste.
- The filling set too firm - You stirred it over the heat for too long and it became too thick. Think wallpaper paste for the perfect consistency.
- My tart doesn't taste like it did in school - You didn't add the vanilla extract/butterscotch essence. Add them both for an authentic old school flavour.
Butterscotch Tart - Step by Step Picture Recipe
(For a printer friendly version, see the recipe card at the end of this post)
Please note, this recipe includes both UK metric and US Cup measurements.
Ingredients
Here is what you will need to make a 20cm/8" tart.
Pastry
- 160g (1 + ⅓ Cups) Plain/All Purpose Flour
- ¼ teaspoon Salt
- 85g (⅓ Cup + 1 tbsp) Unsalted Butter, cold and cubed
- 3 - 4 tablespoon Cold Water
- 1 Egg (for brushing)
Butterscotch filling
- 100ml (⅓ Cup + 1 tbsp) Whole/Full Fat Milk
- 40g (⅓ Cup) Plain/All Purpose Flour
- 175g (¾ Cup) Unsalted Butter, cubed
- 175g (¾ Cup + ⅛ Cup) Golden Caster Sugar
- Pinch of Salt
- 1 teaspoon Vanilla Extract
- 1 teaspoon Butterscotch Essence
Essential equipment
- Large Mixing Bowl
- Pastry Blender (optional)
- Rolling Pin
- 20 cm/8" Loose Bottomed Tart Tin
- Fork
- Baking Beans or Coins/Dried Pulses
- Jug
- Whisk
- Large Saucepan
- Wooden Spoon
Pastry instructions
Mix the flour (160g | 1 + ⅓ Cups) and salt (¼ tsp) together in a large mixing bowl then add the cold cubed butter (85g | ⅓ Cup + 1 tbsp).
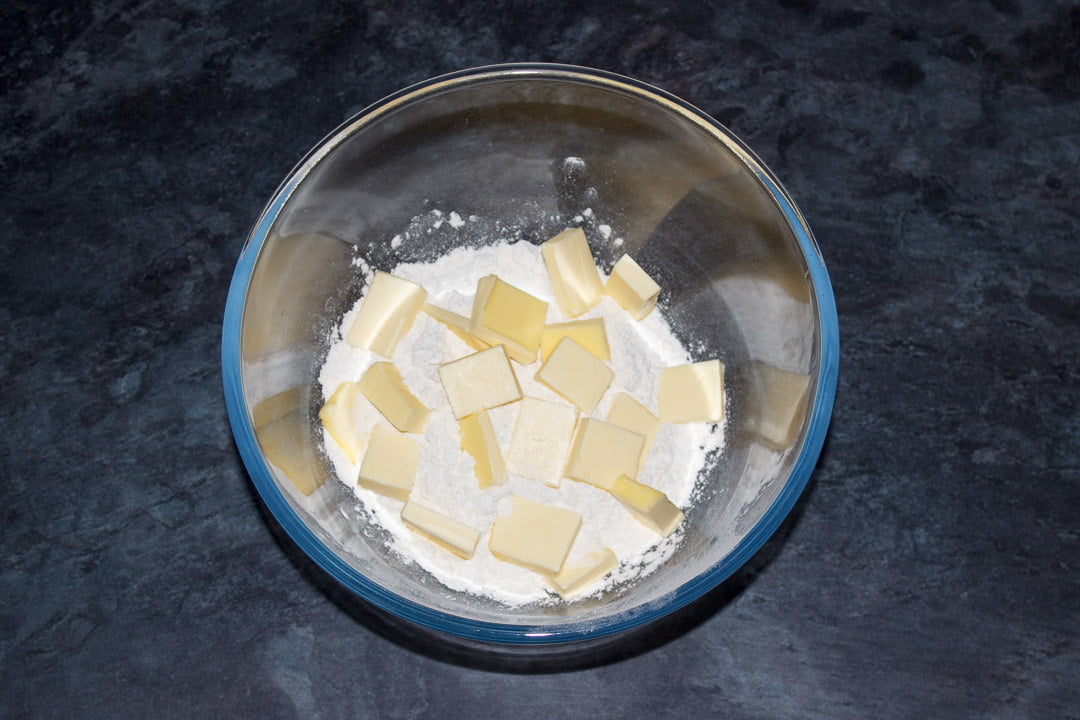
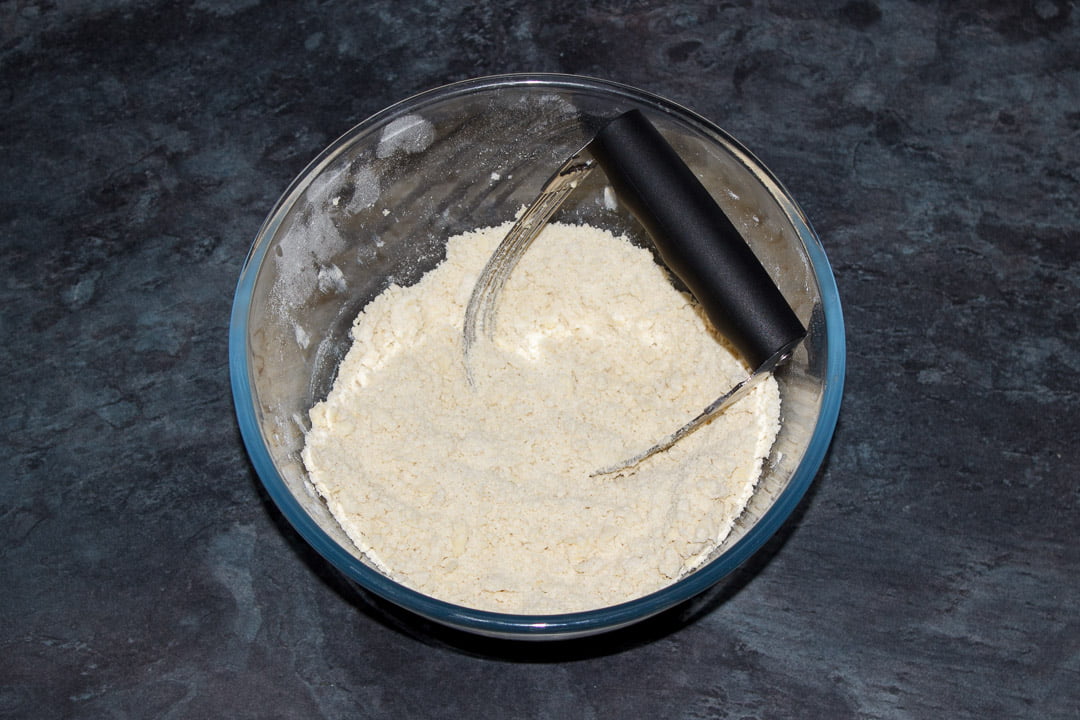
Using a pastry blender, lightly mix the ingredients together until they form lots of little crumbs. Alternatively, you can rub the ingredients together between your forefingers a thumbs (with cold hands!) until you achieve the same result.
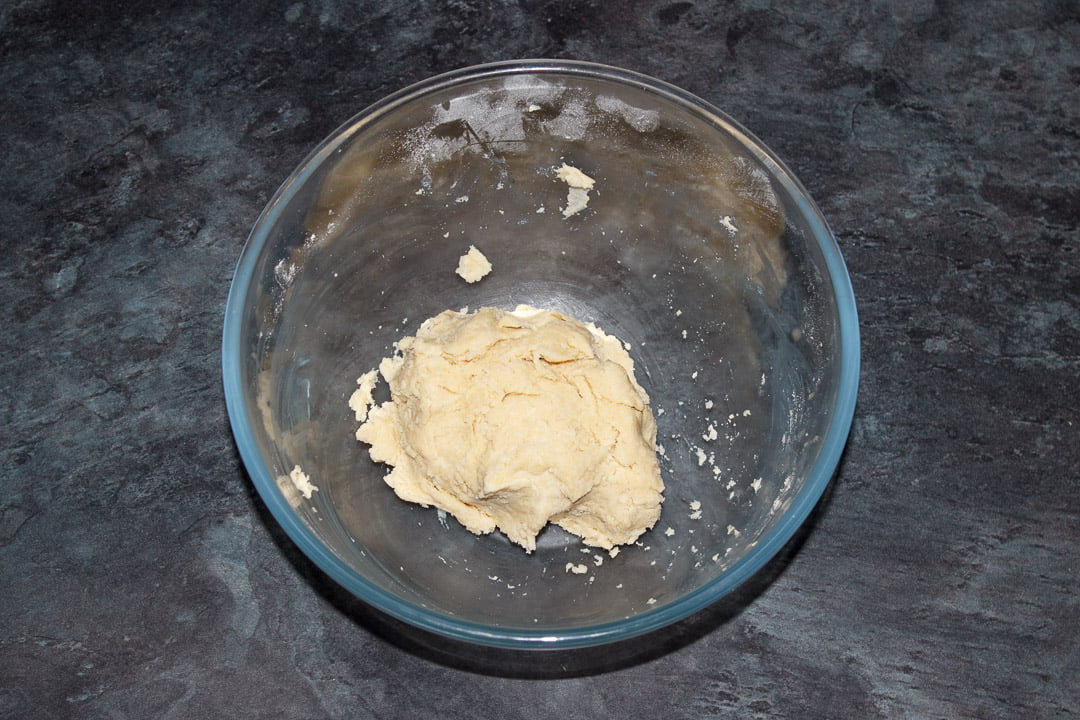
Next, add 3 - 4 tablespoon of cold water and gently bring it all together with your hands until it forms a ball. Add the water gradually - remember, you can always add more but you can't take it out.
The dough should come together and clean the sides of the bowl but it should not be sticky at all.
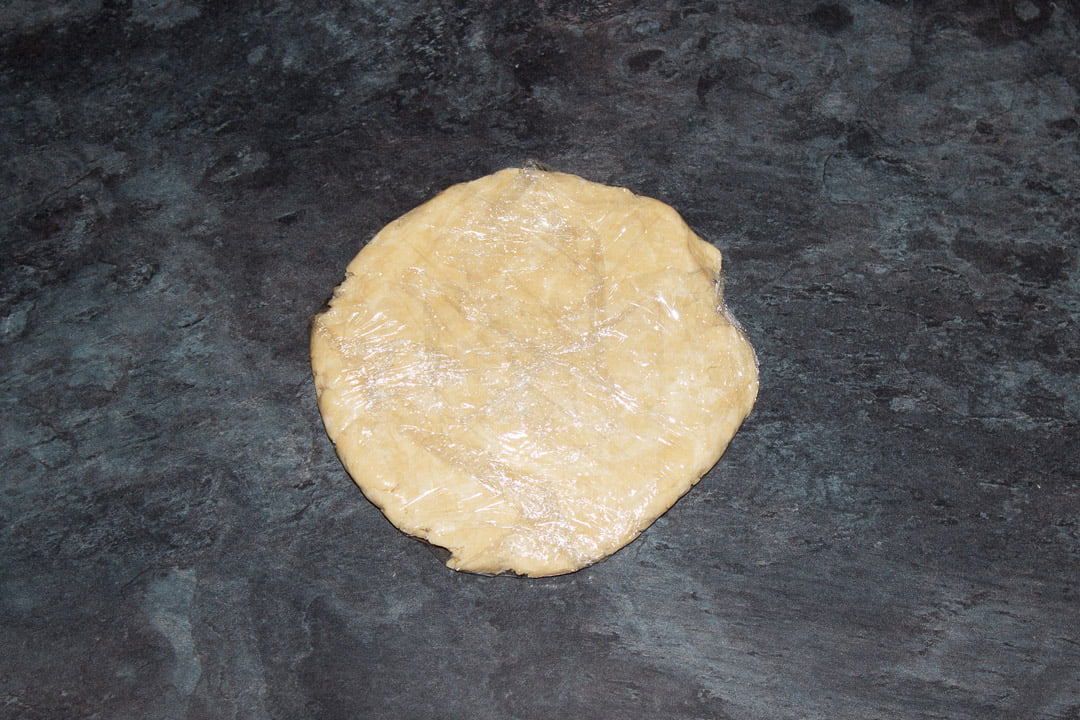
Tip your pastry onto some cling film (saran wrap in the US), flatten into a disc, wrap it up and rest in the fridge for 30 minutes.
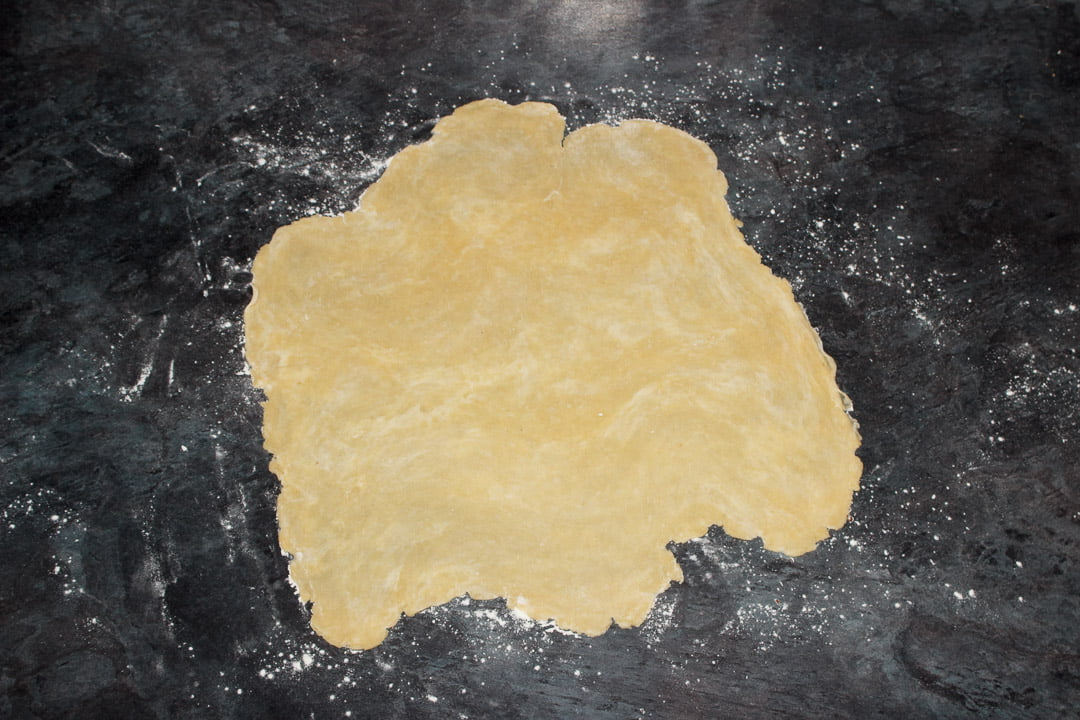
Once chilled, roll out your pastry to 2 mm thick on a floured work surface. Don't be afraid to flour your rolling pin and the top of the pastry.
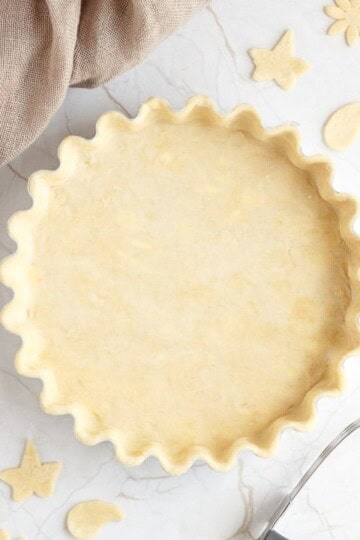
Then carefully lift your pastry over your tart tin and gently press it into the base and sides.
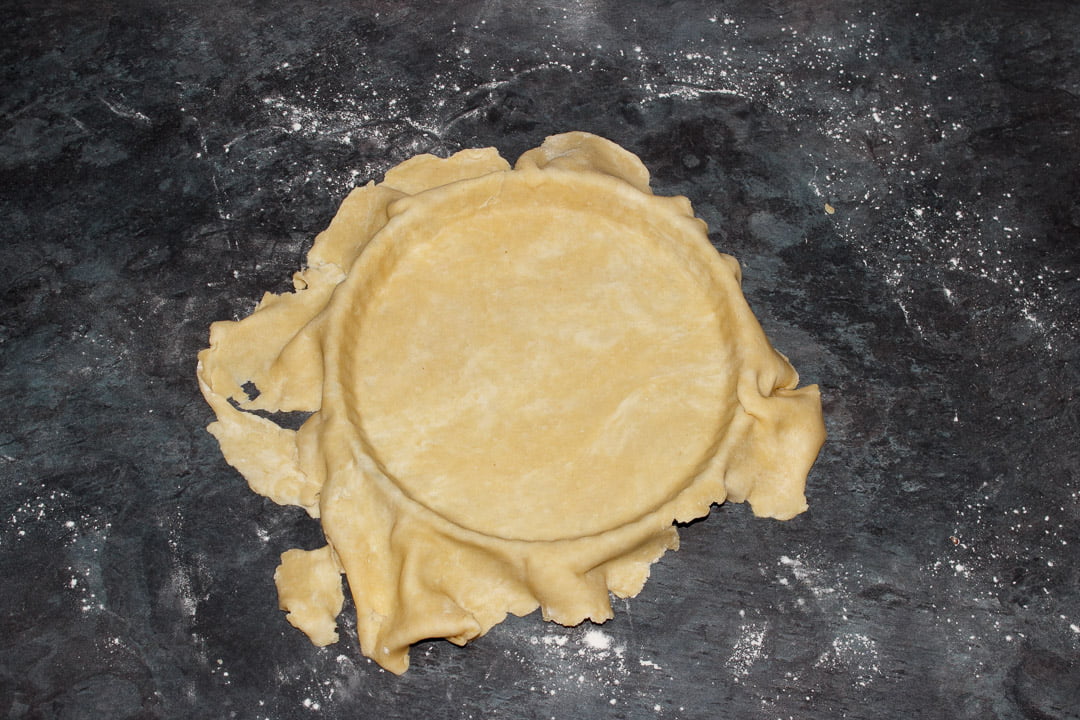
Next, roll your rolling pin over the top to cut off any excess pastry then gently prick the base all over with a fork.
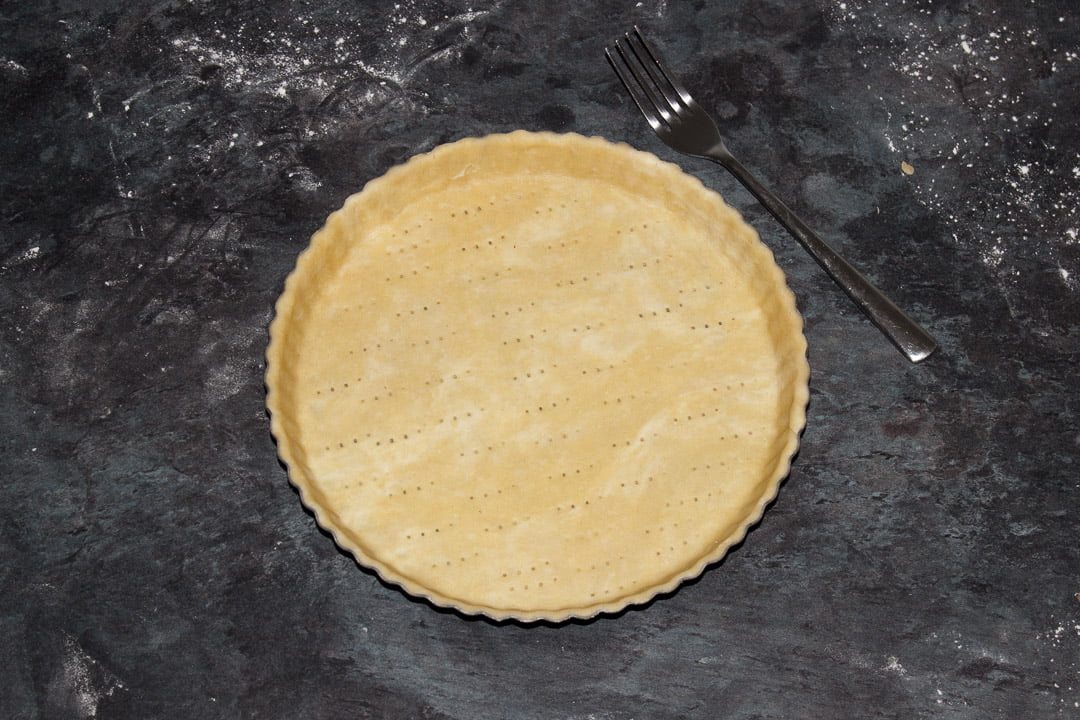
Pop your prepared pastry in the freezer to chill and preheat your oven to 180°C/Fan 170°C/356°F.
Now scrunch up a large sheet of baking paper and place it into your pastry tin. Fill it with baking beans. (You can use coins or dried pulses etc if you don't have those.)
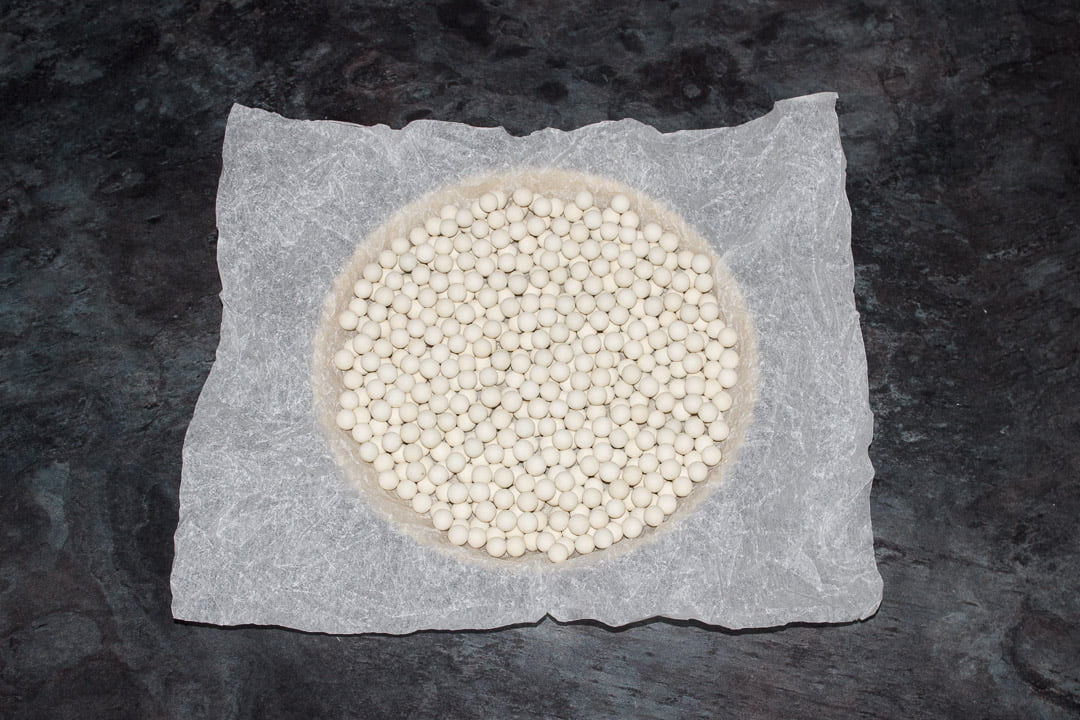
Bake in the centre of your preheated oven for 15 minutes, then carefully remove the baking beans and baking paper. Lightly brush the whole thing with beaten egg.
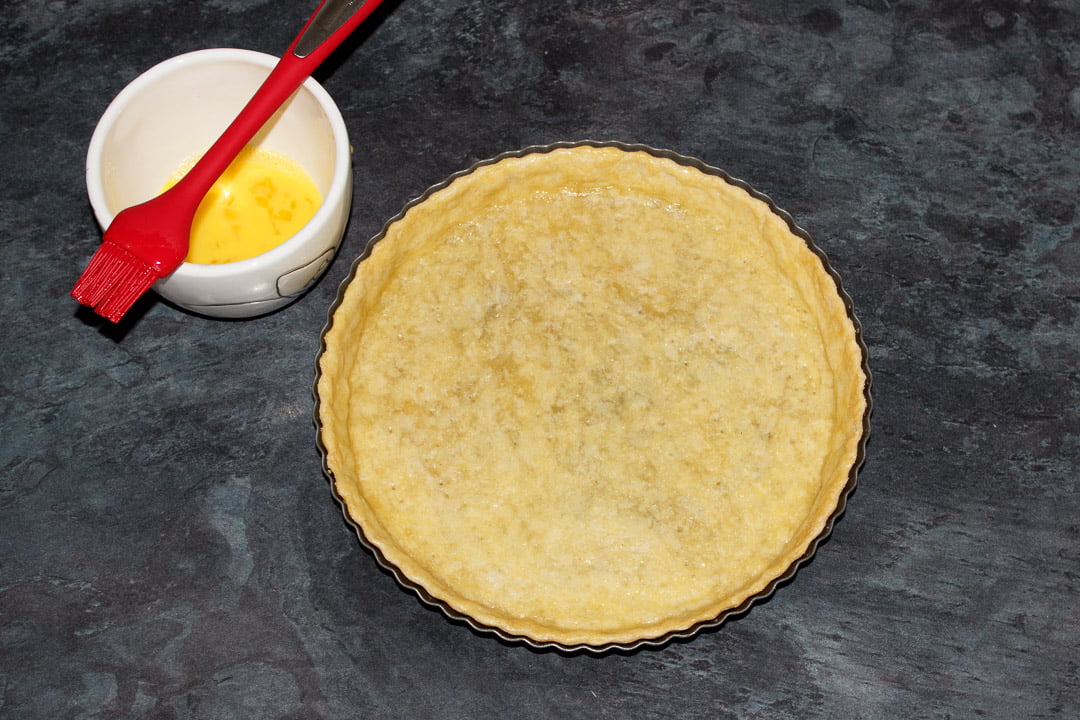
Lastly, put your pastry case back into the oven for a final 10-12 mins until golden and crispy to the touch.
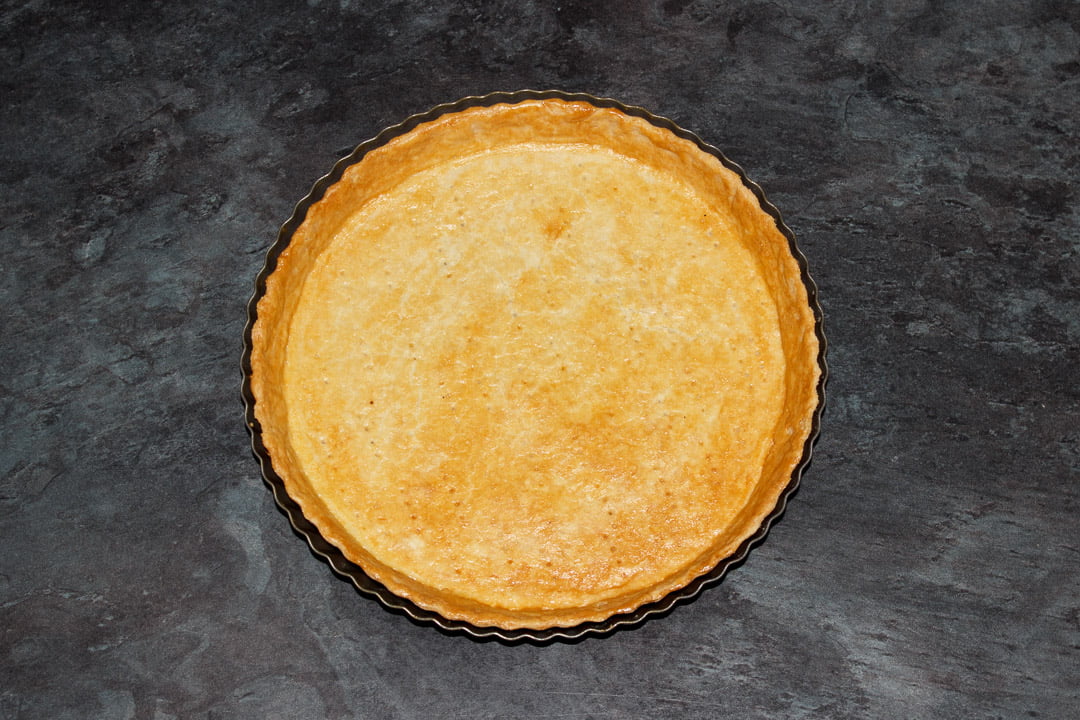
Allow to cool completely while you make the butterscotch filling.
Butterscotch filling instructions
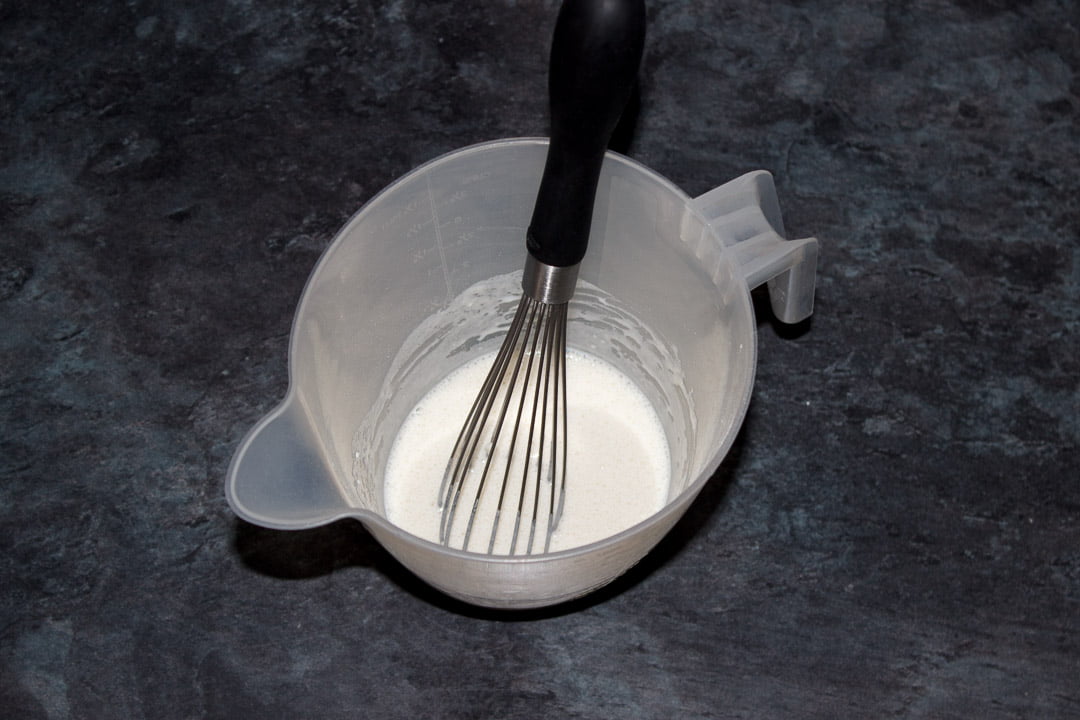
First, whisk together the milk (100ml | ⅓ Cup + 1 tbsp) and flour (40g | ⅓ Cup) in a jug until smooth. Set to one side until needed.
Then add the cubed butter (175g | ¾ Cup) and caster sugar (175g | ¾ Cup + ⅛ Cup) to a large saucepan and set over a low/medium heat.
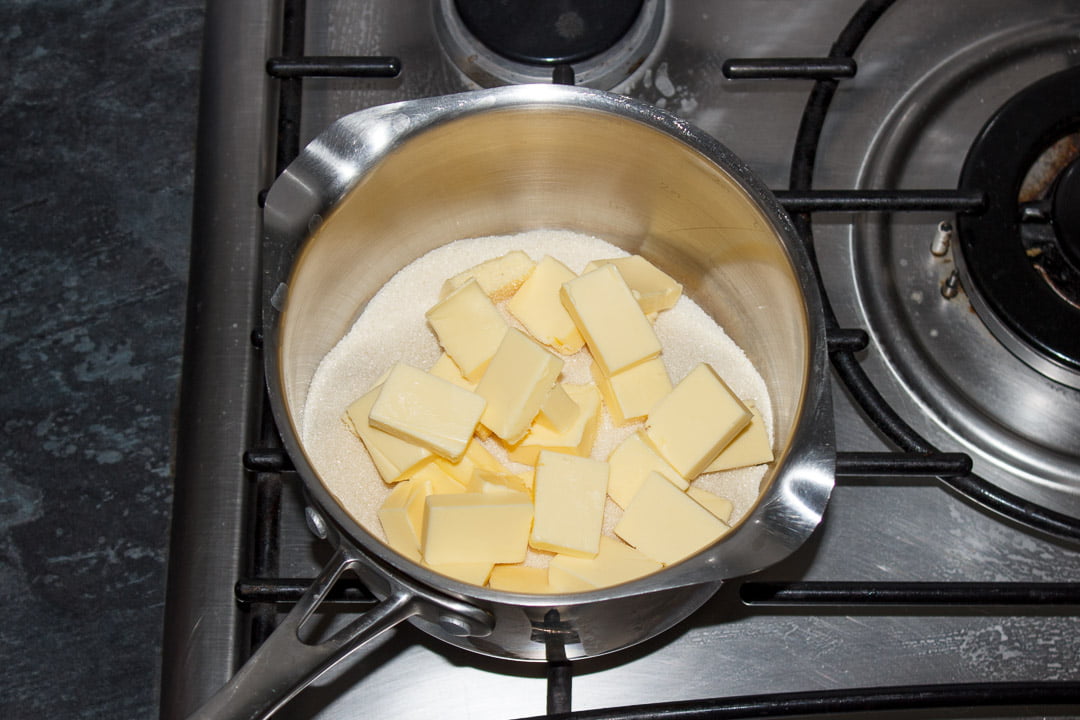
Stirring with a wooden spoon, heat until everything is melted and the sugar has dissolved.
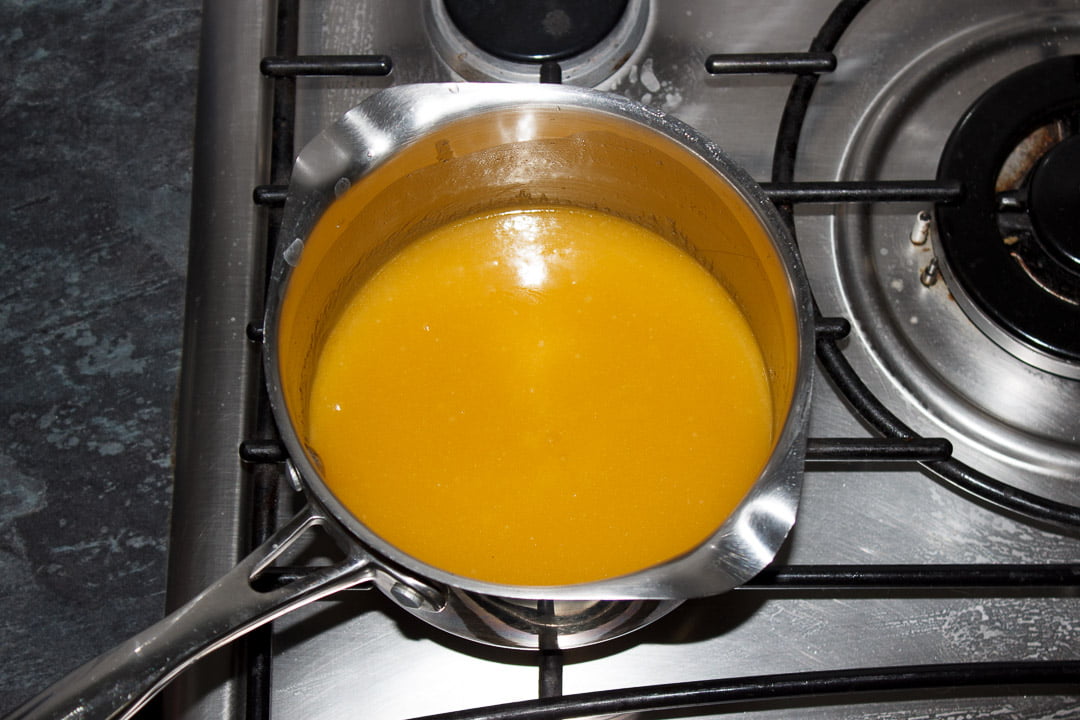
Now gradually pour in the milk/flour mixture a little at a time. Stir well after each addition.
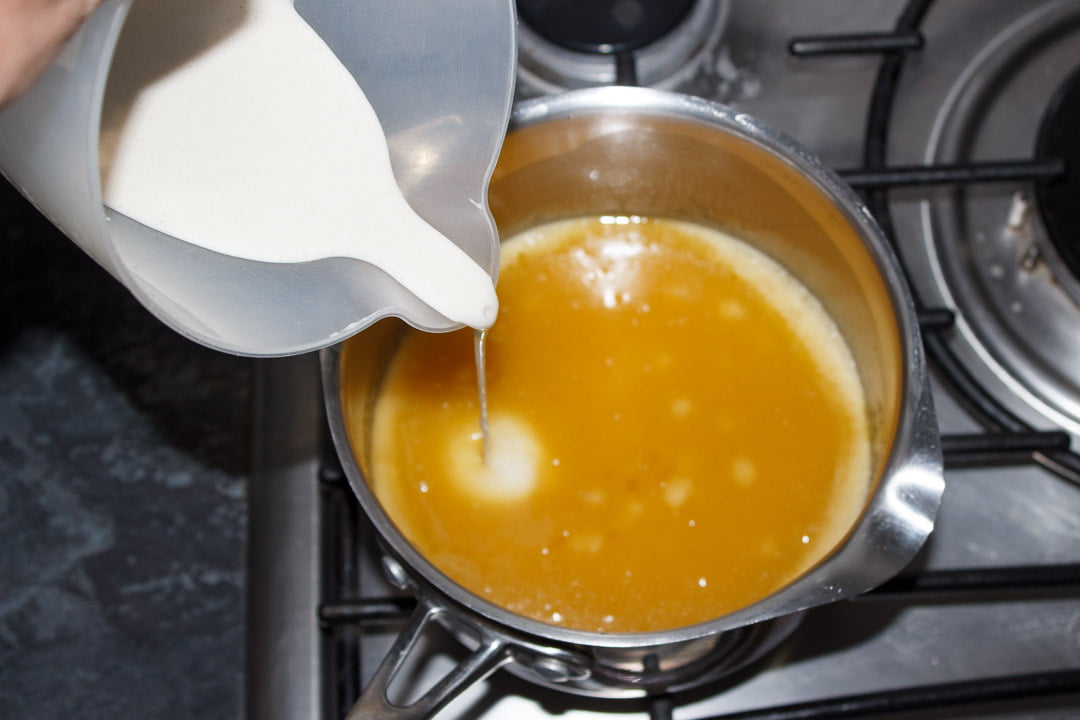
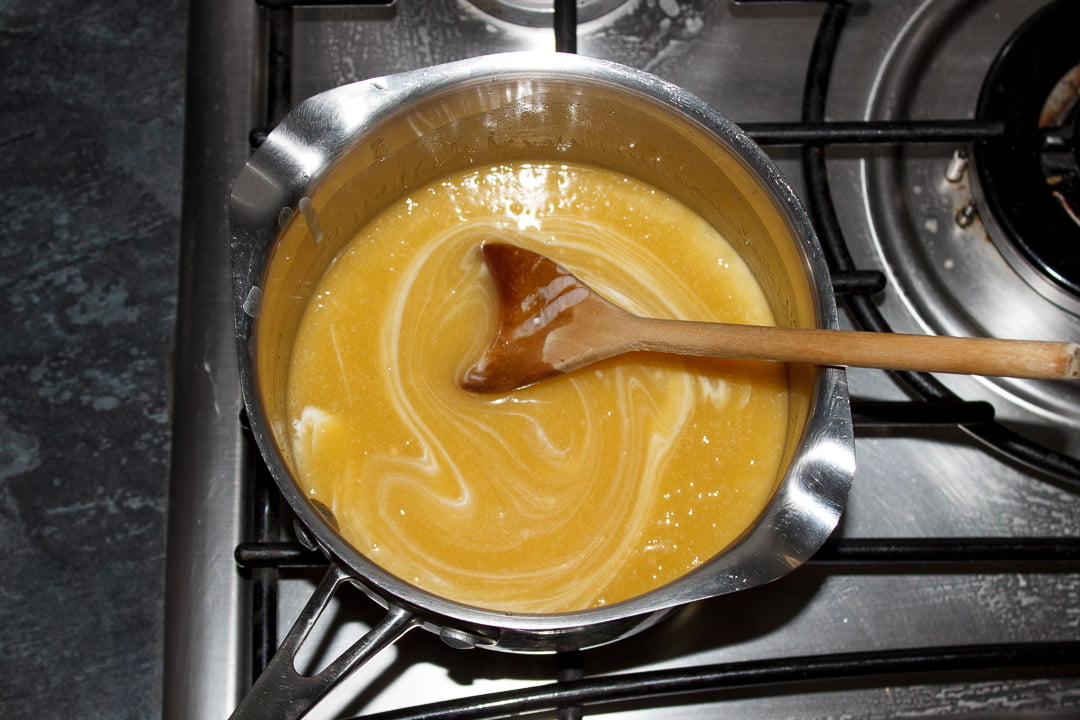
Once all the milk/flour has been added, bring the mixture to the boil. Continue to boil, stirring constantly, until thickened. You want a consistency that's a bit like wallpaper paste. (It should take around 15 mins or so.)
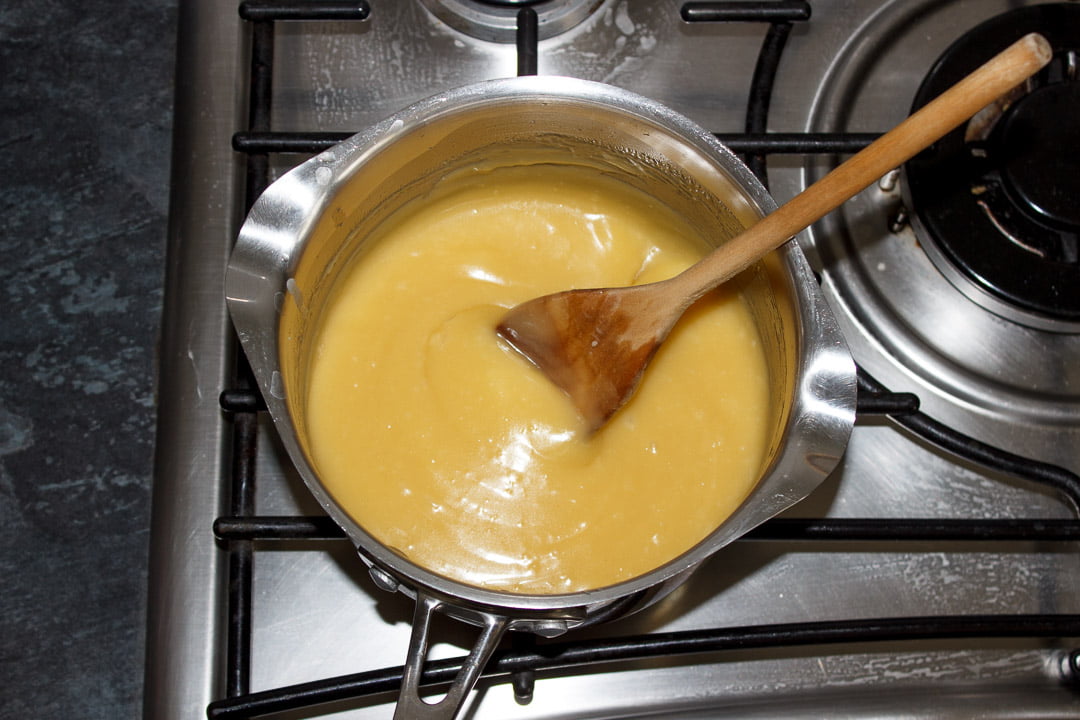
Then remove from the heat and add the salt (pinch), vanilla (1 tsp) and butterscotch essence (1 tsp.)
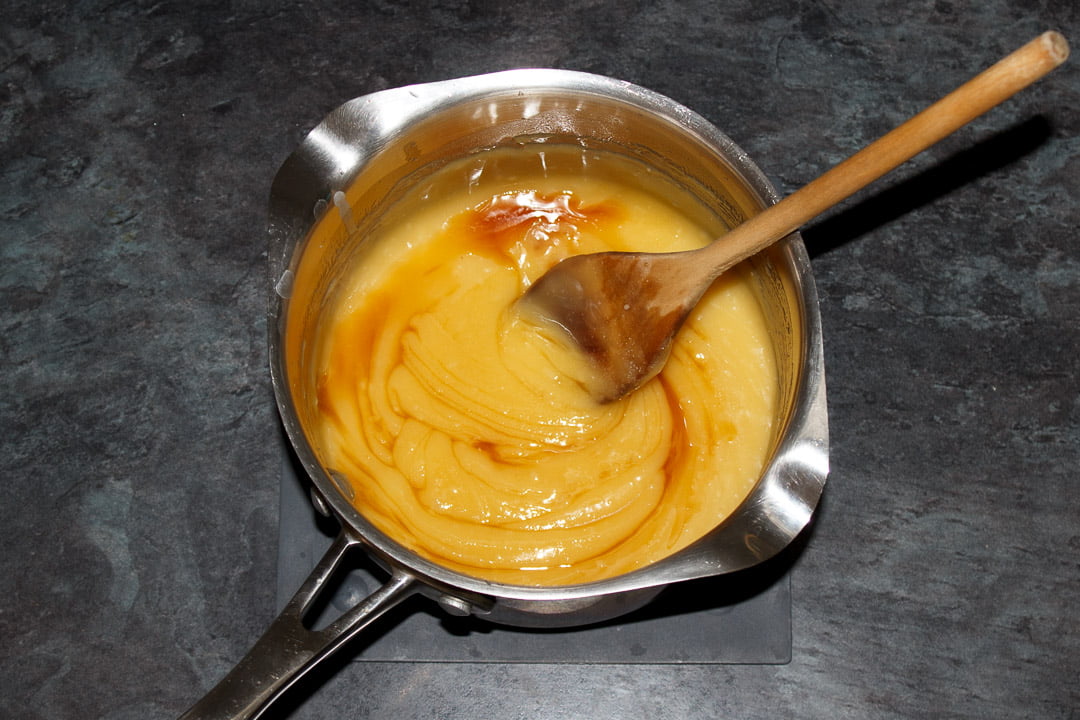
Give it one last good stir to blend everything together.
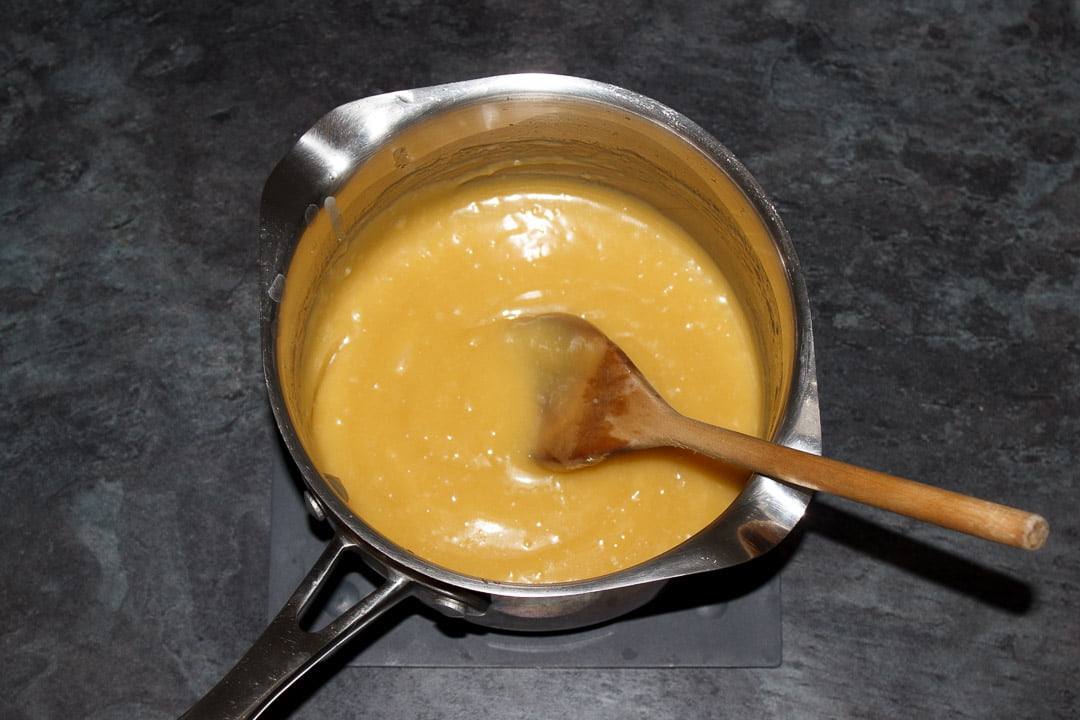
Finally, pour the mixture into your pastry case and allow to set completely. I prefer to leave mine at room temperature but, especially if it's a warm day, you might like to put yours in the fridge.
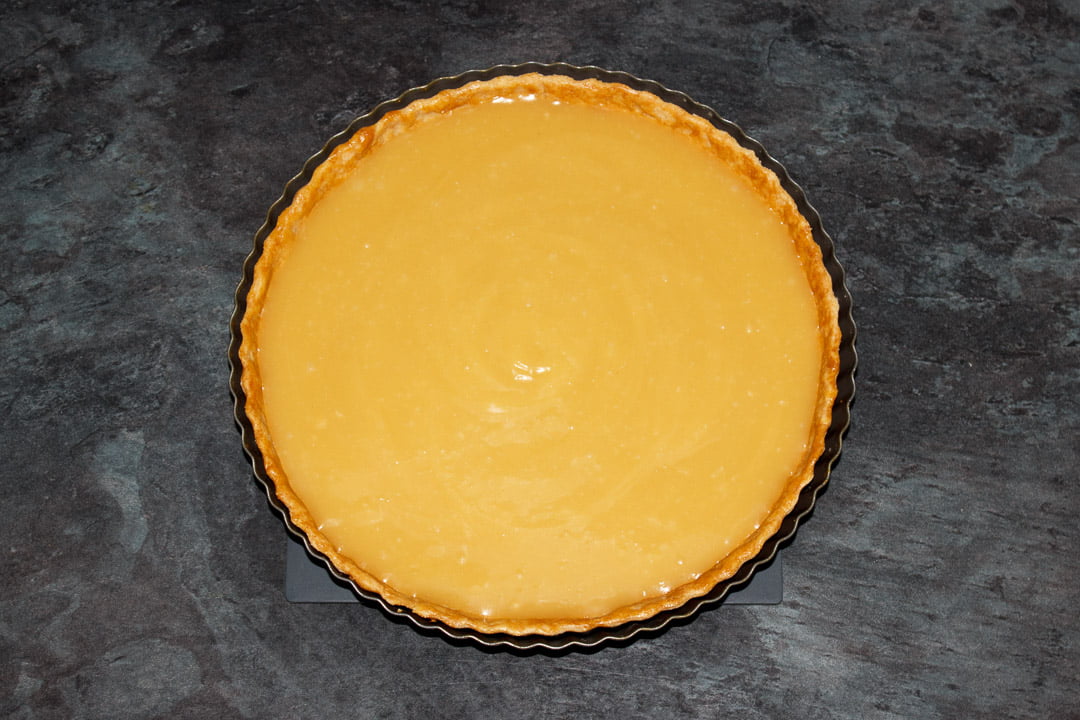
And there you have it my lovely! A seriously nostalgic and delightful butterscotch tart to call your very own. That beautiful, soft and gooey butterscotch filling on a gorgeously golden pastry crust... Just, yes. A thousand times yes!
Store your butterscotch tart in the fridge and consume within 5 days. (Although it's at it's best for the first 1 - 2 days.)
Other recipes you might like...
- Cornflake tart
- Treacle tart
- Victoria sandwich cake
- Lemon meringue pie
- No bake caramel chocolate tart
Have you Made This Recipe?
Will this classic dessert be making an appearance in your household? I’d love to know if it does! Send me your pics and comments on Instagram and Facebook, or email me at emma@kitchenmason.com.
Loved this Recipe? Pin it!
Old School Butterscotch Tart Recipe
Golden flaky pastry filled with a smooth and creamy butterscotch filling, this beautiful school dessert recipe will transport you straight back to your childhood!
Ingredients
For the Pastry
- 160g (1 + ⅓ Cups) Plain/All Purpose Flour
- ¼ teaspoon Salt
- 85g (⅓ Cup + 1 tbsp) Unsalted Butter, cold & cubed
- 3 – 4 tablespoon Cold Water
- 1 Egg, beaten (for brushing)
For the Filling
- 100ml (⅓ Cup + 1 tbsp) Whole/Full Fat Milk
- 40g (⅓ Cup) Plain/All Purpose Flour
- 175g (¾ Cup) Unsalted Butter, cubed
- 175g (¾ Cup + ⅛ Cup) Golden Caster Sugar
- Pinch of Salt
- 1 teaspoon Vanilla Extract
- 1 teaspoon Butterscotch Essence
Essential Equipment
- Pastry Blender (optional)
- Large Mixing Bowl
- Rolling Pin
- 20 cm/8″ Loose Bottomed Tart Tin
- Fork
- Baking Beans or Coins/Dried Pulses
- Jug
- Whisk
- Large Saucepan
- Wooden Spoon
Instructions
To Make the Pastry
- Either using a pastry blender or rubbing between your forefingers and thumbs, mix the flour, salt and butter in a large bowl until fine crumbs form.
- Gradually add the water and bring together to form a ball with your hands. It shouldn't be sticky.
- Wrap in cling film (saran wrap in the US), flatten into a disc and chill for 30 mins.
- Roll the pastry out to 2mm thick on a floured work surface then carefully lift over the tart tin. Gently press into the base and sides.
- Roll your rolling pin over the top to cut off excess pastry then prick the base all over with a fork. Place in the freezer and preheat your oven to 180°C/Fan 170°C/356°F.
- Line the pastry with scrunched up baking paper and fill with baking beans. Bake for 15 mins.
- Remove the baking paper and beans, brush all over with beaten egg and bake for a further 10-12 mins until golden.
To Make the Butterscotch Filling
- Whisk the milk and flour together in a jug until smooth. Set to one side.
- Melt the butter and caster sugar in a large saucepan set over a low/medium heat.
- A little at a time, add the milk/flour mixture, stirring well with a wooden spoon.
- Bring to the boil, stirring constantly, and cook until it thickens. (You are looking for a wallpaper paste like consistency.)
- Remove from the heat, stir through the salt, vanilla and butterscotch essence then pour into your pastry case. Allow to set at room temperature (or in the fridge on a warm day).
Notes
If you would rather use a more in depth picture recipe, please see the main body of this post. Where you’ll also find lots of extra FAQs and helpful tips, should you need them.
Please note, this recipe includes both UK metric and US Cup measurements.
Storage
Store in the fridge and consume within 5 days. (Tastes best within 2 days.)
Tips
- Use a pastry blender to make your pastry. They’re cheap and make pastry quicker, easier and better!
- Don’t have a pastry blender? Make sure you have cold hands, cold butter and cold water instead.
- Try not to overwork your pastry. It will become chewy and not very nice. A light touch is key!
- Add the water gradually to your pastry. Remember, you can always add more but you can’t take it out!
- Flattening your pastry into a disc before refrigerating will chill it faster. (Due to the larger surface area.)
- Don’t have time to make your own shortcrust pastry case? Buy a ready made one and fill as per the recipe.
- Do not leave out the butterscotch essence! It’s the key ingredient to making it taste exactly as it did in school.
- Be patient with the butterscotch filling. It needs to be the consistency of wallpaper paste to set properly.
Recommended Products
As an Amazon Associate and member of other affiliate programs, I earn from qualifying purchases at no extra cost to you.

Nutrition Information:
Yield: 8 Serving Size: 1Amount Per Serving: Calories: 420Total Fat: 27gSaturated Fat: 17gTrans Fat: 0gUnsaturated Fat: 9gCholesterol: 71mgSodium: 102mgCarbohydrates: 42gFiber: 1gSugar: 23gProtein: 3g
Nutritional information on kitchenmason.com should only be used as a general guideline, I am not a certified nutritionist. Please always check labels for allergens where applicable.

Emma is a British recipe writer, home cook, and founder of Kitchen Mason. For over 15 years, she has been creating simple, comforting recipes and practical kitchen tips that help tired, everyday people make dinner feel easier and more enjoyable again. Passionate about British home cooking, Emma shares reliable recipes, comforting classics, and realistic kitchen guidance designed for real life. Her work has also been featured in publications including Food Network, Cosmopolitan, and The Huffington Post.
Knowledgeable On: British home cooking, Easy dinner ideas, Comfort food recipes, Recipe writing

I can't wait to make it.
Miss KitchenMason, I really like your step by step instructions with all the pics. Helps so much. Thanks for taking the time, I know it can be a lot of work, doing a writeup like this, and thought you should know, that it is much appreciated.
Though, by all the comments, I'm not the only one who feels that way.
Nice to see current comments and Holy Cow! even replies from the author.
Thank you SO much! That's so incredibly sweet of you to say! Especially about the step by step pictures as yes, it's a lot more work! But totally worth it if my wonderful readers enjoy it 🙂 You've made my day, thanks again!
I did the same thing almost, I used to love this desert, and then the school cook got a job opportunity at a bigger better school, my school was pretty small so we knew everybody and I was always friendly with the teachers and staff, before she left I asked her for the recipe, she adapted it into something more suitable for home and gave it to me, but like you say, life happens, things get lost, so very much looking forward to trying this one out!
Thank you for posting
You're welcome! Thanks for checking out my recipe 🙂
I'm so glad I found this recipe! I'm cooking for my family tonight so I'm a bit short for time on sourcing ingredients, the main ones I already have in my cupboard but I couldn't find butterscotch essence anywhere in my supermarket. They did have a caramel one though, do you think this would be okay or will the flavour be too different?
Hi Aly! The flavour will be different but I can't see any reason why it wouldn't taste just as good 🙂
Also, can I substitute the sugar for regular white sugar? 🙁 I'm in the US and have had the hardest time finding some of these ingredients. I used my food processor to process some golden raw sugar, but the grains didn't get small enough, so I used the white sugar (called refined sugar, I think). I can taste the grittiness of the sugar, but maybe I didn't dissolve it long enough? Your pics looked just like my steps, and I had no problems with separation. I let it dissolve for a quite a while - but do you have a minute number that could help me out?
Thank you!! 🙂 🙂
Emily
White sugar will be fine, I only use golden as I think it adds a very slight caramel flavour. So long as it is a fine sugar and not granulated it will be ok. (I think you call it superfine in the US?) With regards to the sugar dissolving, it's been a while since I've made this but, from memory, I think it only took about 5 minutes. Basically, you shouldn't be able to feel any scraping when you stir with a spoon. That's when it has dissolved. I hope I've been able to help! Good luck 🙂
I'd like to travel with this pie. Should I assemble it, freeze it, and thaw it? Or, freeze the filling once it's made, then thaw and place it in a crust?
Thanks!
emily
Hi Emily. I'll be honest, I'm not sure. I've never frozen it before. I can't see any reason why it shouldn't be ok being frozen assembled though, so long as it's in an airtight container?
Freezing it is absolutely fine - school chef here and I make it twice a month (though we have progressed onto 'butter essence' now instead of 'butterscotch flavouring' - doesn't taste quite as good as it did when I was a kid). I usually make several trays of this in one go, as it's so popular - and freezing it afterwards and letting them have it as a treat the following week. It defrosts perfectly - I recommend defrosting on a cooling wire, just in case of any ice crystals, they won't make your pastry go soggy.
My little girl started school in September and she sometimes has Butterscotch Tart for pudding - I'm so envious every time she comes home and tells me she had it for lunch, so I can't wait to make this!
Hahaha I would be too! It was my fave school pudding by a country mile!
you never said when to add the second egg....
It's used beaten as a glaze over the pastry later on in the recipe Vicky.
Hey! Been years looking for the name of this tart because i didn't remember when i lived in England until i had 13, now i am 27 and thanks to you i can do this tart, i wanted to ask you if i don't use butterscotch flavoring could i do the butterscotch sauce and use it as a flavoring? 😀 thanks for the recipe 😀
Hi! Glad you're so happy you found my recipe! I'm not sure butterscotch sauce would work as well as it's not as concentrated as extract/essence. X
Thanks! 😀 you're very kind! and well i will try it and see what happends, and thanks for the fast anwsering i apreciate it 🙂
No problem at all, let me know how you get on 🙂
Sure 🙂
Exactly how I remember school dinners.... butterscotch tart to excite the taste buds. I dont know your age "KitchenMason", but Butterscotch tart was just the same in 1964 when I was 10. I am now going to try your recipe, I've always loved cooking so this will be another conquest for me. Thanks.
I'm 27 and it was my favourite pudding at school by a country mile! Thank you for your kind words x
Tried to make old school butterscotch tart for many years and still not managed to get it right, however after searching for images for old school butterscotch tart I came across your post. I've literally just finished making yet another unsuccessful tart, noted you recipe and I'm going to make it this afternoon. I'll let you know if it's the same one we used to have with chocolate shavings on top cut into rectangles mmmm....
I had a long search too - good luck! Hope you've found what you were looking for 🙂
Was it the same one as you used to have at school? That's how I remember it 🙂 Hoping it is!
Yes Zoe it was! I actually got the basics of the recipe from a dinner lady when I was at school many moons ago 🙂
Okay I seriously need to try this recepie! I must run to the store I have a sudden craving for butterscotch! 🙂
It's gorgeous Sab you'll love it!
once I get the ingredients I'll let you know how it turns out 🙂
Fab!
oh it looks wonderful. i love custard pies!
Thank you!
That looks sooo good
Aww thank you! X
This looks and sounds divine. Yum!
Thanks Gab! It was my favourite in school 🙂
We never had school dinners when I was a kid, everyone just brought a packed lunch! I've heard lots of horror stories about them though but this looks and sounds really good 🙂
Haha the horror stories are probably true! But here in the UK we had a choice, packed lunch or school dinners. And this pudding was my all time fave!