
This post may contain affiliate links. Where I make a small commission on purchased items, at no extra cost to you. See my disclosure for details.
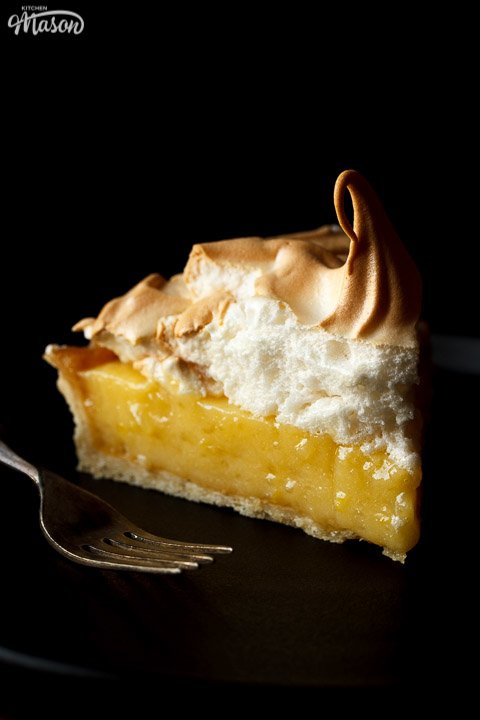
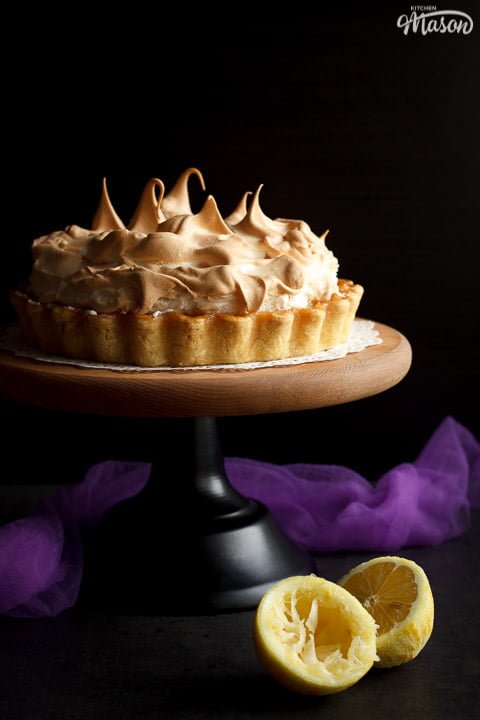
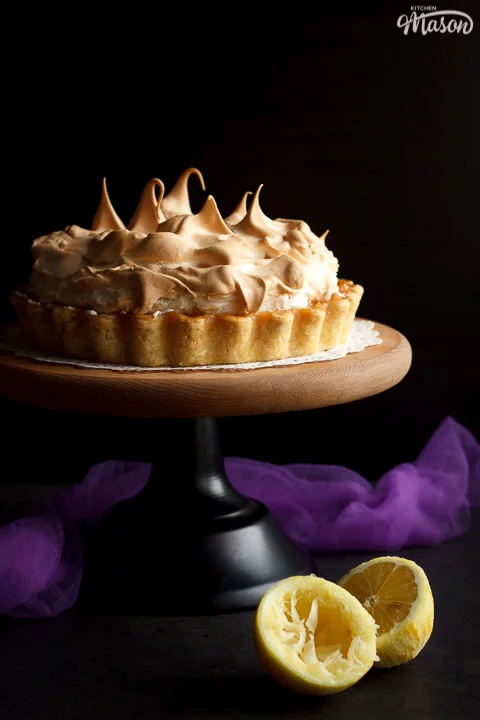
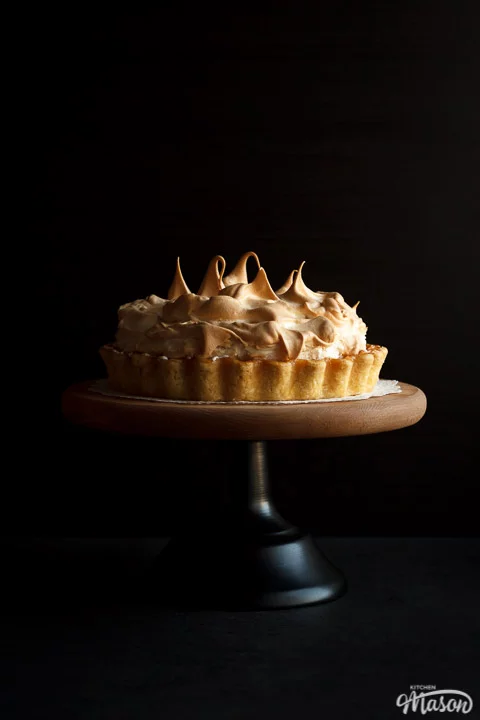
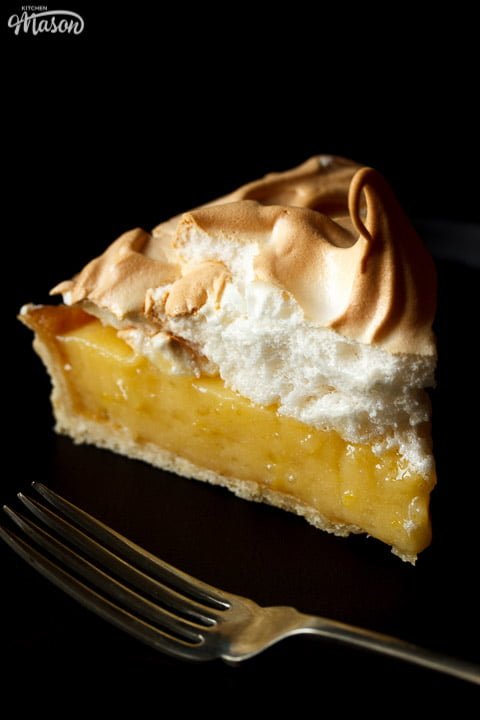
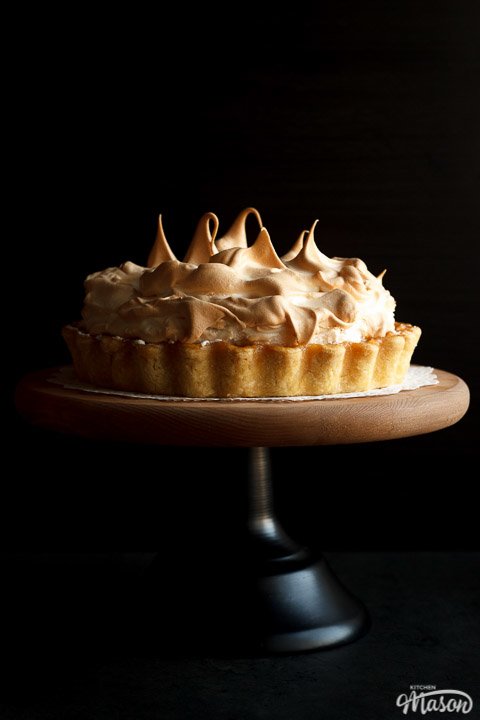
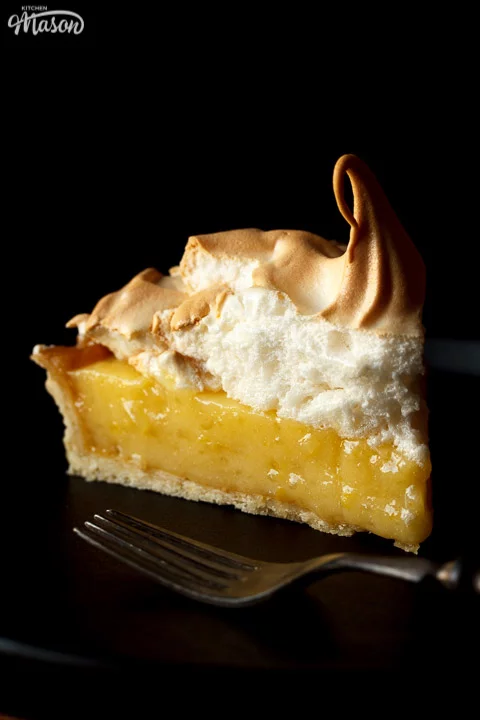
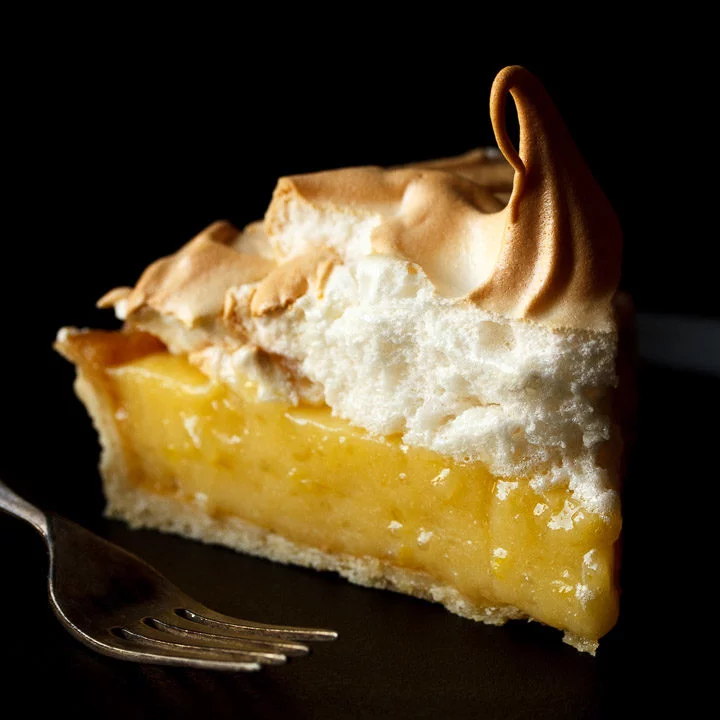
This lemon meringue pie recipe is a showstopping dessert they’ll never forget! It’s perfect for dinner parties and tastes so freakin’ GOOD! With the traditional shortcrust pastry case, lemon curd filling and meringue topping, this is a dessert recipe that is absolutely worth the extra effort!

Lemon desserts are something I’ve always opted for over other choices. I’m not sure what it is. Lemon is just so refreshing and flavourful. From lemon traybakes to lemon cookies, I can’t say no! And let’s be honest, lemon meringue pie is the KING of all lemon desserts.
Quite frankly, I can’t believe it’s taken me so long to get a lemon meringue pie recipe up on Kitchen Mason. I mean, it is one of my all time favourites!
Can't face cooking dinner on Fridays? 😩
Imagine a guilt free Friday night dinner, without the exhausting mental load. BYOD Fridays are a fun and supportive Friday night community for tired people who still need to cook, but really cba 💛
Join The Community
I admit, it’s not without it’s potential pit falls. After making it myself, I realised that there is rather a lot that can go wrong with a lemon meringue pie. There’s soggy bottoms, runny fillings and weeping meringues to battle here!
If you feel like you need to refresh your memory on baking basics before attempting this, take a look at baking for beginners.

But don’t panic! I’m here for you and we’re gonna nail it together. In this post, I’ve put together a whole heap of ingredients advice, tips, troubleshooting, step by step pictures and anything else I could think of that might help you. So let’s get stuck right in…

Are you a big meringue fan? You’ll love this chewy meringue recipe too!
Lemon meringue pie – recipe summary
- Blind bake a shortcrust pastry case
- Make a lemon curd filling
- Make a meringue topping
- Assemble and bake to perfection
That makes it all seem rather simple doesn’t it? Yes, there are things that can go wrong but no, it’s not as difficult as you may think. If you read through this whole post through, you will have all the knowledge you need to make a great lemon meringue pie. I promise!
If it makes you feel better, I had problems with mine. I can even see it in my photos… BUT, did it still look great? Yes. Did it still taste great? YES! And did I learn from my mistakes so I know exactly how to get it right next time and how to help you to make it too? Absolutely.
Can I make lemon meringue pie in advance?
Most recipes recommend chilling for 2-4 hours before slicing and serving. I quite like mine warm, but I would still leave it to cool before attempting to slice or things will get messy!
That being said, unless you’re baking it to a crisp, homemade meringue doesn’t really keep very well for long periods of time. Especially when in contact with something moist like lemon curd. For that reason, I would say not to make it in advance.
I think making it on the day would be best. That way you get to enjoy fluffy crispy topped meringue at it’s best, YUM!!

Ingredients and substitutions
- Plain Flour – Any brand will do here, it’s pretty much all the same. Just don’t switch it out for another type, like self raising or cornflour!
- Butter – I like to use unsalted butter as it puts me in complete control of the salt levels/overall flavour.
- Eggs – Fresh is best when it comes to curds and meringues. I also like to use free range organic as it’s kinder to the animals.
- Sugar – Golden caster sugar is my favourite as it adds a slight caramel flavour. Regular caster sugar will work just fine though.
- Cornflour – Cornflour is superfine (like icing sugar) and works best to thicken liquids which is what we want in this recipe. Don’t substitute this for other flours.
- Lemon Zest – Only grate the yellow part of the skin, not the white pith. That tastes bitter which is not what you want.
- Lemon Juice – Fresh is best! Use freshly squeezed lemon juice NOT the horrible bottled stuff you can buy.
- Cream of Tartar – This is to stabilise the egg whites in the meringue. We need all the help we can get here so don’t leave it out.
- Vanilla – Use a good quality brand (I like Nielsen Massey) not the tasteless supermarket ones. It makes a really big difference!
Lemon meringue pie recipe tips and troubleshooting
As I’ve said before, there’s quite a bit that can go potentially wrong when making a lemon meringue pie. Here are some helpful pointers so you can get it right first time…
Pastry
- Don’t overwork your pastry or it will be tough and not very nice.
- Cold hands are best when working with pastry. Rinse yours under cold water for a minute before you start.
- Don’t skip the ‘resting it in the fridge’ stages. This resolidifies the butter, meaning it will shrink less in the oven.
- Dough too crumbly? Add a little bit of cold water to bring it together.
- Dough too wet? Add a little more flour to bring it back.
- Don’t own baking beans? You can use coins, dried peas or lentils instead.
- Cool the pastry case completely before adding the filling. This will help the curd to set properly.
Lemon Curd Filling
- Prepare all your ingredients before you start. This part of the recipe moves very quickly.
- You will need 2 – 3 lemons to get 2 tbsp zest and 120ml of juice.
- Only zest the yellow part of lemon skin, the white part is bitter. You don’t want that in your pie!
- Stir vigorously when adding the lemon mixture to the boiling water. It will thicken very quickly!
- You may wish to use a whisk to keep things nice and smooth when making the curd.
- Don’t chill the pie when you’ve added the filling to the crust. This can cause moisture to form on the top of the pie which can ruin the meringue.
Meringue Topping
- Fresh eggs make a more stable meringue than older eggs. (So they’re less likely to weep/deflate later.)
- Stay with the meringue while it’s whipping. If you overwhisk it, it will weep (leak water) and deflate once baked.
- Don’t know when it’s at the stiff peak stage? Tip the bowl upside down – if it stays in the bowl, it’s ready!
- Spread the meringue right to the edges of the pie, completely covering the filling.
- You can use a blow torch instead of baking to add a really beautiful look to your meringue.
- Oil your knife when slicing to get nice neat slices. This should stop the meringue from sticking and making a mess.

Other lemon recipes you might like…
Leftover lemon curd and meringue? Here’s what to do…
I like to store any remaining lemon curd in a bowl (covered) in the fridge. It should last for a good 3-4 days and can be used for many things. You can enjoy it on toast, make some lemon curd tarts or spread on baked leftover meringue!
As for any spare meringue? I dolloped 10cm blobs of it onto a lined baking tray and baked them in a 100°C oven for about 1 hour until crisp. I highly recommend spreading some lemon curd onto a meringue and topping it with squirty cream. OH MY LIFE it’s good!

Easy Lemon Meringue Pie – Step by Step Picture Recipe
(For a printer friendly version, see the recipe card at the end of this post)
Please note, this recipe includes both UK metric and US Cup measurements.
Ingredients
Here is what you will need to serve 6.
Pastry
- 200g (1 + 1/2 Cups) Plain Flour
- 100g (1/2 Cup) Unsalted Butter, cold & cubed
- Good Pinch of Salt
- 1 Egg, beaten
- 1 tbsp Cold Water
Lemon filling
- 2-3 Lemons (120ml | 1/2 Cup juice / 2 tbsp zest)
- 50g (1/3 Cup) Cornflour *
- 225g (1 + 1/8 Cup) Caster Sugar
- 3 Egg Yolks
- 360ml (1 + 1/2 Cups) Water
Meringue
- 3 Egg Whites
- 1/4 tsp Cream of Tartar
- 75g (1/3 Cup) Golden Caster Sugar
- 1/2 tsp Vanilla Extract
Essential Equipment
- Large Mixing Bowl
- Rolling Pin
- 7″ Loose Bottomed Tart Tin
- Baking Beans or Coins
- Pastry Brush
- 2 x Bowls
- Medium Saucepan
- Electric Stand Mixer with Whisk Attachment (or Large Bowl with Electric Hand Whisk)
*don’t have any? Check out these substitutes for cornflour.
Pastry instructions
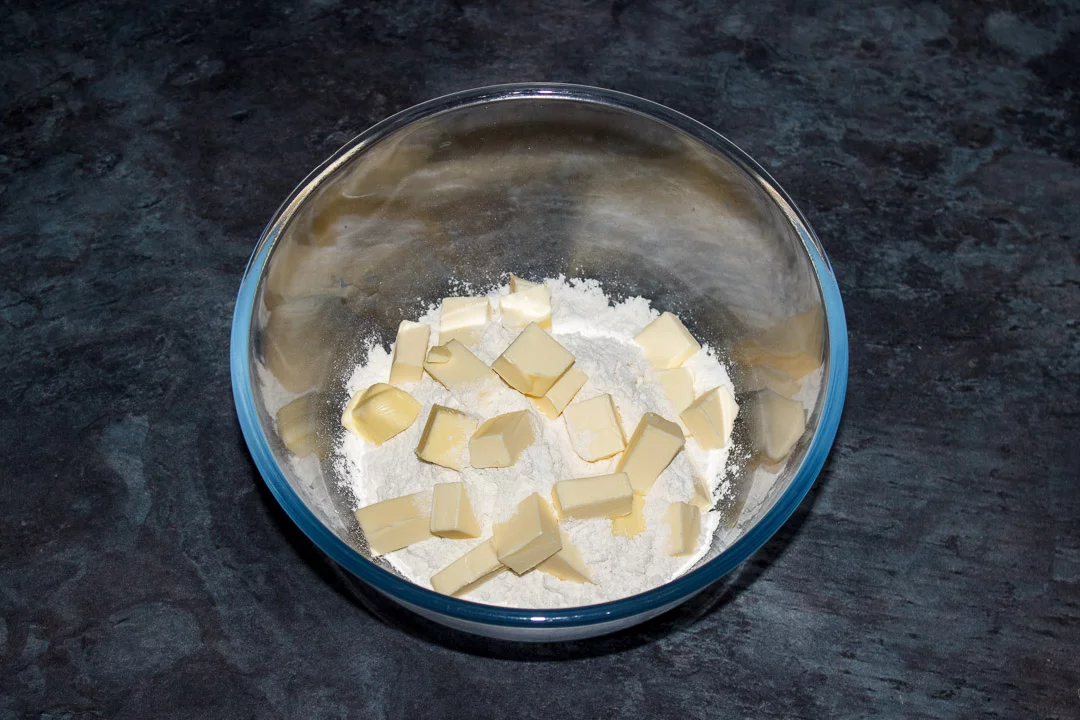
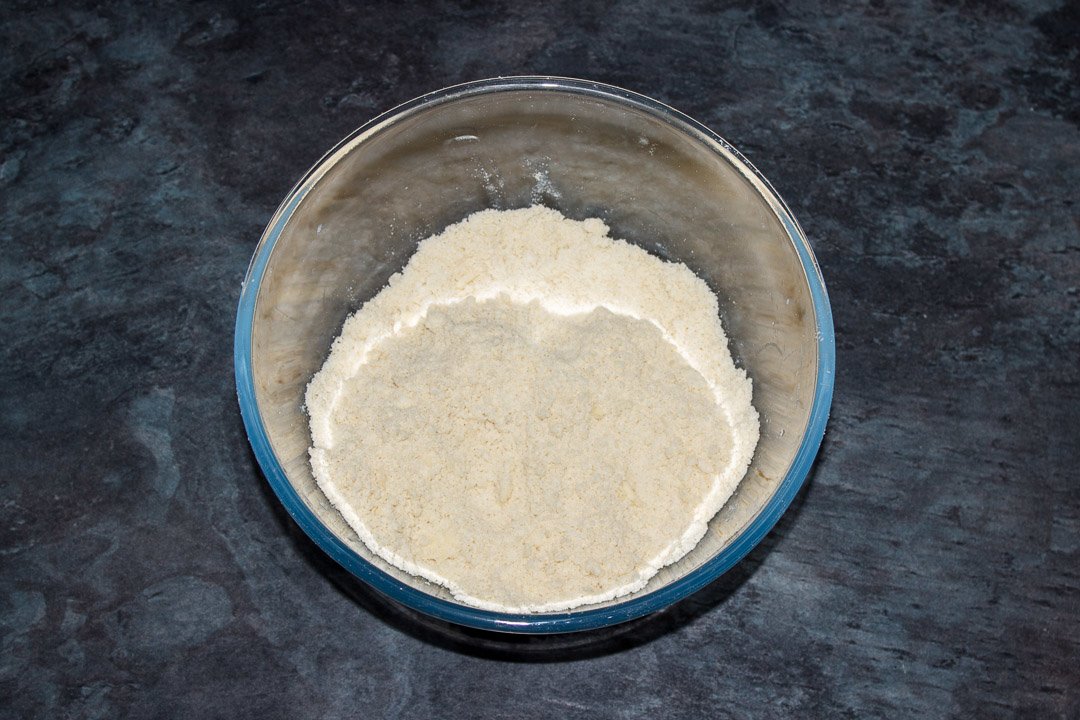
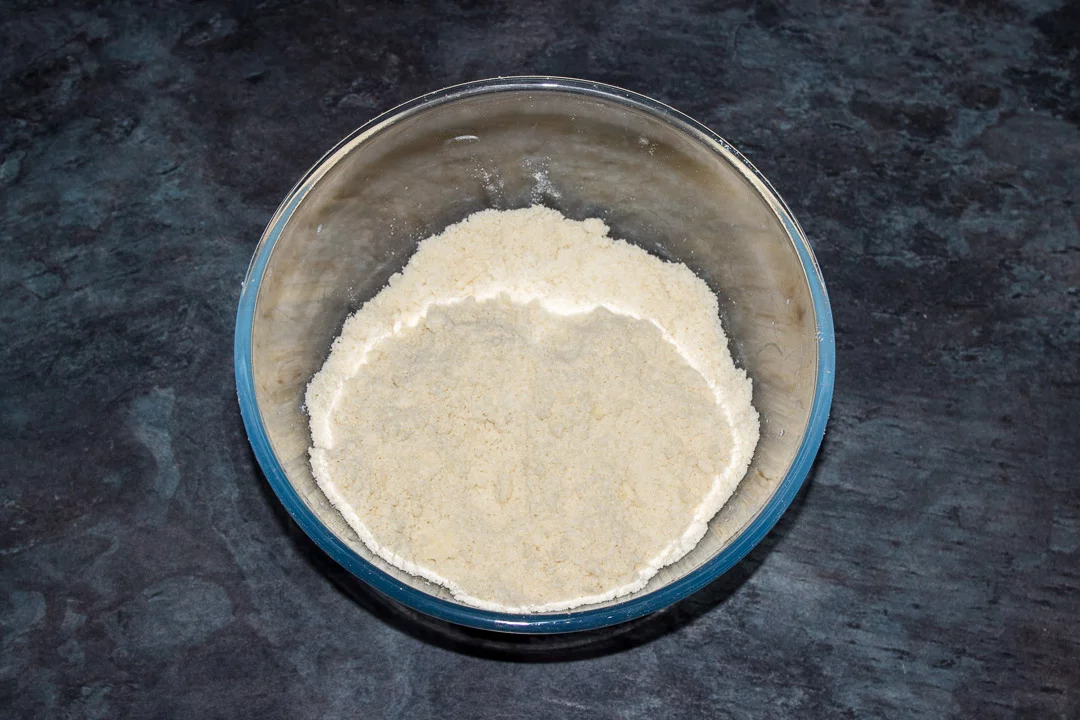
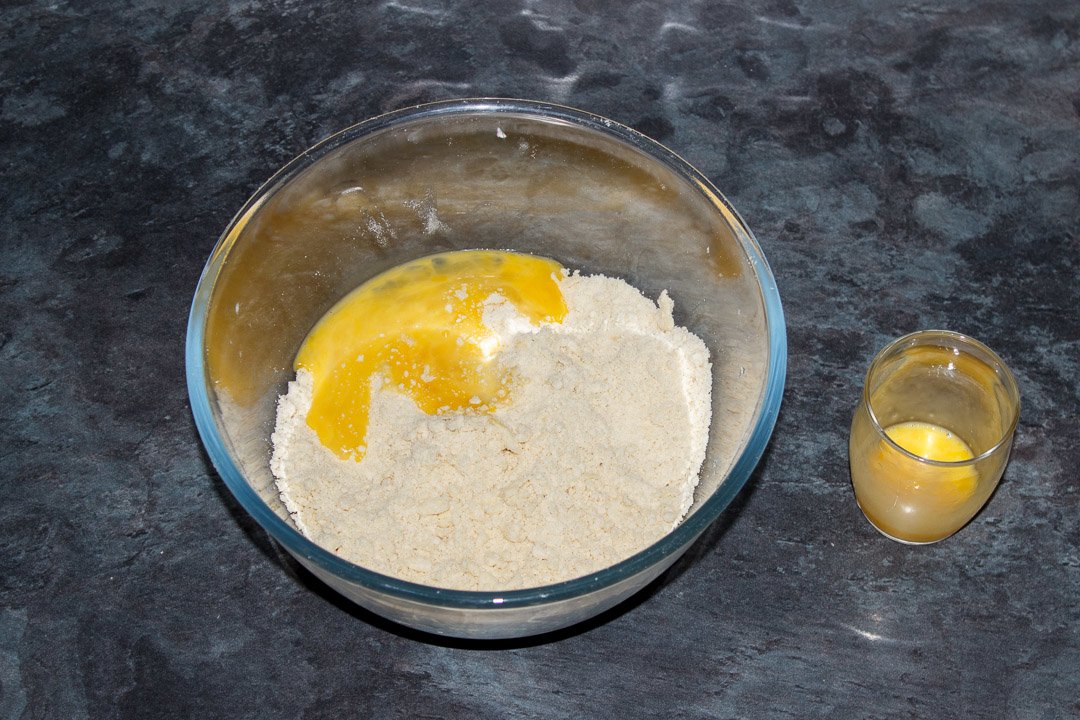
Weigh out the flour (200g | 1 + 1/2 Cups), butter (100g | 1/2 Cup) and salt (good pinch) into a large mixing bowl and rub the mixture together between your forefingers and thumbs. Keep going until it resembles fine crumbs.

Beat the egg (x 1) into a small glass or bowl then add approximately 3/4 of it to the pastry. (Save the rest, we’re going to need it for brushing later.)
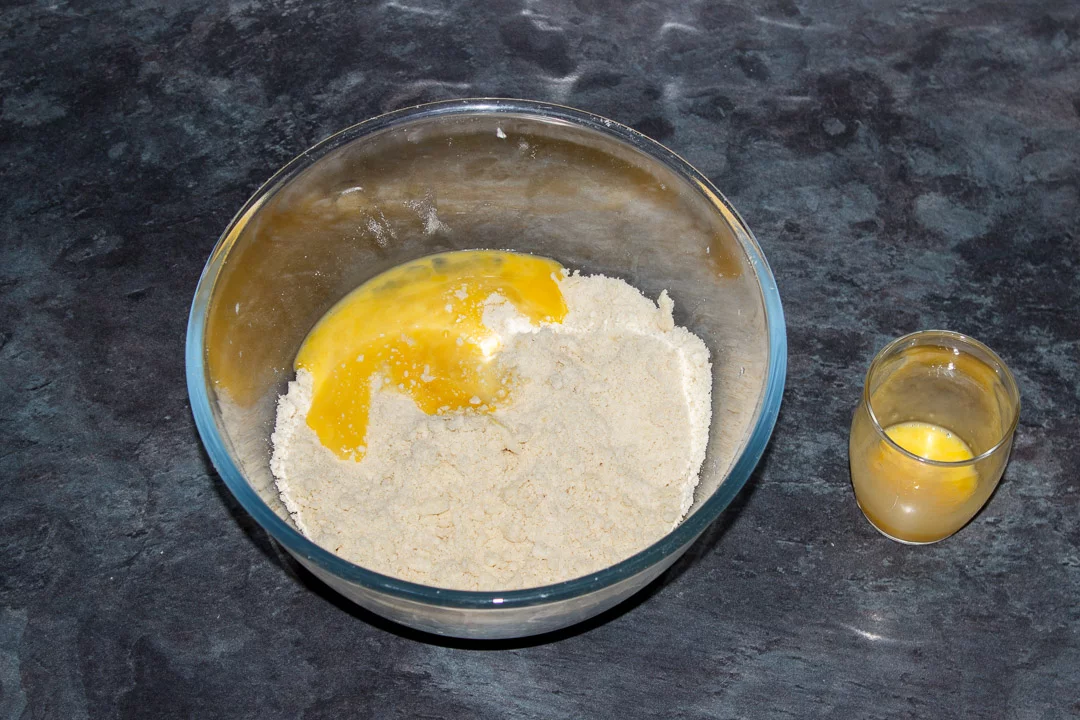
Now give it a good mix to bring it all together. If your dough is still a little crumbly, add tablespoons of cold water (one at a time! Remember, you can always add more but you can’t take it out.) until it holds together.
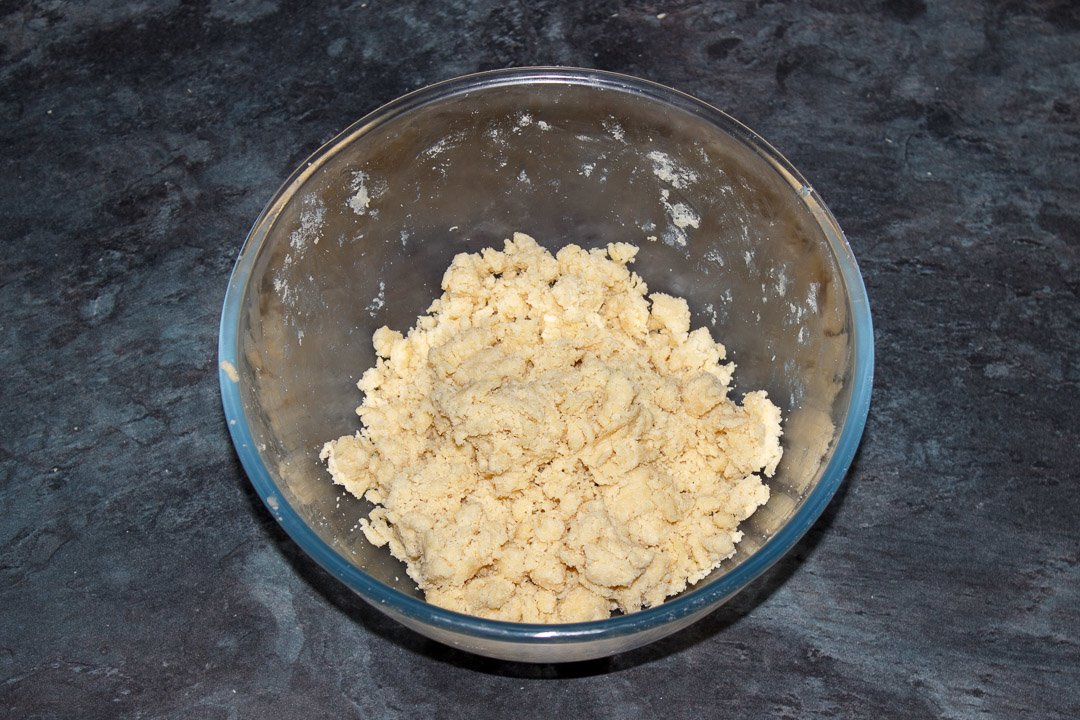
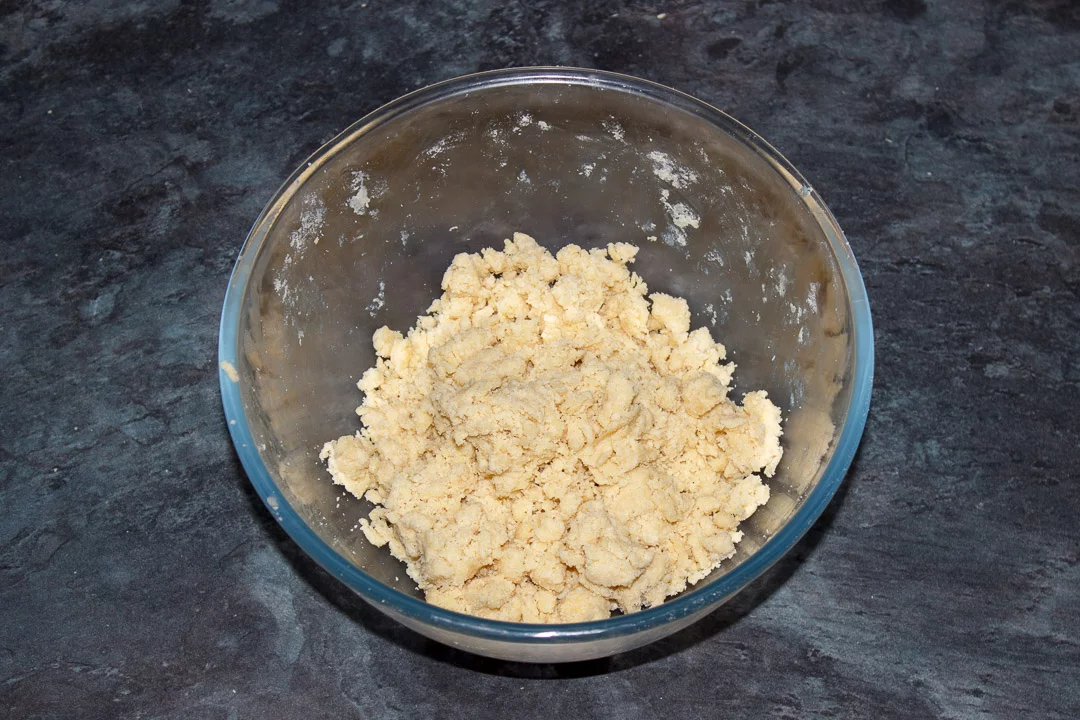
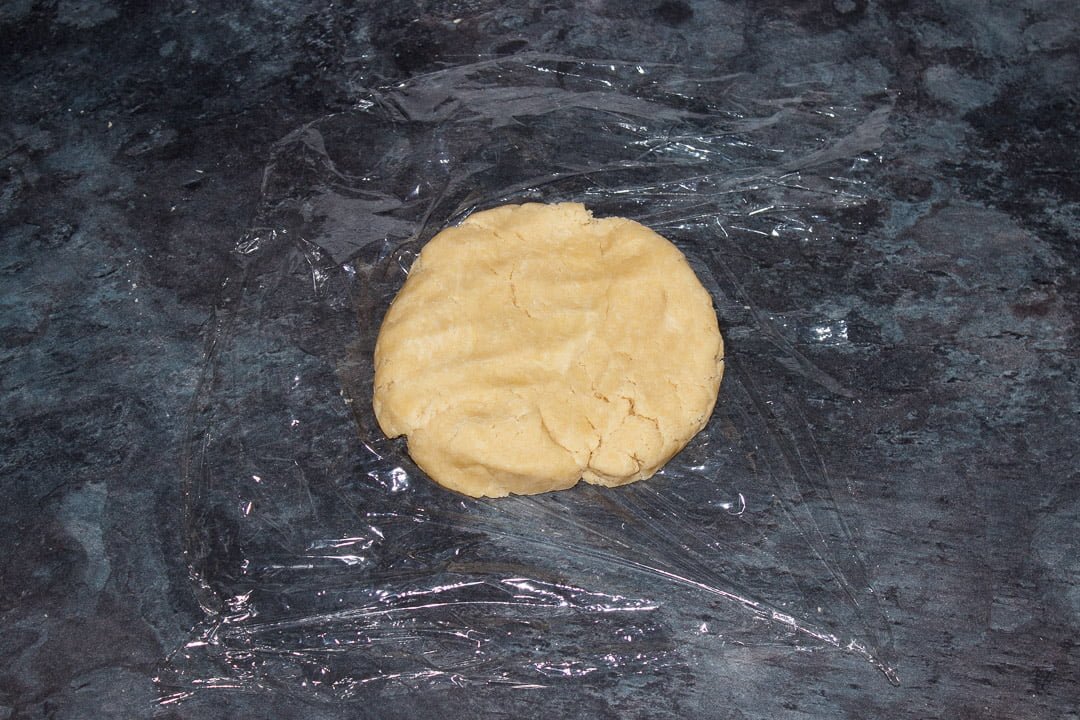
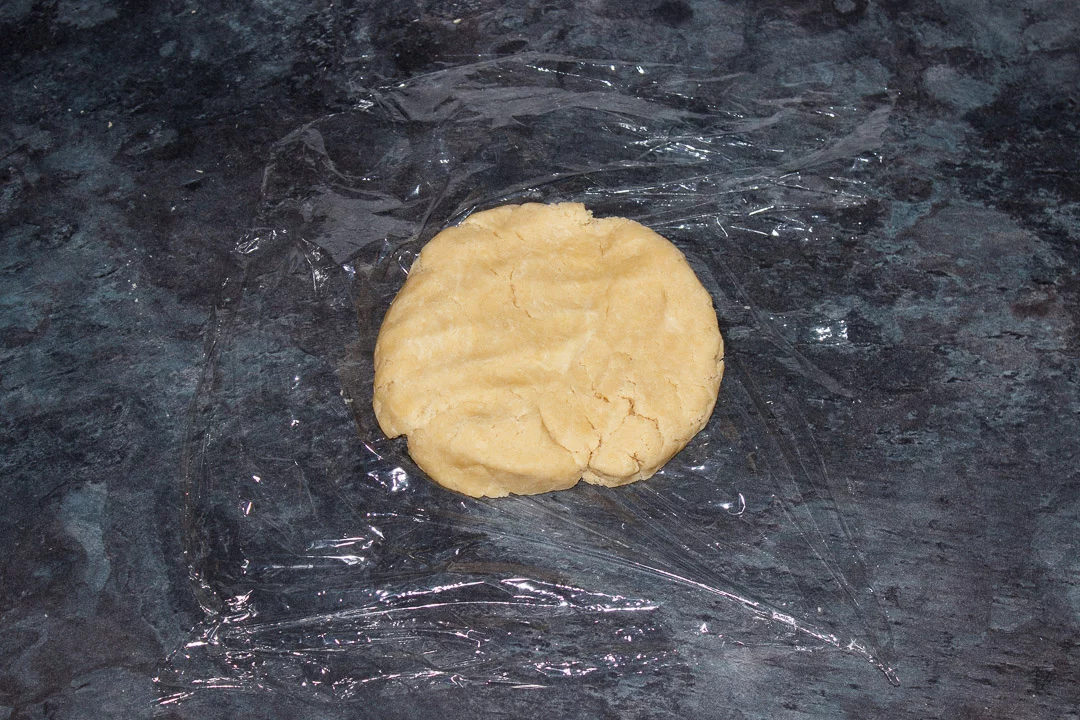
Then bring it together into a ball, flatten into a disc and wrap in cling film. This next bit is important – place it in the fridge and allow it to rest for 30 minutes. (This will help to stop it from shrinking when we put it in the oven later.)
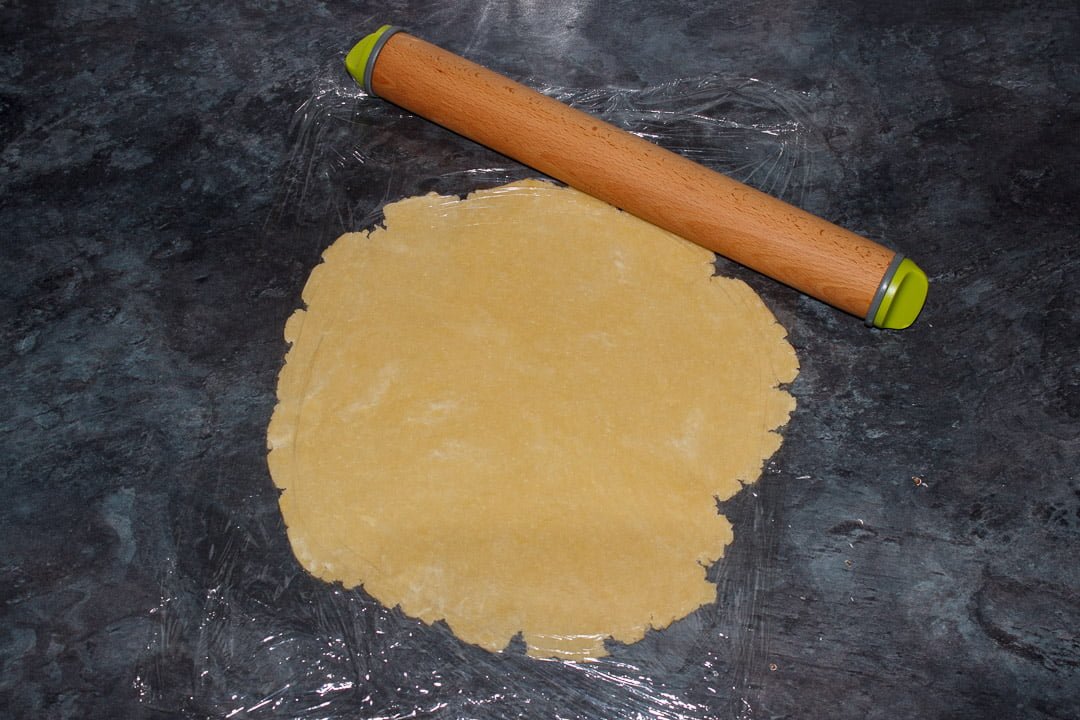
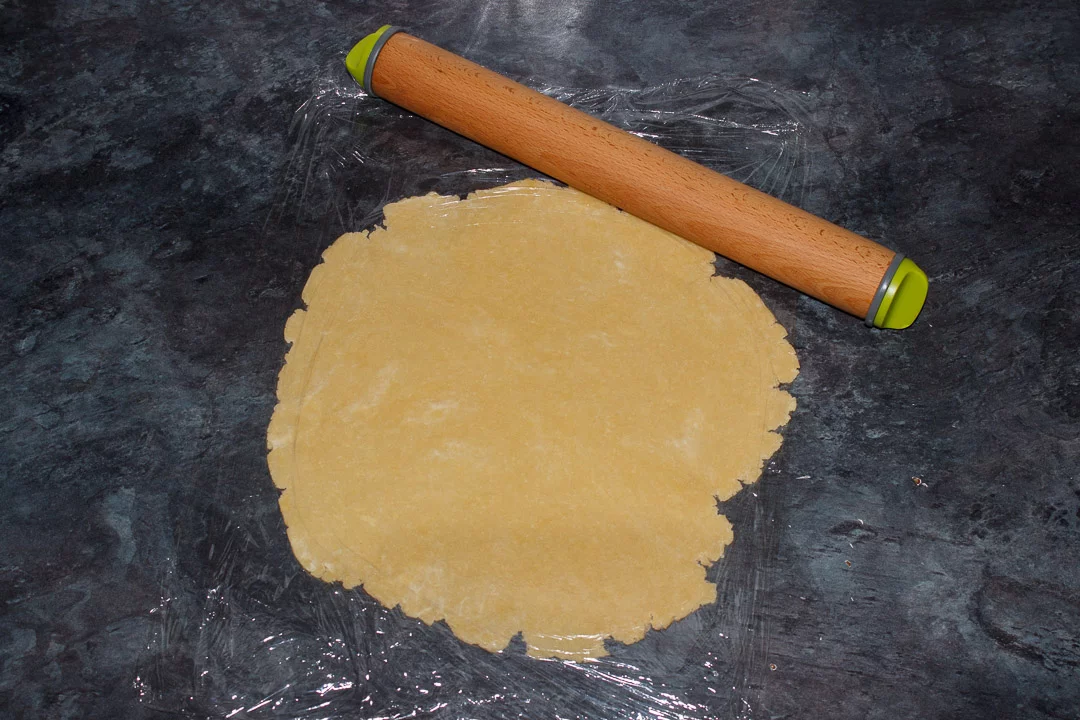
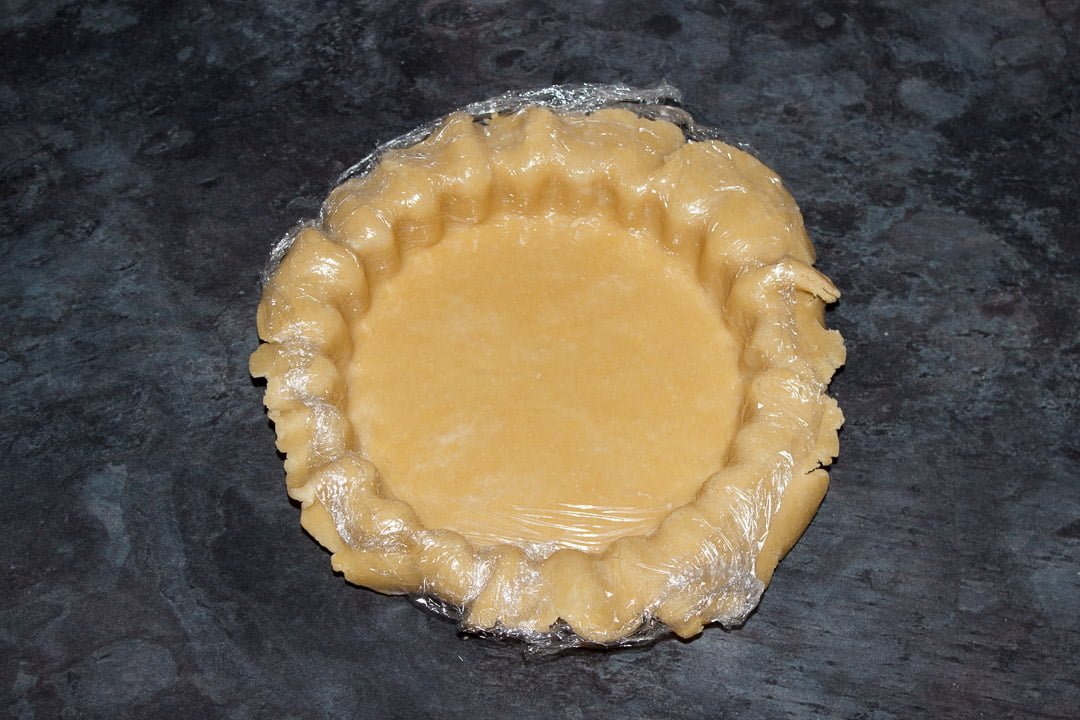
Now your shortcrust pastry dough has rested it’s time to roll it out. Between two sheets of cling film, roll it out to approx 2-3mm thick with a rolling pin.
Peel off a layer of cling film then gently lower it, pastry side down/cling film side up, into your tart tin. Gently press it into the sides of the tin ensuring there are no trapped air bubbles underneath.

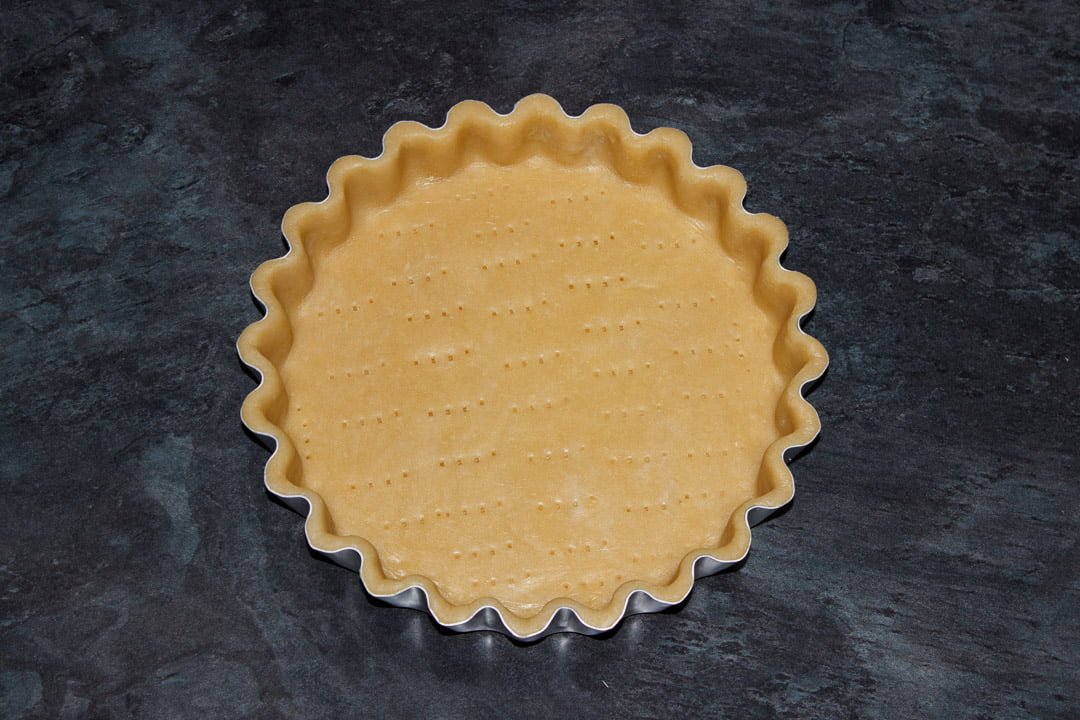
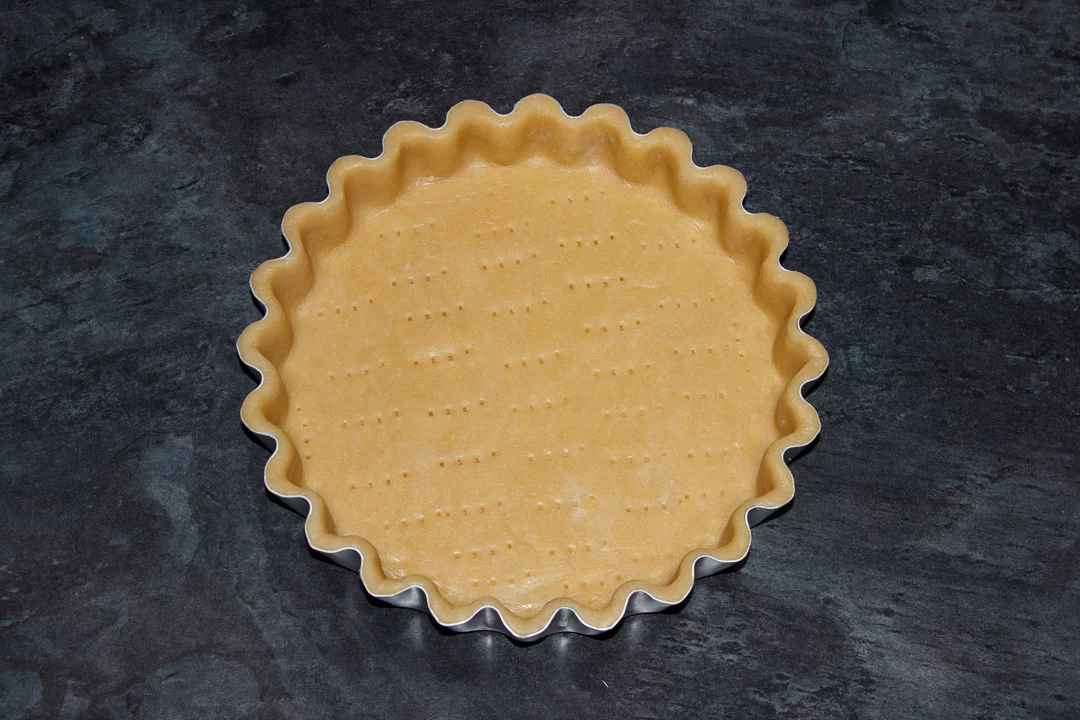
Next, roll your rolling pin over the top to cut off any excess pastry then peel off the cling film and prick the base all over with a fork. Place it into the fridge to chill while you preheat your oven to 180°C/Fan 170°C.
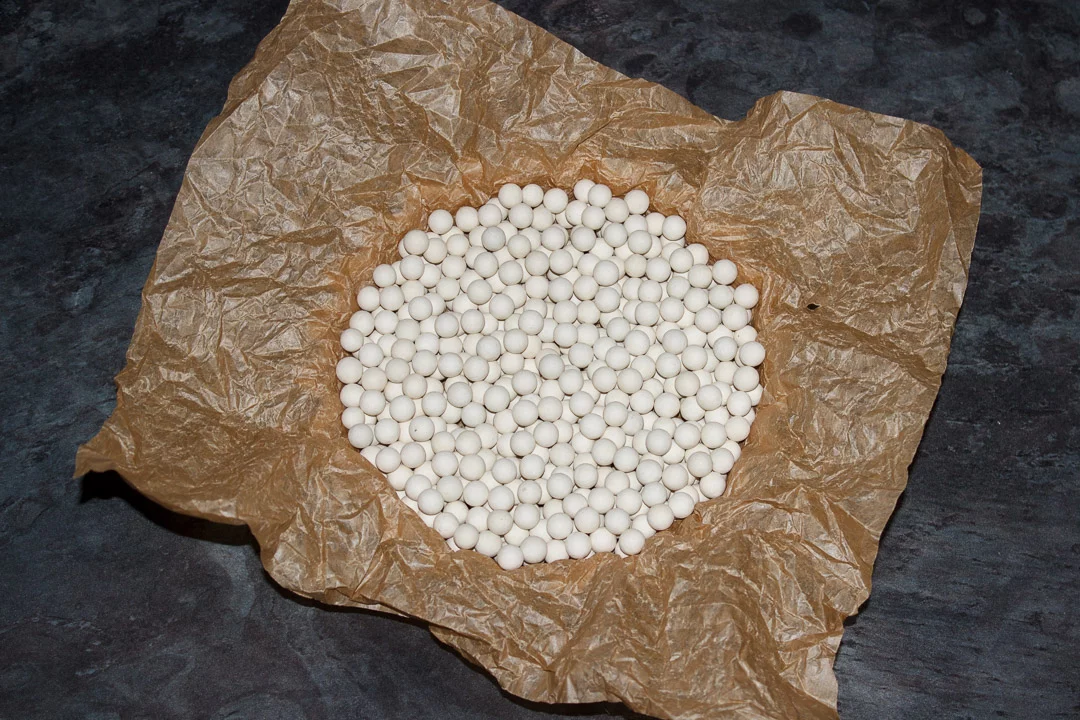
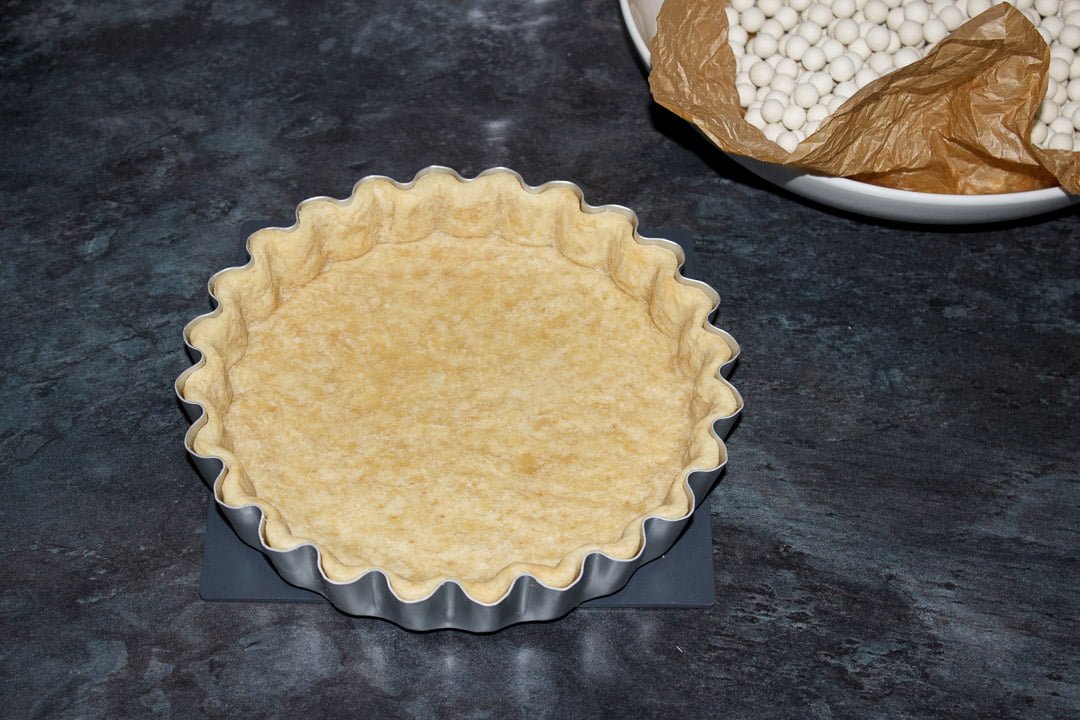
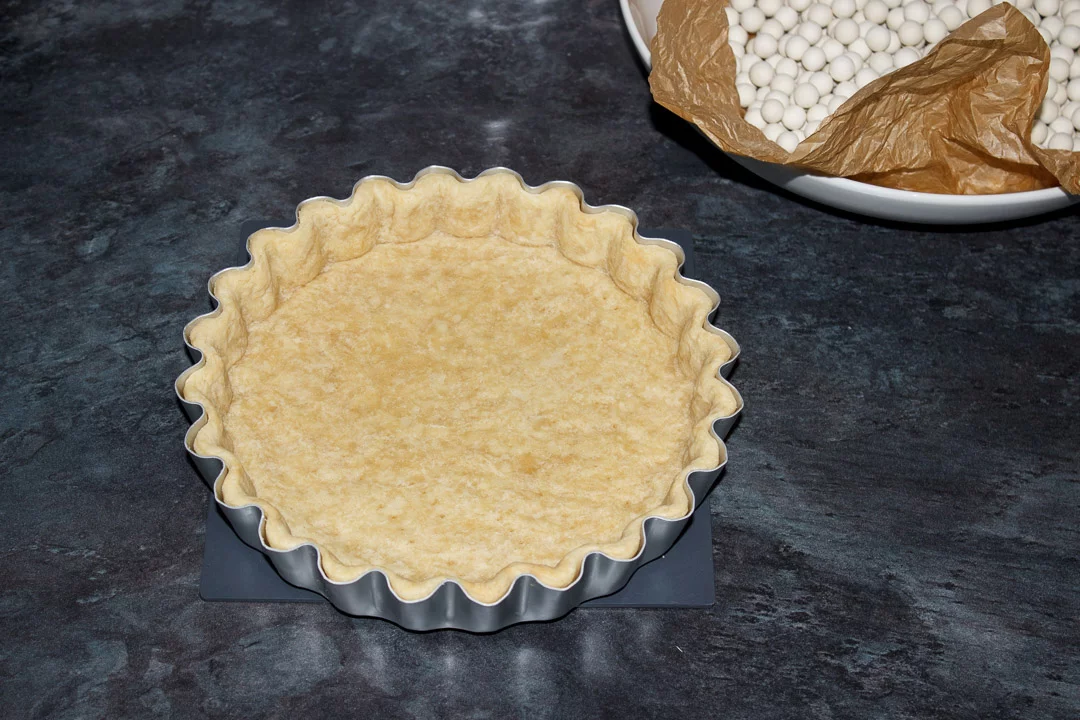
When the oven is preheated, scrunch up a large sheet of baking paper and place it on top of the pastry. Fill it with baking beans or coins and bake for 15 mins. (This is called blind baking.)

Then take it out the oven and carefully remove the beans and baking paper.
Using a pastry brush, it’s now time to brush it all over with the beaten egg we saved earlier. Make sure you get right into every nook and cranny.
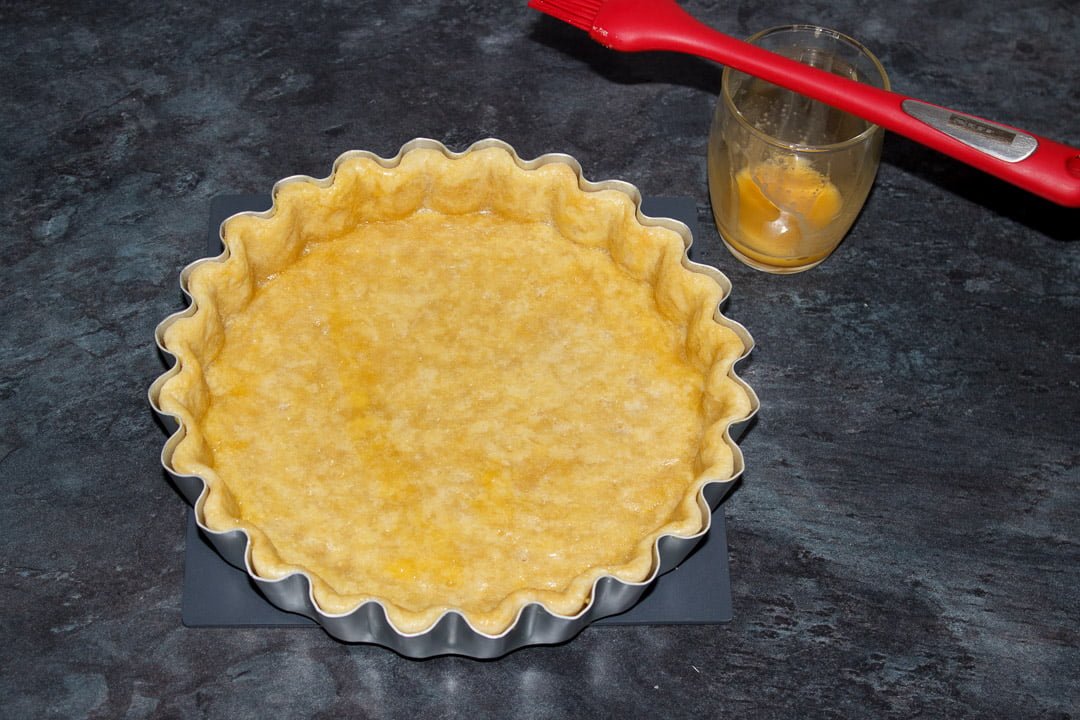

Now pop it back into the oven for another 10-12 mins until it’s a lovely golden brown colour.
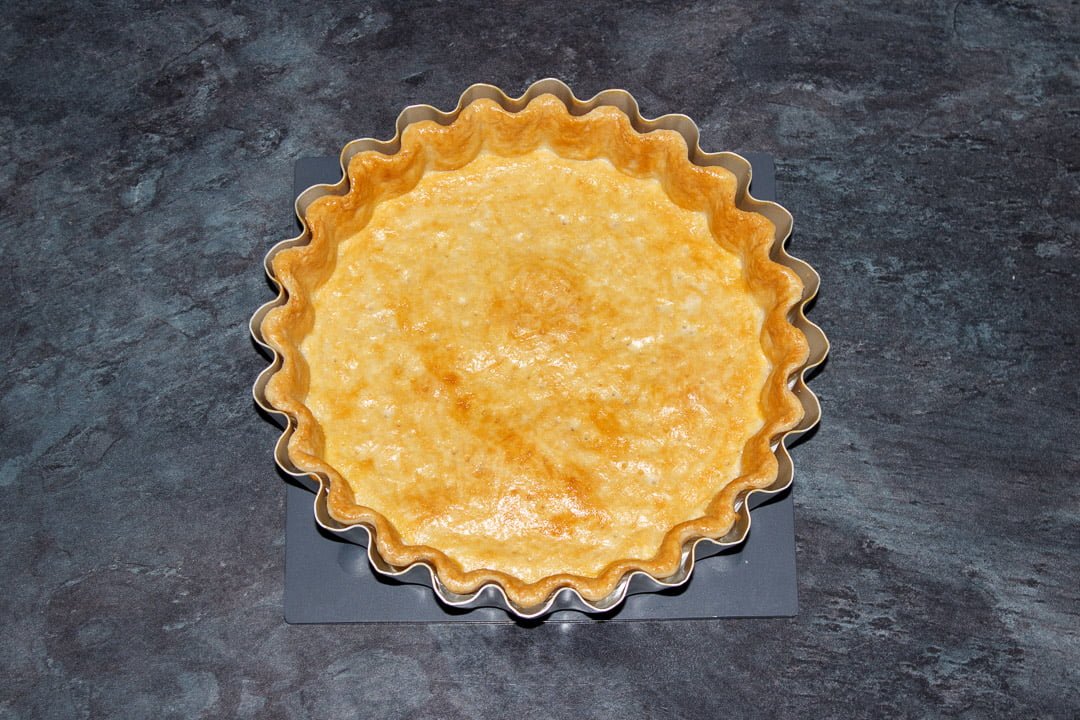
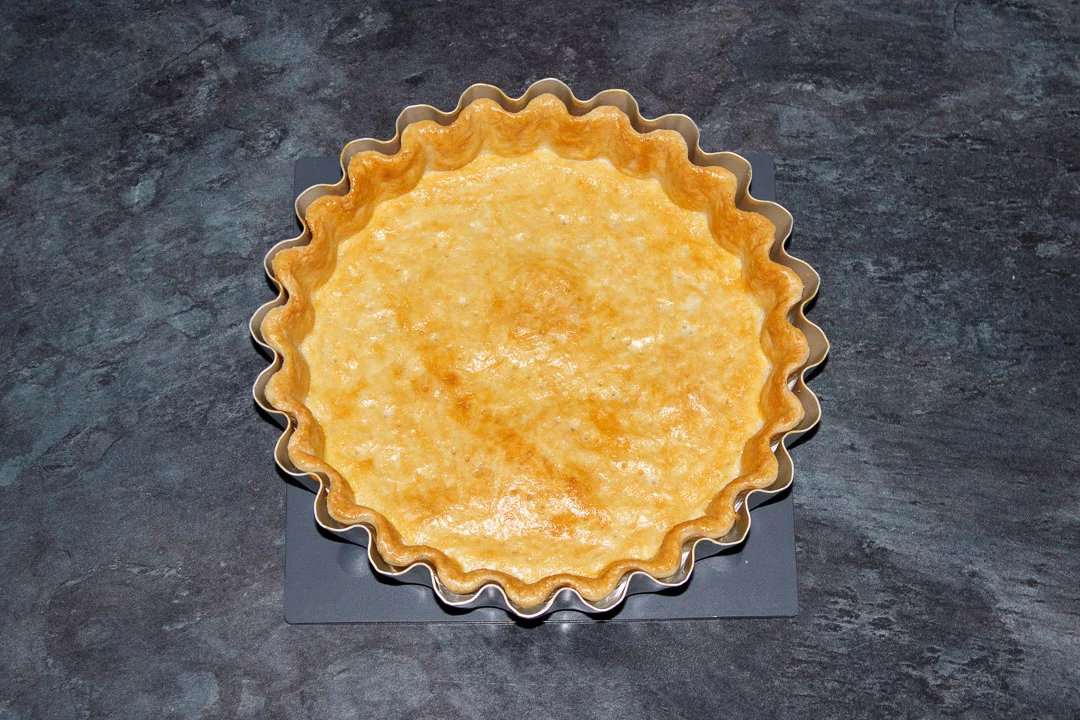
Congratulations – you just made an epic shortcrust pastry case! Now leave it to one side to cool completely while you make the filling.
Reduce the temperature of your oven to 170°C/Fan 160°C.
Lemon filling instructions
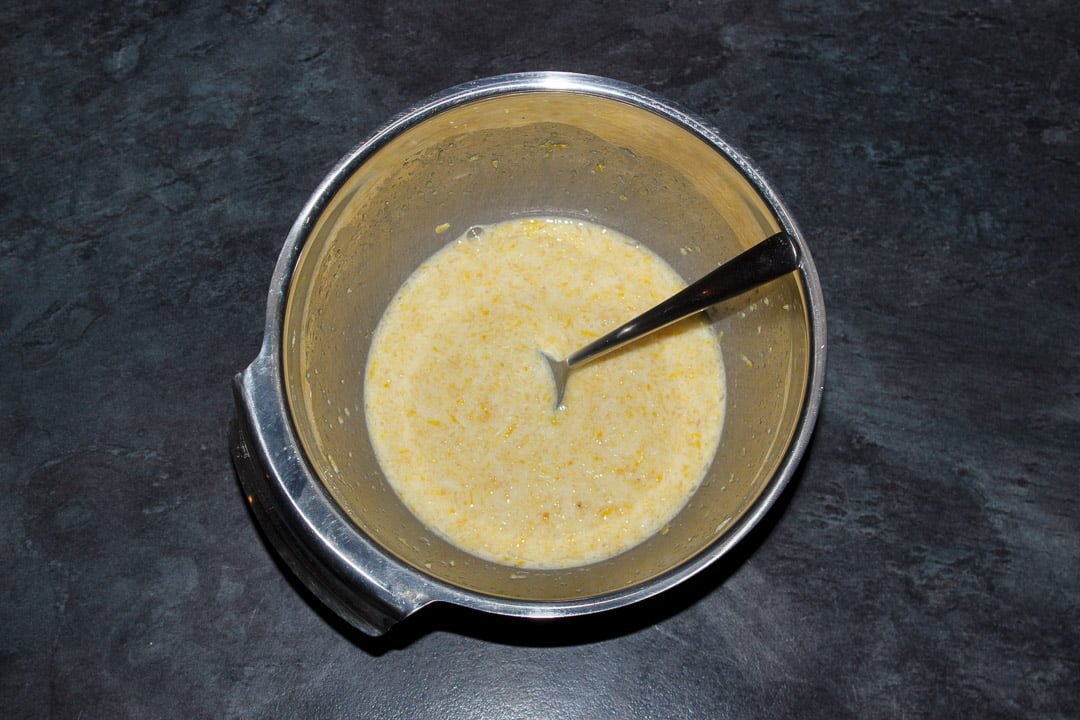
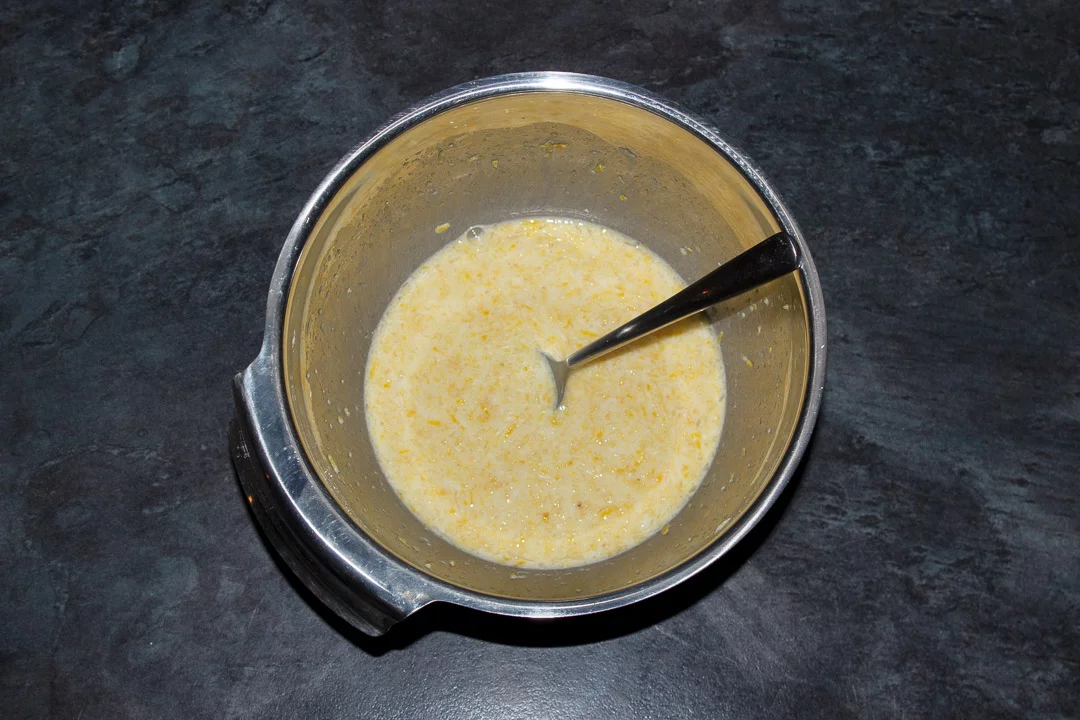
In a small bowl, mix together the lemon juice (120ml | 1/2 Cup), lemon zest (2 tbsp) and cornflour until it makes a creamy looking liquid. Leave it to one side.
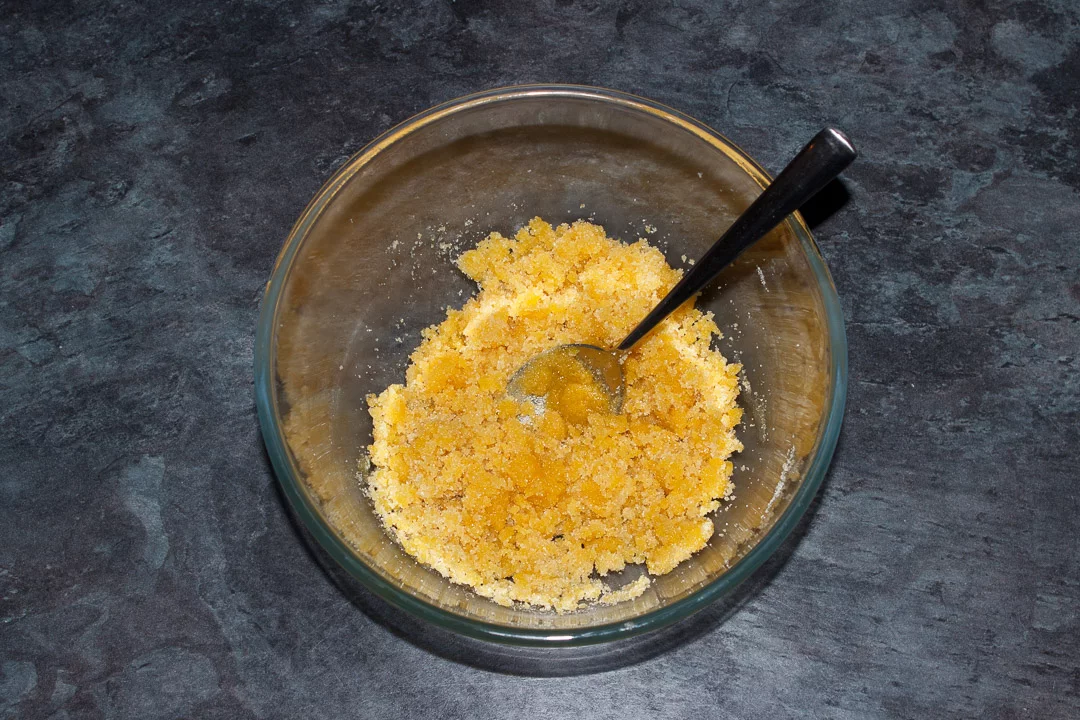
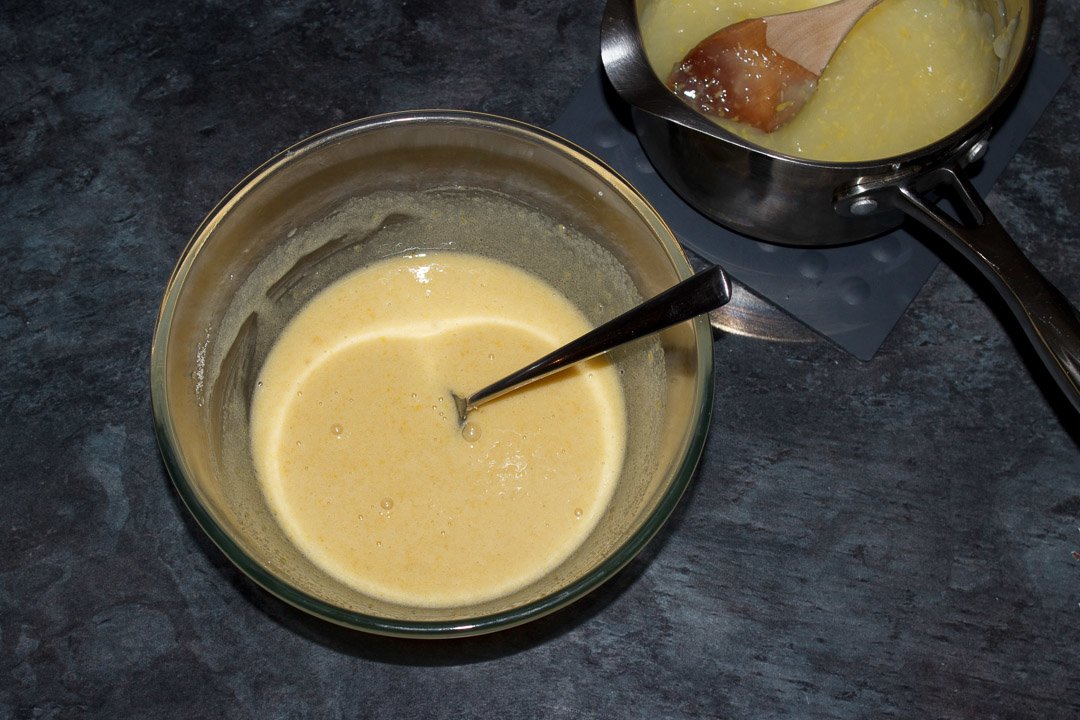
In another bowl, mix together the caster sugar (225g | 1 + 1/8 Cup), and egg yolks (x 3). It will look lumpy but that’s ok, don’t worry.

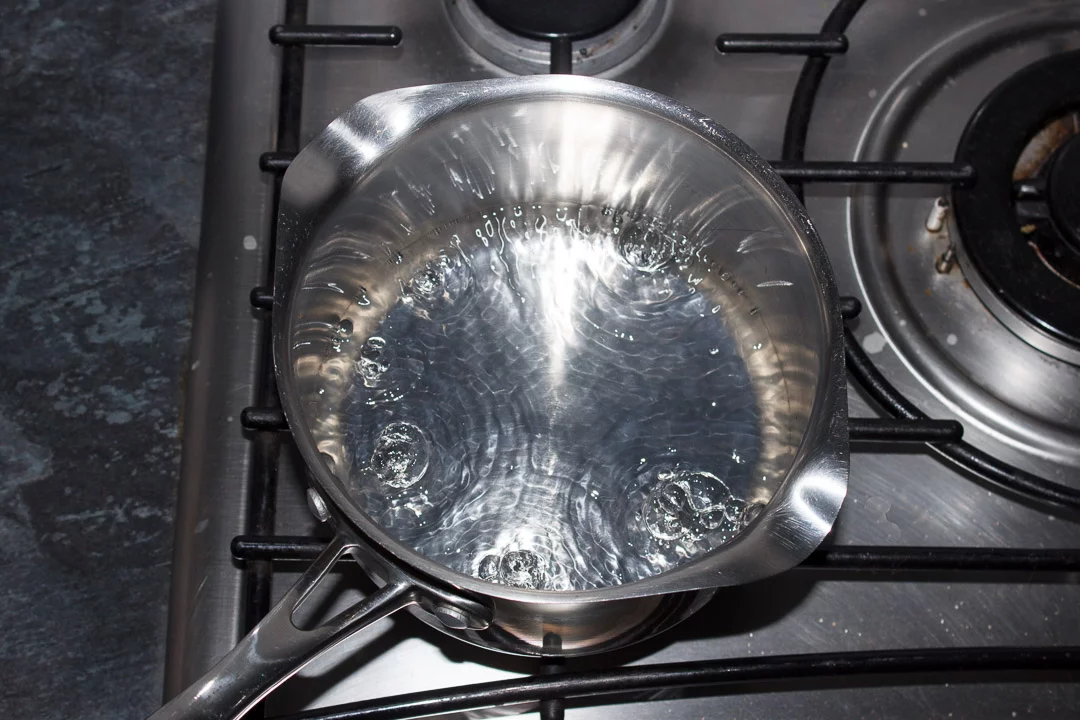
Next, add the water (360ml | 1 + 1/2 Cups) to a medium sized saucepan and bring it to the boil.

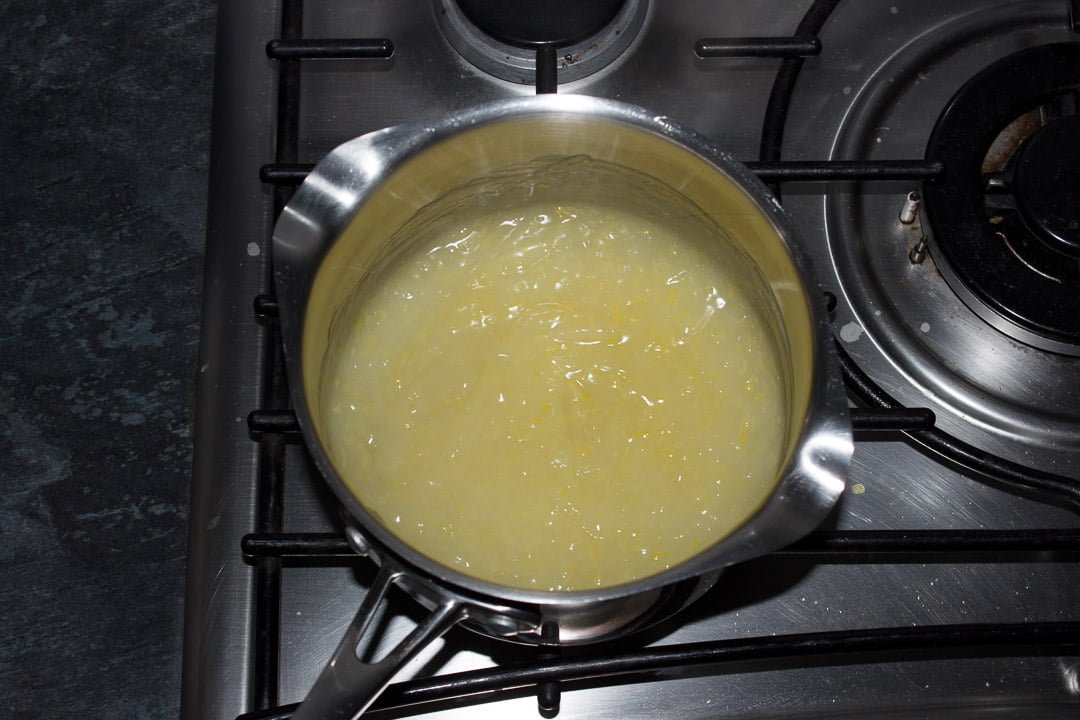
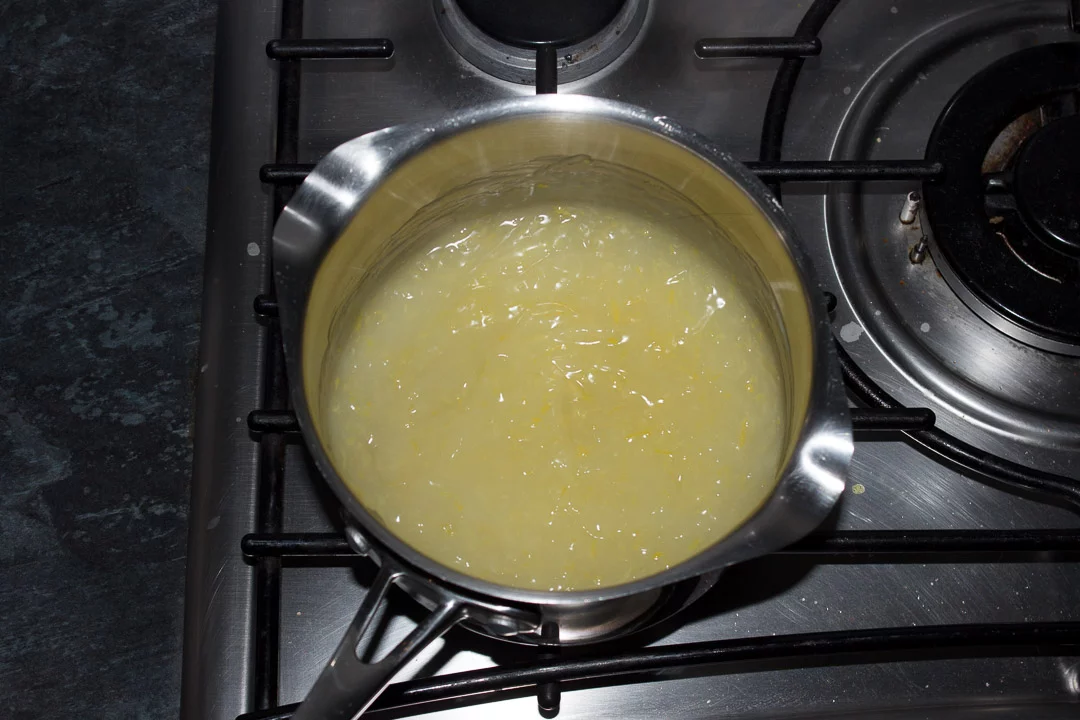
Now add the lemon and cornflour mixture to the boiling water and stir quite vigorously. It should thicken very quickly. Keep stirring for a minute until it’s nice and smooth then take off the heat and allow to cool for 10 minutes.
Once it’s cooled a little, add 1 tbsp at a time of the curd into the sugar/egg yolks. Be patient here or you could cook the egg yolks!
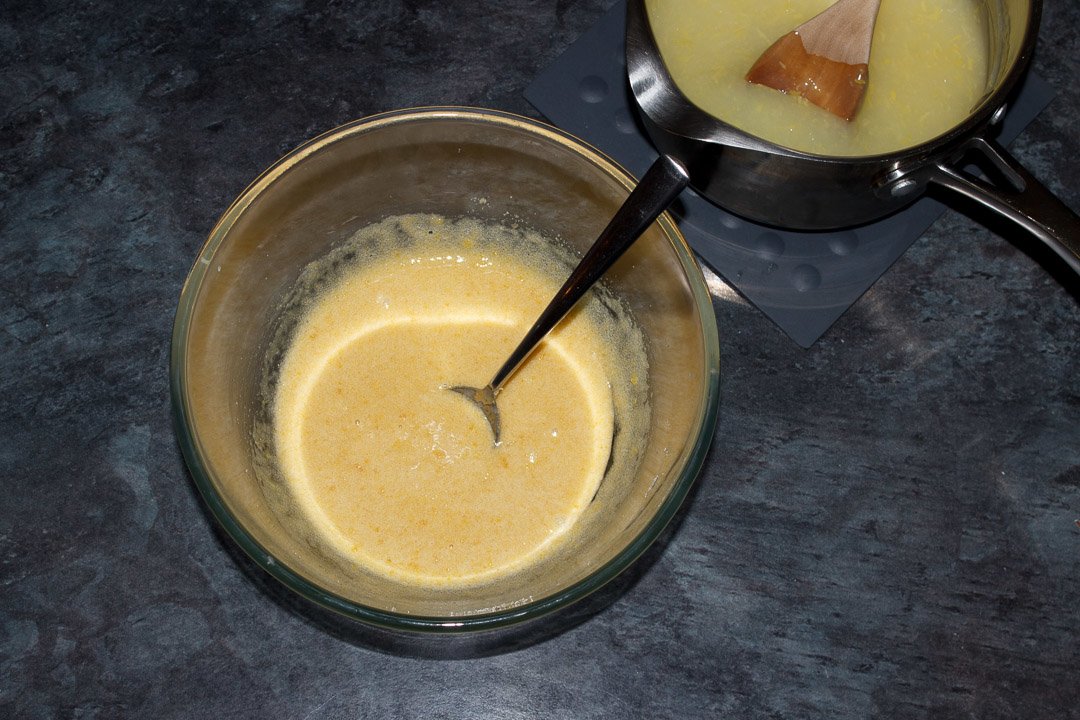

Mixing well after each addition, continue to add tablespoons until about two thirds of it has been added.

At that point, add the whole mixture back into the pan and mix thoroughly.
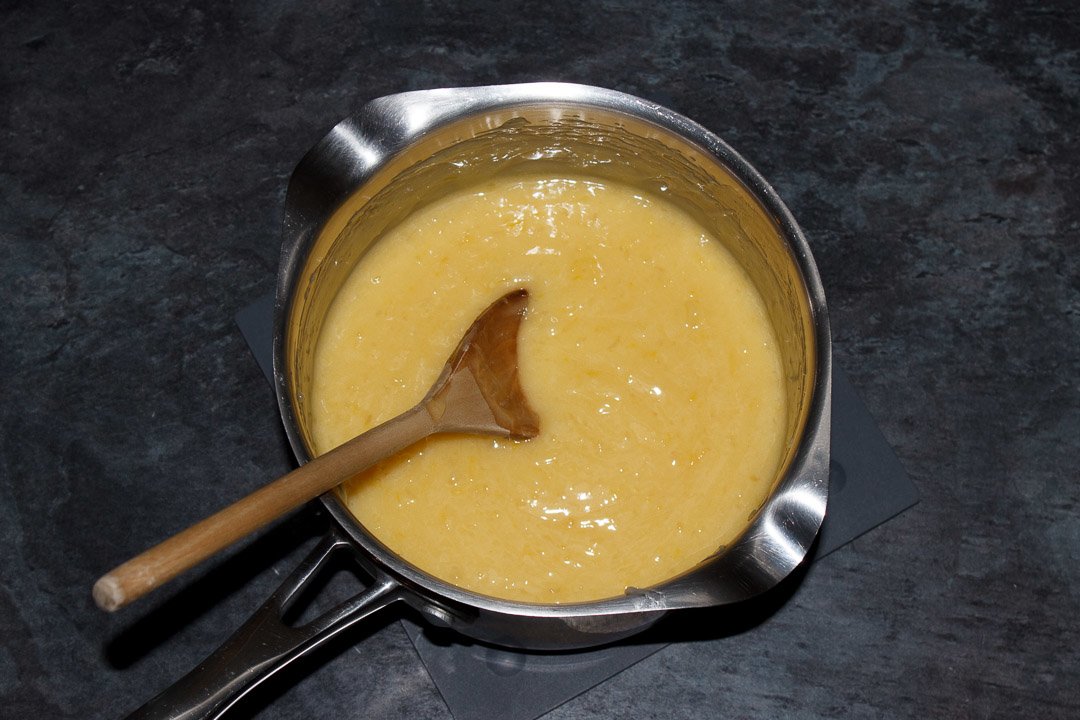
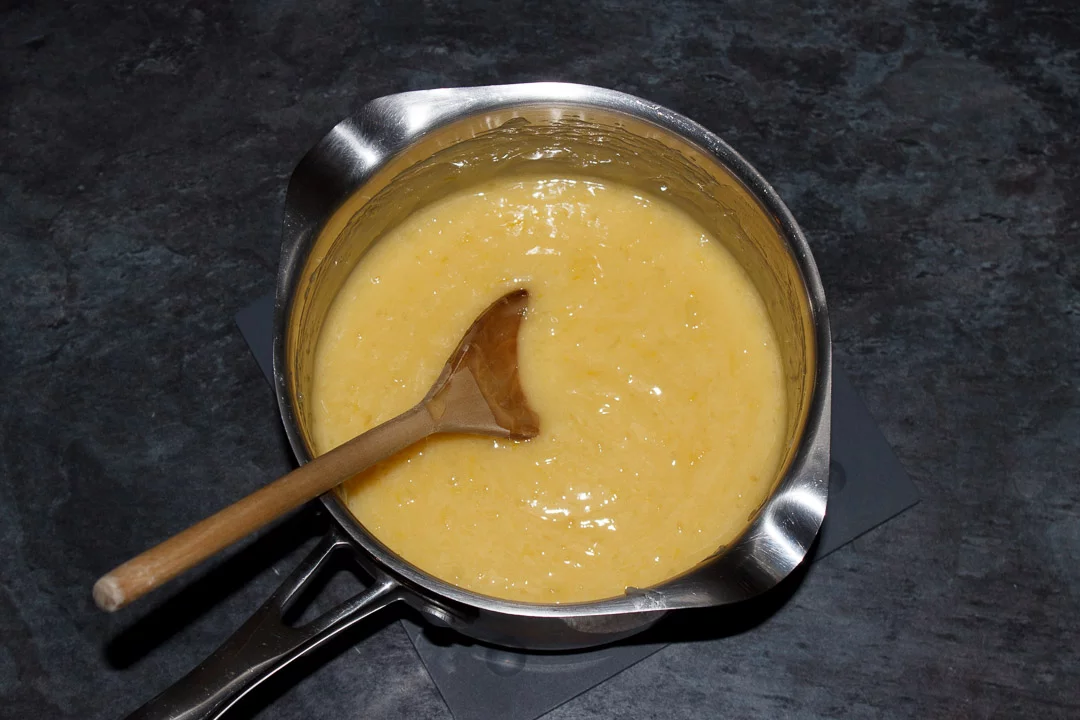
Keep mixing until the curd is thick (it won’t take long) then pour it into the pastry base and smooth it out.
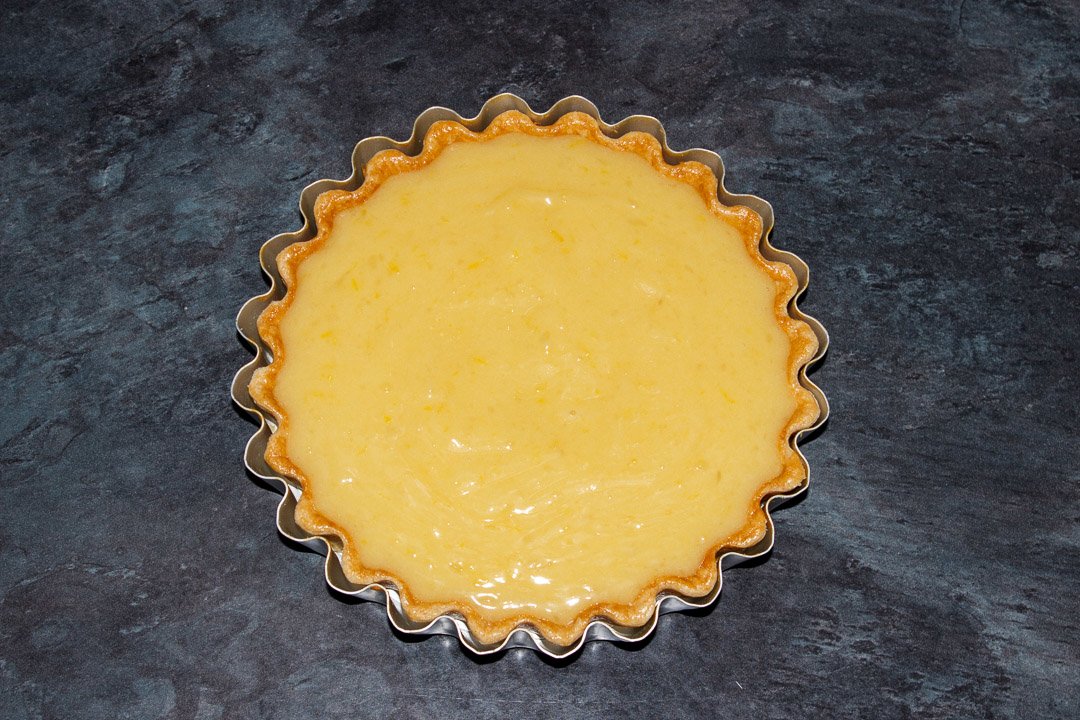
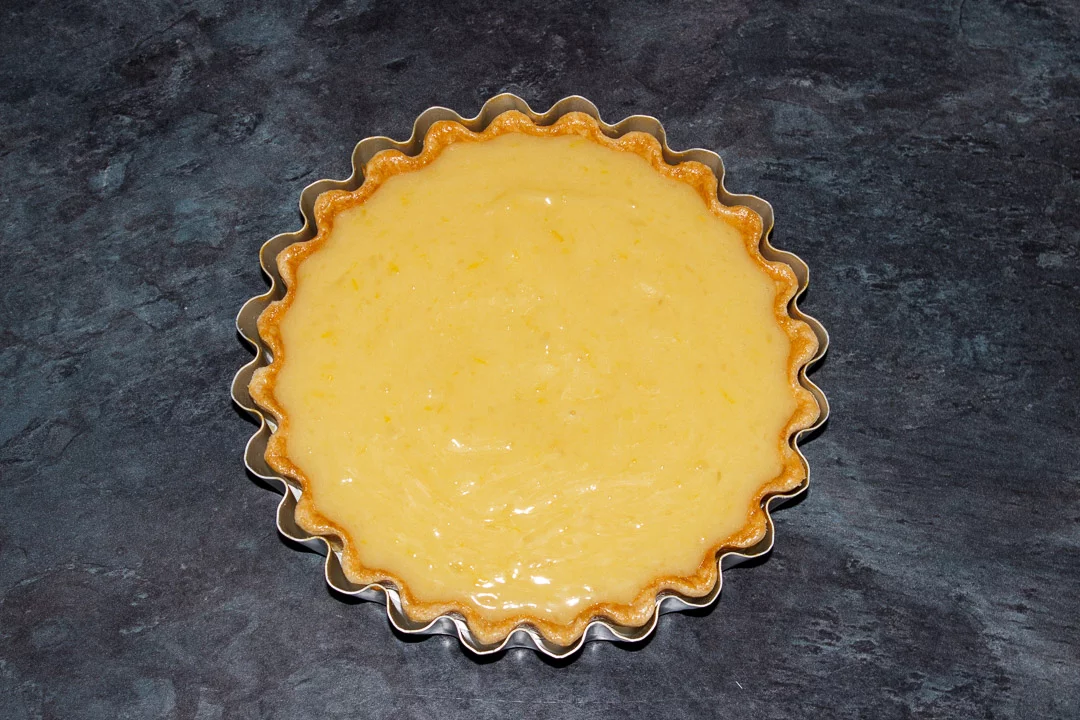
Leave it at room temperature while we make the meringue. (Do NOT put it in the fridge.)
Meringue instructions
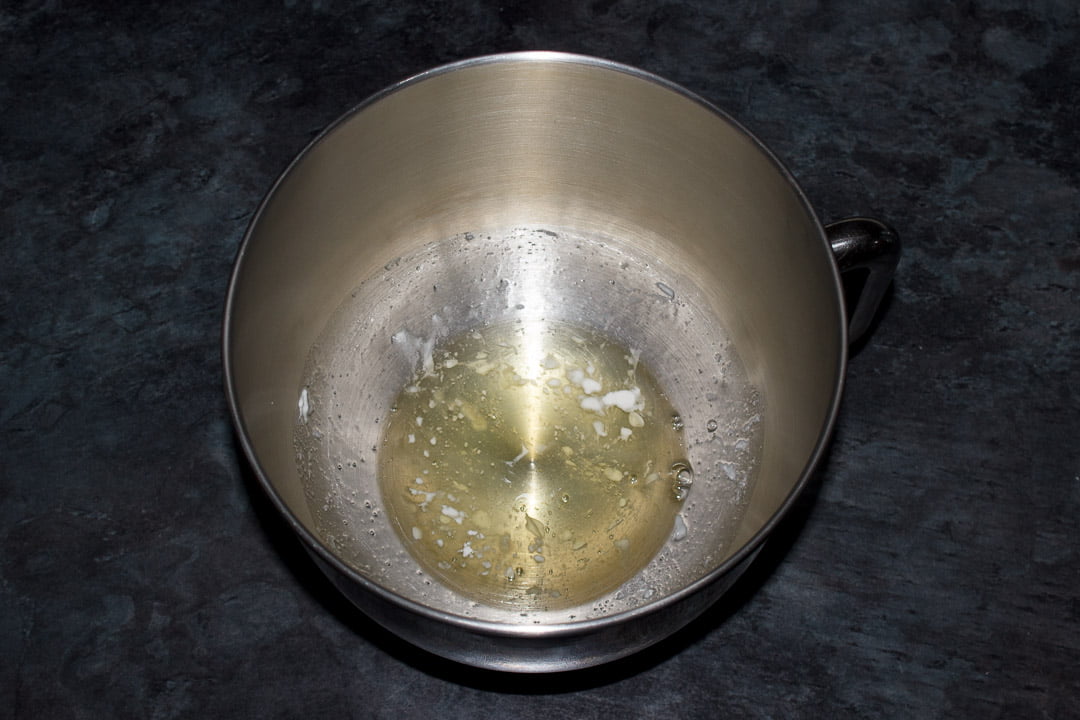
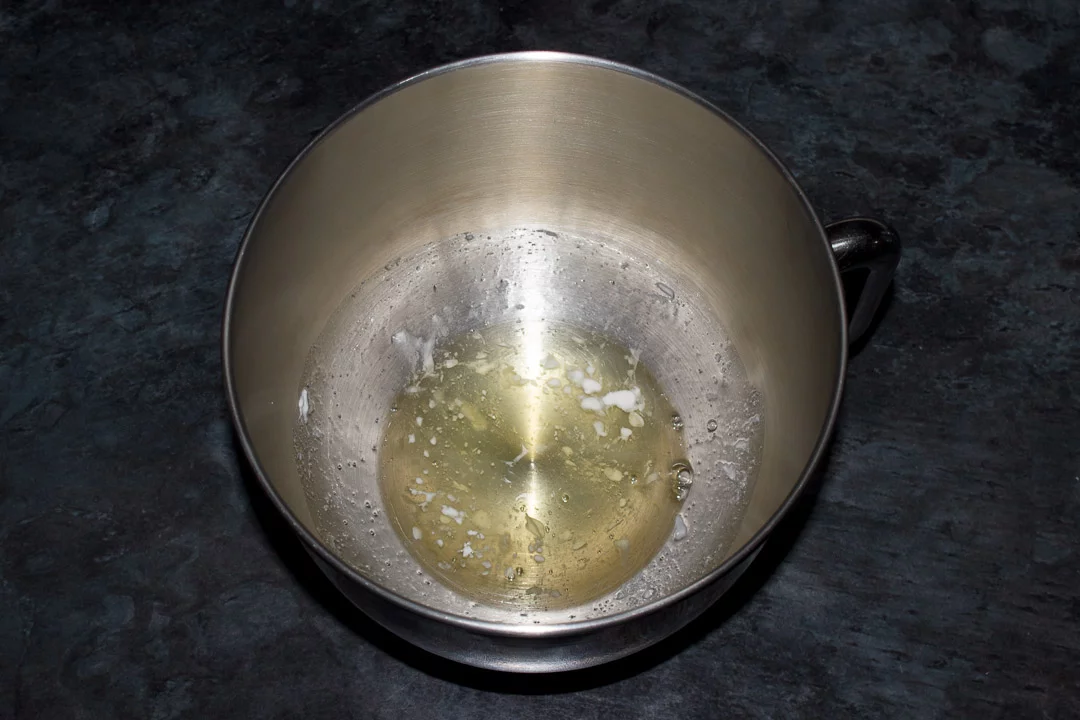
Add the egg whites (x 3) and cream of tartar (1/4 tsp) into the bowl of an electric stand mixer with the whisk attachment on. (Alternatively you can use a large mixing bowl and an electric hand whisk.)
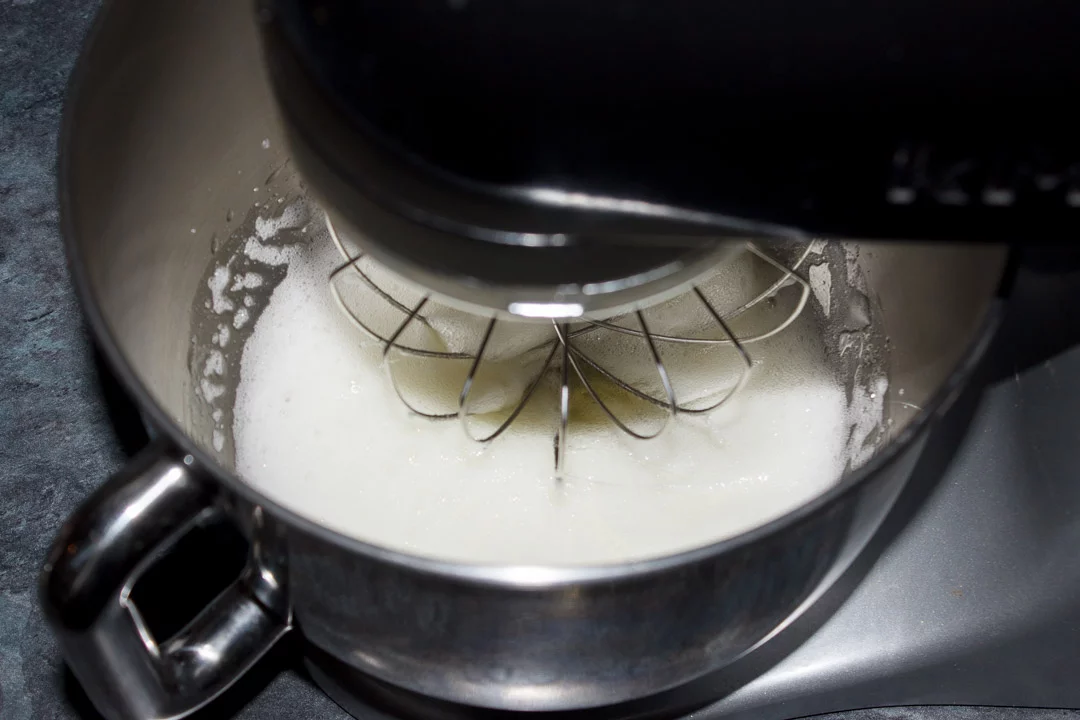
Whisk the mixture on high until it becomes very frothy.

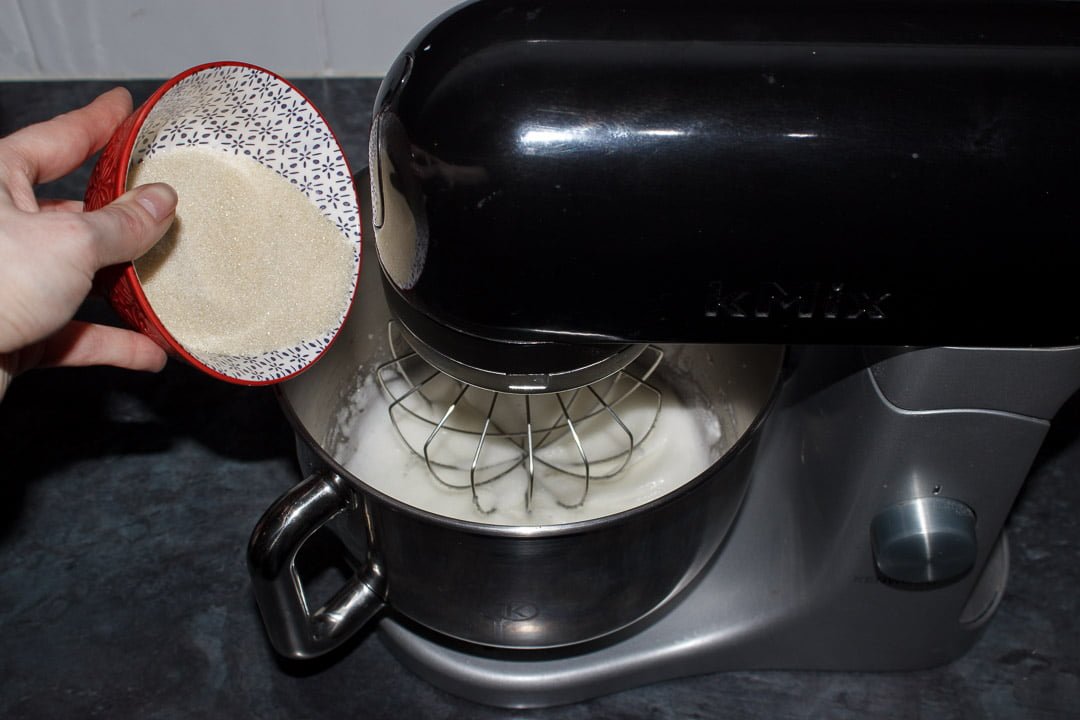
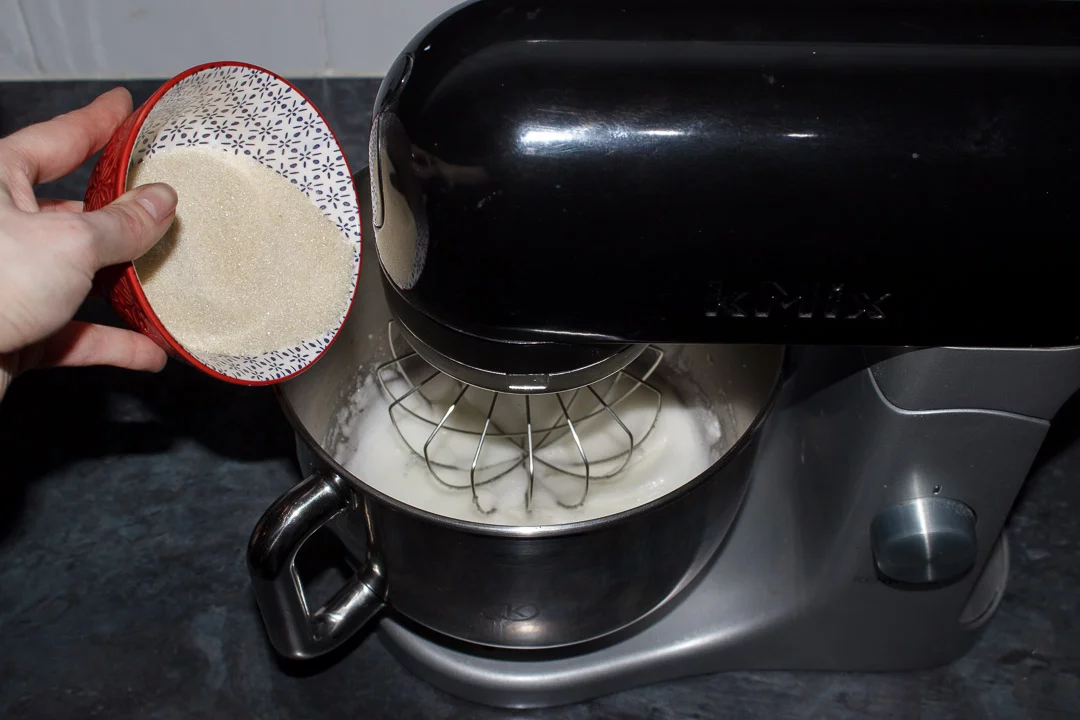
With the mixer still going, about 1 tbsp at a time/approx 20 seconds or so apart, slowly add in the sugar (75g | 1/3 Cup) until it’s all used.
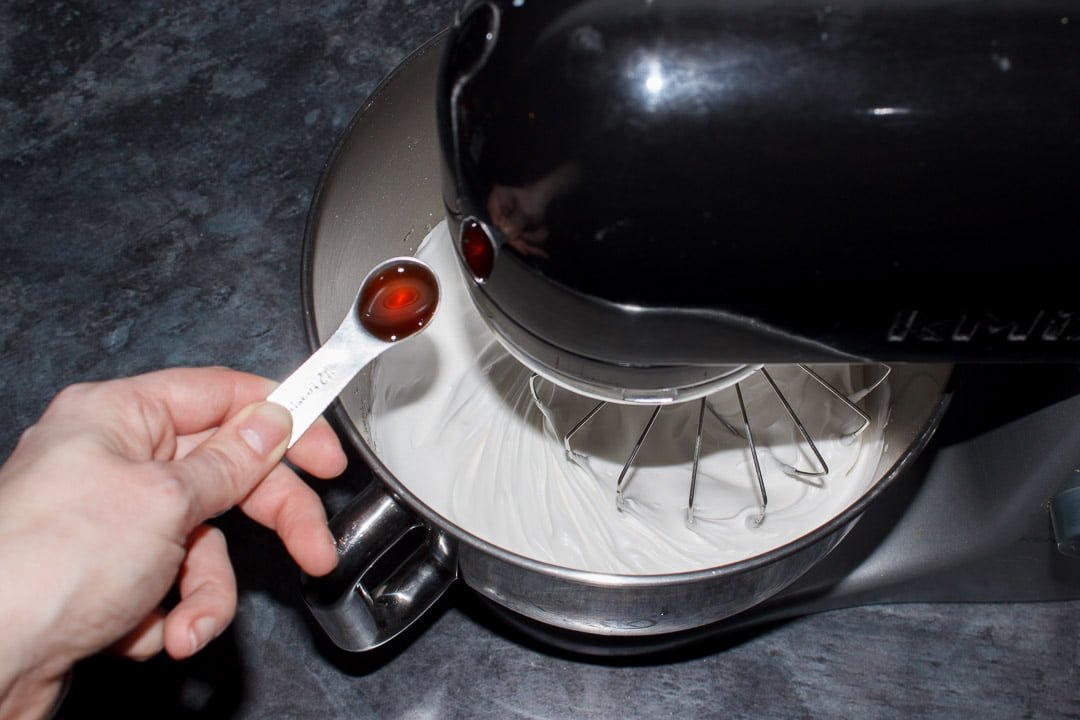
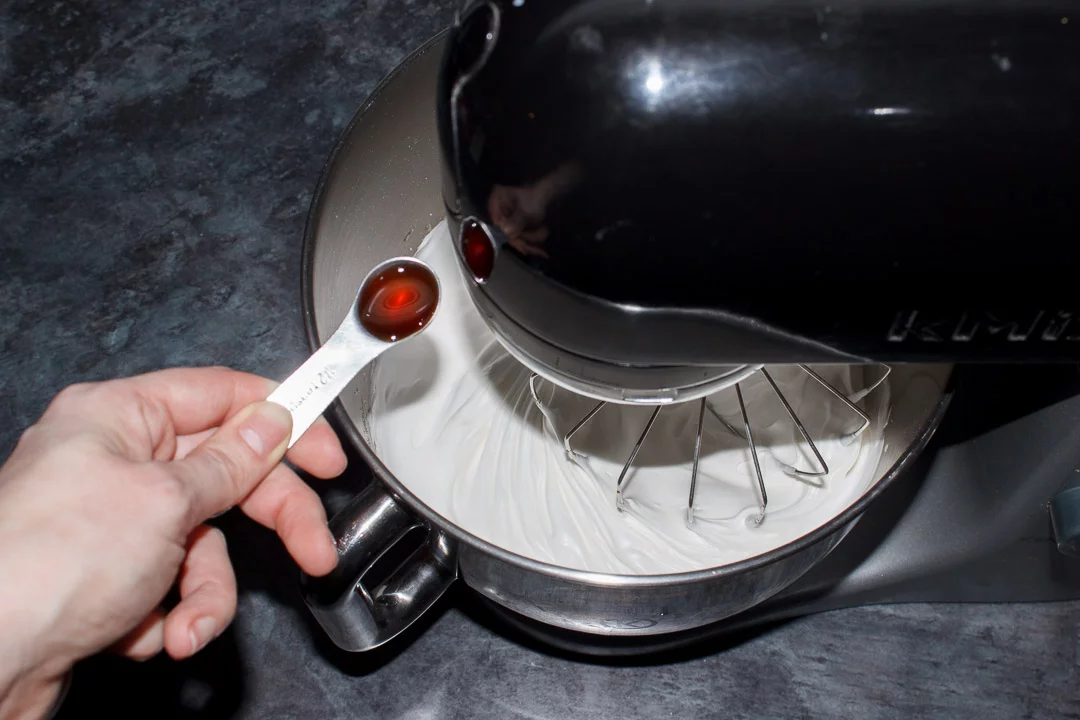
It should be getting thicker and shinier now. At which point, add in the vanilla (1/2 tsp).
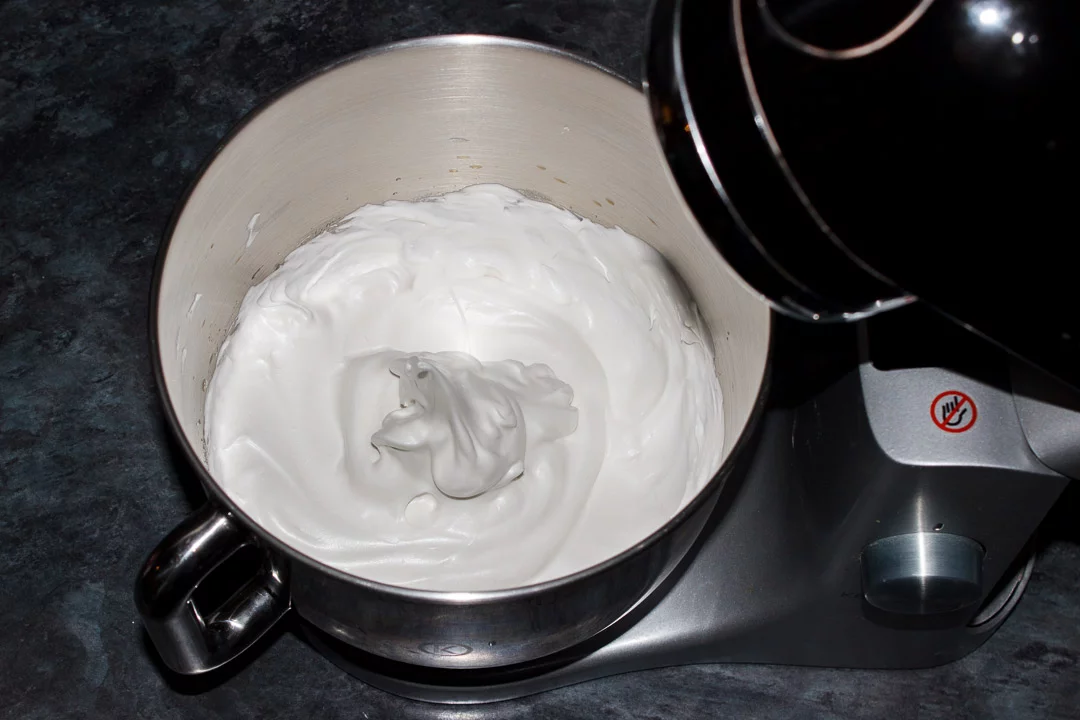
Now you need to keep a very close eye on it. You want to JUST reach the stiff peaks stage (where you can turn the bowl upside down and the meringue will stay in the bowl) but you don’t want to over-whisk it. If you do, the meringue will seep water and deflate after being baked. This has happened to me and it can be so disappointing!
Remember, you can stop it as many times as you want to check but, once you’ve overwhisked it, there’s no going back.

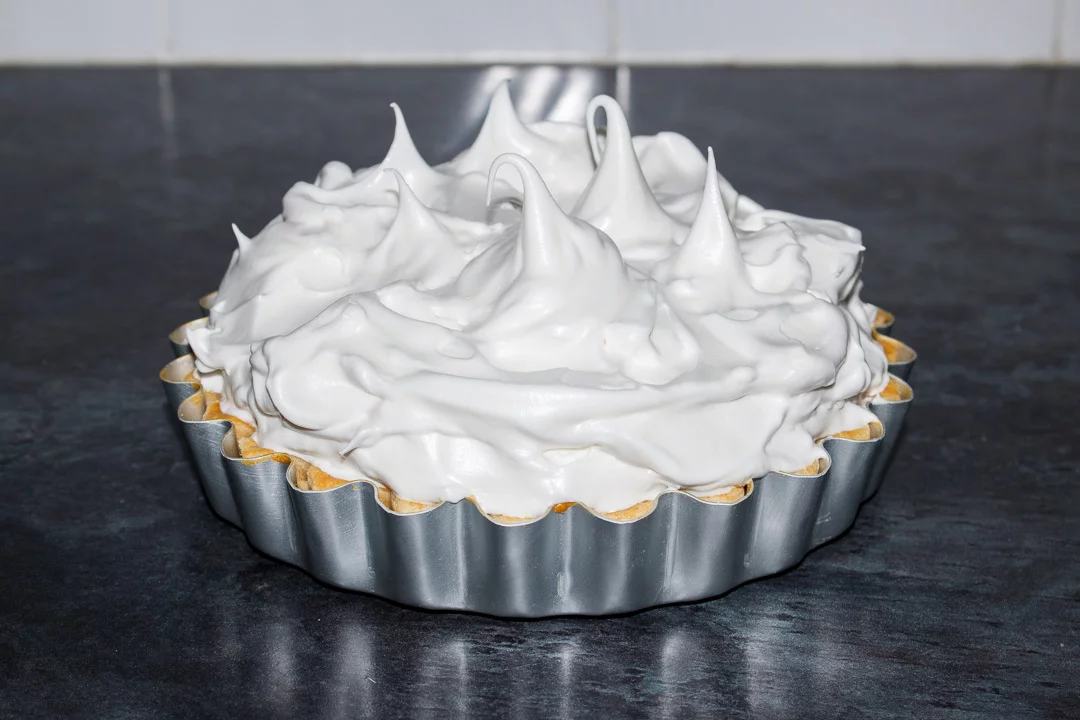
Now your meringue is ready it’s time to spoon it onto the curd. Be as generous as you like here but make sure your meringue goes right to the edge of the pie so it completely covers the lemon curd filling.

Baking instructions
Now place it into the oven (which should be at 170°C/Fan 160°C) and bake for about 15-20 minutes until the top is a light golden colour.
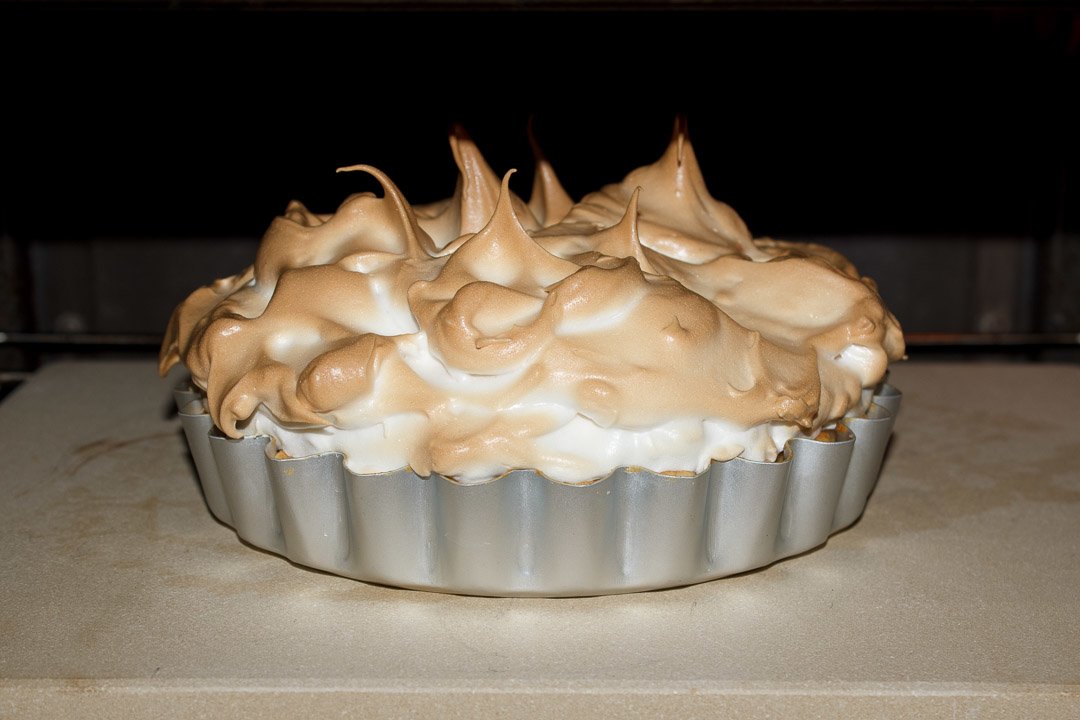

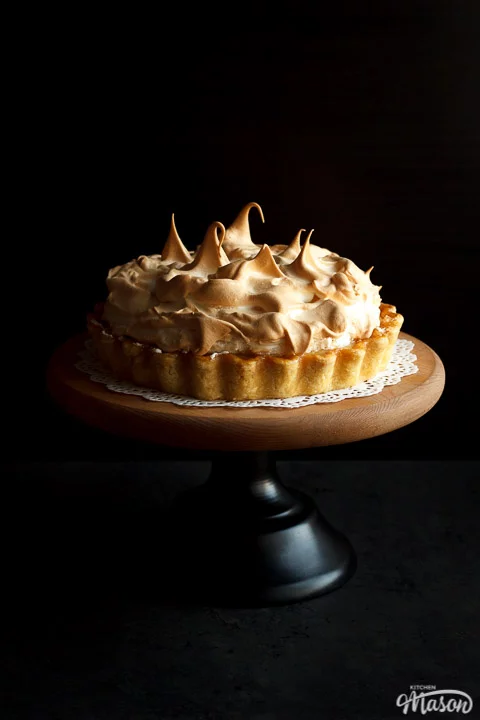
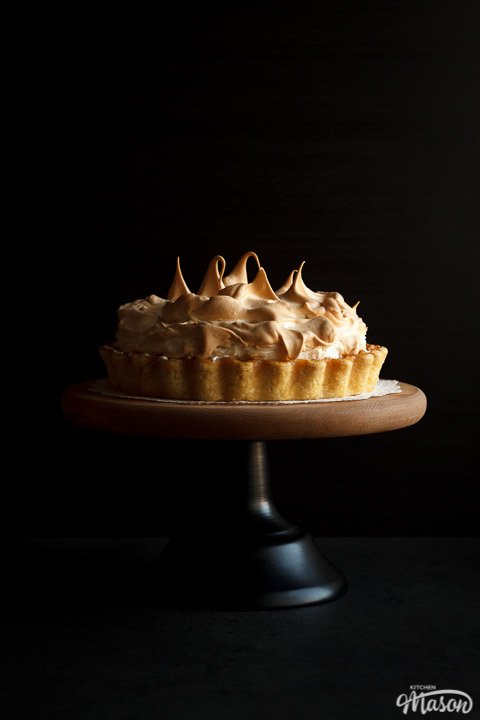
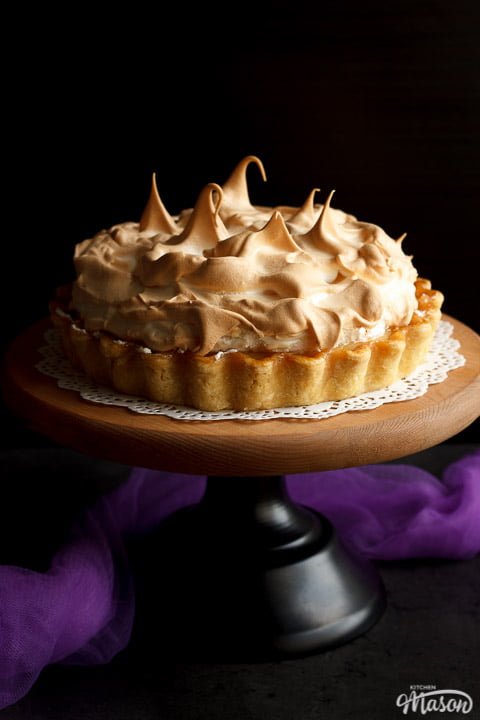
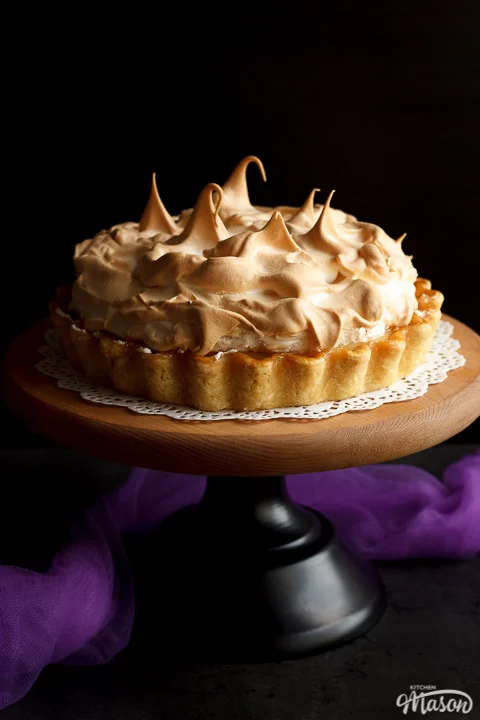
It should be looking pretty spectacular right about now!
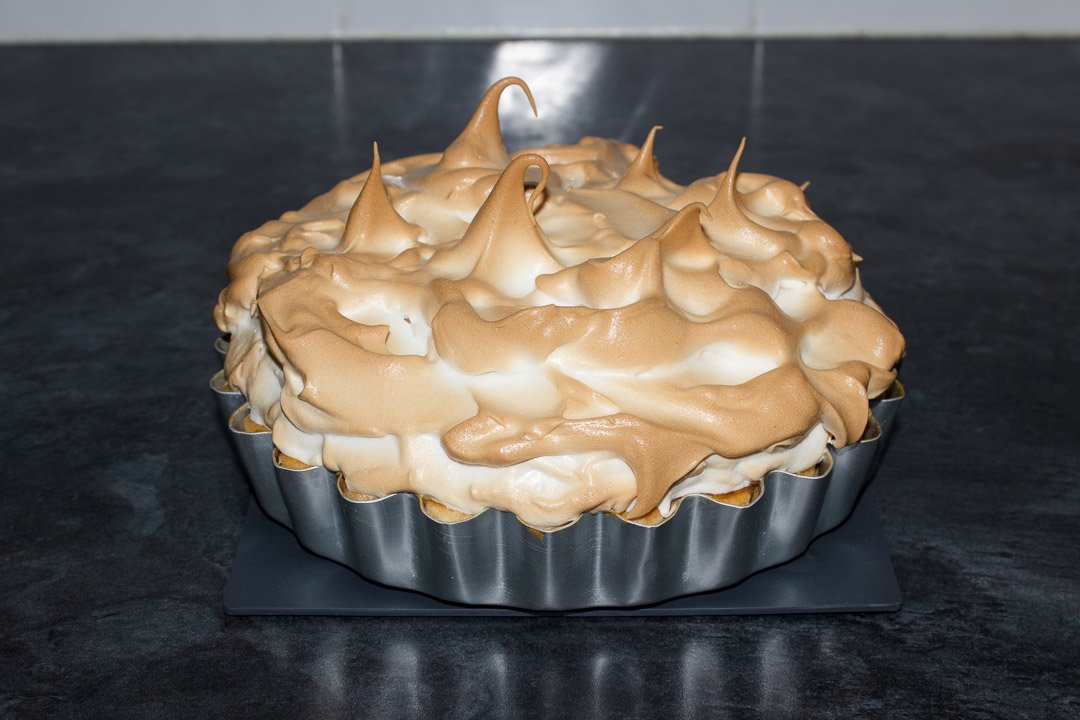

Now leave it to cool for a minimum of 1 hour before serving. Once cool, you can serve straight away or chill it for 4-6 hours if you like. I prefer the texture of the meringue without being refrigerated though if I’m honest.
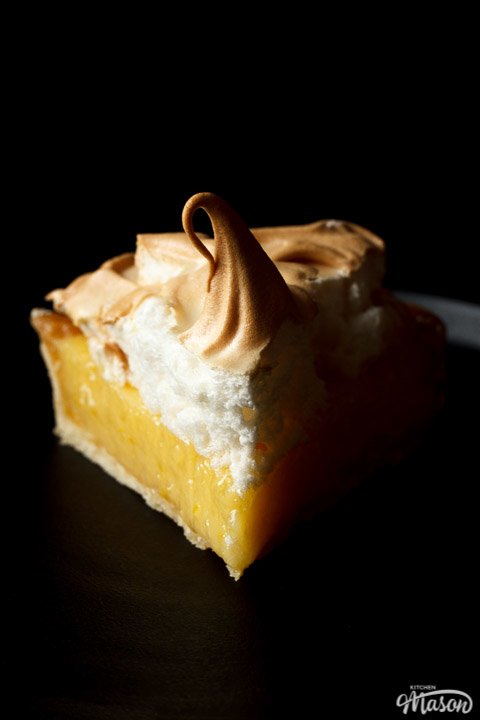
And there you have it! A glorious lemon meringue pie that you can fill your face with. Beautiful isn’t it?!

Have you made this recipe?
Will this gloriously delicious lemon meringue pie be making it’s way into your home? I’d love to know if it is! Send me your pics and comments on Facebook, Twitter and Instagram or email me at emma@kitchenmason.com.
Loved this recipe? Pin it!
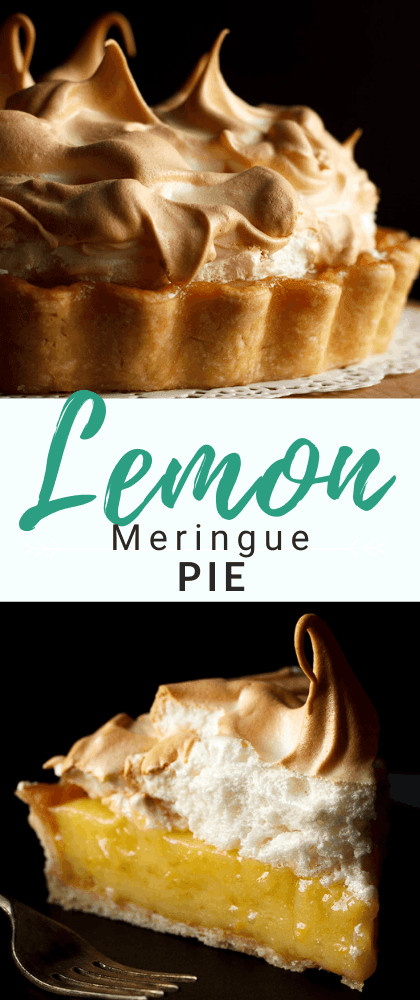
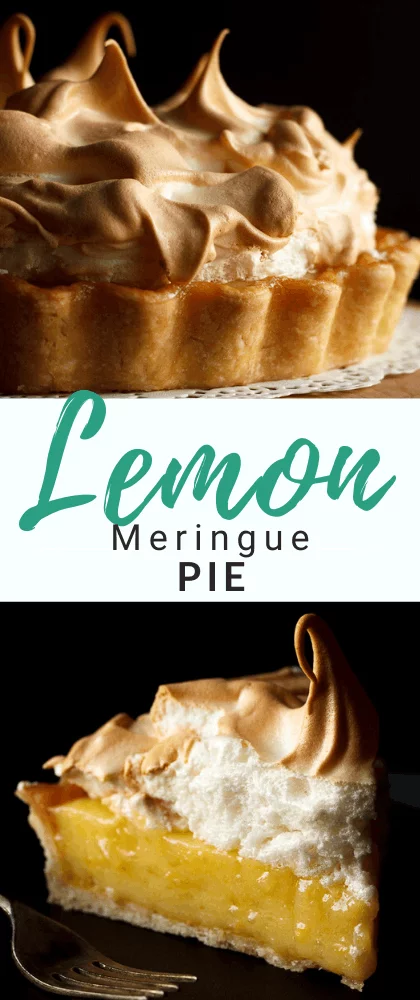
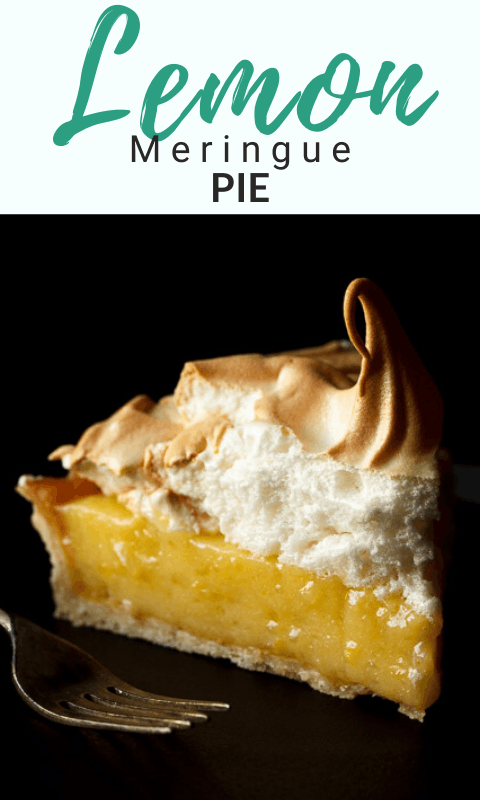


Lemon Meringue Pie Recipe
If you want to impress, this Lemon Meringue Pie recipe will help you do exactly that! This is a showstopping dessert they will never forget...
Ingredients
For the Pastry
- 200g (1 + 1/2 Cups) Plain Flour
- 100g (1/2 Cup) Unsalted Butter, cold & cubed
- Good Pinch of Salt
- 1 Egg, beaten
- 1 tbsp Cold Water
For the Lemon Filling
- 2-3 Lemons (120ml | 1/2 Cup juice / 2 tbsp zest)
- 50g (1/3 Cup) Cornflour
- 225g (1 + 1/8 Cup) Caster Sugar
- 3 Egg Yolks
- 360ml (1 + 1/2 Cups) Water
For the Meringue
- 3 Egg Whites
- 1/4 tsp Cream of Tartar
- 75g (1/3 Cup) Golden Caster Sugar
- 1/2 tsp Vanilla Extract
Essential Equipment
- Large Mixing Bowl
- Rolling Pin
- 7″ Loose Bottomed Tart Tin
- Baking Beans or Coins
- Pastry Brush
- 2 x Bowls
- Medium Saucepan
- Electric Stand Mixer with Whisk Attachment (or Large Bowl with Electric Hand Whisk)
Instructions
For the Pastry
- Rub together the flour, butter and salt in a bowl until it's like breadcrumbs.

- Add 3/4 of the beaten egg (save the rest for later) and mix to form a dough. If it's too crumbly, add 1 tbsp of cold water.
- Flatten into a disc, wrap in cling film and rest in the fridge for 30 mins.
- Roll out to 2-3 mm between two sheets of cling film.
- Peel one layer off and lower into the tin. Press it into the sides then roll your rolling pin over the top to cut off any excess.
- Peel off the cling film and prick the base with a fork. Then chill while the oven preheats to 180°C/Fan 170°C.
- Scrunch up a large piece of baking paper, place it into the pastry and fill with baking beans. Bake blind for 15 mins.
- Remove the beans and paper and brush with the remaining beaten egg. Bake for 10-12 mins more until golden. Cool completely.
- Reduce the oven temperature to 170°C/Fan 160°C.
For the Filling
- Mix the lemon juice, zest and cornflour together in a bowl.
- Mix the sugar and egg yolks together in another bowl.
- Bring the water to the boil in a medium saucepan then add the lemon mixture. Stir quickly until it has thickened. (It will happen fast.)
- Remove from the heat and add lemon mixture to the sugar/egg yolks 1 tbsp at a time, stirring well each time. Continue until two thirds has been added then tip the whole lot back into the saucepan.
- Stir until thickened and smooth then pour into the pastry case. Leave at room temperature.
For the Meringue
- Whisk the egg whites and cream of tartar together in an electric stand mixer with a whisk attachment until frothy. (You can also use a large bowl and an electric hand whisk)
- Gradually add the sugar a little at a time then add the vanilla.
- Keep whisking until it JUST reaches the stiff peaks stage. You can tip the bowl upside down to find out - if the meringue stays in the bowl, it's ready. It should be thick and shiny.
- Spread the meringue onto the top of the pie, making sure you go right to the edges.
- Bake in the oven for 15 mins until golden, then cool at room temperature for at least 1 hour before serving.
Notes
If you would rather use a more in depth picture recipe, please see the main body of this post. Where you’ll also find lots of extra FAQs and helpful tips, should you need them.
Please note, this recipe includes both UK metric and US Cup measurements.
Tips
Pastry
- Don’t overwork your pastry or it will be tough and not very nice.
- Cold hands are best when working with pastry. Rinse yours under cold water for a minute before you start.
- Don’t skip the ‘resting it in the fridge’ stages. This re-solidifies the butter, meaning it will shrink less in the oven.
- Dough too crumbly? Add a little bit of cold water to bring it together.
- Dough too wet? Add a little more flour to bring it back.
- Don’t own baking beans? You can use coins, dried peas or lentils instead.
- Cool the pastry case completely before adding the filling. This will help the curd to set properly.
Lemon Curd Filling
- Prepare all your ingredients before you start. This part of the recipe moves very quickly.
- You will need 2-3 lemons to get 2 tbsp zest and 120ml of juice.
- Only zest the yellow part of lemon skin, the white part is bitter. You don’t want that in your pie!
- Stir vigorously when adding the lemon mixture to the boiling water. It will thicken very quickly!
- You may wish to use a whisk to keep things nice and smooth when making the curd.
- Don’t chill the pie when you’ve added the filling to the crust. This can cause moisture to form on the top of the pie which can ruin the meringue.
Meringue Topping
- Fresh eggs make a more stable meringue than older eggs. (So they’re less likely to weep/deflate later.)
- Stay with the meringue while it’s whipping. If you over whisk it, it will weep (leak water) and deflate once baked.
- Don’t know when it’s at the stiff peak stage? Tip the bowl upside down - if it stays in the bowl, it’s ready!
- Spread the meringue right to the edges of the pie, completely covering the filling.
- You can use a blow torch instead of baking to add a really beautiful look to your meringue.
- Oil your knife when slicing to get nice neat slices. This should stop the meringue from sticking and making a mess.
Recommended Products
As an Amazon Associate and member of other affiliate programs, I earn from qualifying purchases at no extra cost to you.


Nutrition Information:
Yield: 6 Serving Size: 1Amount Per Serving: Calories: 450Total Fat: 17gSaturated Fat: 10gTrans Fat: 0gUnsaturated Fat: 6gCholesterol: 159mgSodium: 72mgCarbohydrates: 68gFiber: 2gSugar: 40gProtein: 8g
Nutritional information on kitchenmason.com should only be used as a general guideline, I am not a certified nutritionist. Please always check labels for allergens where applicable.

Emma is a British recipe writer, home cook, and founder of Kitchen Mason. For over 15 years, she has been creating simple, comforting recipes and practical kitchen tips that help tired, everyday people make dinner feel easier and more enjoyable again. Passionate about British home cooking, Emma shares reliable recipes, comforting classics, and realistic kitchen guidance designed for real life. Her work has also been featured in publications including Food Network, Cosmopolitan, and The Huffington Post.
Knowledgeable On: British home cooking, Easy dinner ideas, Comford food recipes, Recipe writing