This post may contain affiliate links. Where I make a small commission on purchased items, at no extra cost to you. See my disclosure for details.
(This post has been updated from the original March 2015 version to provide a better experience for you)
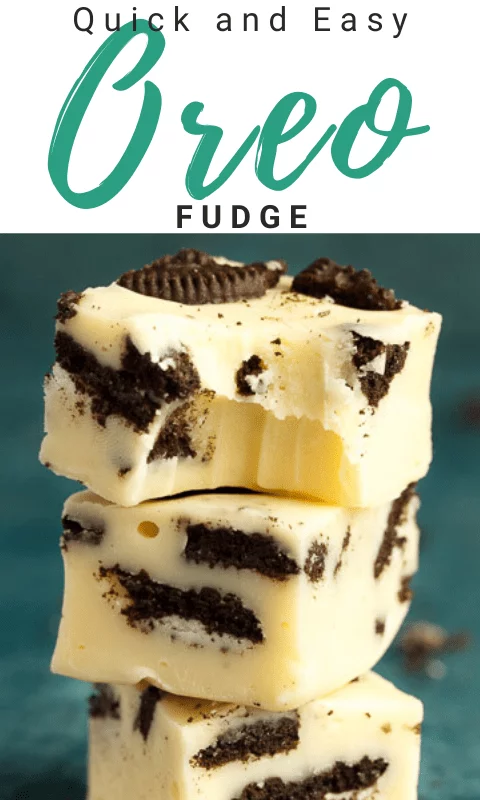
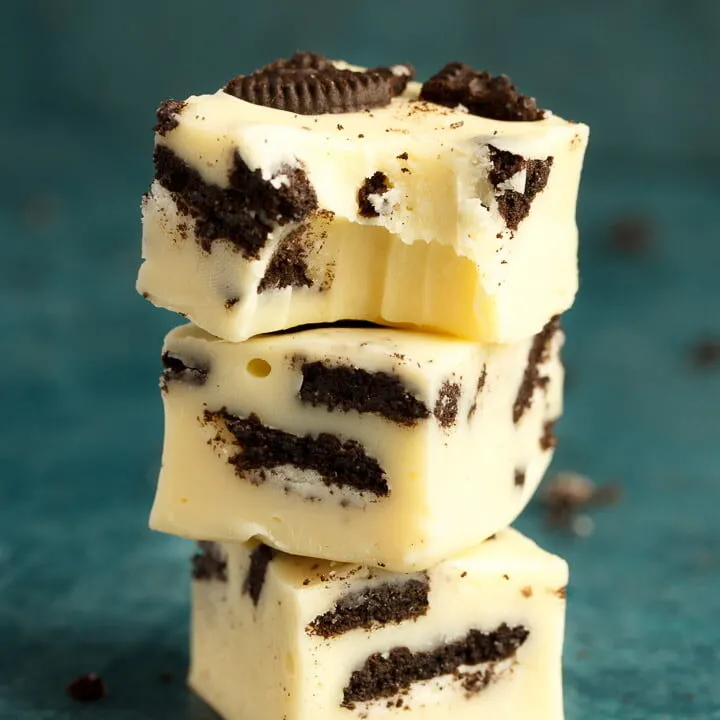
If you’re looking for a minimal effort treat that’s easy to make and tastes incredible, then this Oreo fudge is for you my friend! Just like Biscoff fudge, this recipe is made in just 15 minutes with NO special equipment, then the fridge does the hard work for you. Sounds great right?! Read on to learn just how easy Oreo fudge is to make…
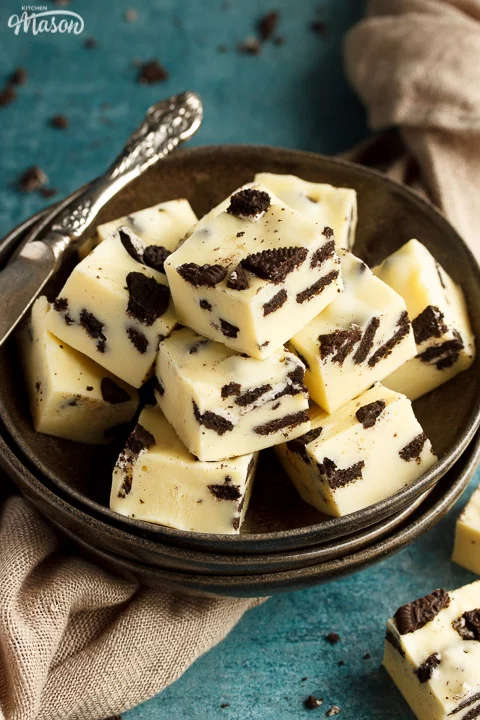
So it’s worth pointing out that this isn’t traditional fudge. Like this 2 ingredient peanut butter fudge, it’s a ‘cheat’ fudge. By cheat I mean that there’s no thermometer, you’re not boiling sugar for ages over a stove, nor do you need to understand the science of making fudge.
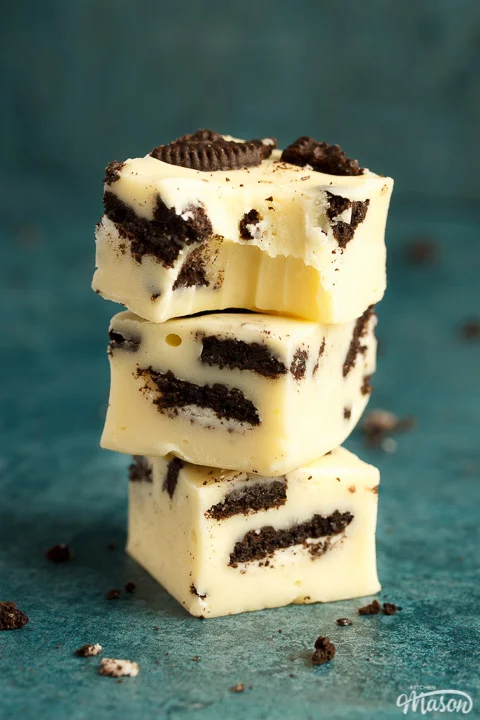
Cheat fudge is made using condensed milk and chocolate. It’s SUPER easy! You don’t need a thermometer and you don’t even need to use the stove!
And the best bit is, once you’ve mastered it once, you can start changing up the flavours by using different chocolates and fillings. The possibilities are endless!
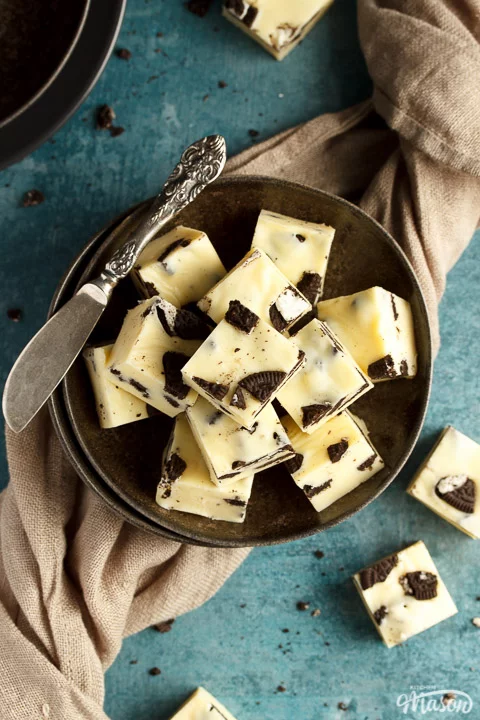
Oreo fudge – recipe summary
It honestly couldn’t be easier to create this delightful treat for yourself!
- Roughly chop Oreo cookies.
- Break white chocolate into a bowl and add condensed milk and butter.
- Melt in the microwave until smooth and thick.
- Pour a little fudge into your pan and smooth out.
- Top with chopped Oreos.
- Repeat until all the fudge and most of the Oreos are used up.
- Press the remaining chopped Oreos into the top to decorate.
- Chill in the fridge until completely set then cut into pieces.
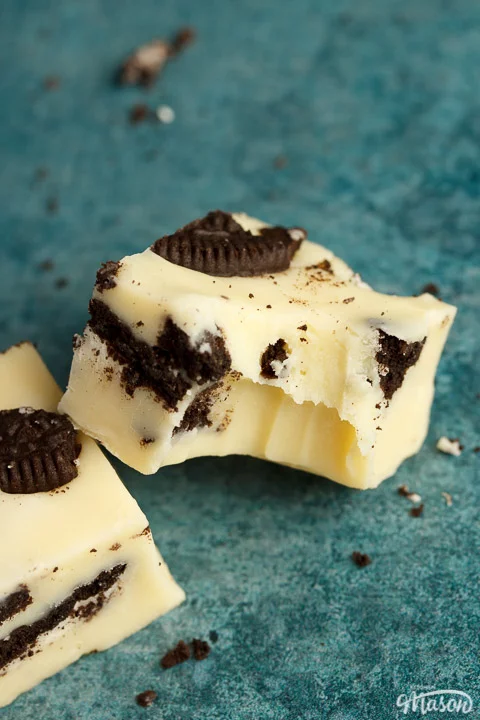
Is Oreo fudge expensive to make?
It depends what ingredients you choose to use. Oreos themselves tend to be on offer quite frequently so keep an eye out for that to save some pennies. As for the white chocolate, I’ve made this using the supermarket own brand 100g bars (that only cost about 30p) and it still tasted incredible!
That being said, you’re more than welcome to use a more expensive branded version but it will obviously cost you a lot more, given that you need 500g.
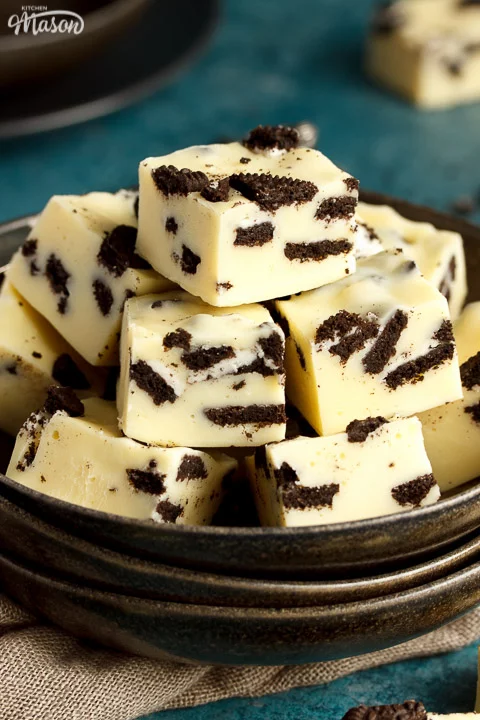
Oreo fudge ingredients
You only need 5 ingredients to make Oreo fudge. Here’s everything you need to know…
- Oreos – It goes without saying that the real deal works best here. You can use other brands if you wish but they won’t be quite as good.
- White Chocolate – Good brands like Milky Bar and Lindt take it up a notch but cheap 100g supermarket own brand bars work just as well.
- Butter – I always use unsalted. If you only have salted, it will work but may change the flavour very slightly.
- Condensed Milk – Sweetened condensed milk can usually be found down the baking aisle. Any brand will work.
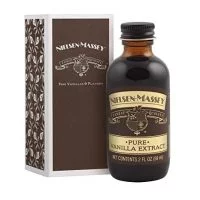
- Vanilla – A good quality vanilla like Nielsen Massey works perfectly here. Supermarket own brands don’t have much flavour.
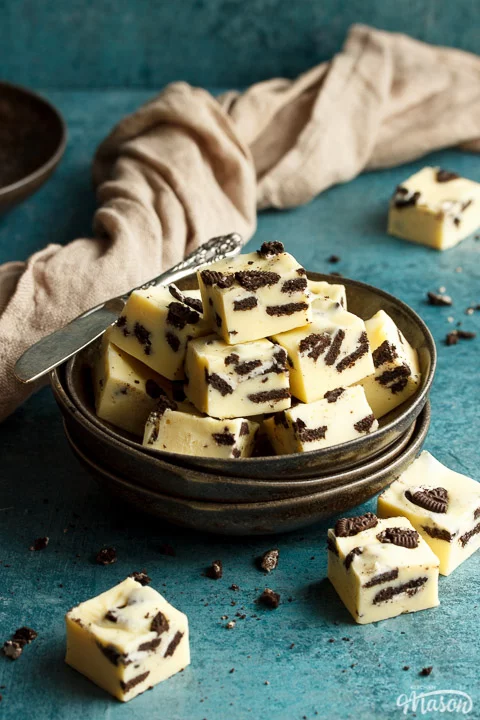
Oreo fudge recipe tips and troubleshooting
Still not confident enough to dive straight in? Here’s some helpful tips to guide you through it…
- Use the best quality vanilla extract you can afford. You can really taste the difference!
- Try to keep some slightly chunkier pieces of Oreos, it really adds to the texture.
- Don’t be tempted to mix the chopped Oreos through the fudge. It will turn it a murky grey colour.
- Remember to push the decorative Oreos into the top or they will fall off once set.
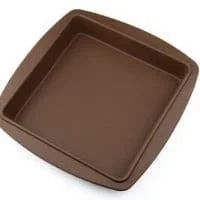
- Place your silicone pan onto a baking tray before you fill it. This will make it easier to transfer to the fridge.
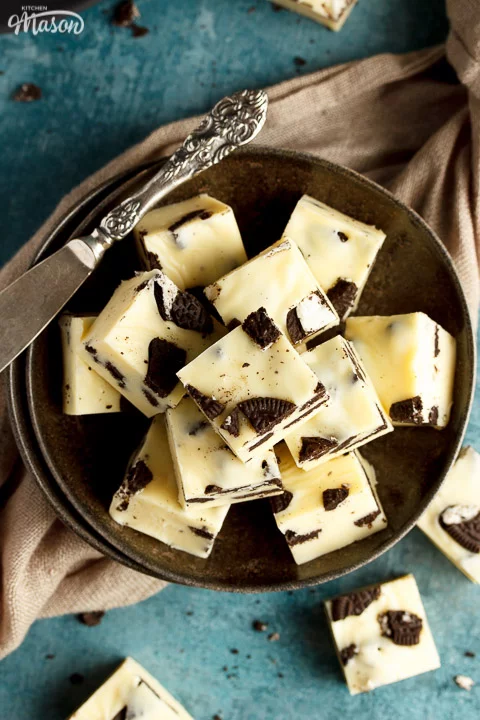
- My fudge stuck to my silicone pan – Pop it into the freezer for 10 minutes then try again, it should work.
- The fudge looks a horrible grey colour – You mixed the Oreos into the fudge which changes the colour. Layer them instead.
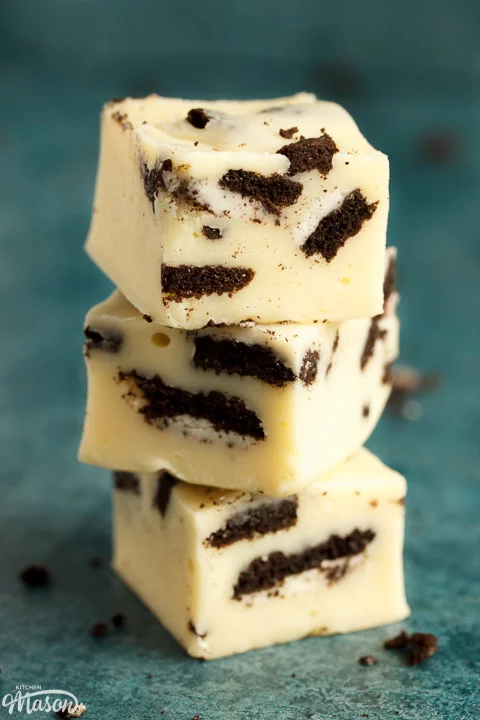
Other recipes you might like…
- Easy Maltesers microwave fudge
- Chocolate Oreo tart
- Best ever Biscoff fudge
- 3 Ingredient Oreo truffles
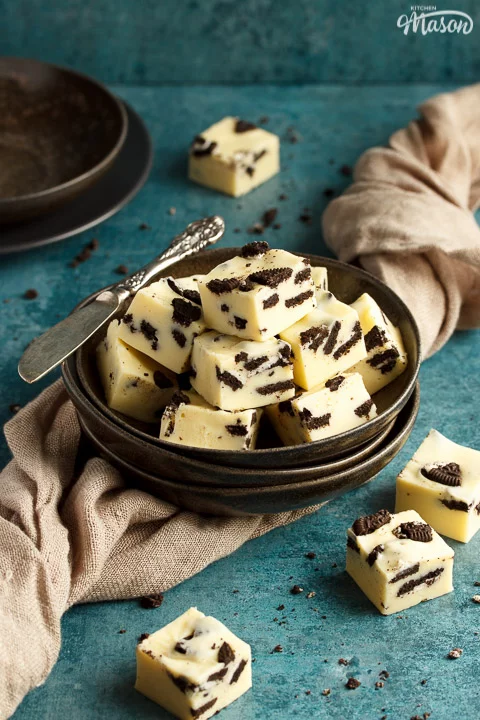
Easy Oreo Fudge – Step by Step Picture Recipe
Here is what you will need to make 36 bite size pieces.
(For a printer friendly version, see the recipe card at the end of this post)
Ingredients
- 135g (4.8 oz) Oreos
- 500g (17.5 oz) White Chocolate
- 55g (1/4 Cup) Unsalted Butter
- 397g (14 oz) Tin of Sweetened Condensed Milk
- 1/2 tsp Vanilla Extract
Essential equipment
- Chopping Board
- Sharp Knife
- Large Glass Bowl
- Microwave *
- Spatula
- 20cm (8″) Square Silicone Pan †
*If you don’t have a microwave, you can use a large saucepan set over a low heat and achieve the same thing.
†If you are using a regular tin, you will need to lightly grease and line it before starting.
Instructions
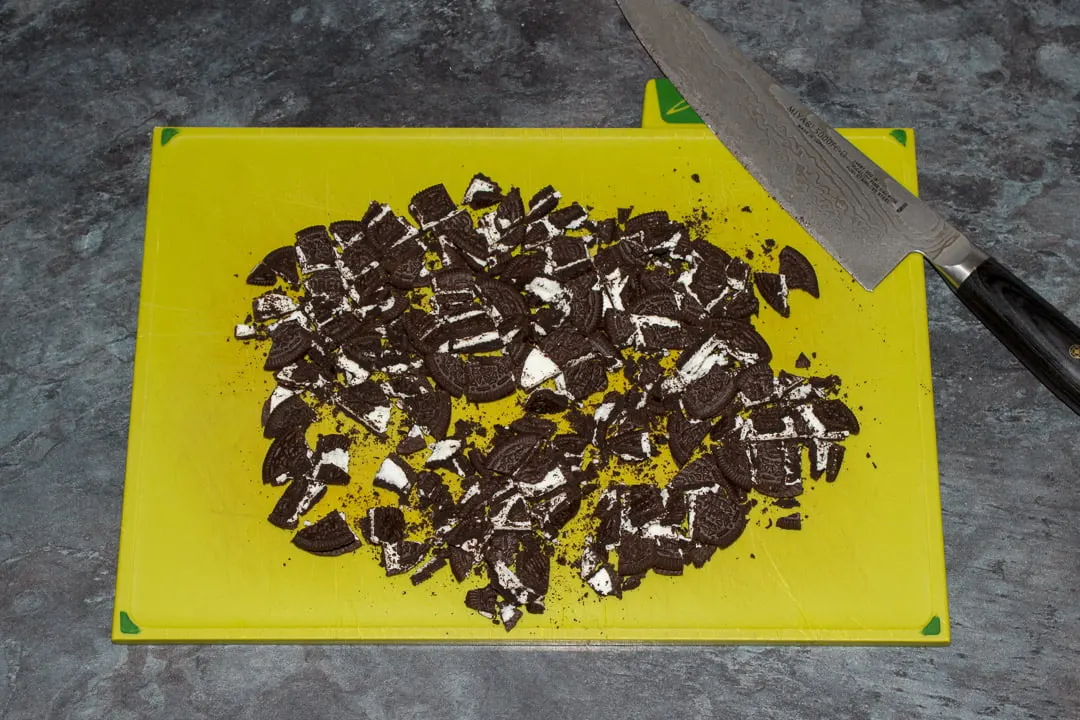
First, roughly chop the Oreos (135g | 4.8 oz), leaving a few larger pieces for added texture. Set to one side until we need them later.
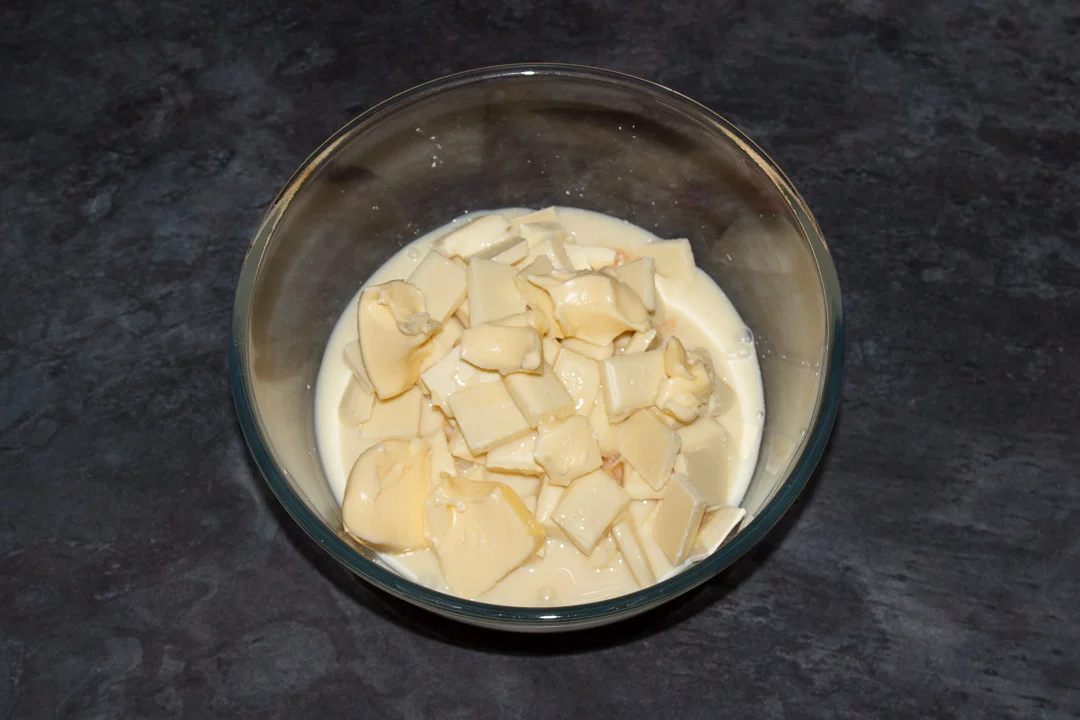
Next, break the white chocolate (500g | 17.5 oz) into your glass bowl then add the butter (55g | 1/4 Cup), condensed milk (397g | 14 oz tin) and vanilla (1/2 tsp).
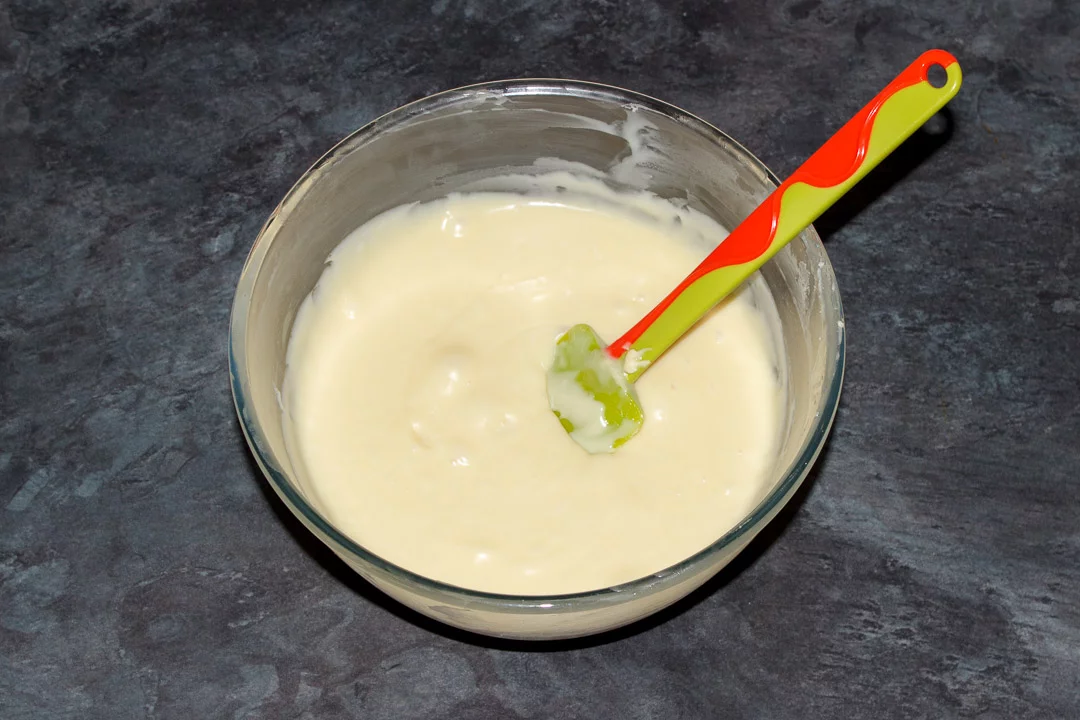
Now melt the ingredients in 20 second intervals in the microwave. Make sure you stir it very well each time and don’t overheat it. It should become thick and smooth.
If you don’t have a microwave, you can use a large saucepan set over a low heat instead.
(Tip – Place your silicone pan on a baking tray, this will make it much easier to transfer to the fridge!)
Working quickly, pour a third of the fudge into your silicone pan (or lined tin if you don’t have a silicone one).
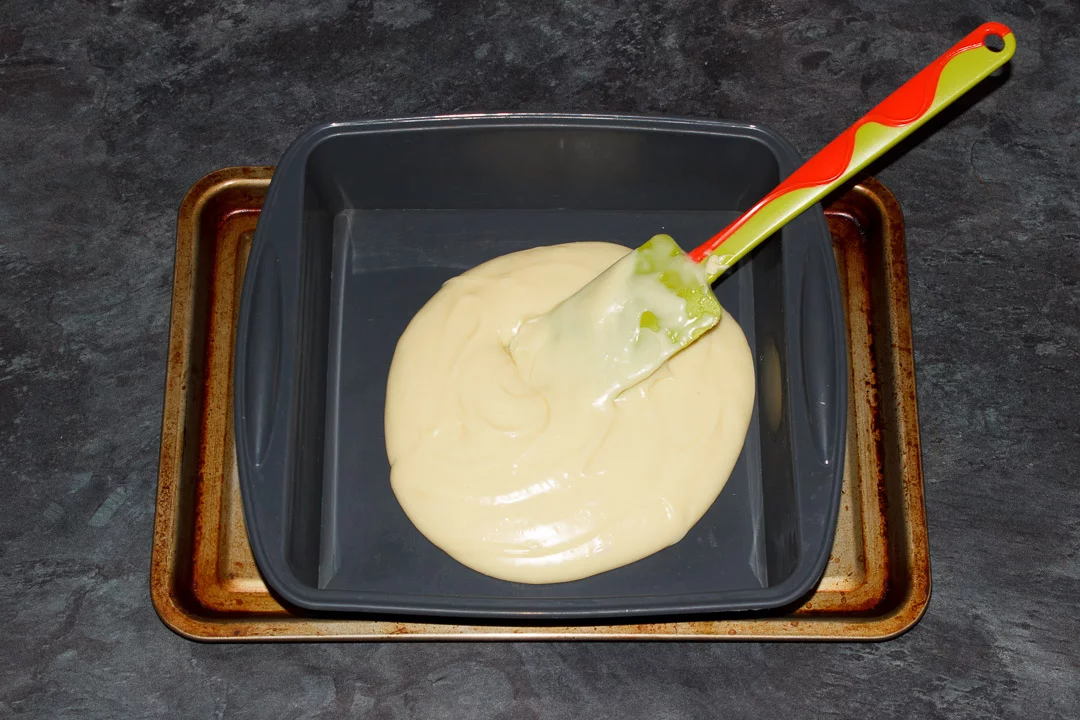
Then push it to the edges and scatter over some of the chopped Oreos.
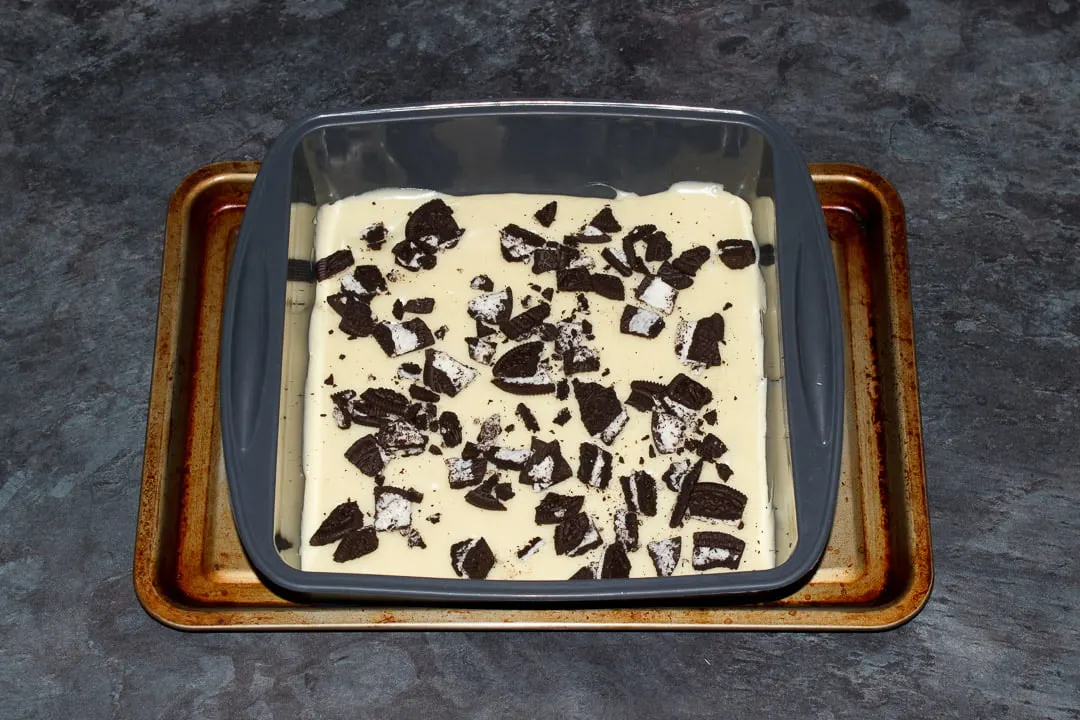
Continue to layer the fudge and chopped Oreos until all the fudge is used and most of the chopped Oreos have been used.
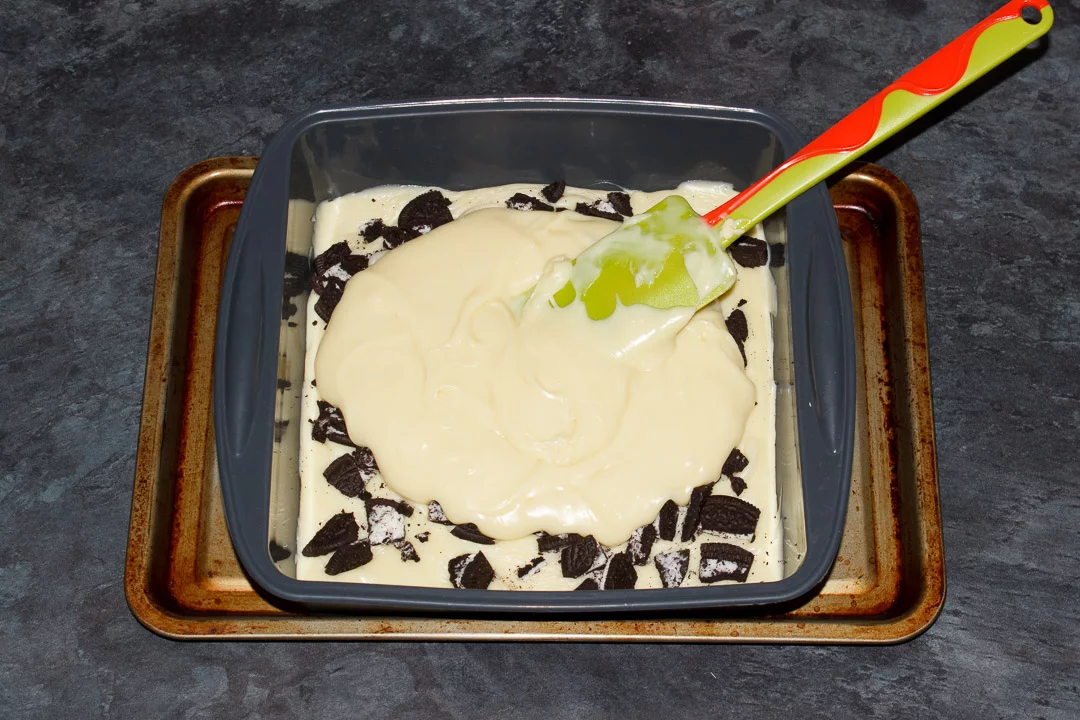
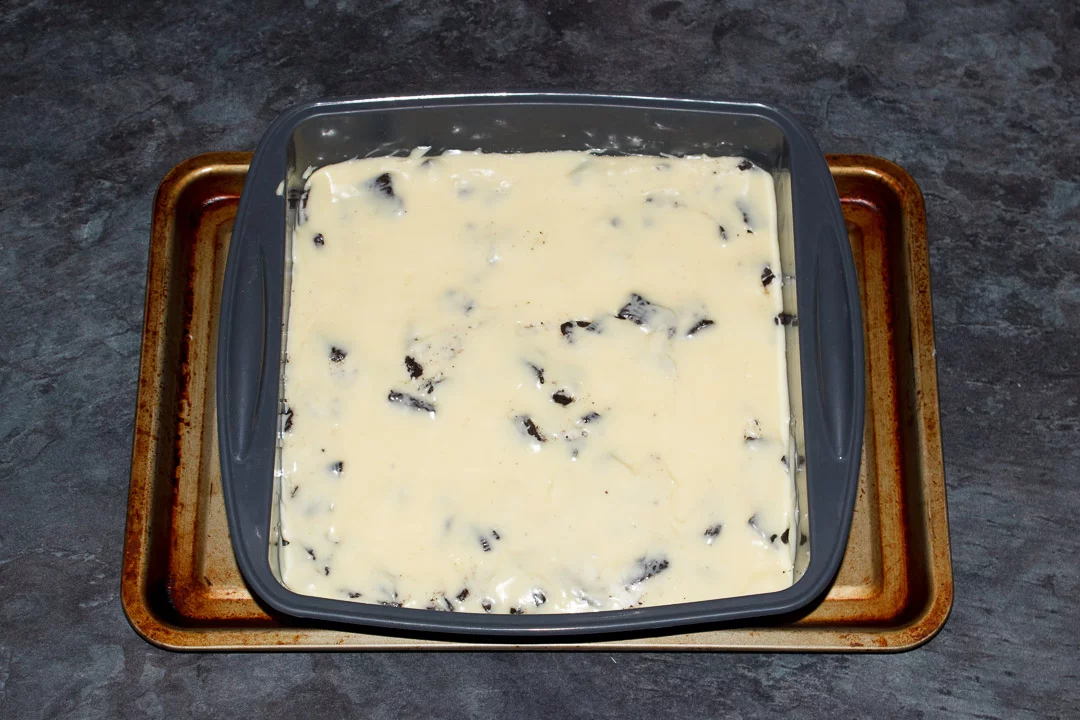
Finally, press the remaining chopped Oreos into the top for decoration.
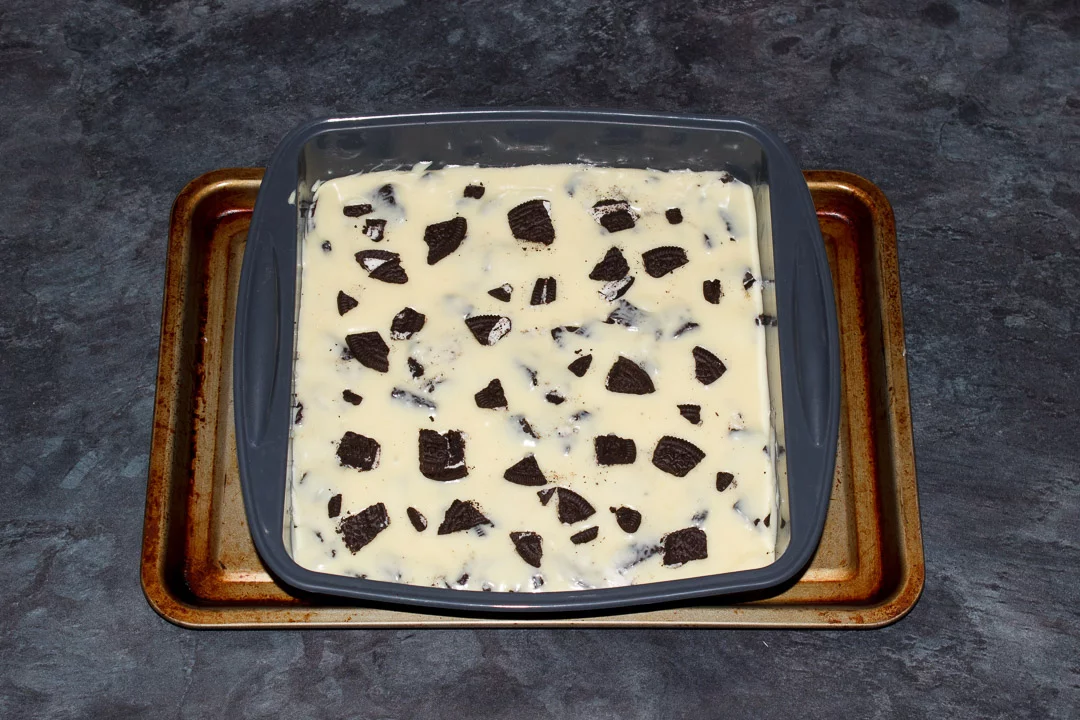
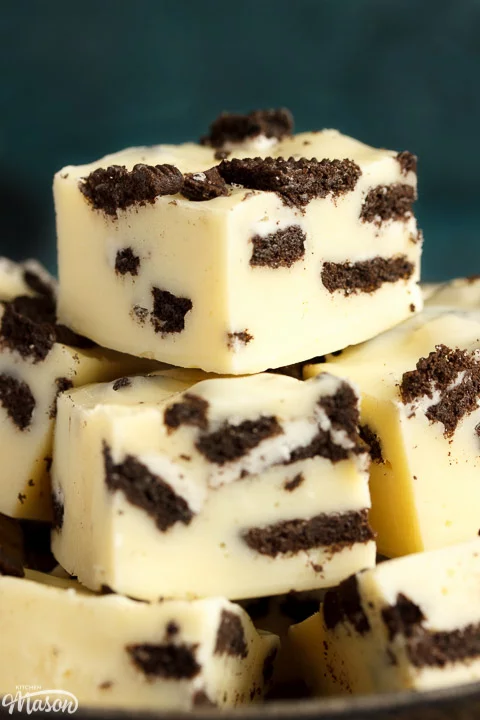
Now place your fudge into the fridge to set for at least 4 hours or overnight. Once it’s completely set, remove from the pan and cut into 36 bite size pieces.
Store your Oreo fudge in an airtight container in the fridge and consume within 7 – 10 days.
Have you made this recipe?
Have you made this unbelievably addictive Oreo fudge? I’d love to know if you have! Send me your pics, comments and questions on Facebook, Twitter and Instagram or email me at emma@kitchenmason.com.
Love this recipe? Pin it!
CRAZY Easy Oreo Fudge Recipe
Smooth, creamy and intensely indulgent, this quick and easy Oreo fudge recipe makes the perfect naughty treat or homemade gift!
Ingredients
- 135g (4.8 oz) Oreos
- 500g (17.5 oz) White Chocolate
- 55g (1/4 Cup) Unsalted Butter
- 397g (14 oz) Tin of Sweetened Condensed Milk
- 1/2 tsp Vanilla Extract
Essential Equipment
- Chopping Board
- Sharp Knife
- Large Glass Bowl
- Microwave *
- Spatula
- 20cm (8″) Square Silicone Pan †
Instructions
- Roughly chop the Oreos, set to one side.
- Break the chocolate into a glass bowl then add the butter, condensed milk and vanilla.
- Heat in the microwave in 20 second intervals until smooth and thick. Mix well between each time.
- Pour a third of the fudge into your tin and spread out. Scatter chopped Oreos over the top.
- Continue to layer until the fudge is used and most of the Oreos are used.
- Press the remaining chopped Oreos into the top.
- Place in the fridge for 4 hours (or overnight) until completely set.
- Slice into 36 bite size pieces.
Notes
*If you don’t have a microwave, you can use a large saucepan set over a low heat and achieve the same thing.
†If you are using a regular tin, you will need to lightly grease and line it before starting.
Recommended Products
As an Amazon Associate and member of other affiliate programs, I earn from qualifying purchases at no extra cost to you.
Nutrition Information:
Yield: 36 Serving Size: 1Amount Per Serving: Calories: 139Total Fat: 7gSaturated Fat: 4gTrans Fat: 0gUnsaturated Fat: 3gCholesterol: 10mgSodium: 41mgCarbohydrates: 17gFiber: 0gSugar: 16gProtein: 2g
Nutritional information on kitchenmason.com should only be used as a general guideline, I am not a certified nutritionist. Please always check labels for allergens where applicable.
About Emma Mason
Emma is a professional blogger. Utilising over 20 years of cooking experience, she’s passionate about making your life easier, one recipe at a time! Drawing on her 12+ year background in recipe research and development, photography, copy writing and marketing, Emma has turned kitchenmason.com into a successful career. Known as ‘the organisation queen’ among friends, she is passionate about creating easy to follow recipes that anyone can follow and enjoy. She lives in Nottingham (UK) with her husband, daughter and 2 naughty cats. In her spare time she can be found reading a good book, training at the dojo preparing for her black belt grading, or dreaming up the next crazy colour combo for her hair!

Weelijinx
Monday 3rd of August 2020
This looks lush but Any subtitute for vanilla as there seems to be s vanilla shortage due to poor harvest
Emma
Monday 3rd of August 2020
There isn't really a substitute for vanilla I'm afraid. In this recipe you could just leave it out though. The Oreos and white chocolate should be enough to flavour it on their own. Emma x
Samina
Saturday 23rd of April 2016
Just made it now and tbh this is really easy and simple! I'm not the best at baking at all and this is just perfect! It's very quick and easy and very yum! The only downside is that it isn't healthy at all but then again no dessert is!!????????
Miss KitchenMason
Saturday 23rd of April 2016
My motto is 'If you're going to do something wrong, do it right!' This definitely applies to Oreo fudge! Insanely delicious but deadly to the waistline haha. SO glad you like it! And thank you so much for commenting, it's always great to get feedback :)
Marisa @missmarzipan.com
Thursday 19th of March 2015
Wow! Love the look of this!
Miss KitchenMason
Thursday 19th of March 2015
Thanks!
cithryth
Saturday 14th of March 2015
I made this today using dark chocolate instead of white chocolate and it is absolutely divine! I couldn't believe how easy it was. Definitely will be my go-to treat to bring to get -togethers from now on! Thank you so much for this!
Miss KitchenMason
Saturday 14th of March 2015
No problem! Thanks for letting me know how good it is with dark chocolate, I haven't tried that combo yet :) x
chefceaser
Monday 9th of March 2015
Reblogged this on Chef Ceaser.