This post may contain affiliate links. Where I make a small commission on purchased items, at no extra cost to you. See my disclosure for details.
These CRAZY delicious Mini Egg rocky road bars are perfect when you want a tasty Easter treat that takes minutes to prepare. Just melt it, mix it and refrigerate… that’s it! (Exactly like this Creme Egg rocky road) Oh then eat it obviously. I know – it’s a hard life isn’t it?!
They’re pretty perfect for the little ones to get involved with too, a great Easter activity with a very delicious reward at the end of it!

If you’re looking for more of an Easter dessert recipe, take a look at my no bake Mini Egg cheesecake recipe.
How easy is Mini Egg rocky road to make?
It really is about as easy as it gets, making this the perfect treat to make with the kids! The only techniques involved are a little chopping/breaking up, melting and mixing. The fridge does all the hard work for you. Easy peasy!
What to do with leftover Easter chocolate
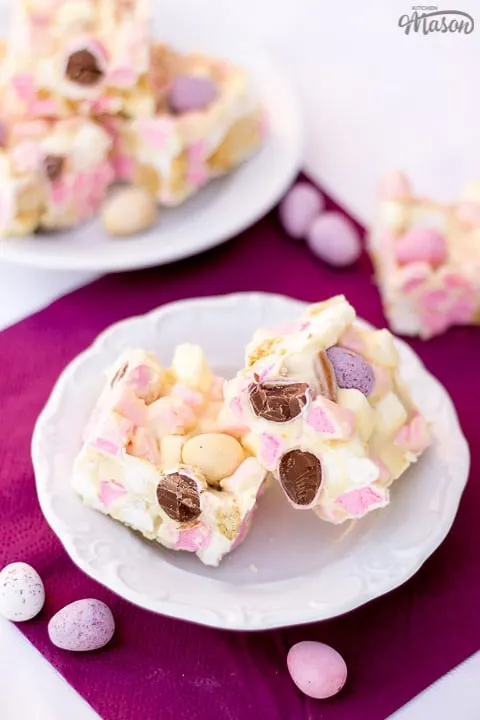
When you’ve got too much leftover chocolate in the cupboards – this Mini Egg rocky road recipe is exactly what you need! It doesn’t matter if it’s milk, dark or white – any Easter chocolate will do for this tasty treat. It’s the perfect way to use up all those little Easter extras too (biscuits, mini eggs, marshmallows etc). Just throw them in and create your very own rocky road master piece!

Mini Egg rocky road recipe tips
There’s not a great deal that can go wrong with this recipe but life always seems to surprise us doesn’t it haha?! Here’s some helpful tips to guide you on your way to Easter rocky road success…
- Don’t forget to line your tin. I realise how obvious this seems but, speaking from experience (don’t ask!) it’s guaranteed to end in tears!!
- Feel free to mix it up and use any other leftover Easter treats you have in this! Just be sure to make sure there’s enough chocolate to bind it all together.
- Before placing it in the tin, make sure you mix it really well to ensure everything is coated and will stick together.
- Be sure to press the mini eggs firmly on the top otherwise they may fall off!
- Be patient and make sure the chocolate is completely set before slicing. It won’t end well if you don’t.

Mini Egg Rocky Road – Step by Step Picture Recipe
(For a printer friendly version, see the recipe card at the end of this post)
Please note, this recipe includes both UK metric and US Cup measurements.
Ingredients
Here is what you will need to make 16.
- 400g (14.11 oz) White Chocolate
- 100g (1 Cup) Digestive Biscuits
- 150g (3 Cups) Mini Marshmallows
- 120g (3/4 Cup) Cadbury’s Mini Eggs
Essential Equipment
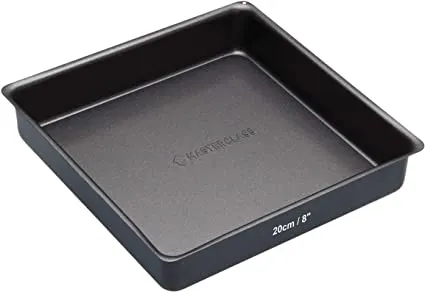
- 20 x 20cm (8 x 8″) Square Baking Tin
- Large Mixing/Glass Bowl
Instructions
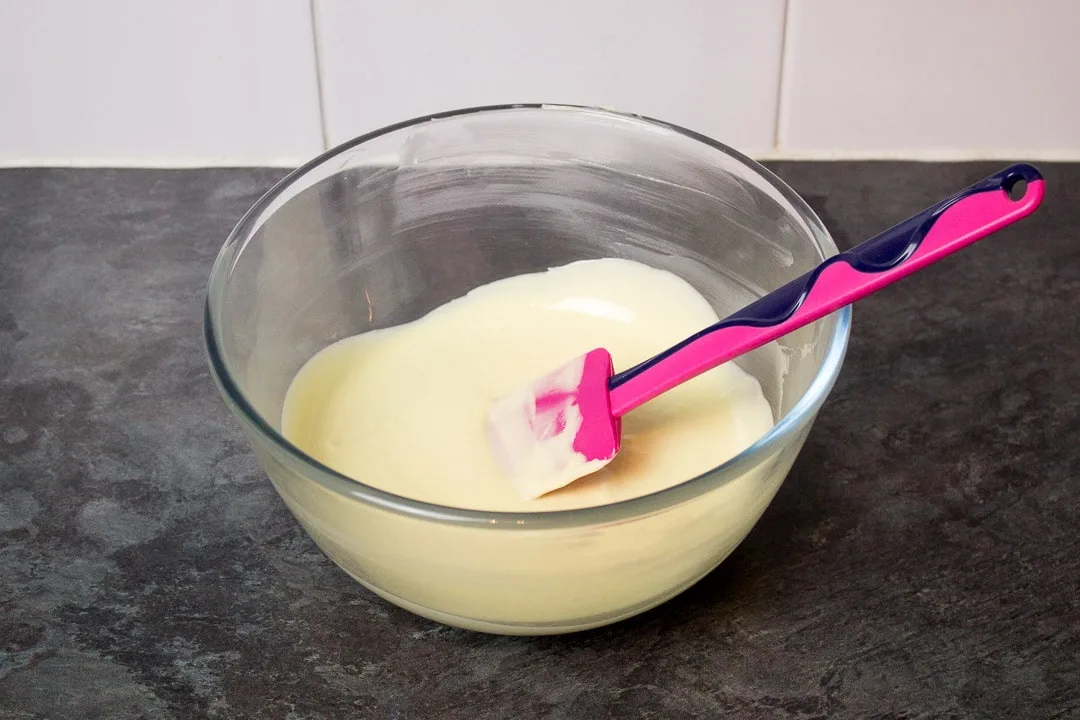
Firstly, line the baking tin with baking paper or cling film. Then break the white chocolate (400g | 14.11 oz) into a large microwavable bowl. Heat on full power in the microwave for 30 seconds then stir well. Heat again in 10 – 20 second intervals, stirring well between each time, until it’s melted and smooth. Try not to get it too hot. (You can also melt it in a glass bowl set over a pan of barely simmering water if you don’t have a microwave.)
By hand, (not machine or rolling pin or it will become too fine) break the digestive biscuits (100g | 1 Cup) into small pieces and add them to the chocolate along with the mini marshmallows (150g | 3 Cups) and 3 quarters of the mini eggs (90g | 1/2 Cup). Press the mixture firmly into the prepared tin with the back of a spoon.
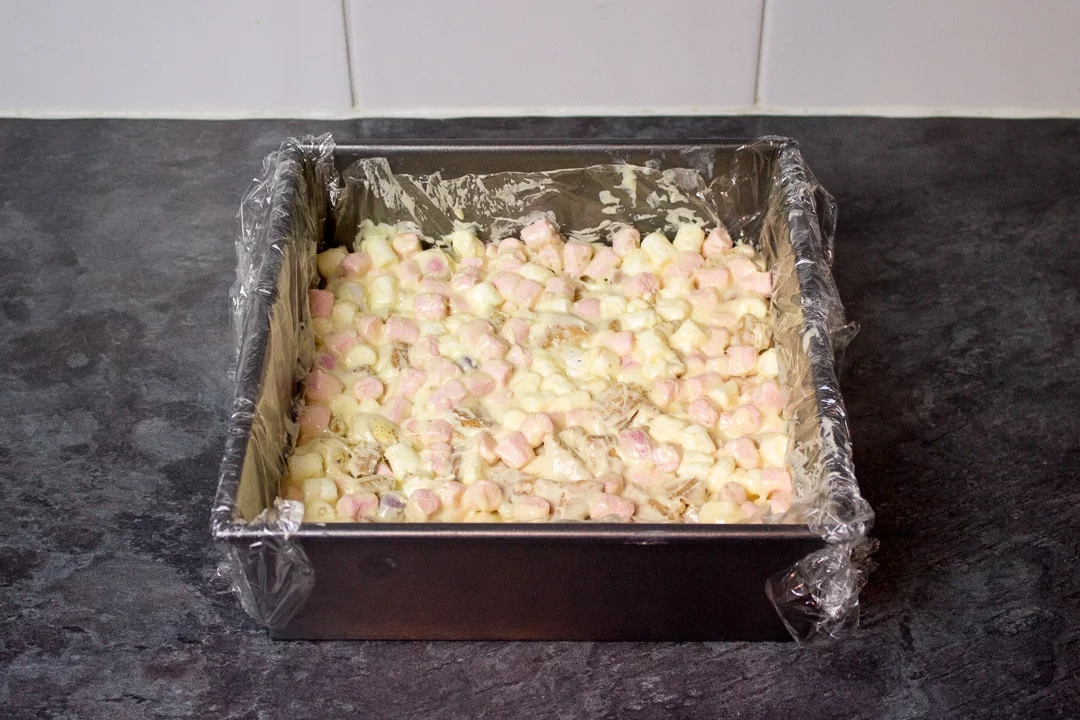
Finally, randomly press the remaining mini eggs (30g | 1/4 Cup) into the top of the rocky road.
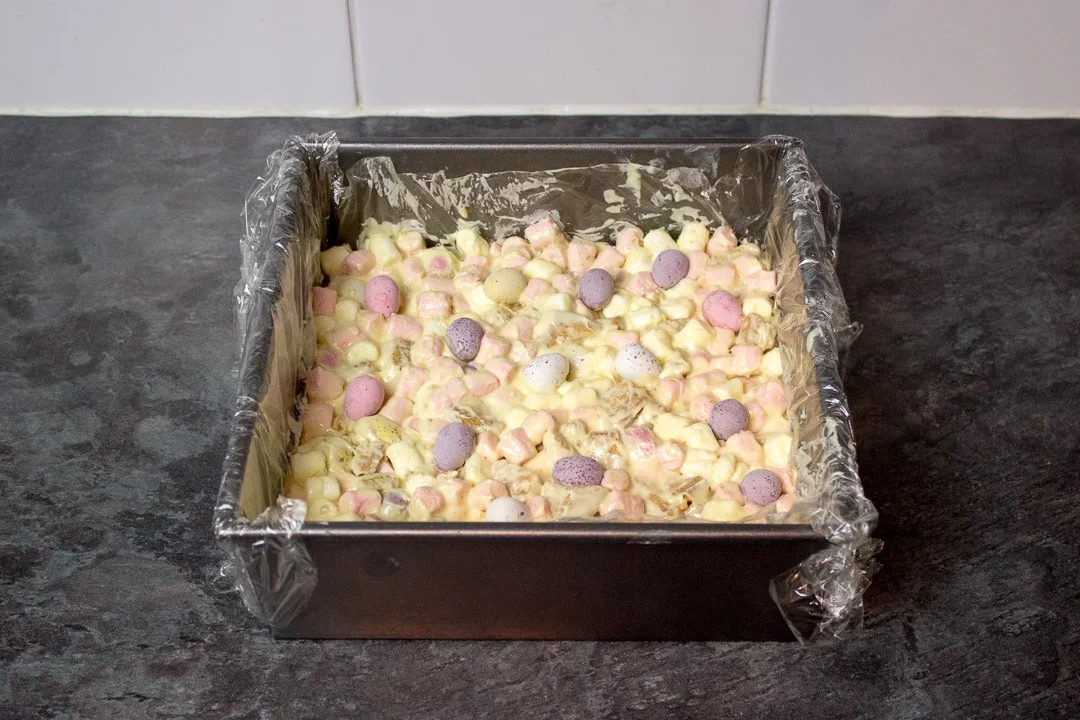
Now place it into the fridge for 2-3 hours until completely set. Once the chocolate has firmed, remove from the tin and slice into 16 pieces. Store in an airtight container and consume within 1 week. (Not that it will last that long!!)
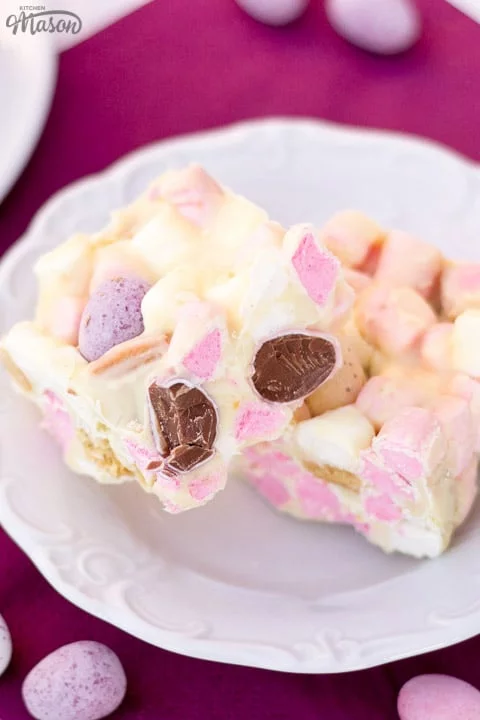
Did I not tell you it was easy? I’m willing to bet that you (and the kids) could probably make this with your eyes shut! In all seriousness though, these really are delightful little treats. SO creamy and packed full of tasty little treats and textures!
They would make lovely Easter gifts too. Simply pop one or two into a cellophane bag and tie with a pretty ribbon. I’m not sure how many I personally could bear to part with, but it’s the thought that counts right?!
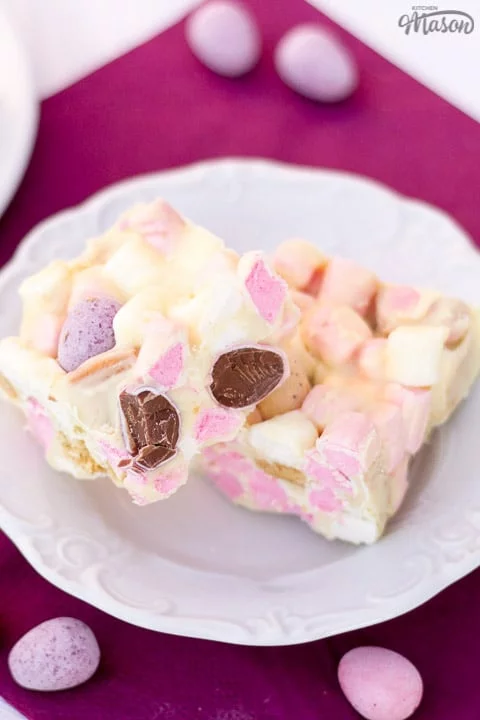
Have you made this recipe? I want to know!
Will this fabulous Mini Egg rocky road be making an appearance in your household? I’d love to know if they are! Send me your pics and comments on Facebook, Twitter & Instagram or email me at emma@kitchenmason.com.
Loved this recipe? Pin it!
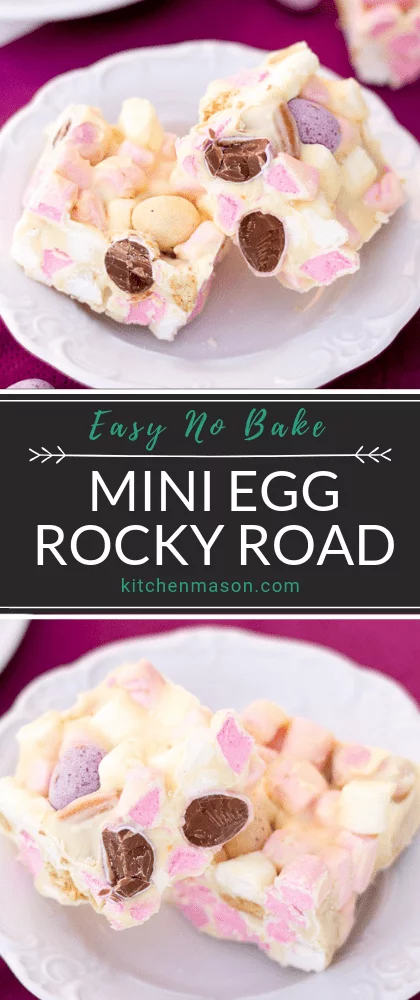


Mini Egg Rocky Road Recipe
Leftover Easter treats to use up? Want a CRAZY delicious and easy treat to make over the holidays? This Mini Egg Rocky Road is PERFECT!
Ingredients
- 400g (14.11 oz) White Chocolate
- 100g (1 Cup) Digestive Biscuits
- 150g (3 Cups) Mini Marshmallows
- 120g (3/4 Cup) Cadbury’s Mini Eggs
Essential Equipment
- 20 x 20cm (8 x 8″) Square Baking Tin
- Large Mixing/Glass Bowl
Instructions
- Line the tin with baking paper/cling film. Then break white chocolate into a bowl and either melt in the microwave in 10 second intervals (stir well after each time) or set over a pan of barely simmering water.

- Break up the digestive biscuits into small pieces. Tip those, the marshmallows, and 3/4 of the Mini Eggs into the melted white chocolate. Mix really well to ensure everything is nicely coated.
- Firmly press the mixture into the prepared tin.

- Dot the remaining Mini Eggs over the top, and press them in firmly to make sure they stick. Then chill in the fridge for 2-3 hours until completely set.

- Remove from the tin and slice into 16 bars.

Notes
If you would rather use a more in depth picture recipe, please see the main body of this post. Where you’ll also find lots of extra FAQs and helpful tips, should you need them.
Please note, this recipe includes both UK metric and US Cup measurements.
Storage
Store in an airtight container at room temperature and consume within 7 days.
Tips
- Don’t forget to line your tin. I realise how obvious this seems but, speaking from experience (don’t ask!) it’s guaranteed to end in tears!!
- Feel free to mix it up and use any other leftover Easter treats you have in this! Just be sure to make sure there’s enough chocolate to bind it all together.
- Before placing it in the tin, make sure you mix it really well to ensure everything is coated and will stick together.
- Be sure to press the mini eggs firmly on the top otherwise they may fall off!
- Be patient and make sure the chocolate is completely set before slicing. It won’t end well if you don’t.
Recommended Products
As an Amazon Associate and member of other affiliate programs, I earn from qualifying purchases at no extra cost to you.
Nutrition Information:
Yield: 16 Serving Size: 1Amount Per Serving: Calories: 233Total Fat: 12gSaturated Fat: 7gTrans Fat: 0gUnsaturated Fat: 4gCholesterol: 6mgSodium: 48mgCarbohydrates: 31gFiber: 1gSugar: 27gProtein: 2g
Nutritional information on kitchenmason.com should only be used as a general guideline, I am not a certified nutritionist. Please always check labels for allergens where applicable.

Experienced British Online Publisher, recipe writer, and home cook, Emma has a background of over 20 years in British cuisine and cooking. Born and bred in the UK, she excels in classic British dishes, is passionate about air frying, and loves sharing her Gran’s old school recipes. She has been featured in popular publications such as Food Network, Cosmopolitan, and The Huffington Post.
Knowledgeable On: Traditional British Cuisine, Recipe Writing, Air Frying, Home Cooking.


