


This post may contain affiliate links. Where I make a small commission on purchased items, at no extra cost to you. See my disclosure for details.
Learn how to cut an apple with this super quick and easy method! Plus, tips for how to store apples and how to stop them browning.

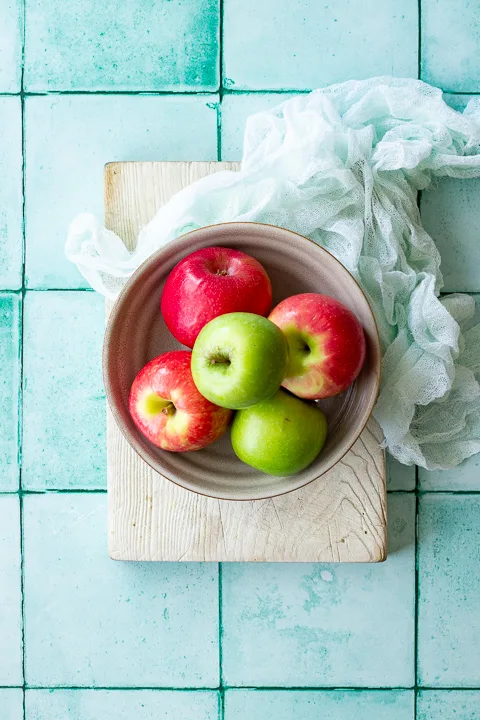
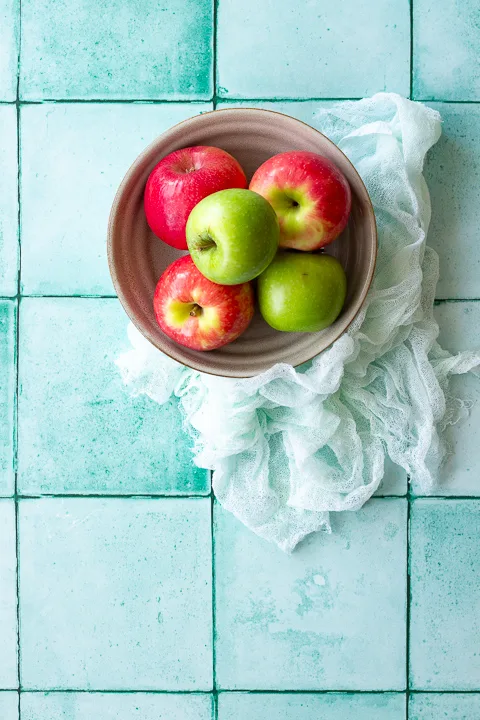
Eat one a day, and they’re supposed to keep the doctor away. Whether that’s true or not, we all love apples don’t we?!
Be it a tart Granny Smith, or a sweet and crunchy Gala, we eat apples by the bucket load!
Can't face cooking dinner on Fridays? 😩
Imagine a guilt free Friday night dinner, without the exhausting mental load. BYOD Fridays are a fun and supportive Friday night community for tired people who still need to cook, but really cba 💛
Join The CommunityThey work so well in a variety of dishes. From the classic apple crumble, to apple and beetroot salad. But have you ever thought about how to cut an apple?
It’s one of those things, that we assume our parents taught us well, and we never really question. Well I’m here to tell you, there’s a better way!
The standard method is to cut it into quarters and slice off the core. This can be a bit fiddly though, and makes it difficult to then cut into thinner slices, safely and easily.
Want to learn how to cut apples a better way? Check out the video tutorial below…
How to store apples
Choosing good apples will directly affect how long they last. Avoid picking ones that are soft or have bruises. Tears and wrinkled skin are also signs of apples that are past their best. Another thing to note is that apples with stems tend to last longer than those without.
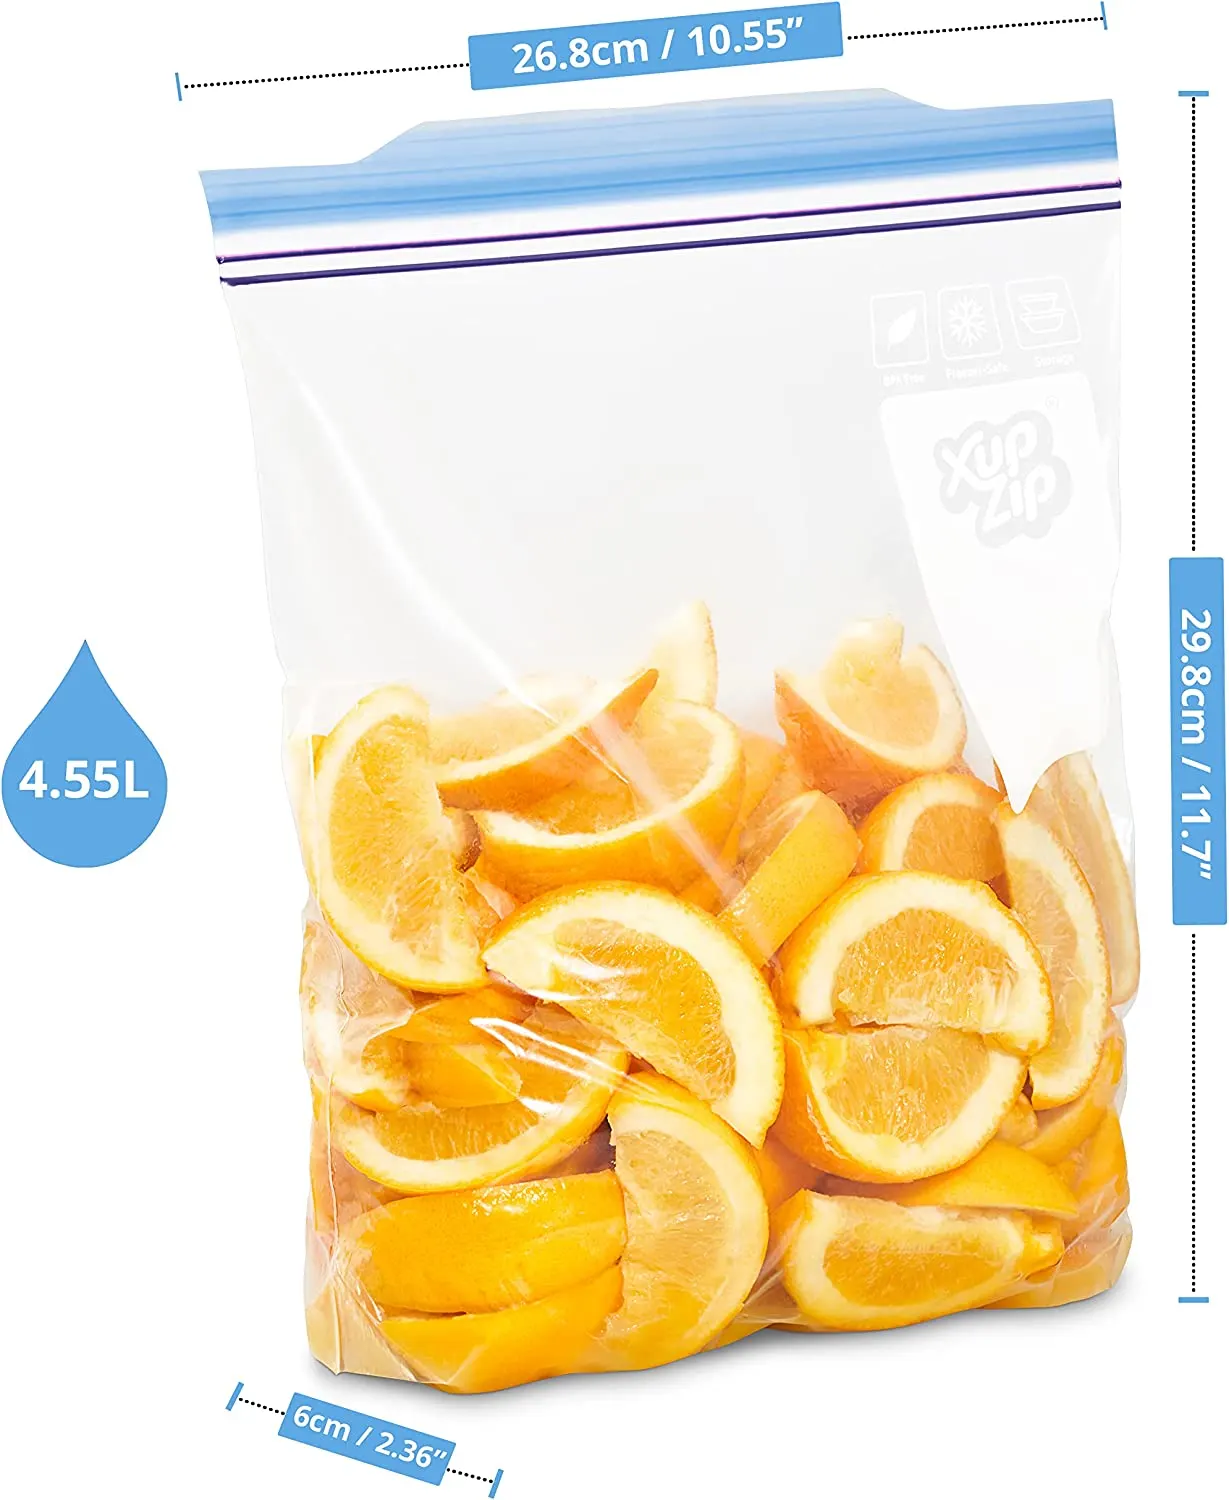
Once you have your good apples, place them in a plastic bag (or keep them in the one you bought them in) and place into the crisper/salad drawer in your fridge. This is the best way to prolong the life of your apples. They can stay crisp for as long as 6 weeks!

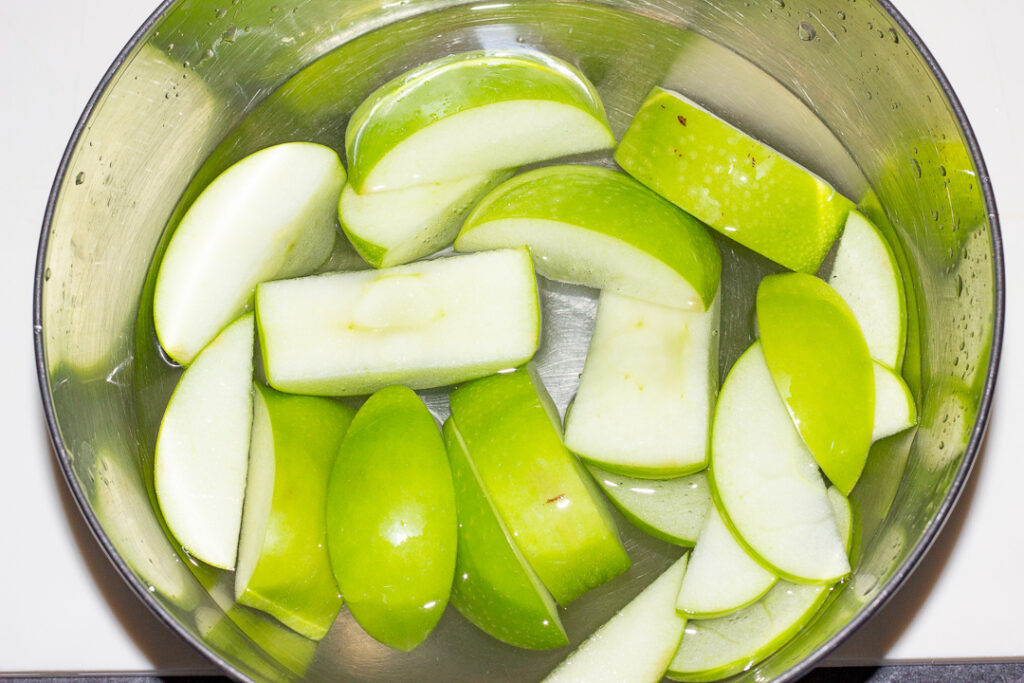
How to stop apples from browning
Some swear by tossing cut apples in lemon juice, but personally, I feel this affects the flavour too much.
So what is really the best way to stop apples browning? Brine them! Here’s how…
- Make a salt water solution using this ratio: 1 tsp of salt for every 500ml (2 Cups) of water.
- Submerge apple slices in the solution.
- Soak for 10 mins.
- Drain and rinse the slices in fresh water.
The effects of this will last for many hours. And any salt flavour will have been rinsed off. So you get to enjoy lovely looking and tasting, fresh apple slices. Easy peasy right?!

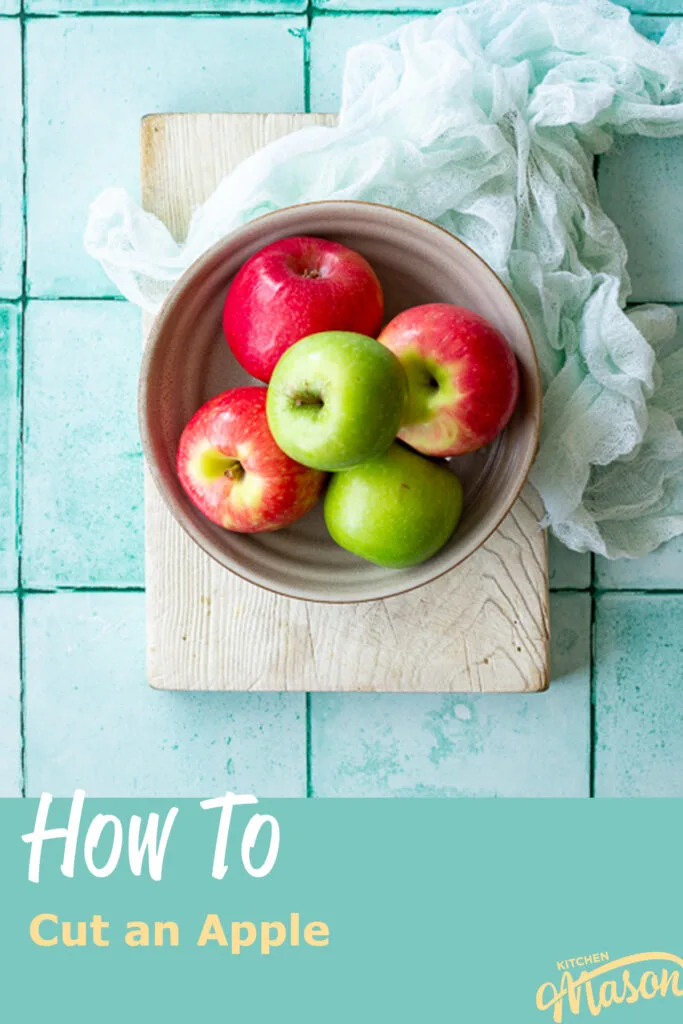
Loved learning how to cut an apple? Pin it!

Other How To articles you might like…

How to Cut an Apple - Printable
My favourite method for cutting an apple! See video for a visual example.
Materials
- 1 x Apple
Tools
- Chopping Board
- Sharp Knife
Instructions
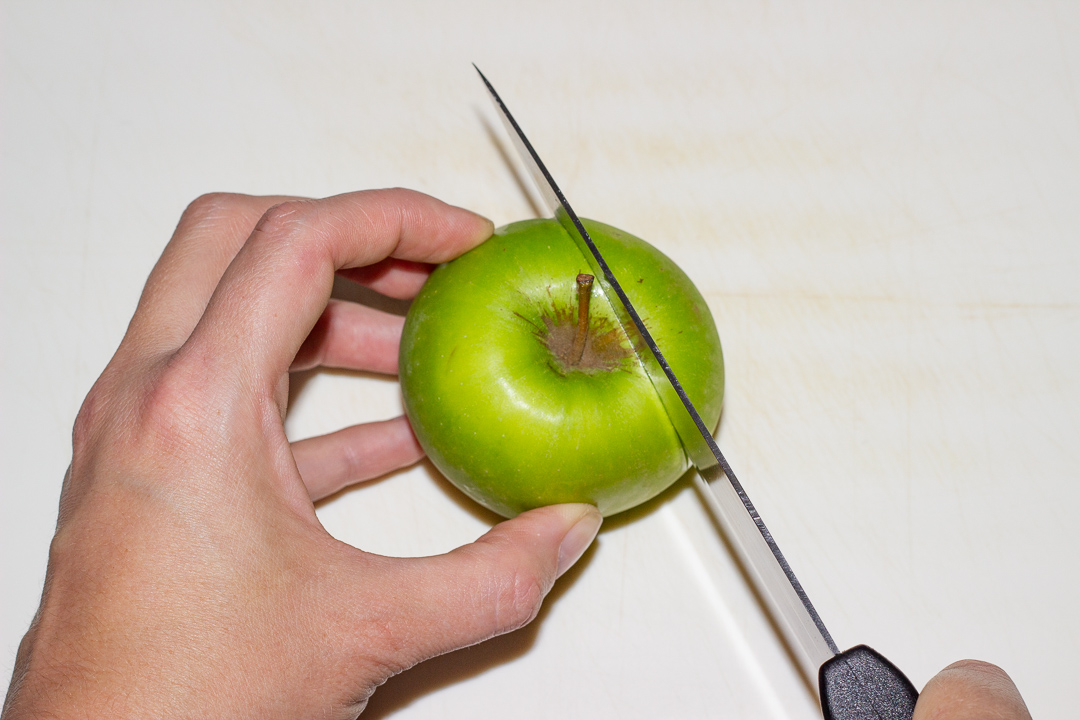
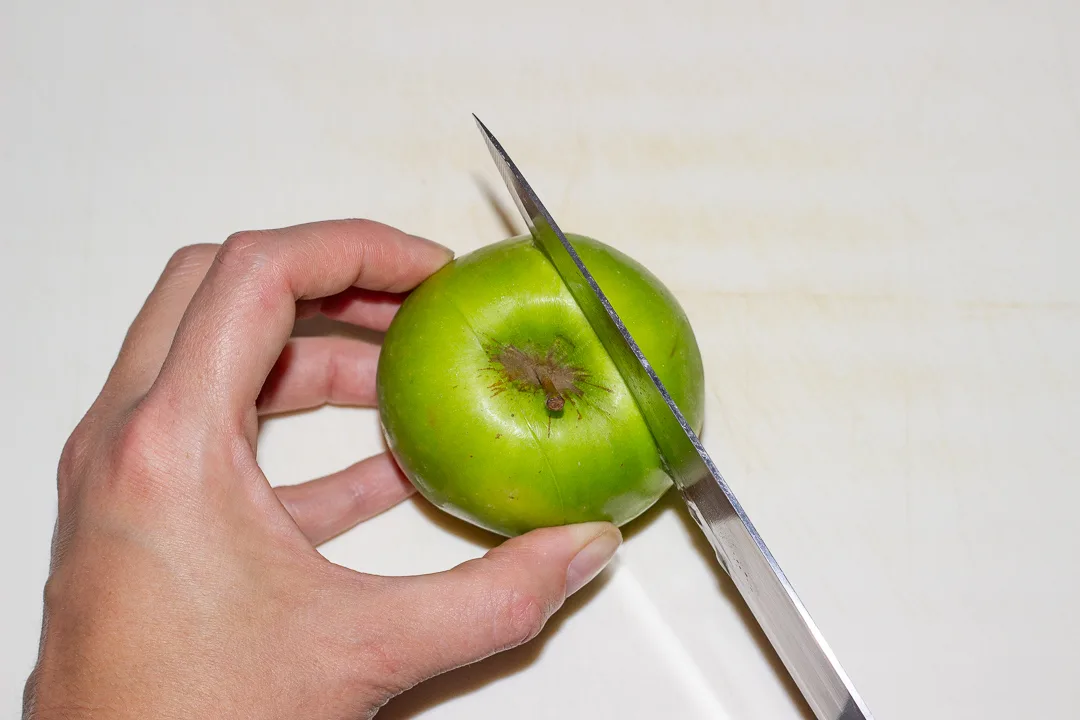
How to cut an apple to eat
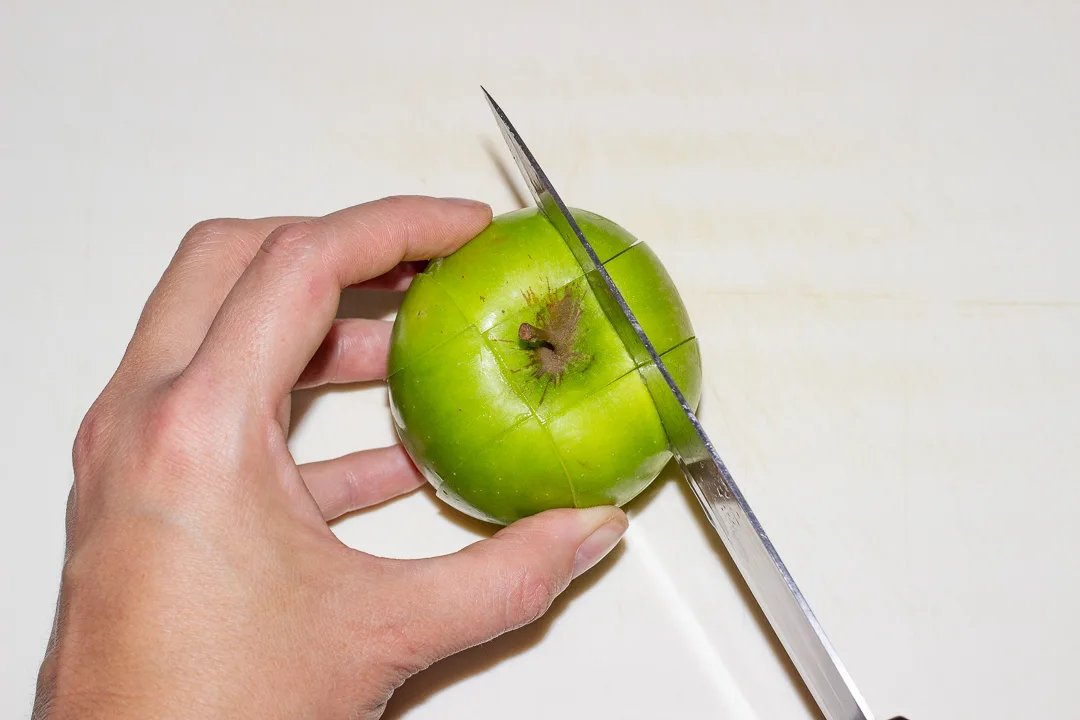
- Place your apple on a chopping board with the stem facing upwards. Using a sharp knife, make 2 cuts. One about 1cm to the right of the stem, and one about 1cm to the left of the stem.

- Keeping the pieces together, rotate the apple 90º. Make the same two cuts, one to the right and one to the left.

- The core should now be completely cut out, and you will have 8 pieces of apple ready to eat.
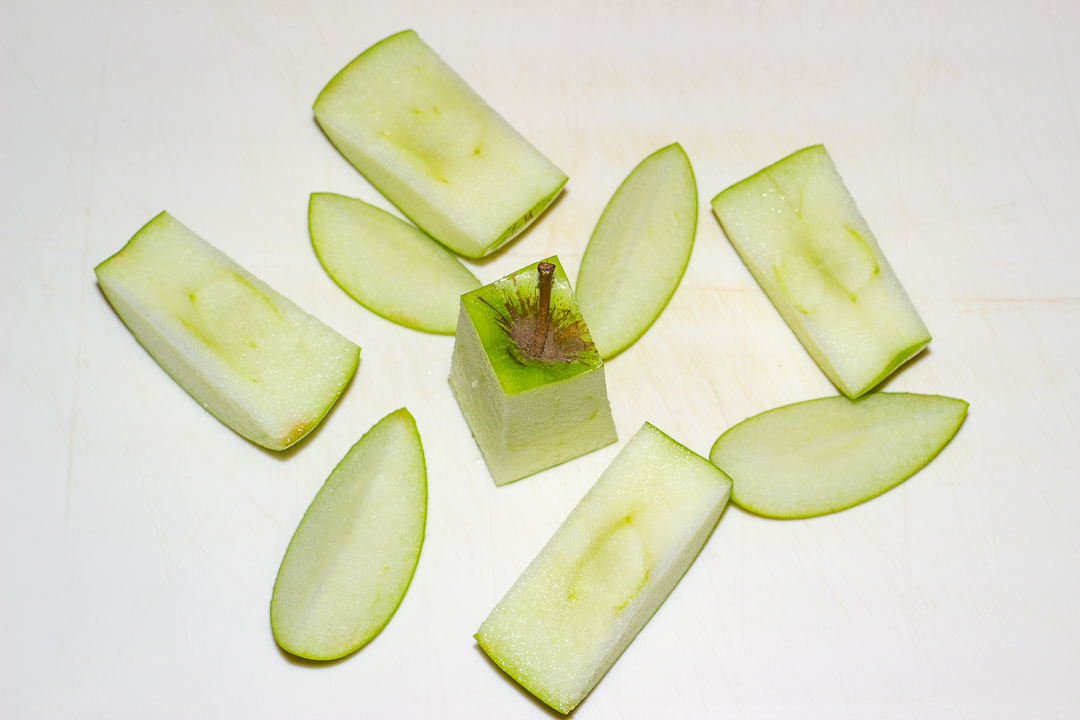


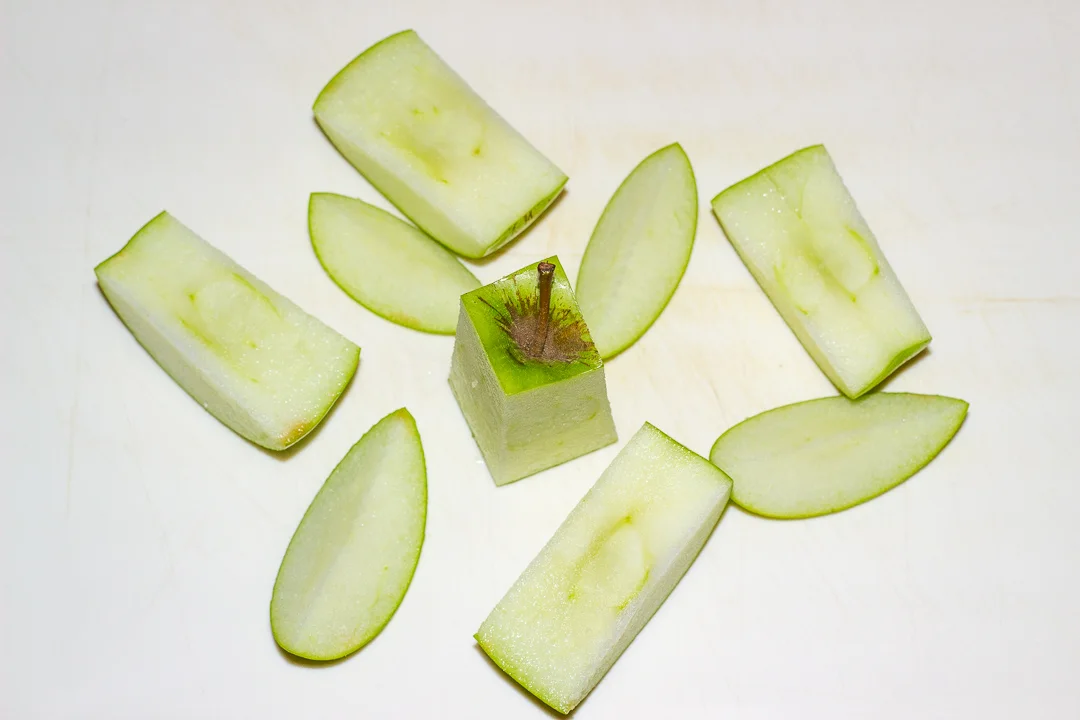
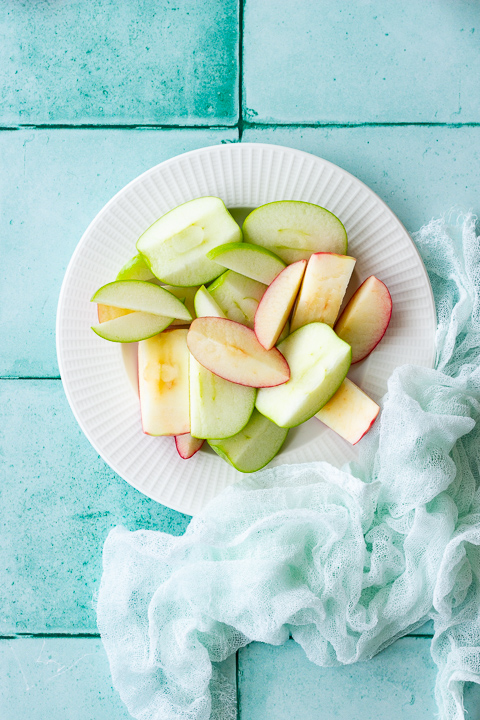
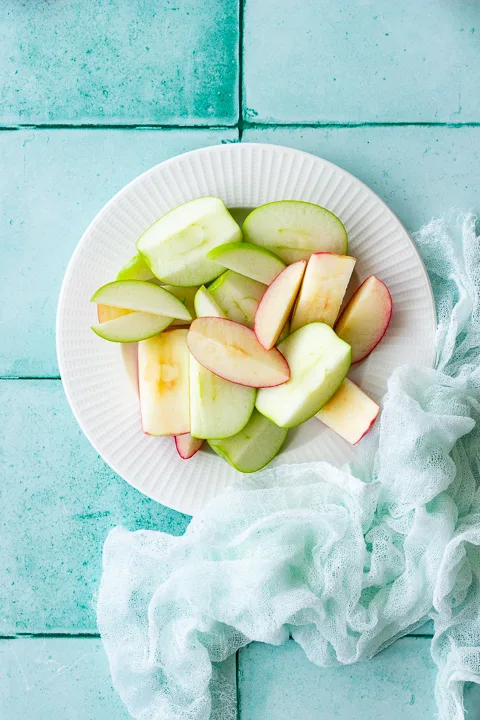
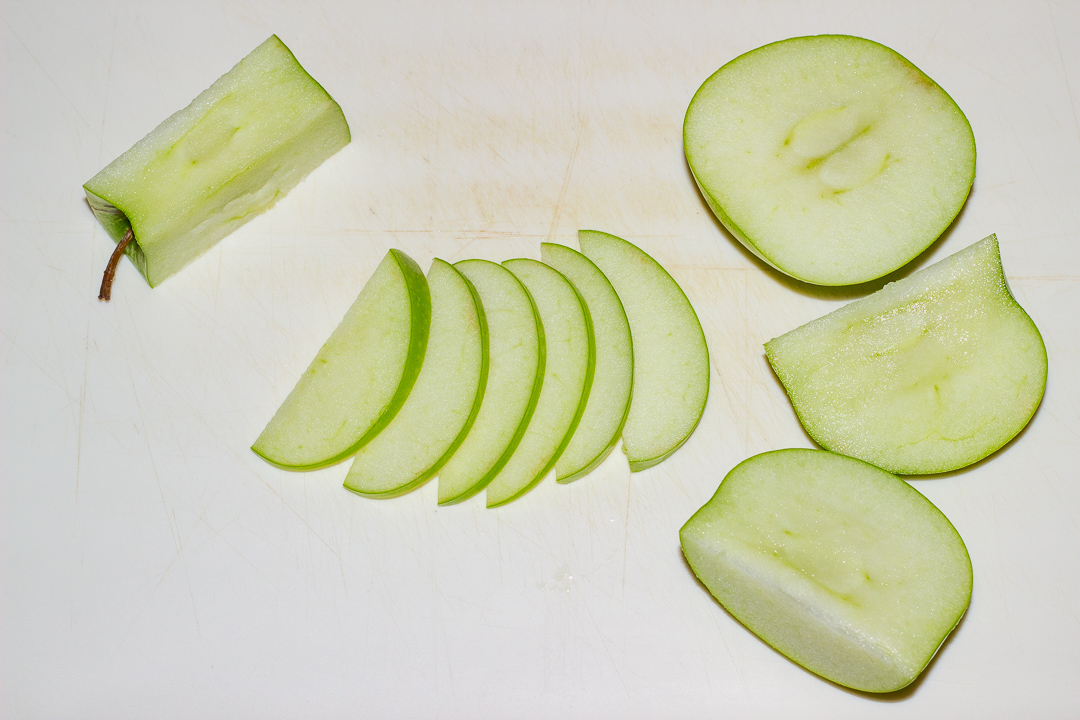
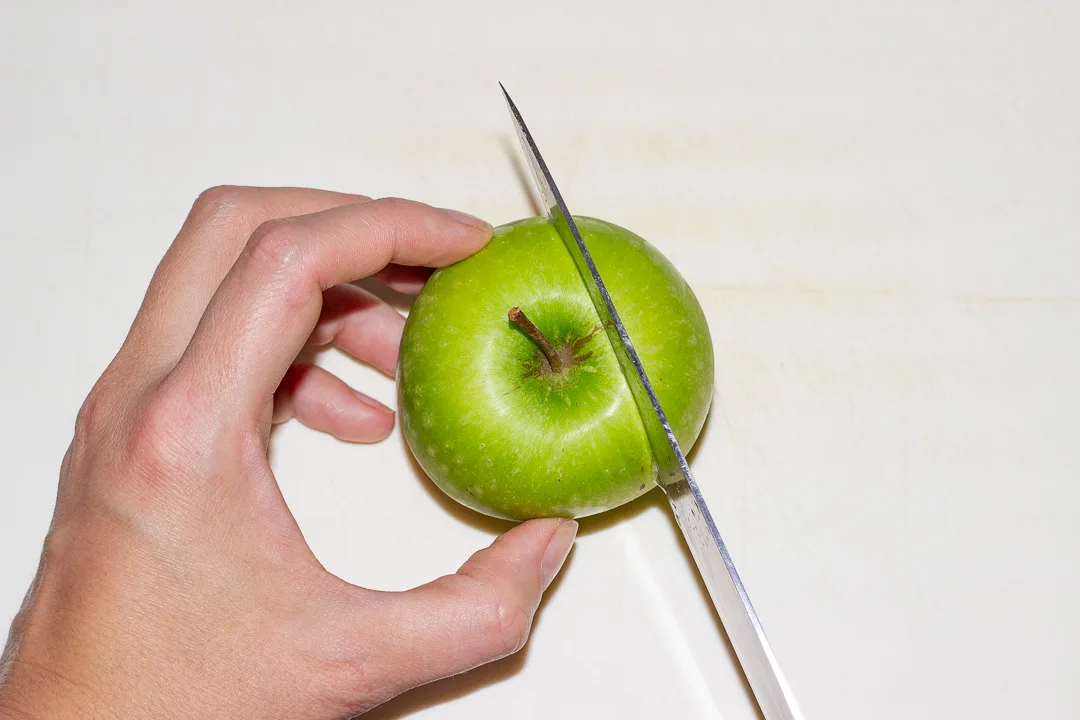
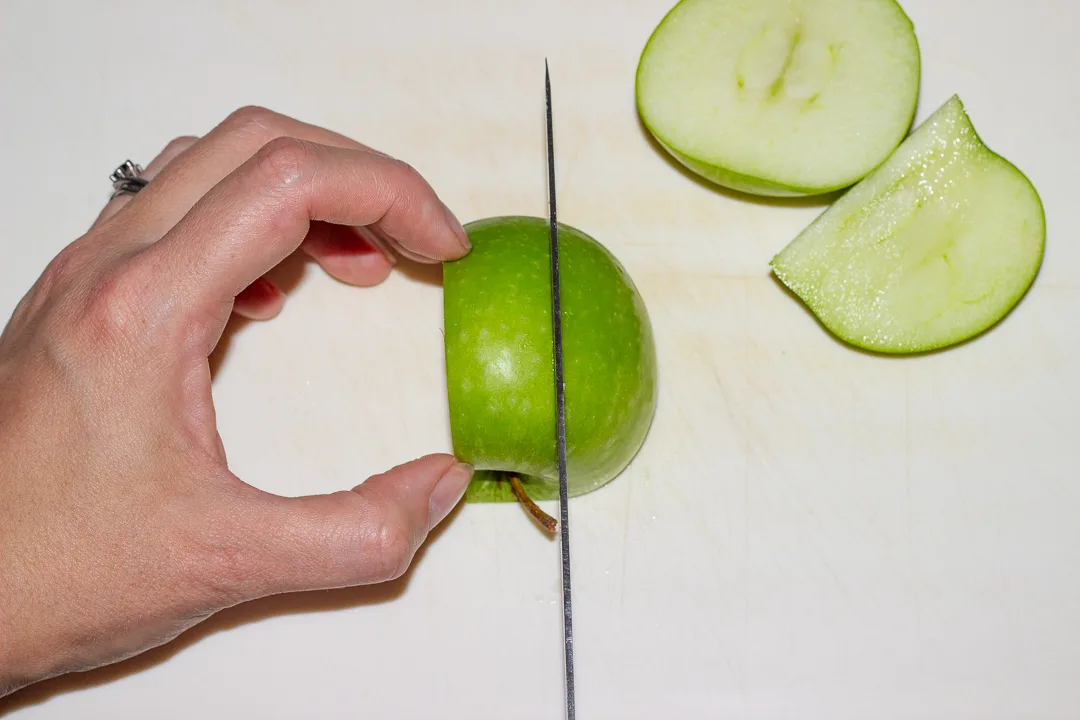
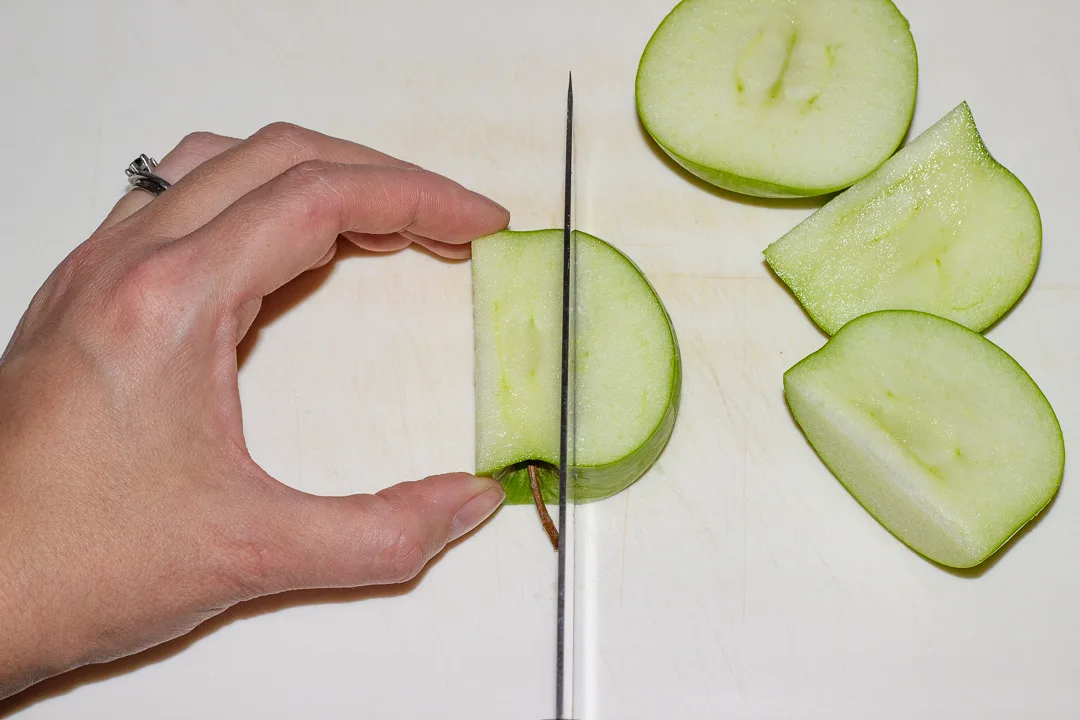
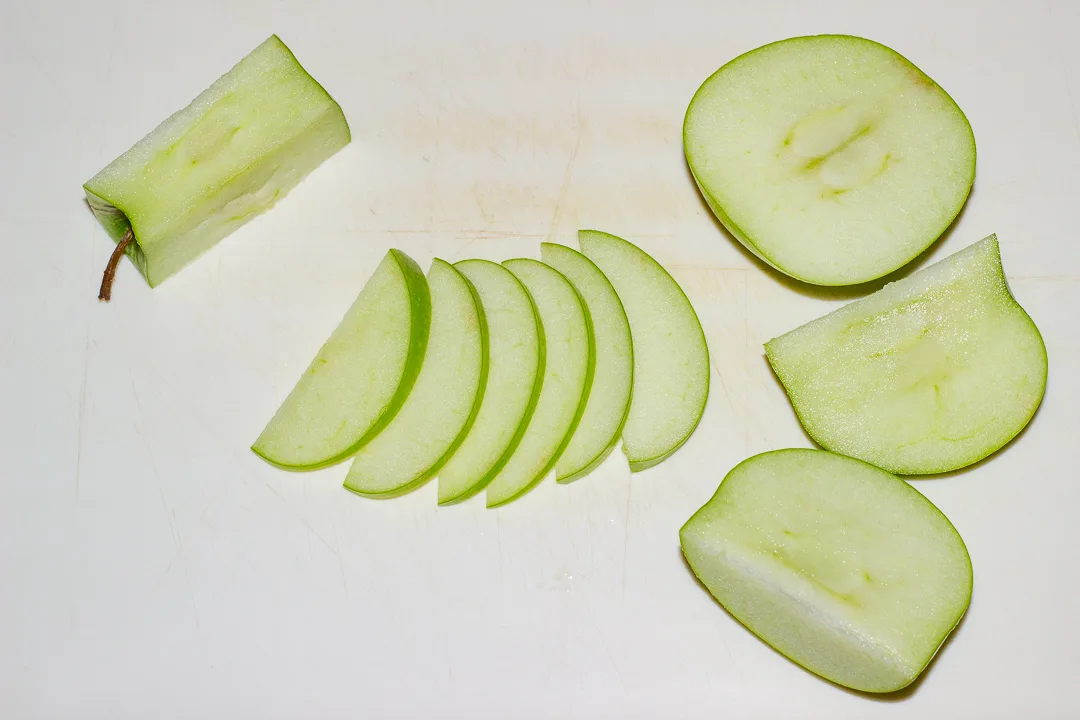
How to cut an apple to thinly slice
- Place your apple on a chopping board with the stem facing upwards. Using a sharp knife, make a cut about 1cm from the stem. Take care to avoid the core. Place the cut piece to one side.

- Turn the apple so the cut side is face down on the chopping board. Make another cut about 1cm to the right of the stem. Again, avoiding the core.

- Flip the apple round 180º and make the same cut on the other side.

- Turn the remaining apple on it's side, and cut the last piece off the core.

- The core should now be completely cut out, and you will have 4 large pieces of apple. They're now ready to thinly slice for use in a recipe.

Notes
Tip! It's important to use a sharp knife. Using blunt knives can be dangerous, and you could end up cutting yourself.
See the video tutorial below (or in the main post) for a visual explanation. Plus, tips on how to store apples, and how to prevent them turning brown.
Recommended Products
As an Amazon Associate and member of other affiliate programs, I earn from qualifying purchases at no extra cost to you.


Have your say!
Did you find this post useful? Thought of something I may have missed? Let me know! Get in touch via social media – on Facebook, Twitter and Instagram. Or email me at emma@kitchenmason.com. I’d love your feedback!

Emma is a British recipe writer, home cook, and founder of Kitchen Mason. For over 15 years, she has been creating simple, comforting recipes and practical kitchen tips that help tired, everyday people make dinner feel easier and more enjoyable again. Passionate about British home cooking, Emma shares reliable recipes, comforting classics, and realistic kitchen guidance designed for real life. Her work has also been featured in publications including Food Network, Cosmopolitan, and The Huffington Post.
Knowledgeable On: British home cooking, Easy dinner ideas, Comford food recipes, Recipe writing