This post may contain affiliate links. Where I make a small commission on purchased items, at no extra cost to you. See my disclosure for details.
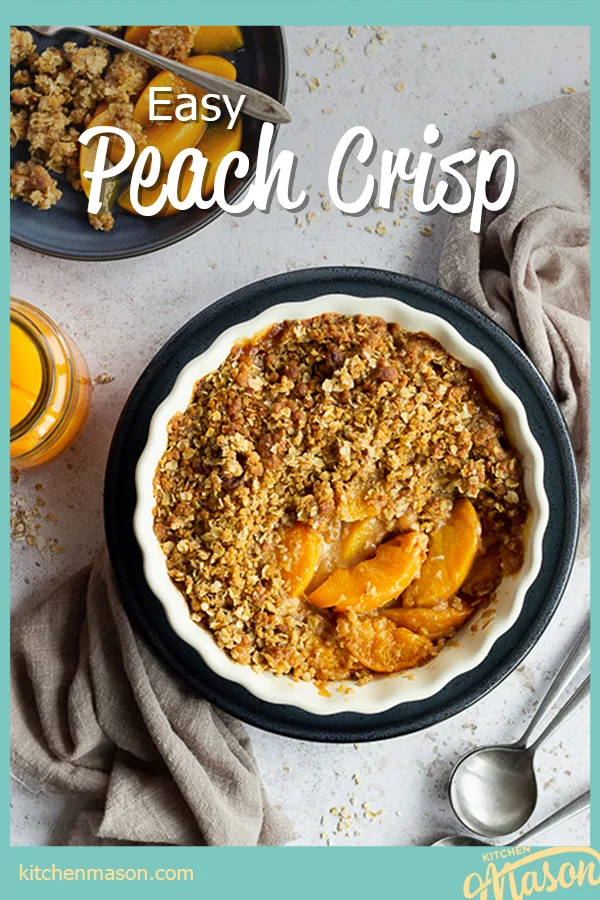
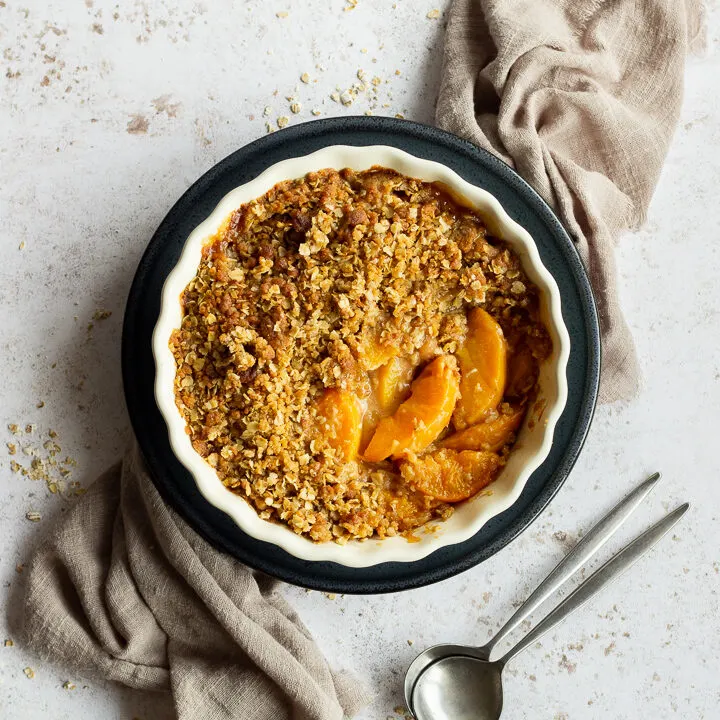
If you’ve never tried peach crisp, there’s no time like the present! With a beautifully crisp golden topping above a sea of sweet and juicy peaches, there’s never been a better way to celebrate this glorious fruit! Read on for the full easy peach crisp recipe and lots of helpful tips.

Topping seasonal fruit with crispy, crumbly toppings is something us Brits love. We can’t get enough of it!
From this wonderful peach crisp to a rhubarb strawberry crisp, Summer fruit crumble, or apple crisp, there’s just something so incredibly delightful about these tasty desserts that we all know and love.
My daughter is a huge peach fan (she eats them almost every day!) so I knew a peach crisp recipe would go down well in the Kitchen Mason household. I hope it does in your house too!
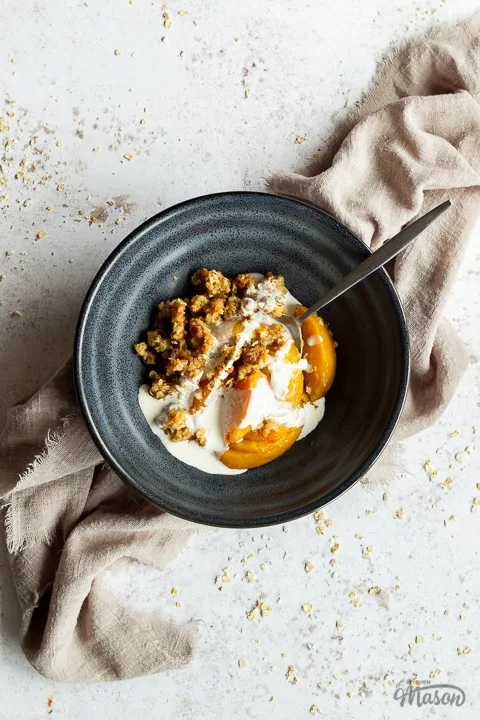
What’s the difference between peach crumble and peach crisp?
The answer to this is… not a lot. Crumbles and crisps are incredibly similar. Crumbles tend to be slightly more crumbly and crisps tend to be, well, slightly more crisp!
The only difference I’ve come to notice is that a crisp quite often has a higher percentage of butter and sugar vs flour, yielding a more crunchy consistency. A crumble (like my Gran’s apple crumble recipe or a pear crumble for example) tends to have more flour and slightly less butter/sugar, which gives a more crumbly topping.
Essentially though, they really are very similar.
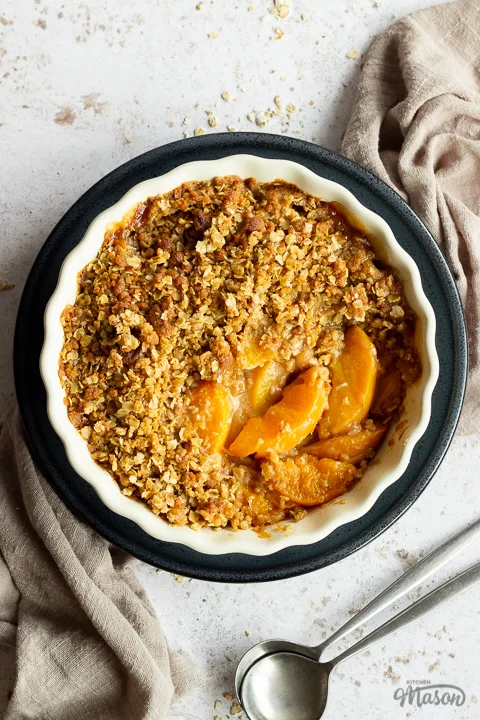
Can you substitute canned peaches for fresh?
Absolutely! By all means, make the most of those exquisite Summer peaches and use them instead of canned peaches. Just ensure that they are ripe before you use them and peel/remove the pit first.
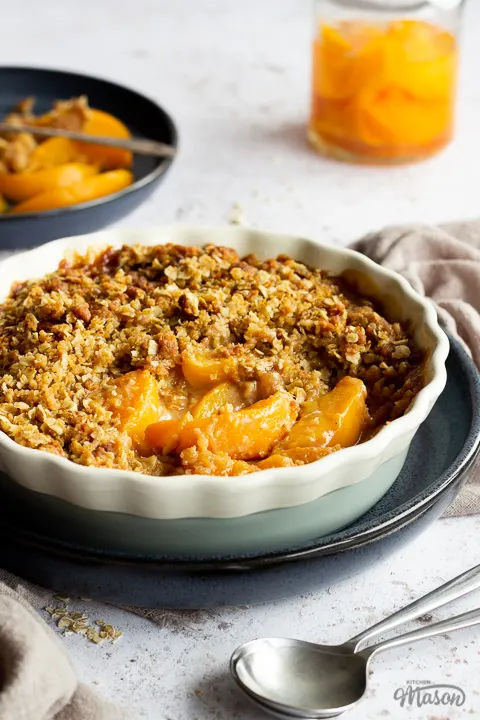
What you need to know
Let’s get into the good stuff! Here’s everything you need to know in order to make a perfectly delicious peach crisp first time!
If you’re a novice baker, you might like to read this guide on baking for beginners first, to boost your confidence.
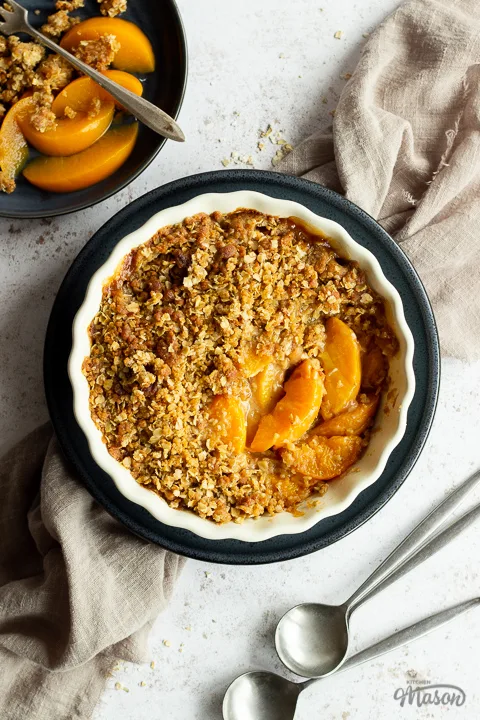
Ingredients
Unsure about some of the ingredients? Here’s some notes on each of them that I think you’ll find helpful.
For the crisp
- Flour – We don’t want raising agents in the crisp mixture so use plain flour only (all purpose in the US).
- Sugar – Soft light brown sugar is preferred here as it offers a fuller, more rich flavour. You can substitute for caster sugar (superfine in the US) if that’s all you have.
- Salt – Don’t skip adding salt! You season your dinner, why wouldn’t you season your dessert?! Table salt is fine.
- Butter – A good quality unsalted butter (like Lurpak) is the difference between a beautiful buttery crisp topping and an ok one. Buy the best you can afford and you won’t regret it! If you don’t have unsalted butter, you can skip the salt and use salted butter instead.
- Oats – I used regular rolled oats (porridge oats) in my peach crisp. Most types should work, just don’t go too large.
For the peach filling
- Peaches – This recipe calls for drained tinned peaches. I highly recommend using the ones in juice, not syrup. You could also switch them to fresh peaches! Just peel, pit and slice them first.
- Sugar – Again, soft light brown sugar offers a more rich and full flavour so it’s what I recommend. You can switch for caster sugar if needs be (superfine in the US).
- Flour – I used plain flour (all purpose in the US) but you could use any in the filling really. It’s merely used to thicken the sauce and prevent it from becoming too liquidy.
- Cinnamon and Nutmeg – These are optional but give beautiful comforting tones. You can skip them for a lighter flavour but I recommend using them if you’re making this in Winter. It’s like a hug in a bowl!
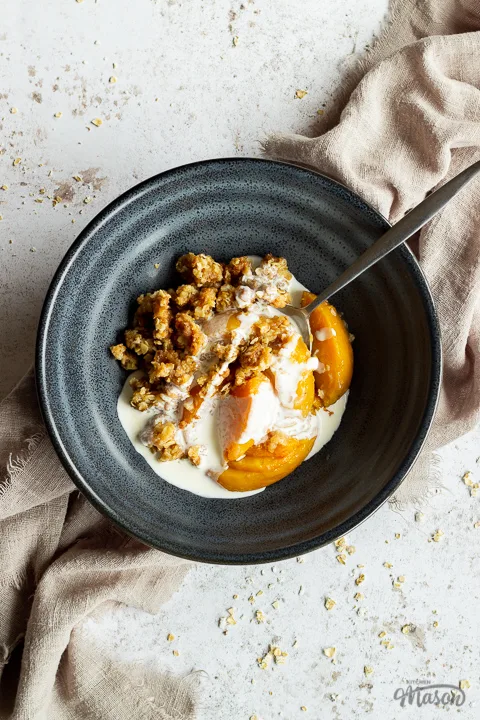
How to make peach crisp – recipe summary
- Mix flour, brown sugar and salt.
- Rub in butter then stir through the oats.
- Chill in the fridge.
- Drain the tinned peaches and mix with brown sugar, flour, cinnamon and nutmeg.
- Pour peaches in a dish and top with the crisp mixture.
- Bake for 25-30 mins.
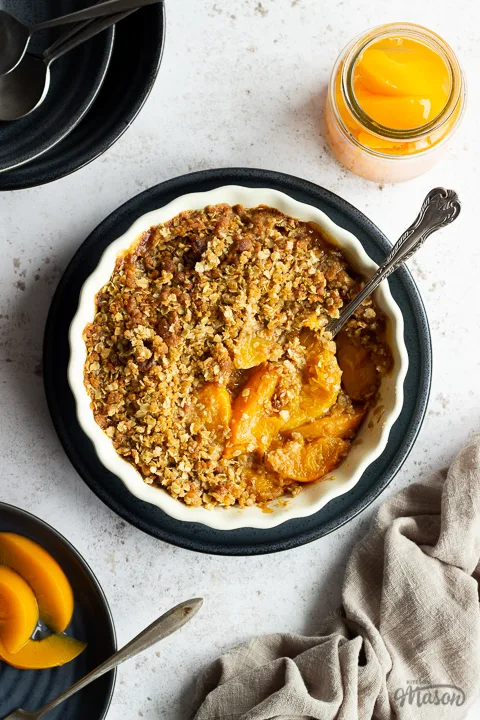
Recipe tips
Here are a few tips to help you create the best peach crisp you can make!
- Don’t have unsalted butter? Forgo the added salt and use salted butter instead.
- Use a pastry blender (affiliate link) to make light work of the crisp mixture. It’s quicker and easier than doing it by hand, plus it makes a lovely light crisp. Added bonus? They’re really cheap!
- Once you’ve made your crisp mixture, keep it in the fridge until needed to ensure the butter stays cold. (This will give you the best crispy texture!)
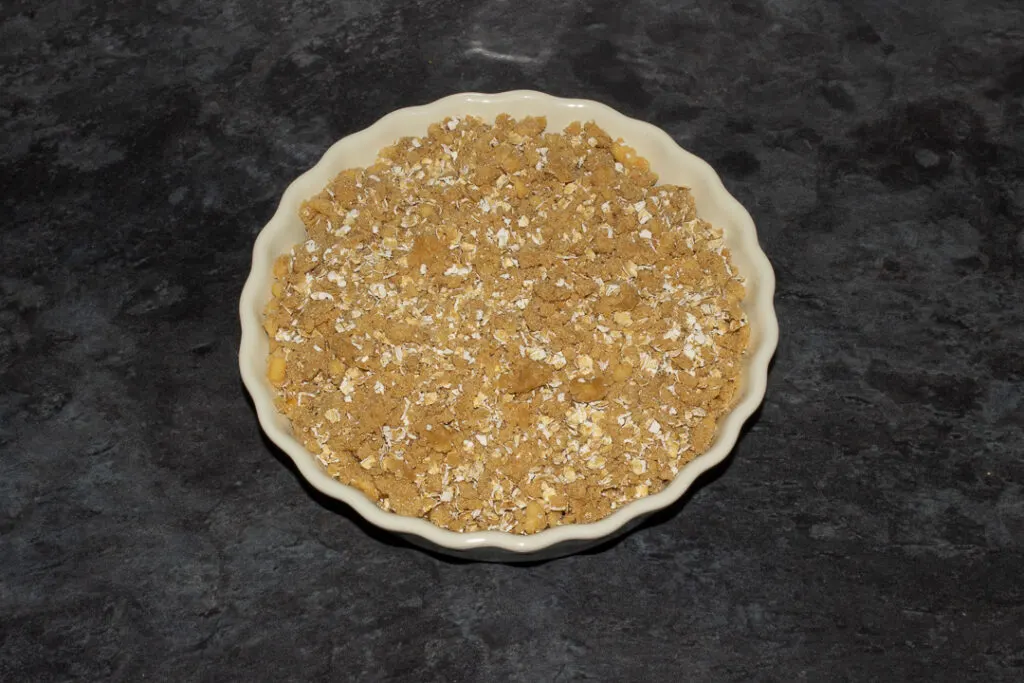
- Don’t worry if your crisp topping stacks a little high on top of the peaches. It will sink slightly during baking so all will be ok!
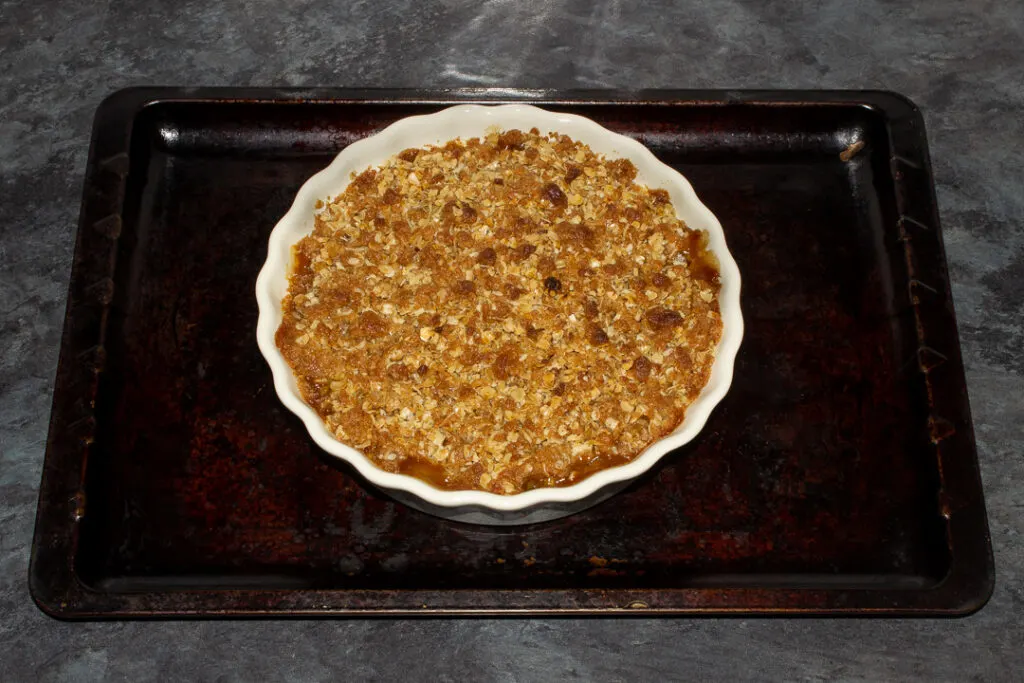
- Always put your peach crisp dish on a tray during baking, just in case it bubbles over the sides. Who wants to clean that off the bottom of their oven?!
- I use tinned peaches but you can also use fresh if they are ripe. Simply peel, pit and slice them first.
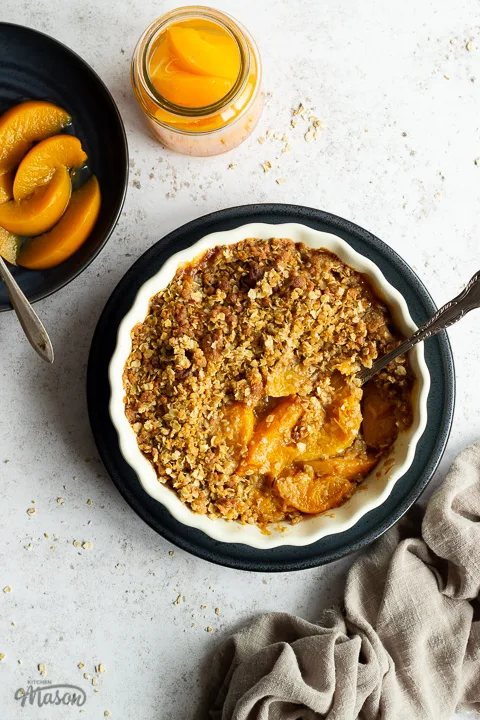
How to store peach crisp
If by some miracle you don’t devour all of this in one go – allow your peach crisp to cool completely then wrap well and keep in the fridge for up to 2 days. You can either eat it cold or reheat by covering the top in foil and popping into a preheated oven for 10-15 mins.
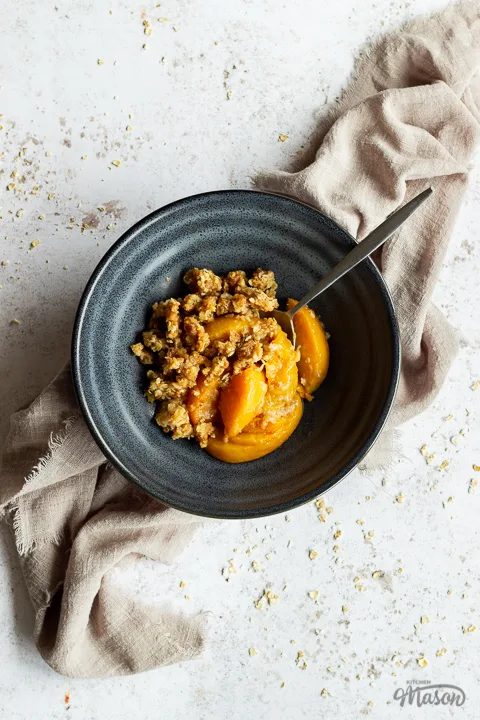
Turn this into an extra indulgent dessert by serving it with some homemade custard or white chocolate sauce!
Easy Peach Crisp – Step by Step Picture Recipe
(For a printer friendly version, see the recipe card at the end of this post)
Please note, this recipe includes both UK metric and US Cup measurements.
Ingredients
Here is what you will need to serve 4.
For the crisp
- 45g (1/3 Cup + 1 tbsp) Plain Flour
- 100g (1/3 Cup + 1/8 Cup) Soft Light Brown Sugar
- Pinch of Salt
- 80g (1/3 Cup) Unsalted Butter, cold and cubed
- 65g (3/4 Cup) Rolled Oats
For the peach filling
- 2 x 415g (14.6 oz) Tins of Sliced Peaches in Juice (Drained weight 500g | 17.6 oz total)
- 50g (1/4 Cup) Soft Light Brown Sugar
- 3 tbsp Plain Flour
- 1/4 tsp Cinnamon
- 1/4 tsp Nutmeg
Essential equipment
- 20cm / 8″ Oven Proof Dish (at least 2″ deep)
- 2 x Mixing Bowls
- Pastry Blender *
- Sieve
- Baking Tray
*not essential but very handy!
Instructions
First, grease the sides of your baking dish (this will help you with the washing up later!) and preheat your oven to 190ºC/Fan 180ºC/374ºF.
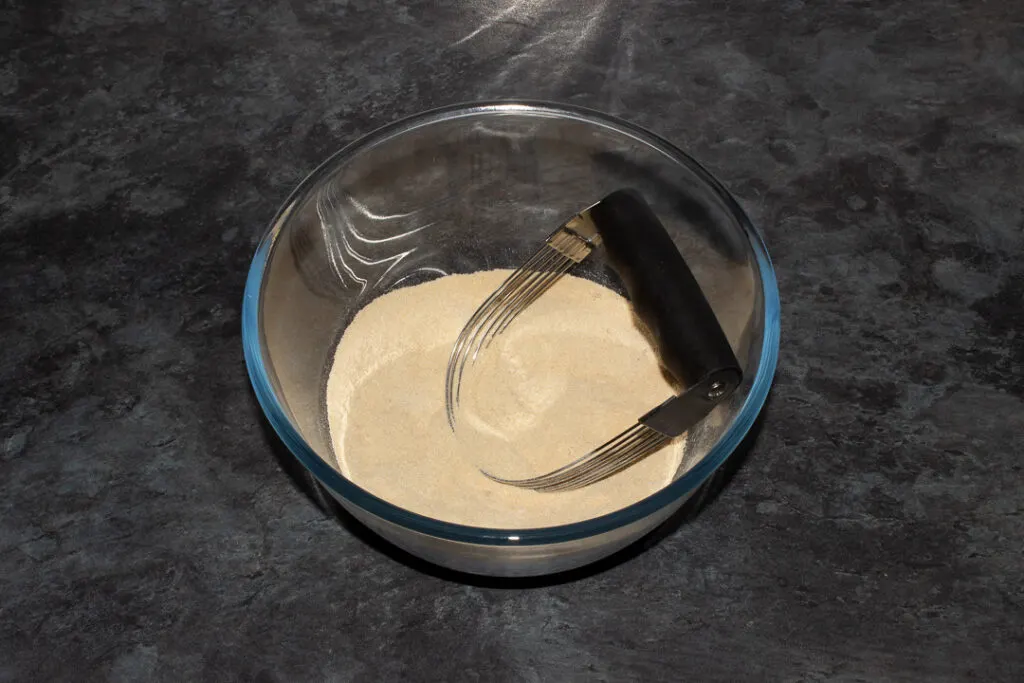
Then place the flour (45g | 1/3 Cup + 1 tbsp), brown sugar (100g | 1/3 Cup + 1/8 Cup) and salt (pinch) into a mixing bowl and get rid of any lumps with a pastry blender. (You could also use a spatula or whisk.)
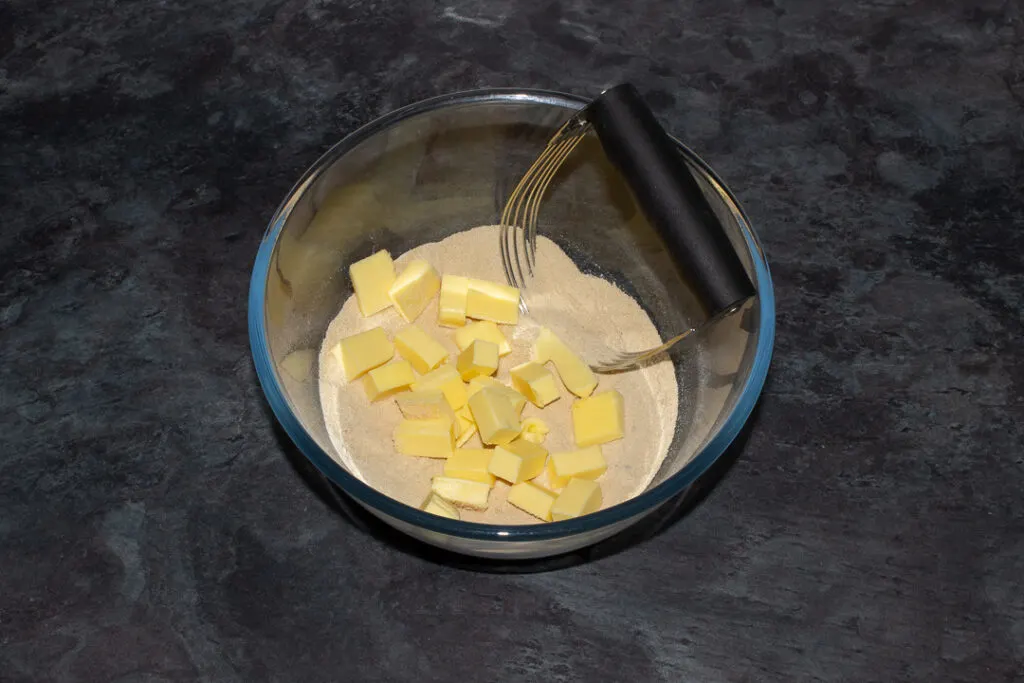
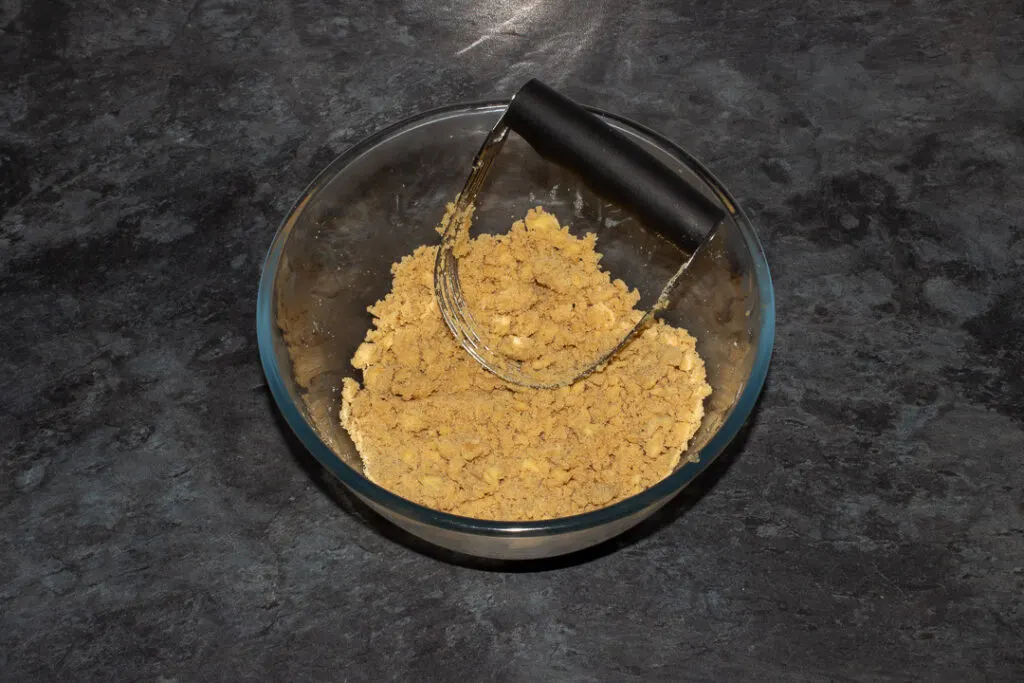
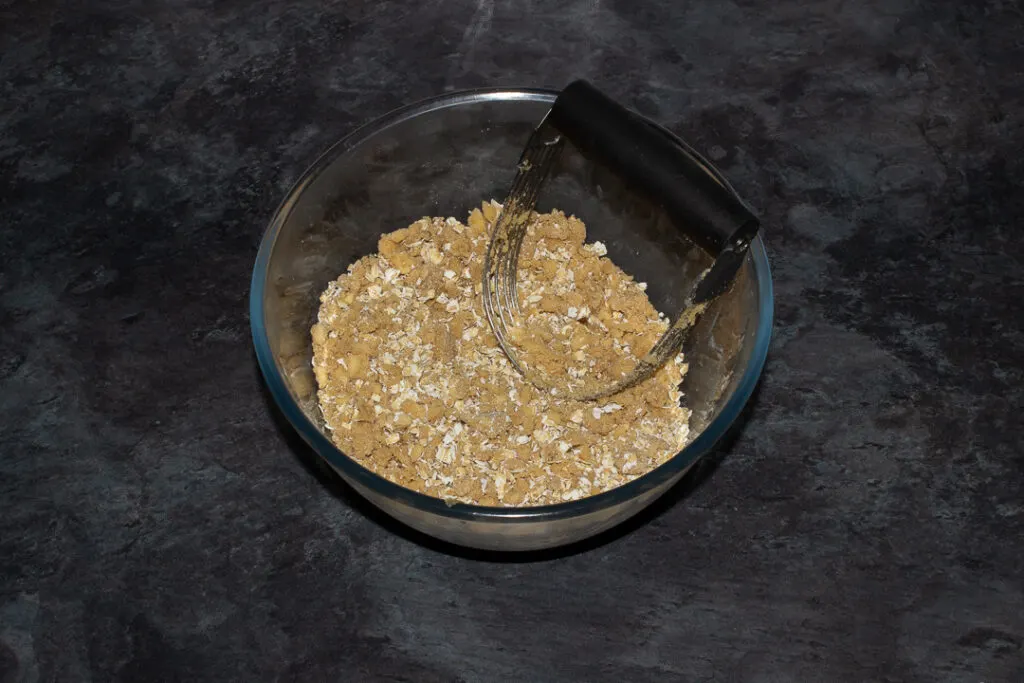
Then add the cold cubed butter (80g | 1/3 Cup) and rub it into the flour mixture with the pastry blender. Alternatively, you can do this by hand by rubbing the mixture between your forefingers and thumbs. Either way, continue until it resembles ‘messy’ crumbs.
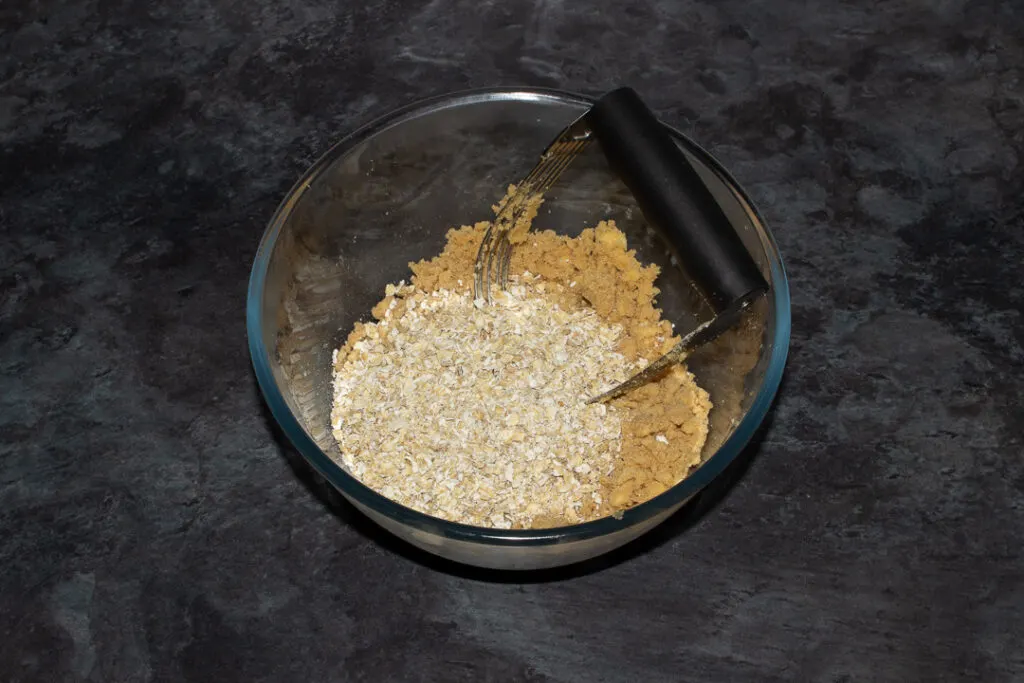
Next, briefly stir through the oats (65g | 3/4 Cup) until evenly distributed throughout the mixture, then put straight into the fridge to chill while you make the filling.
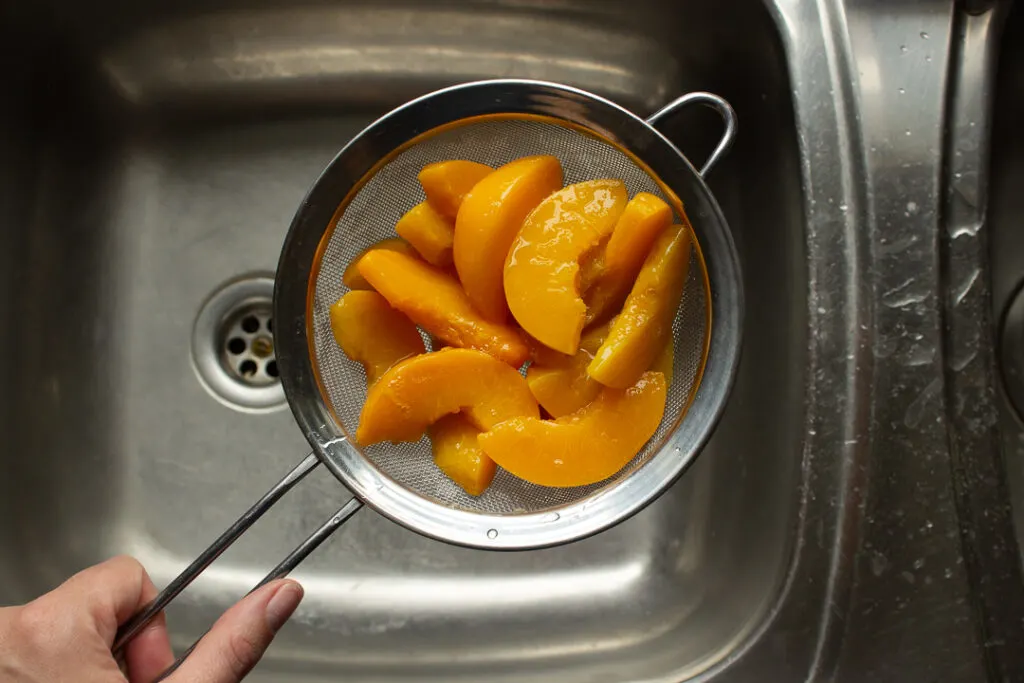
One tin at a time, tip the tinned sliced peaches (2 x 415g | 14.6 oz tins) into a sieve and drain off the excess juice.
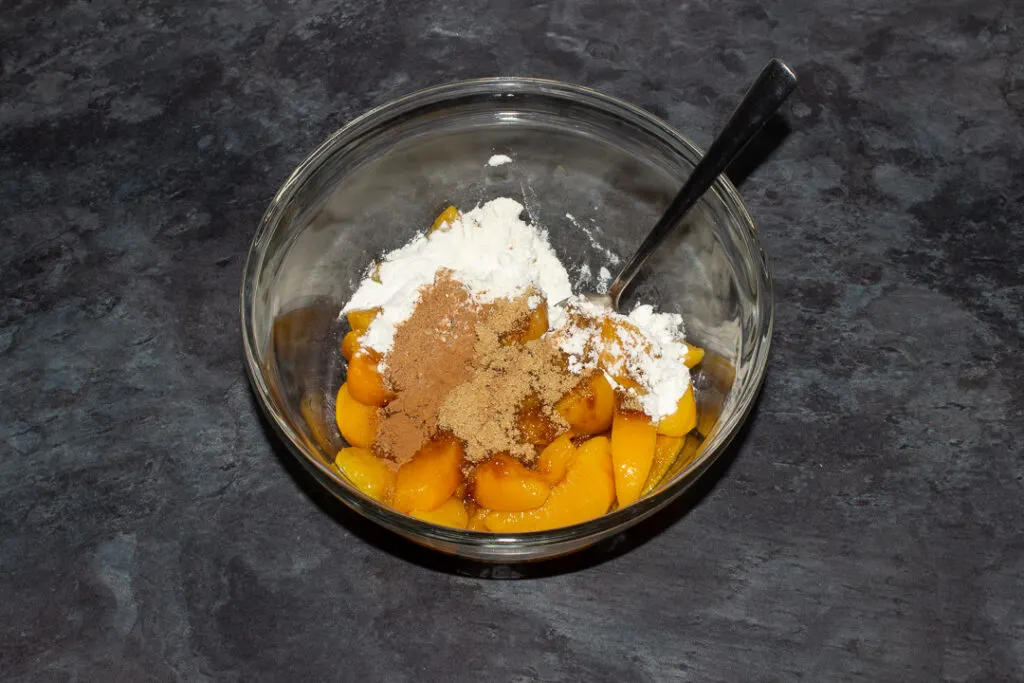
Then pour them into another mixing bowl and add in the brown sugar (50g | 1/4 Cup), flour (3 tbsp), cinnamon (1/4 tsp) and nutmeg (1/4 tsp).
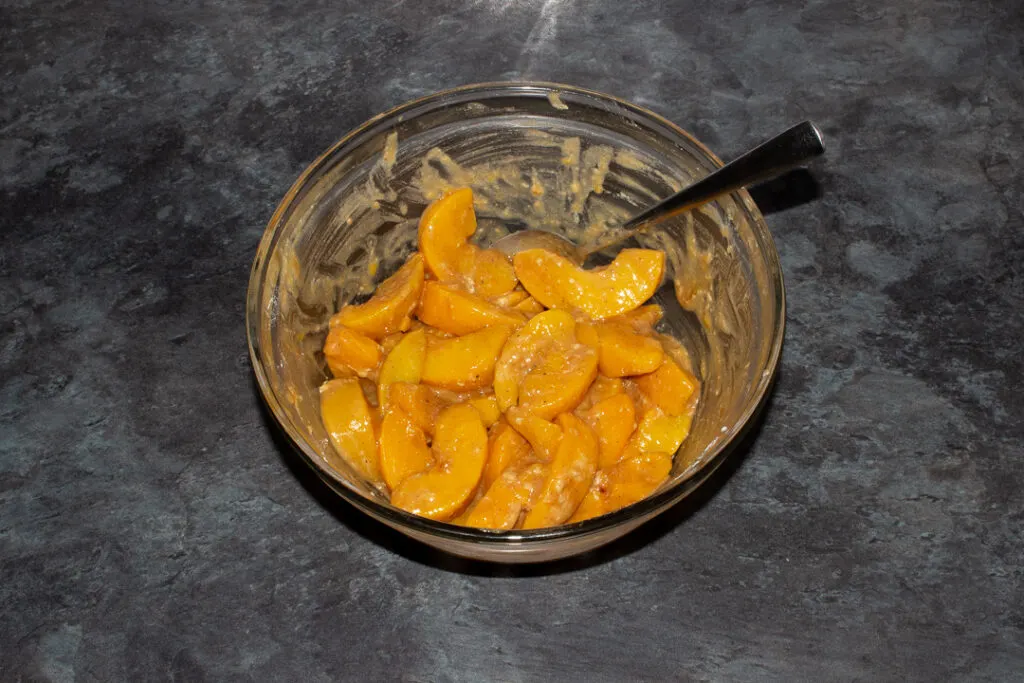
Mix it together thoroughly until everything is nicely blended.
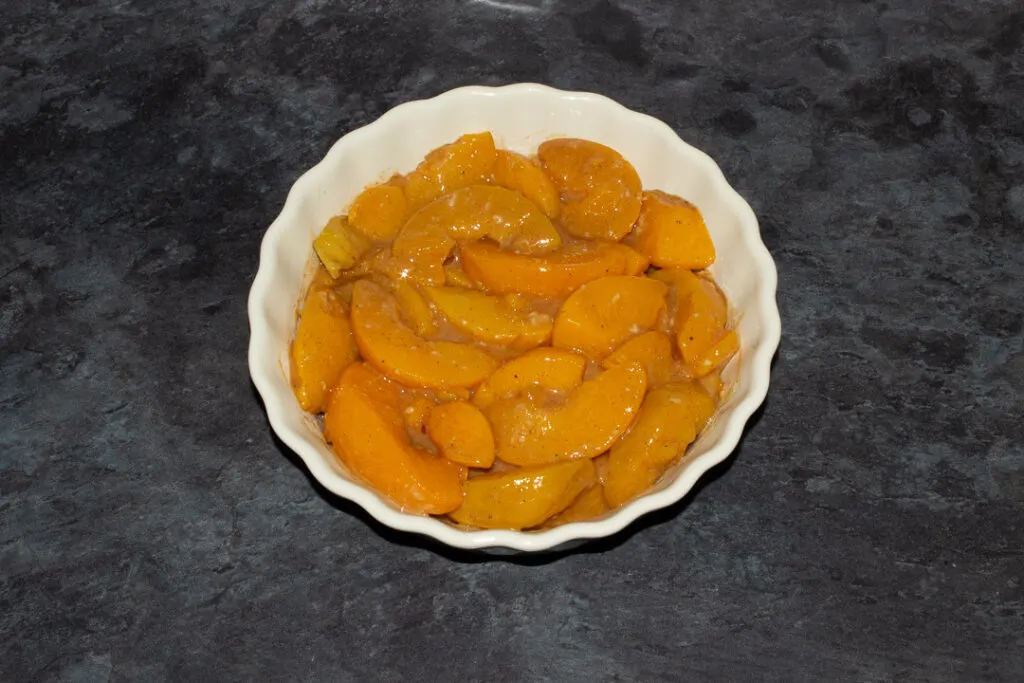
Next, tip the peaches into your greased oven proof dish and spread them out evenly along to bottom.
Then take the crisp topping out the fridge and spread it out on top of the peaches. Don’t worry if it looks a little ‘tall’ for your dish – it will sink a little during baking anyway.
Pop your unbaked peach crisp onto a baking tray (just in case of any bubbling over!) and bake in your preheated oven for 25-30 mins. It should be crisp, a deep golden colour and the peaches should be bubbling at the sides.
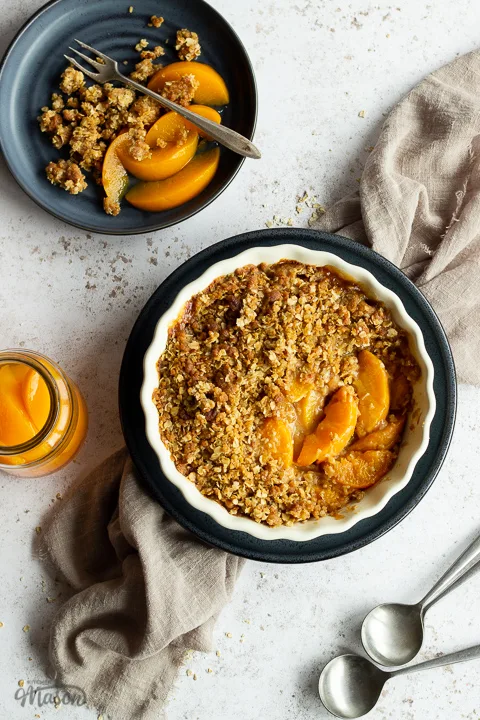
Allow to cool for a little (as the filling will be piping hot!) before serving. This goes really well with single cream, vanilla ice cream!
Other recipes you might like…
Have you made this recipe?
Have you made this beautiful peach crisp? I’d love to know if you have! Send me your pics, comments and questions on Facebook, Twitter and Instagram or email me at emma@kitchenmason.com.
Loved this recipe? Pin it!
Easy Peach Crisp Recipe
With a beautifully crisp golden topping above a sea of sweet and juicy peaches, there’s never been a better way to celebrate this glorious fruit!
Ingredients
For the crisp
- 45g (1/3 Cup + 1 tbsp) Plain Flour
- 100g (1/3 Cup + 1/8 Cup) Soft Light Brown Sugar
- Pinch of Salt
- 80g (1/3 Cup) Unsalted Butter, cold and cubed
- 65g (3/4 Cup) Rolled Oats
For the peach filling
- 2 x 415g (14.6 oz) Tins of Sliced Peaches in Juice (Drained weight 500g | 17.6 oz total)
- 50g (1/4 Cup) Soft Light Brown Sugar
- 3 tbsp Plain Flour
- 1/4 tsp Cinnamon
- 1/4 tsp Nutmeg
Essential equipment
- 20cm / 8″ Oven Proof Dish (at least 2″ deep)
- 2 x Mixing Bowls
- Pastry Blender *
- Sieve
- Baking Tray
Instructions
- Lightly grease the sides of your dish and preheat the oven to 190ºC/Fan 180ºC/374ºF. Mix together the flour, sugar and salt in a bowl.

- Using a pastry blender, rub the butter into the flour mixture until it forms 'messy' crumbs. (You can also do this by hand, rub between your forefingers and thumbs.)

- Stir through the oats then place in the fridge to chill.

- Drain the tinned peaches through a sieve then place into another mixing bowl.

- Add the sugar, flour, cinnamon and nutmeg and mix until everything is evenly blended.

- Spread the peaches over the bottom of your greased dish.

- Top with the chilled crisp.

- Place on a baking tray and bake for 25-30 mins until crisp and golden on top and bubbling at the sides.

Notes
If you would rather use a more in depth picture recipe, please see the main body of this post. Where you’ll also find lots of extra FAQs and helpful tips, should you need them.
Please note, this recipe includes both UK metric and US Cup measurements.
Tips
- Don’t have unsalted butter? Forgo the added salt and use salted butter instead.
- Use a pastry blender (affiliate link) to make light work of the crisp mixture. It’s quicker and easier than doing it by hand, plus it makes a lovely light crisp. Added bonus? They’re really cheap!
- Once you’ve made your crisp mixture, keep it in the fridge until needed to ensure the butter stays cold. (This will give you the best crispy texture!)
- Don’t worry if your crisp topping stacks a little high on top of the peaches. It will sink slightly during baking so all will be ok!
- Always put your peach crisp dish on a tray during baking, just in case it bubbles over the sides. Who wants to clean that off the bottom of their oven?!
- I use tinned peaches but you can also use fresh if they are ripe. Simply peel, pit and slice them first.
Recommended Products
As an Amazon Associate and member of other affiliate programs, I earn from qualifying purchases at no extra cost to you.
Nutrition Information:
Yield: 4 Serving Size: 1Amount Per Serving: Calories: 524Total Fat: 18gSaturated Fat: 10gTrans Fat: 0gUnsaturated Fat: 6gCholesterol: 43mgSodium: 83mgCarbohydrates: 89gFiber: 5gSugar: 61gProtein: 6g
Nutritional information on kitchenmason.com should only be used as a general guideline, I am not a certified nutritionist. Please always check labels for allergens where applicable.

Experienced British Online Publisher, recipe writer, and home cook, Emma has a background of over 20 years in British cuisine and cooking. Born and bred in the UK, she excels in classic British dishes, is passionate about air frying, and loves sharing her Gran’s old school recipes. She has been featured in popular publications such as Food Network, Cosmopolitan, and The Huffington Post.
Knowledgeable On: Traditional British Cuisine, Recipe Writing, Air Frying, Home Cooking.

