This post may contain affiliate links. Where I make a small commission on purchased items, at no extra cost to you. See my disclosure for details.
These easy blood spatter Halloween cookies look unbelievably awesome!! Not only that, they are ridiculously fun to make (particularly the spatter bit) and guaranteed to be a hit with guests and trick or treaters alike! You absolutely have to give them a go – you’ll be the Jack Skellington of the Halloween Party!

Love decorating bakes for Halloween? You’ll love these ginger-dead men Halloween biscuits and Halloween millionaire brownies too!
Blood Spatter Halloween Cookies – Step by Step Picture Recipe
(For a printer friendly version, see the recipe card at the end of this post)
Please note, this recipe includes both UK metric and US Cup measurements.
BEFORE ATTEMPTING THIS RECIPE, PLEASE NOTE THE CHILLING AND SETTING TIMES BETWEEN CERTAIN STAGES.
Ingredients
Here is what you will need to make about 30 – 35 Cookies.
For the cookies
- 250g (1 + 1/8 Cup) Unsalted Butter, room temp
- 200g (1 Cup) Golden Caster Sugar
- 1 tbsp Vanilla Extract
- 1 Egg, beaten
- 450g (3 + 1/2 Cups) Plain Flour
For the royal icing
- 2 Large Egg Whites
- 500g (4 Cups) Icing Sugar
- Squeeze of Lemon Juice
- Red Food Colouring Gel
Essential equipment
- Electric Stand Mixer (or a Bowl with an Electric Hand Whisk)
- Spatula/Wooden Spoon
- Rolling Pin
- 3 Bowls
- 7cm Cookie Cutter
- Baking Tray
- Piping Bag
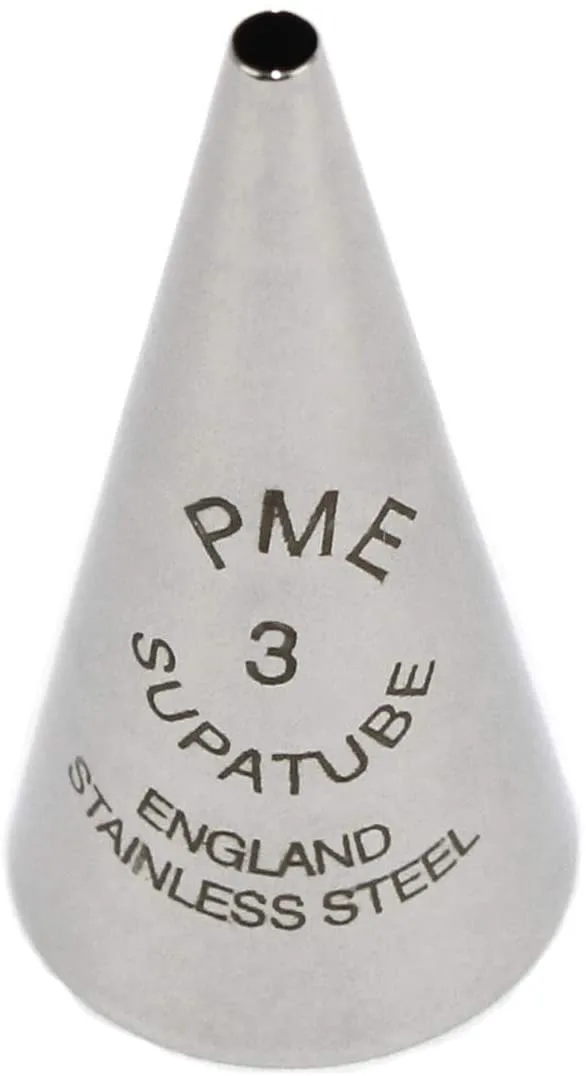
- No.3 Writing Nozzle
(affiliate link)
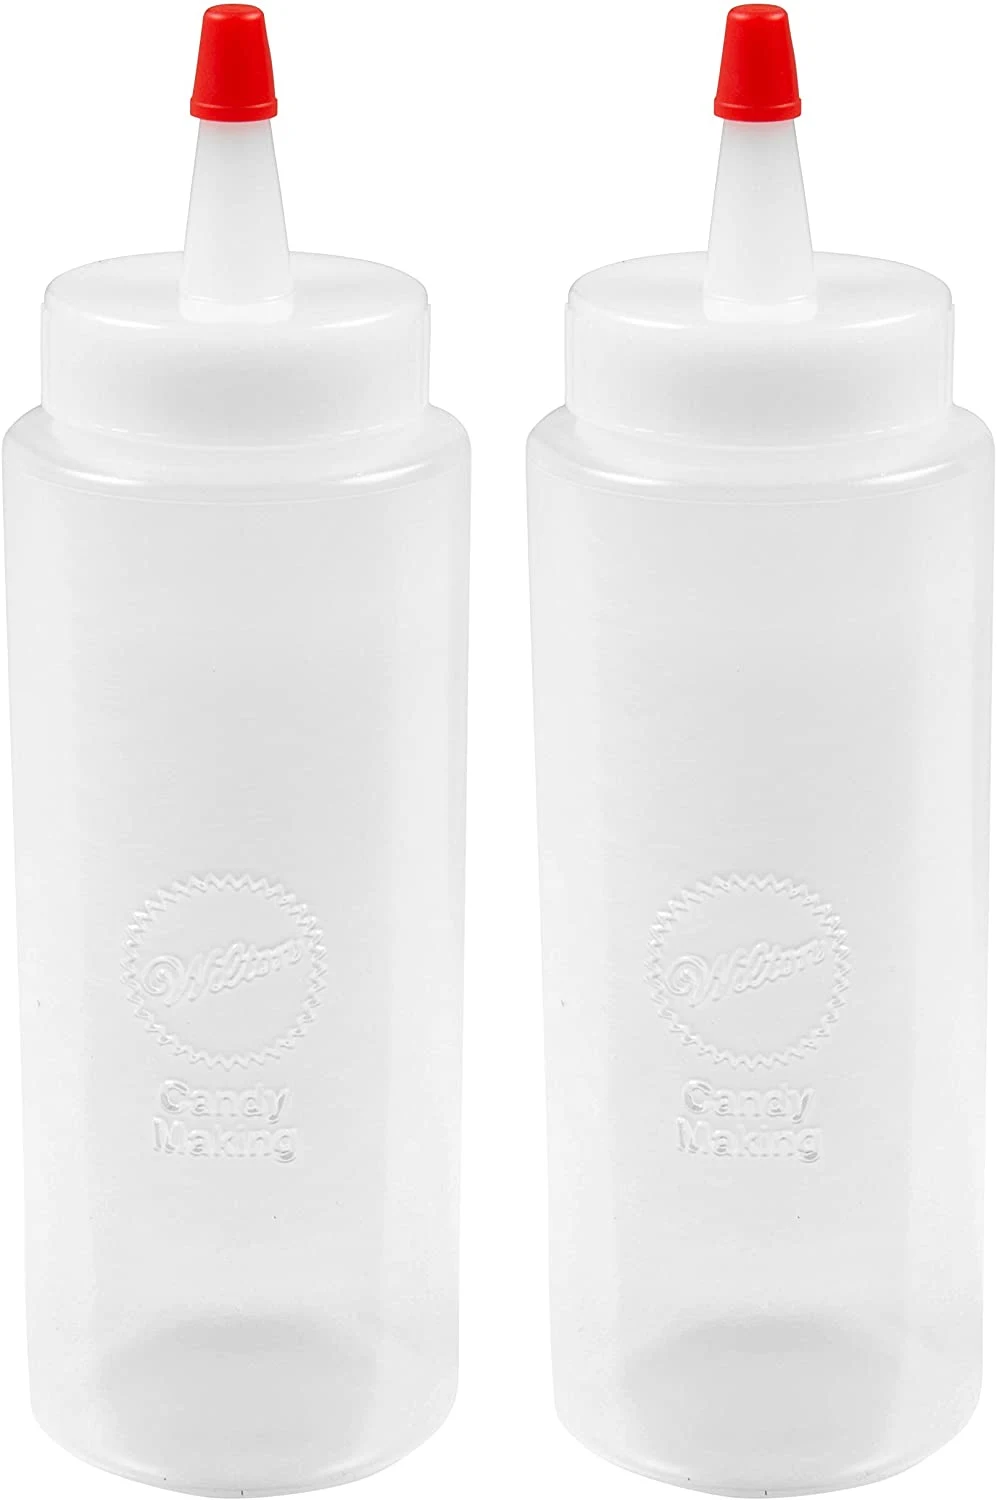
- Piping Bottle* (affiliate link)
- Fork
*You can use a piping bag fitted with a round nozzle but a bottle is a little bit easier.
Cookie instructions part 1
To make the cookies, either in an electric stand mixer or a large bowl with an electric hand whisk, cream together the butter (250g | 1 + 1/8 Cup), sugar (200g | 1 Cup) and vanilla extract (1 tbsp) until light and fluffy.
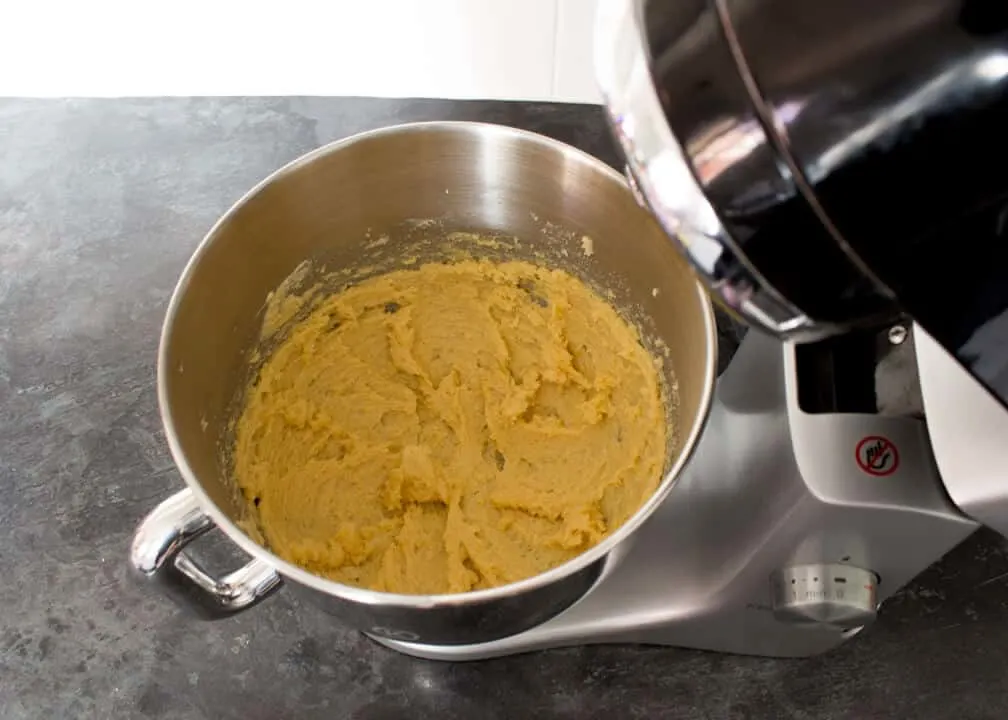
Add the egg (x1) and beat again until it’s all combined.
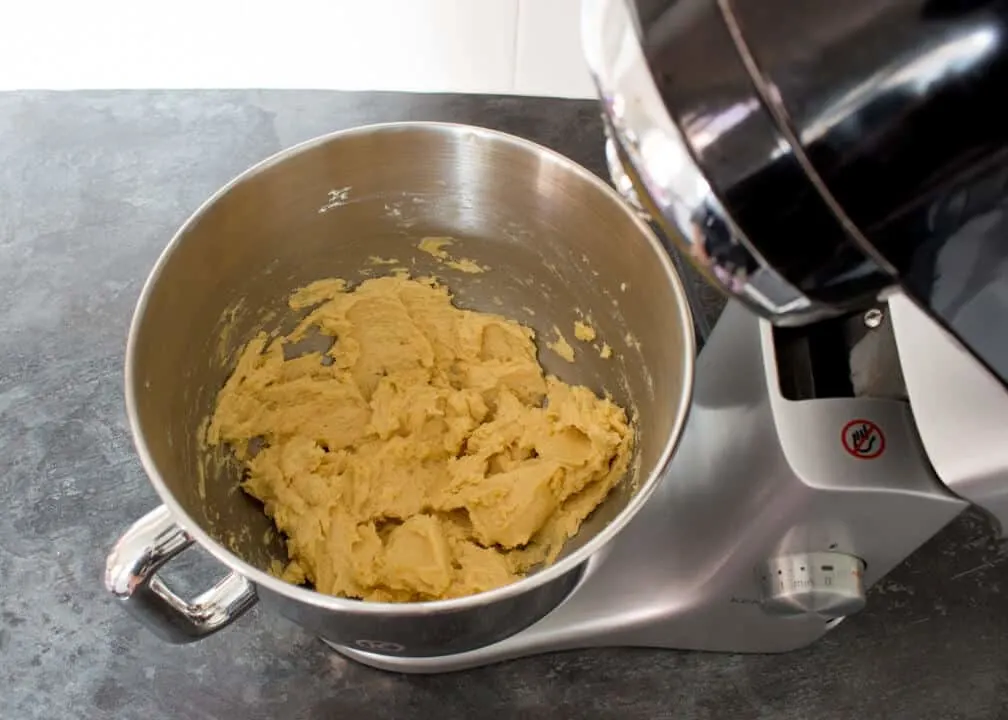
Tip in the flour (450g | 3 + 1/2 Cups) and beat with a wooden spoon until it clumps together to form a dough.
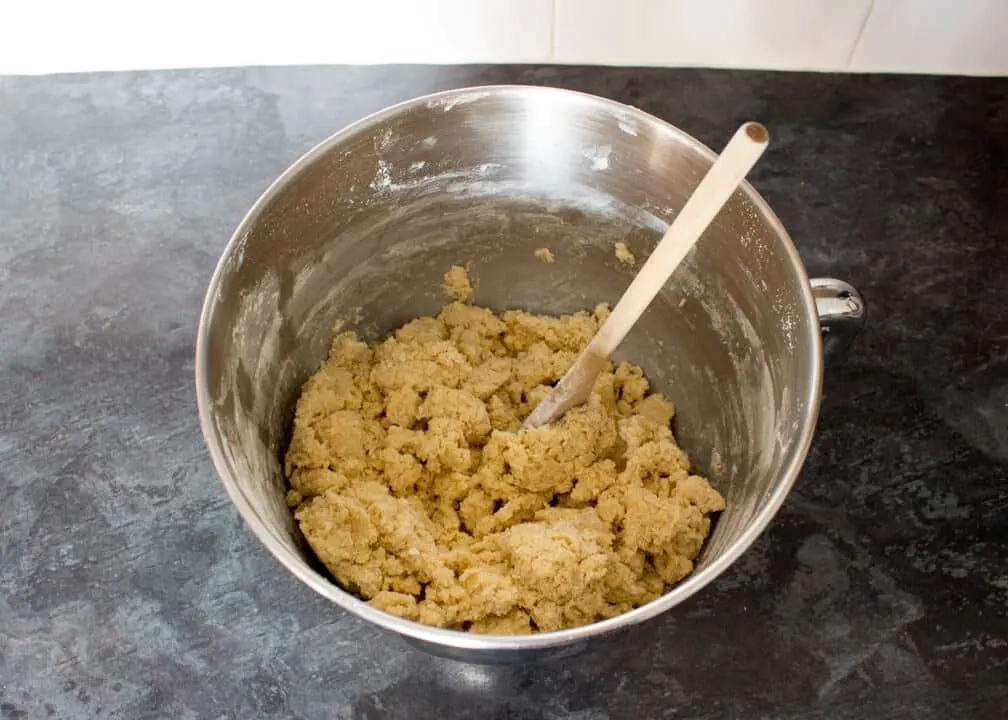
Tip out onto a work surface and knead gently to bring together into a ball. Divide it into two, then roll each one between 2 large sheets of baking paper to 6mm/1/4″ thick.
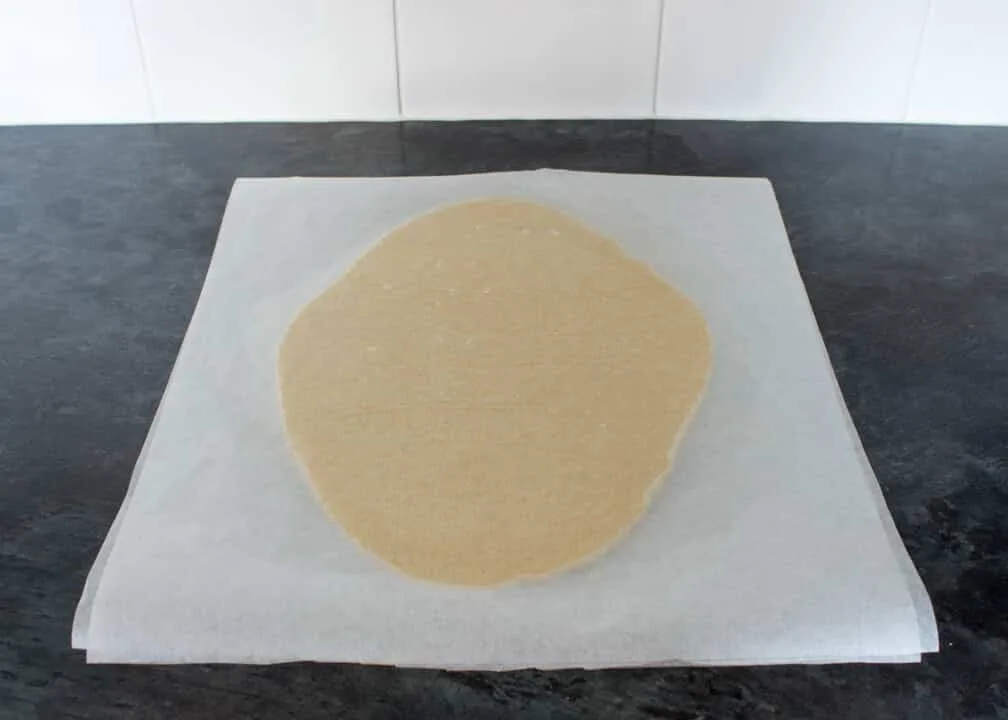
Place both into the fridge to chill for about an hour. This is important as if you don’t chill the dough, when you cut out the cookies they won’t hold their shape well.
Meanwhile, we can get on with the icing.
Royal icing instructions
In an electric stand mixer or a large bowl with electric hand whisks, beat together the egg whites (2 x large), icing sugar (500g | 4 Cups) and lemon juice (a squeeze) on high speed for about 5 minutes until stiff peaks form.
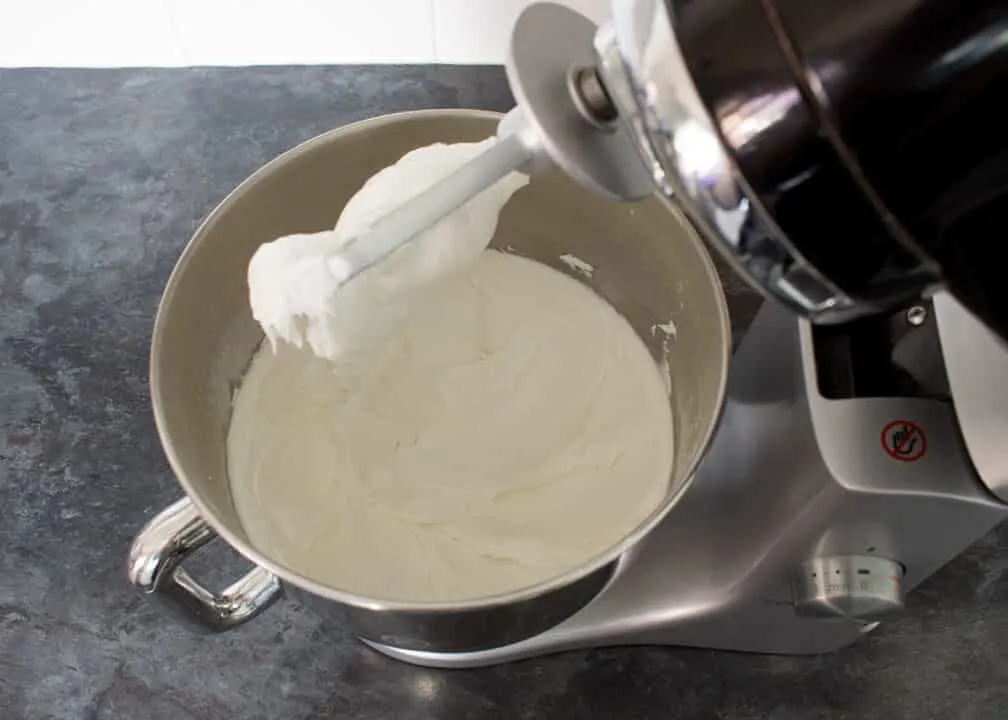
Adding no more than a drop or two at a time, very gradually add cold water and mix between each addition until it’s thinned to soft peaks.
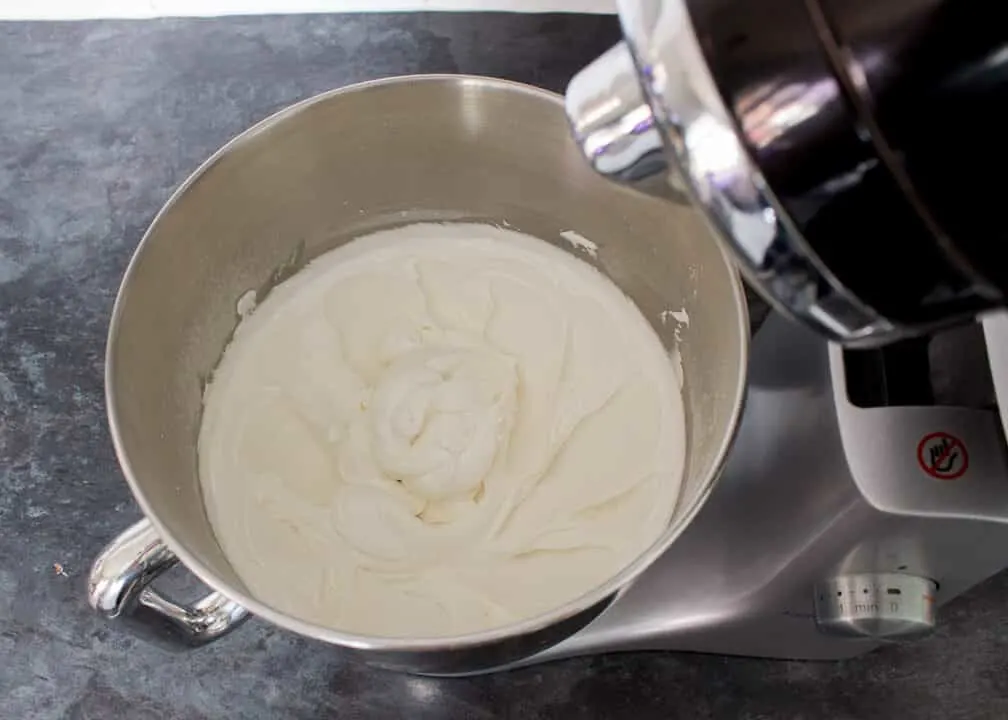
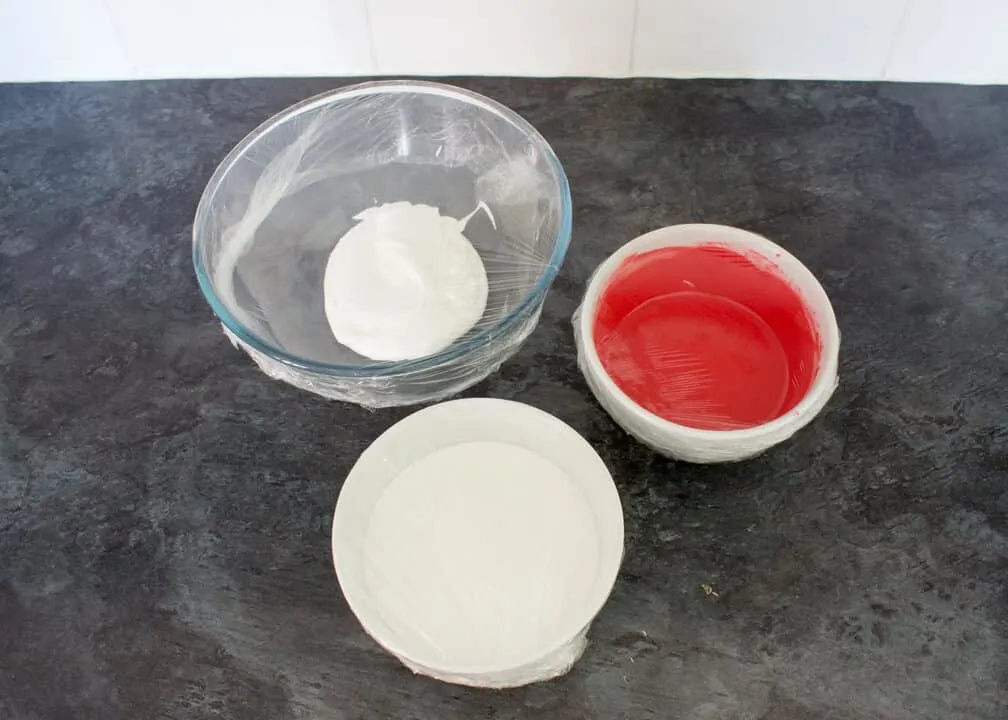
Take 3-4 heaped tablespoons of the icing and place into a bowl. Immediately cover with cling film and set to one side. This will be used to pipe a border around each cookie to hold the icing in.
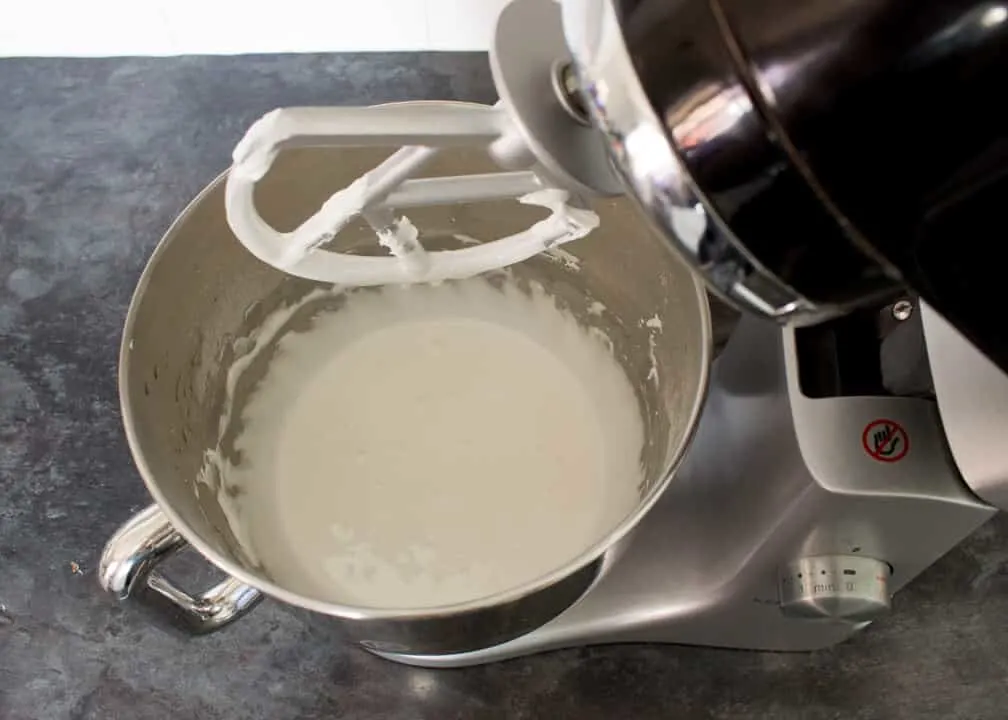
Back to the mixer. Once again, adding a little at a time, very gradually add cold water and mix between each addition until the mixture becomes a flooding consistency.
Take 5 – 6 tablespoons of the icing and place into a small bowl. Colour with red food colouring gel then immediately cover with cling film. Set to one side.
Pour the remaining icing into another bowl, immediately cover with cling film and set to one side with the others.
Cookie instructions part 2
Once the dough is chilled, remove from the fridge and cut as many 7cm circles out as you can. Re-roll the leftover dough to the same thickness and cut more cookies until all the dough is used up.
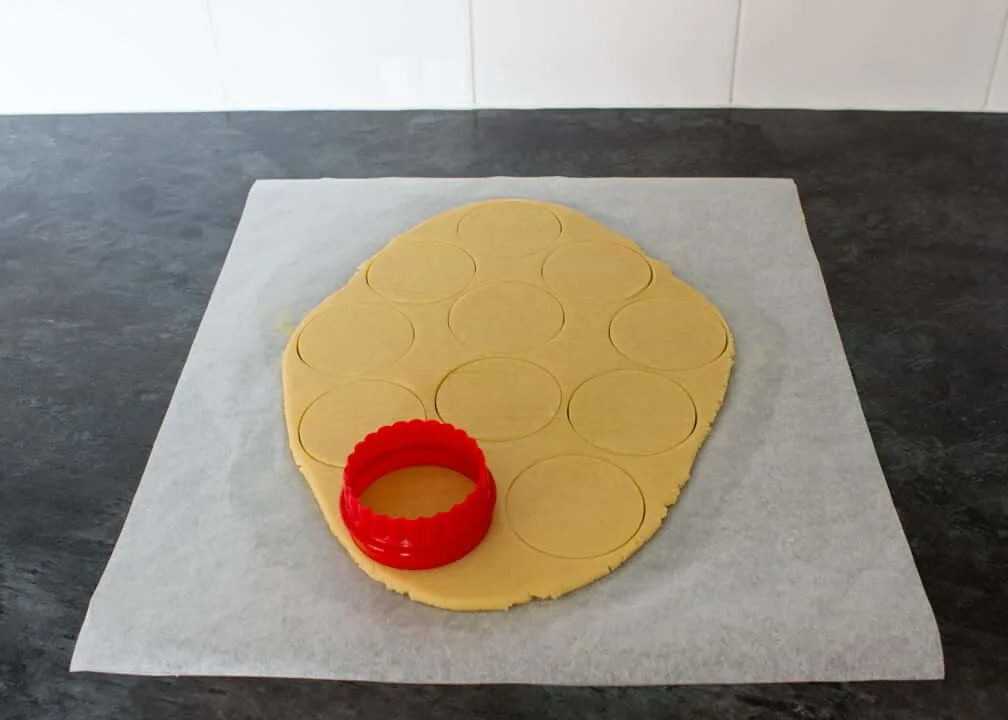
Chill the cookies for 15 minutes whilst you preheat the oven to 190°C/Fan 180°C/374ºF.
Line a large baking sheet with baking paper or a silicone mat. Fill with cookie discs, leaving room between each one for possible spreading, then bake for 10 minutes until the edges are turning golden. I turn the tray round halfway to ensure an even bake.
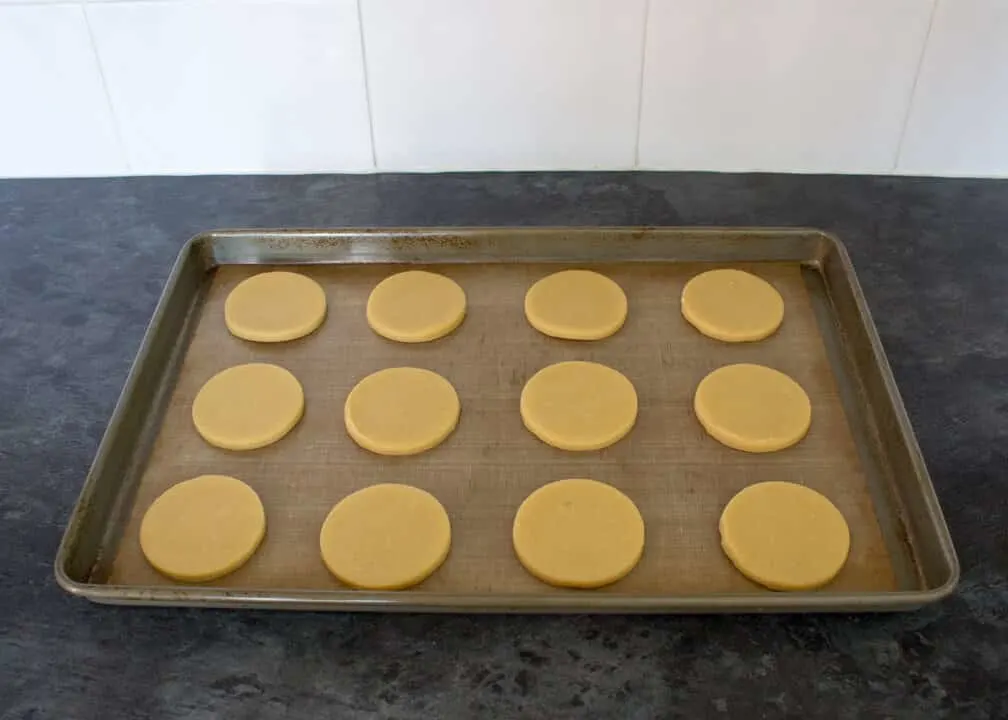
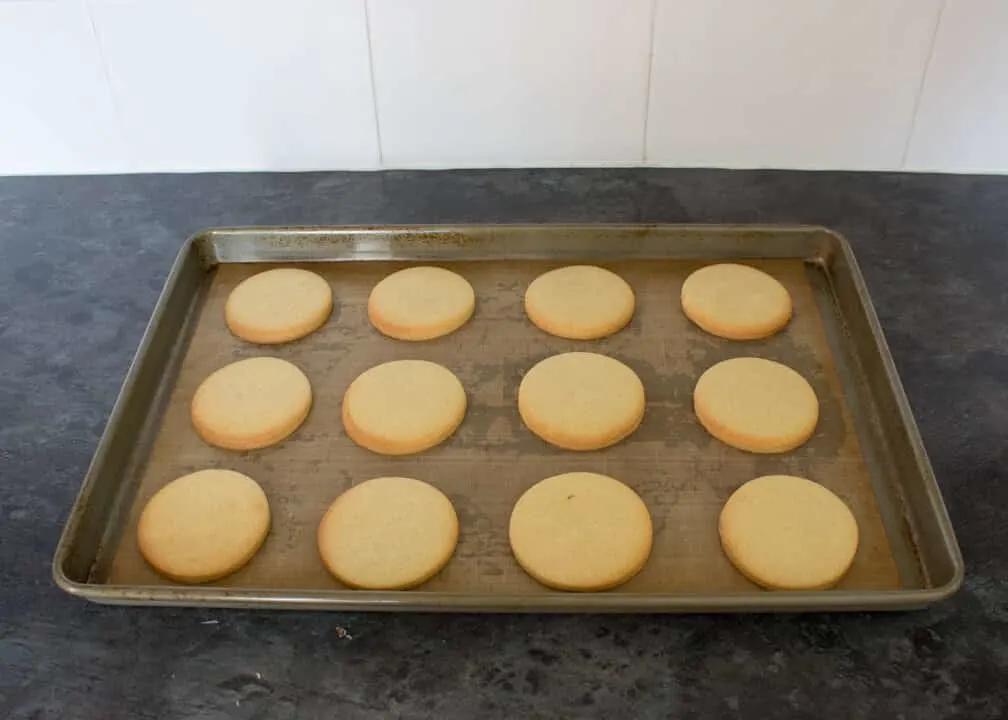
Allow the cookies to cool for a minute or two on the tray before transferring to a wire rack to cool completely.
You will likely need to bake in batches so repeat the process for the remaining cookies.
Decorating instructions
On to the decoration! Once the cookies have completely cooled, load a piping bag with the writing nozzle. Give the border (soft peak) icing a good mix then spoon into the piping bag.
Carefully pipe round the edges of each cookie and leave to set for 15 – 20 minutes.
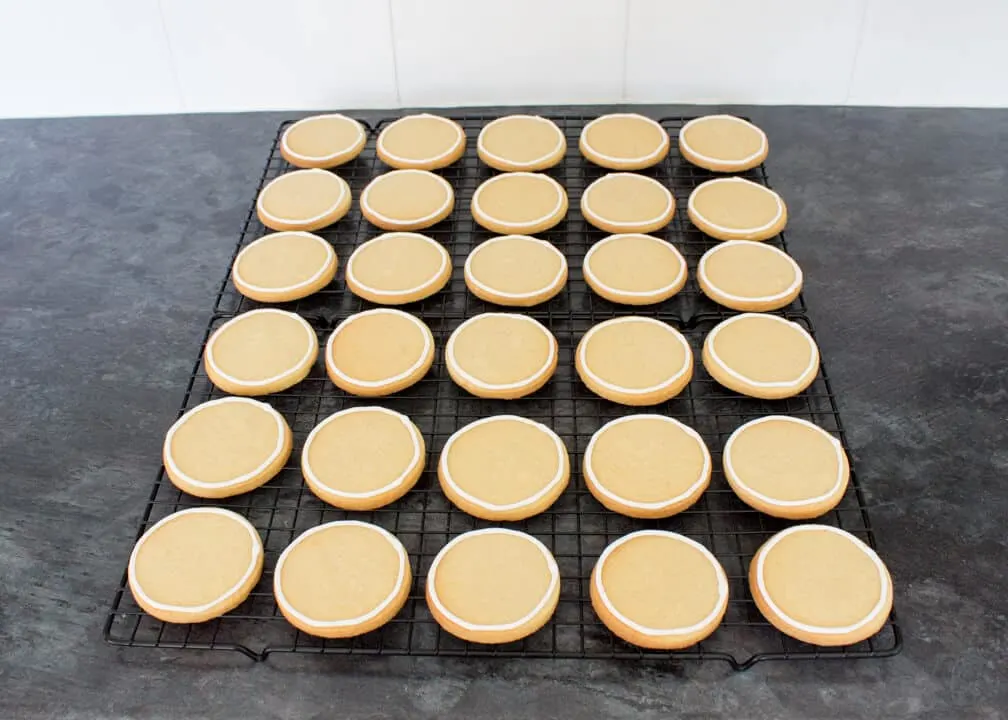
When the borders have set hard, give the white flooding icing a good mix then pour into the piping bottle. Flood the centres of each cookie and leave to set for at least 1 – 2 hours.
Tic toc tic toc…
When the icing has finally set, we’re ready for the really fun bit!
It’s probably a wise idea to tape newspaper up the back of where you will be ‘spattering’ and also to place underneath the biscuits you are decorating.
I opted to decorate 3 – 4 at a time (mainly because I wanted to enjoy this bit for as long as possible!) but you could just as easily decorate all of them at once. It’s entirely up to you.
Give the red flooding icing a good mix. Take a fork, dip it in the icing and go nuts. Fling that fork around like you’re conducting Flight of the Bumblebee!

Leave the icing to set for another 1 – 2 hours then marvel at your incredible work…

Ok ok, yes, blood spatter Halloween cookies are definitely a labour of love but look how freakin’ cool they are!! I think they’re so effective and eye catching and I would be over the moon to receive one of these bad boys as a trick or treater!
The taste is equally as delicious. Perfectly crunchy with a hint of vanilla. This has been my ‘go to’ cookie dough recipe for quite a while now and they always turn out really well.
You can even freeze the uncooked dough in an airtight freezer bag or tub and save it for a rainy day!
If this recipe feels a little overwhelming, try reading baking for beginners first. It’ll boost your confidence and knowledge ten fold! PLUS you can get lots of amazing freebies!
Loved this post? Pin it!


Blood Spatter Halloween Cookies Recipe
Grotesquely gruesome blood spatter Halloween cookies are guaranteed to cause a stir at your next Halloween party!
Ingredients
For the cookies
- 250g (1 + 1/8 Cup) Unsalted Butter, room temp
- 200g (1 Cup) Golden Caster Sugar
- 1 tbsp Vanilla Extract
- 1 Egg, beaten
- 450g (3 + 1/2 Cups) Plain Flour
For the royal icing
- 2 Large Egg Whites
- 500g (4 Cups) Icing Sugar
- Squeeze of Lemon Juice
- Red Food Colouring Gel
Essential equipment
- Electric Stand Mixer (or a Bowl with an Electric Hand Whisk)
- Spatula/Wooden Spoon
- Rolling Pin
- 3 Bowls
- 7cm Cookie Cutter
- Baking Tray
- Piping Bag
- No.3 Writing Nozzle
- Piping Bottle*
- Fork
Instructions
Cookie instructions part 1
- Cream the butter, sugar and vanilla together in an electric stand mixer until light and fluffy.

- Beat in the egg and mix until blended.

- Fold in the flour with a spatula/wooden spoon until just combined.

- Gently bring together into a ball then split into two and roll each to 6mm thick between 2 sheets of baking paper. Chill for 1 hour.

Royal icing instructions
- Beat the egg whites, icing sugar and lemon juice together in an electric stand mixer until stiff peaks form.

- Adding 1-2 drops at a time gradually add water, mixing well after each time, until thinned to soft peaks. Place 4 heaped tbsp of the icing into a separate bowl and cover with cling film. (This is the border icing.)

- Adding 1-2 drops at a time gradually add water, mixing well after each time, until thinned to a flooding consistency. Place 6 tbsp of the icing into a separate bowl, colour with red food colouring gel and cover with cling film. (This is the blood spatter icing.)

- Pour the remaining icing into another bowl and cover with cling film. (This is the white flooding icing.)

Cookie instructions part 2
- Remove the dough from the fridge and cut as many cookies as you can using your cookie cutter. Re-roll any remaining dough and continue to cut cookies until there is no more dough left. Chill them for 15 mins and preheat the oven to 190°C/Fan 180°C/374ºF.

- Space the chilled cookies out on a large baking tray (leave room for a little spreading) and bake for 10 mins until the edges are golden. You may need to cook in batches. Cool completely on a wire rack.

Decorating instructions
- Mix the border icing well then load a piping bag with the writing nozzle and fill. Snip the end then pipe borders round the edge of every cookie. Allow to set for 20 mins.

- When the borders are hard, mix the white flooding icing well and pour into your piping bottle. Flood each cookie then leave to set for 1-2 hours.
- Mix the red blood spatter icing well and lay a few cookies on a large piece of newspaper. Dip a fork into the icing and 'splat' the fork all over to create random spatter patterns across the cookies. Repeat until all your cookies are decorated then allow to set completely for 1-2 hours.

Notes
*You can use a piping bag fitted with a round nozzle but a bottle is a little bit easier.
If you would rather use a more in depth picture recipe, please see the main body of this post.
Please note, this recipe includes both UK metric and US Cup measurements.
Storage
Store in an airtight container at room temperature and consume within 7 days.
Recommended Products
As an Amazon Associate and member of other affiliate programs, I earn from qualifying purchases at no extra cost to you.
Nutrition Information:
Yield: 35 Serving Size: 1Amount Per Serving: Calories: 180Total Fat: 6gSaturated Fat: 4gTrans Fat: 0gUnsaturated Fat: 2gCholesterol: 21mgSodium: 7mgCarbohydrates: 30gFiber: 0gSugar: 20gProtein: 2g
Nutritional information on kitchenmason.com should only be used as a general guideline, I am not a certified nutritionist. Please always check labels for allergens where applicable.

Experienced British Online Publisher, recipe writer, and home cook, Emma has a background of over 20 years in British cuisine and cooking. Born and bred in the UK, she excels in classic British dishes, is passionate about air frying, and loves sharing her Gran’s old school recipes. She has been featured in popular publications such as Food Network, Cosmopolitan, and The Huffington Post.
Knowledgeable On: Traditional British Cuisine, Recipe Writing, Air Frying, Home Cooking.


Olena
Thursday 25th of October 2018
Wow! Thanks a lot for recipe with photo!
Miss KitchenMason
Thursday 25th of October 2018
You’re very welcome! Emma x