This post may contain affiliate links. Where I make a small commission on purchased items, at no extra cost to you. See my disclosure for details.
You want to find an easy chocolate cake recipe, meaning you don’t want an overly complicated one that takes forever to make. I hear you! That’s why this is literally the easiest easy chocolate cake recipe EVER. Seriously. It’s on par with my emergency microwave chocolate cake (which you should totally check out if you ever need cake in a hurry!). You might even say this is the best chocolate cake recipe in the world…
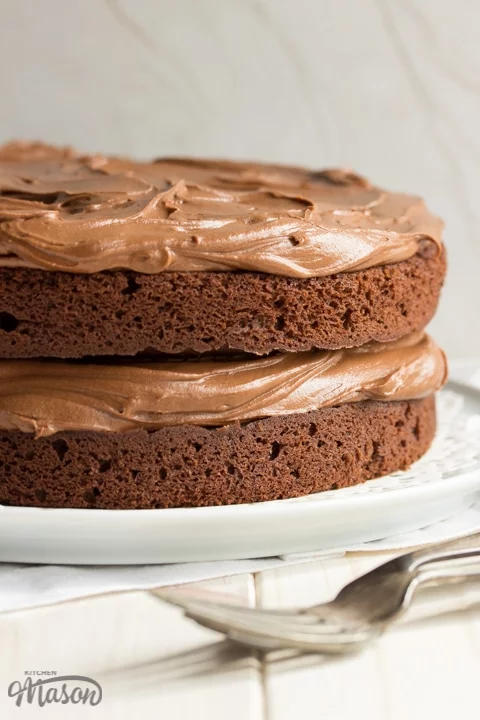
Ok well maybe I’m a little biased but it is pretty darn good I can guarantee that! And when I say it’s easy I really do mean easy. Just like my easy chocolate orange cake recipe, it uses my personal favourite (and oh so simple) all in one cake method.
Meaning, you weigh out all the ingredients in one bowl and mix it. Then all you need to do is bake it, cool it and decorate it. See – I told you. It’s the best easy chocolate cake recipe EVER!
Even if you’re a beginner baker, you’ll be able to create this gorgeous cake.
Need to avoid dairy? Here’s a dairy-free chocolate cake recipe you might like instead.
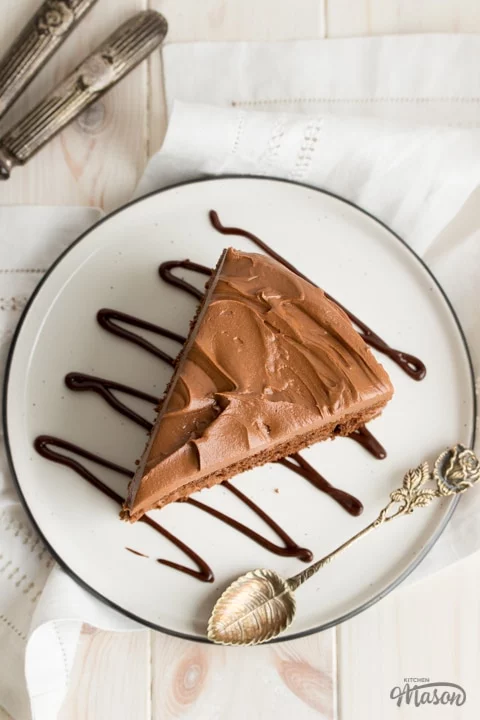
There’s something so deeply satisfying about a good chocolate cake. That rich chocolatey flavour teamed up with satisfyingly soft sponge and a gooey frosting… I don’t know about you but I’m drooling already!
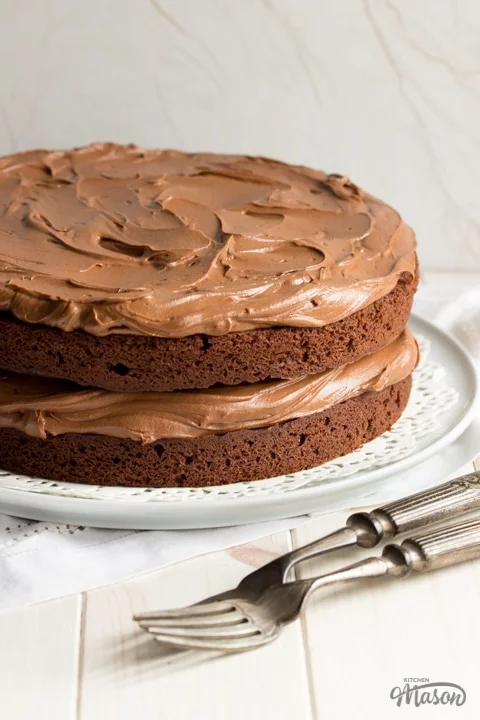
Not used an easy chocolate cake recipe before? Don’t worry! Here’s some tips to help you along the way.
Easy Chocolate Cake Recipe Tips
- Bake your cake layers on the bottom shelf of the oven. They’re less likely to have a dome in the middle. (Making it easier to decorate.)
- Have all your ingredients at the same temperature before starting. This allows them to blend much better and results in a nicer, more evenly textured cake. (Simply take chilled ingredients out the fridge an hour before use.)
- Remove the cakes from the tins as soon as you can handle them as the residual heat will continue to bake them slightly.
- Allow your cake layers to cool completely before decorating with the frosting or you will end up in a big melty mess.
- Don’t store your cake in the fridge! It sucks all the moisture out and will make it dry out much quicker.
- Over baked your cake and it’s too dry? Store covered with a slice of bread or two. The cake will ‘steal’ the moisture from the bread rendering the bread crispy and the cake more moist. Failing that, eat it with some ice cream!
- Note that you can’t actually taste the coffee in this cake – it just makes it taste more chocolatey. I don’t even like coffee but I never skip it and neither should you!
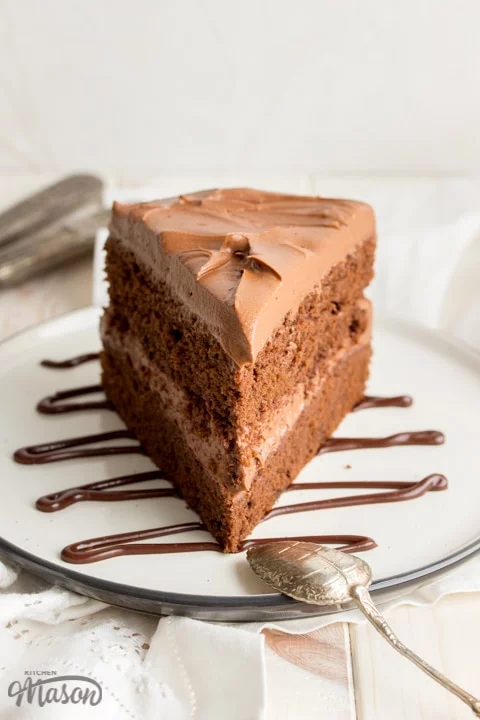
Easy Chocolate Cake – Step by Step Picture Recipe
Here is what you will need to serve 10.
Ingredients
For the cake
- 150g (1 + 1/4 cup)Plain Flour
- 2 tsp Baking Powder
- 30g (1/4 Cup) Cocoa Powder
- 175g (3/4 Cup) Dark Muscovado Sugar
- 175g (3/4 Cup) Unsalted Butter, Room Temp & Cubed
- 3 Eggs, Room Temp
- 1 tsp Vanilla Extract
- 1 tsp Instant Coffee Granules, Dissolved in 2 tsp Water
- 100g (3.5 oz) Dark Chocolate, Melted
- Pinch of Salt
For the frosting
- 200g (3/4 Cup) Unsalted Butter, Room Temp & Cubed
- 200g (1 + 1/2 Cups) Icing Sugar
- 200g (6.5 oz) Dark Chocolate, Melted
Essential equipment
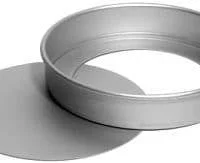
- 2 x 20cm (8″) Sandwich Tins *
- Electric Stand Mixer or Electric Hand Whisk & a Bowl
*I use loose bottomed but it’s not essential
Cake instructions
Lightly grease the base and sides and line the base of the two sandwich tins with baking paper – set to one side until they’re needed. Oh, and preheat your oven to 180°C/Fan 170°C.
Next, place all the sponge ingredients into an electric stand mixer or a large bowl with an electric hand whisk. Take care to heed my notes! (Room temp, melted etc)
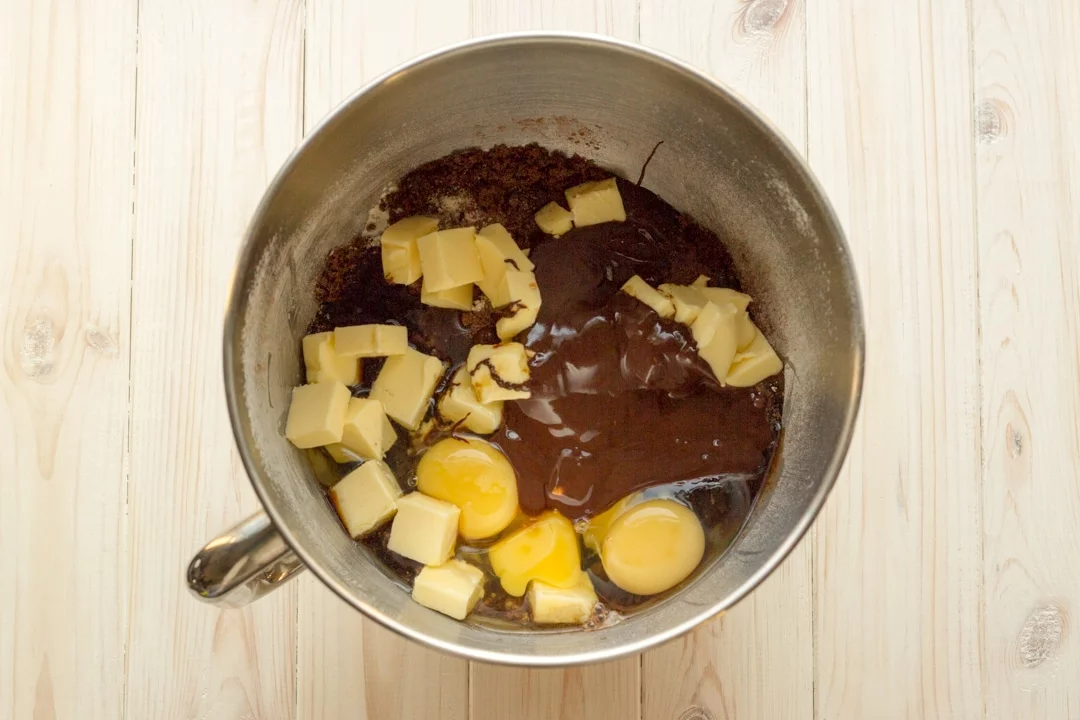
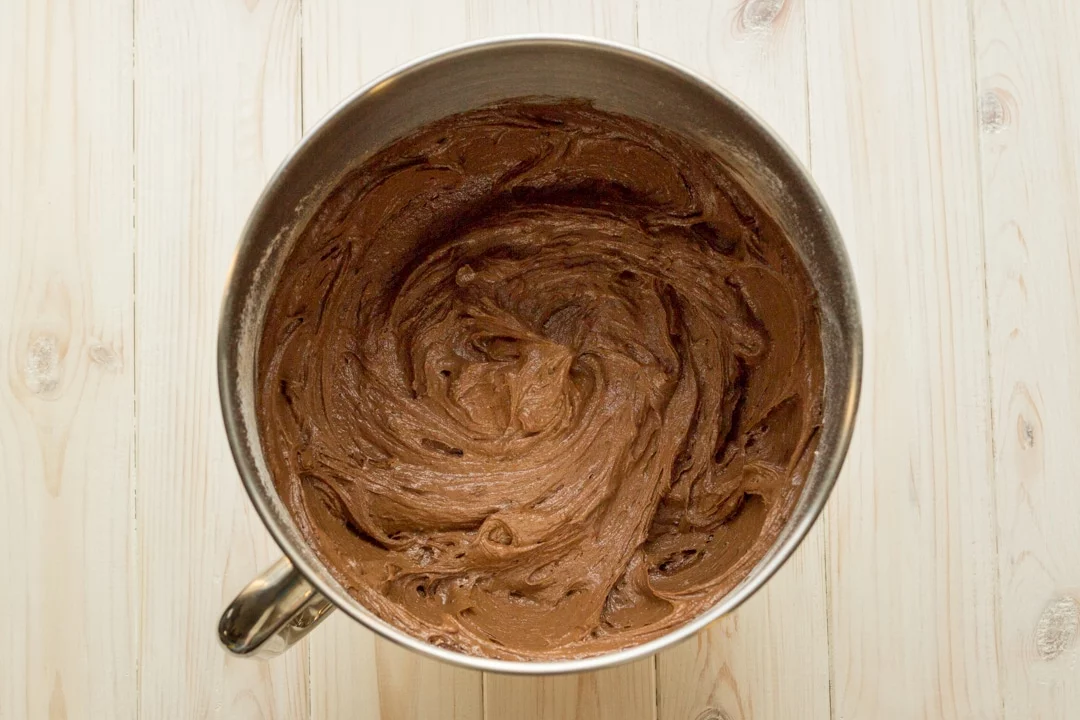
Aaaaand give it a good mix until everything is smooth and blended nicely. Please take care to not over mix here – only beat just until it’s smooth, blended and there’s no more lumps of butter.
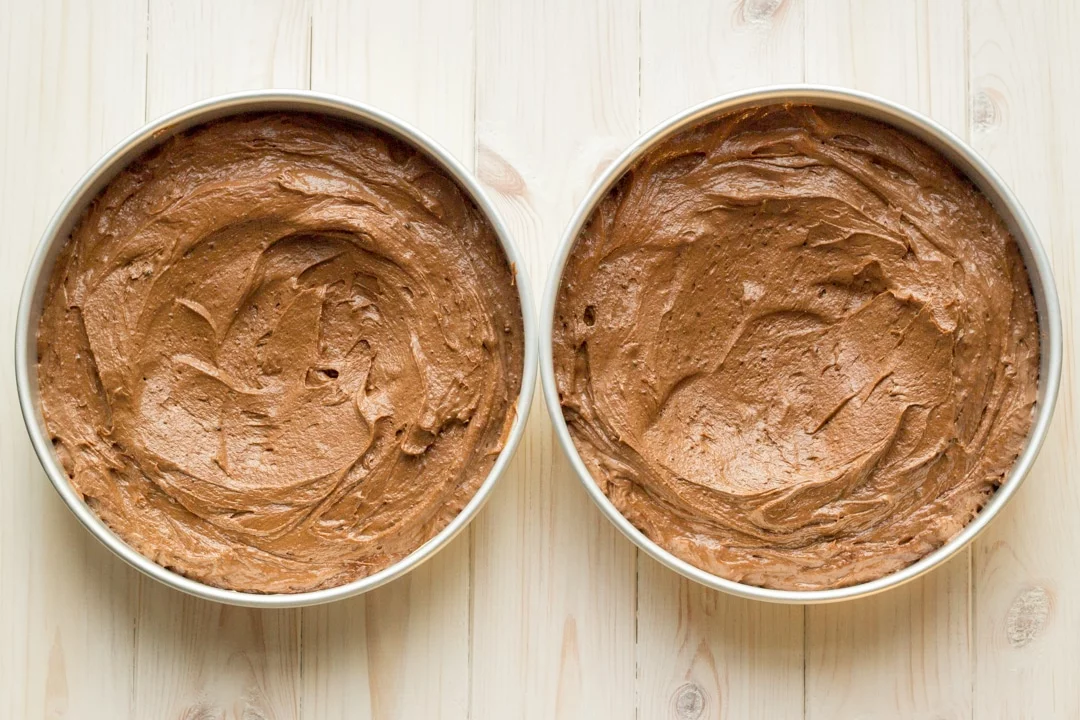
Divide the mixture between your two lined sandwich tins and smooth out with a spatula. If you’re oven is particularly bad at creating domes in the middle, put a slight dip in the centres to combat it.
Now bake in the preheated oven for 15-18 mins until a skewer inserted into the centre comes out clean and the edges are just starting to come away from the tin. Please be careful not to over bake them – that is guaranteed dry cake territory! Check with a skewer at around the 13 min mark just in case. All ovens are different and, believe it or not – you know yours better than anyone else! Go with your gut, just try not to open the door too early.
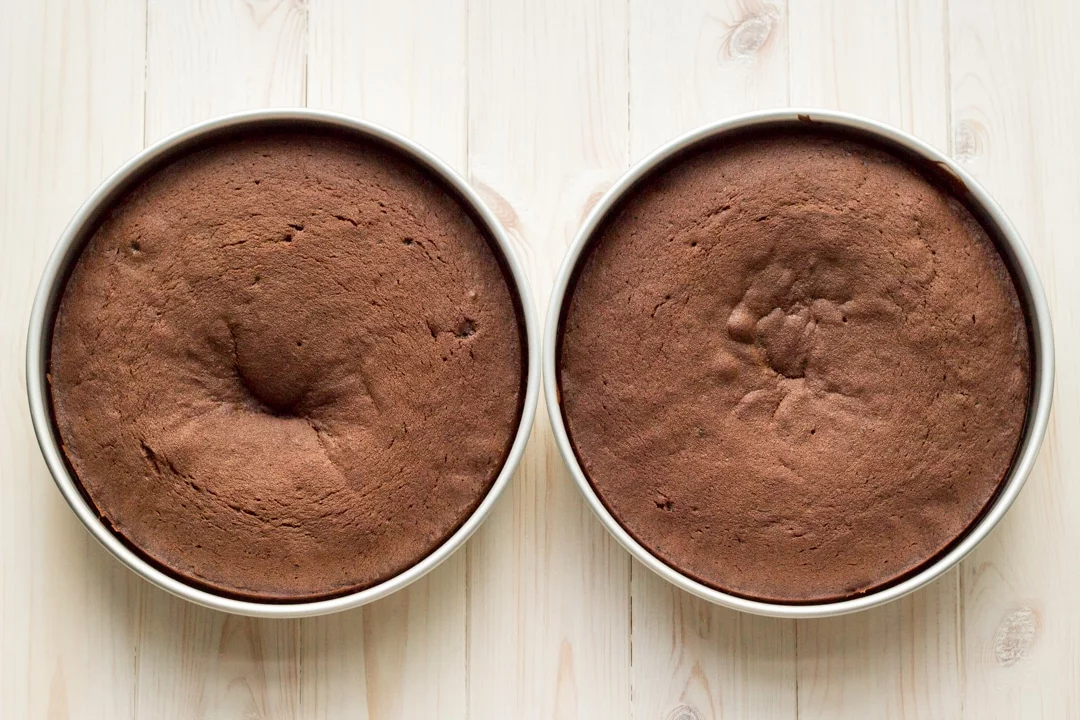
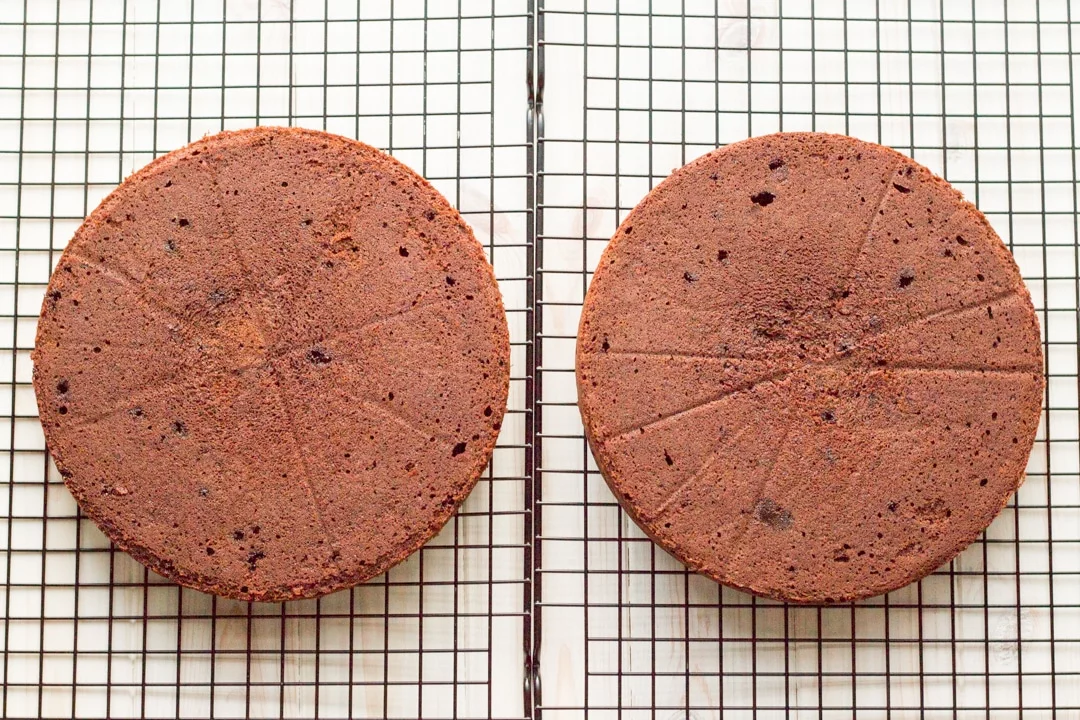
Ok, so that is what it looks like when you over dip the centre to combat doming. My bad. The plus side? No one is gonna have any idea that crevice exists once it’s decorated! So take the cakes out the tins and pop them upside down on a rack to cool completely.
Frosting instructions
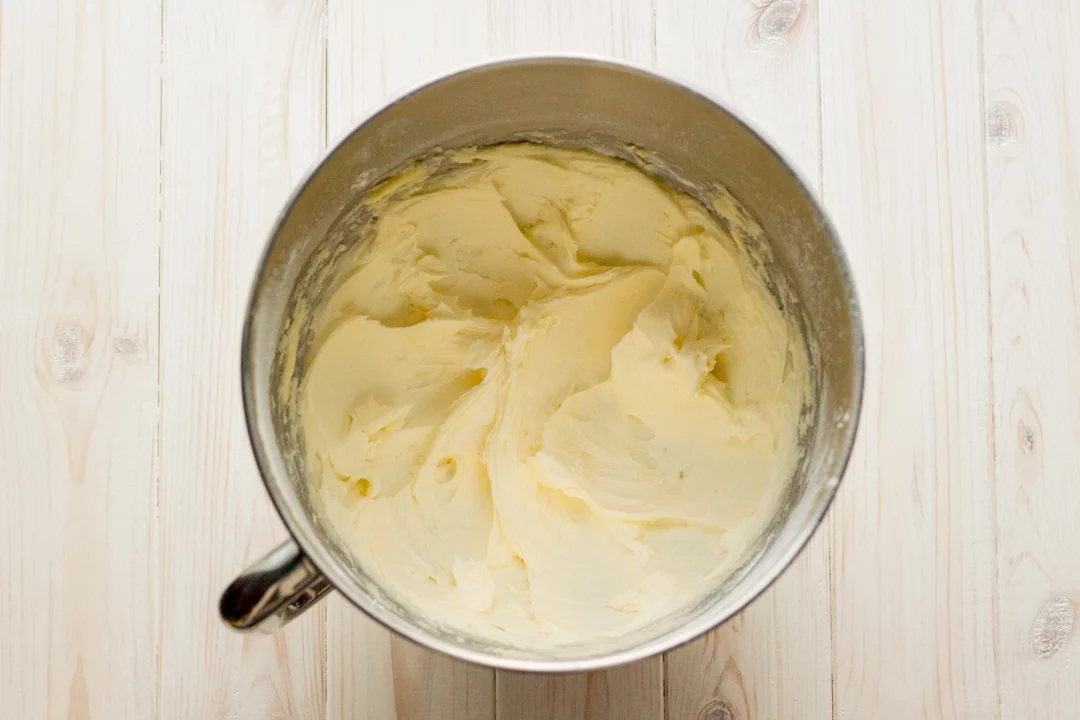
To make the chocolate frosting, sift the icing sugar into the bowl of a stand mixer (or a large bowl with an electric hand whisk) then add in the softened, cubed butter.
Begin mixing very slowly until you can’t see any more icing sugar (or you’ll end up in a mushroom cloud of sugary goodness!) then scrape the bowl down and mix on medium/high until really light, smooth and fluffy.
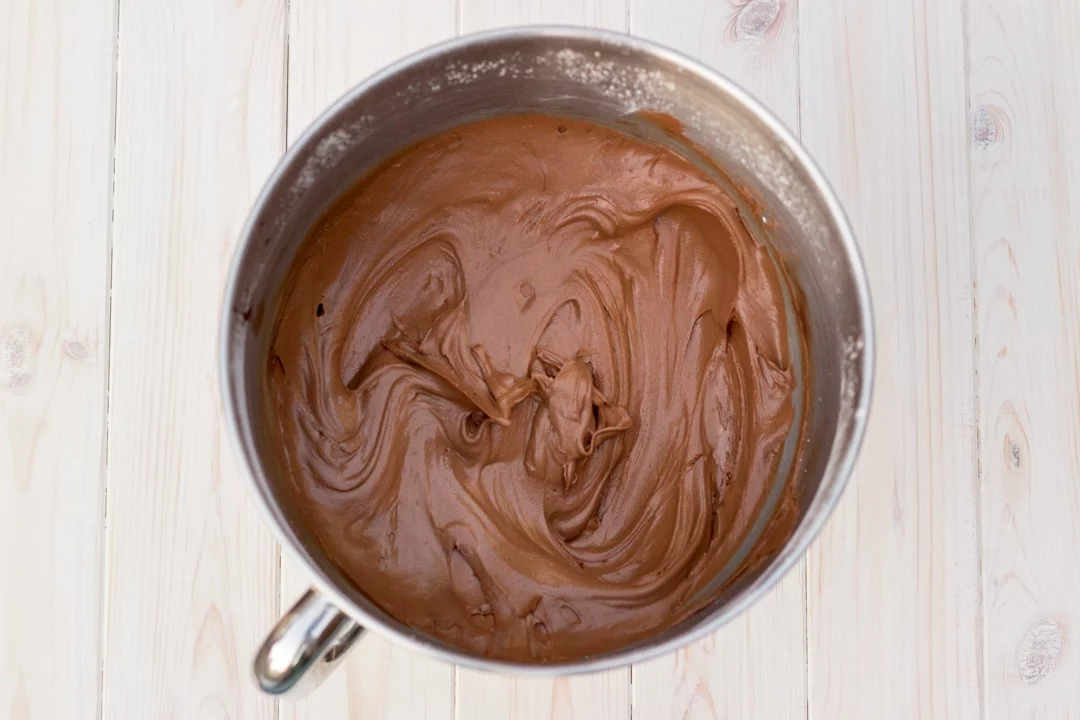
Melt the dark chocolate in a bowl in the microwave in 10 second intervals. Make sure to stir well between each time. Once it’s melted pour it into the bowl and mix again until evenly incorporated. You may want to scrape down the bowl once during this stage.
Decoration instructions
We’re not going complicated here. We’re going to go for the ever so technical ‘slap on and smear’ method. Sounds great doesn’t it?!
Let’s find a nice flat plate, cake board or cake stand to pop our first layer on.
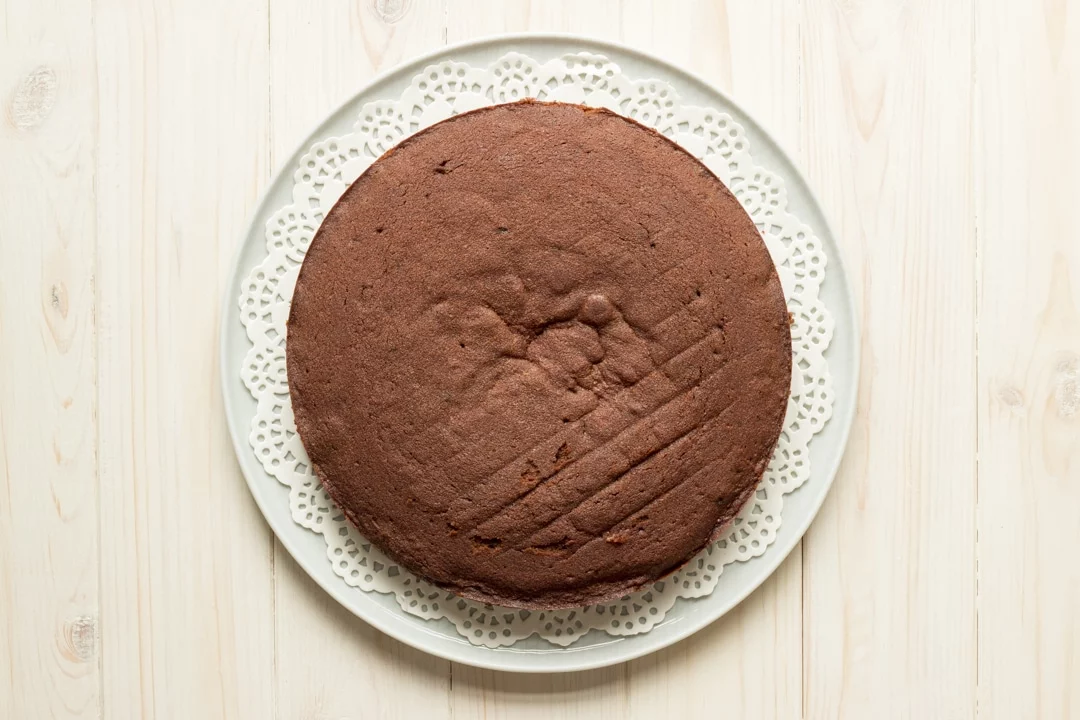
There we go. Now take half the icing, slap it on and smear it evenly over the whole layer.
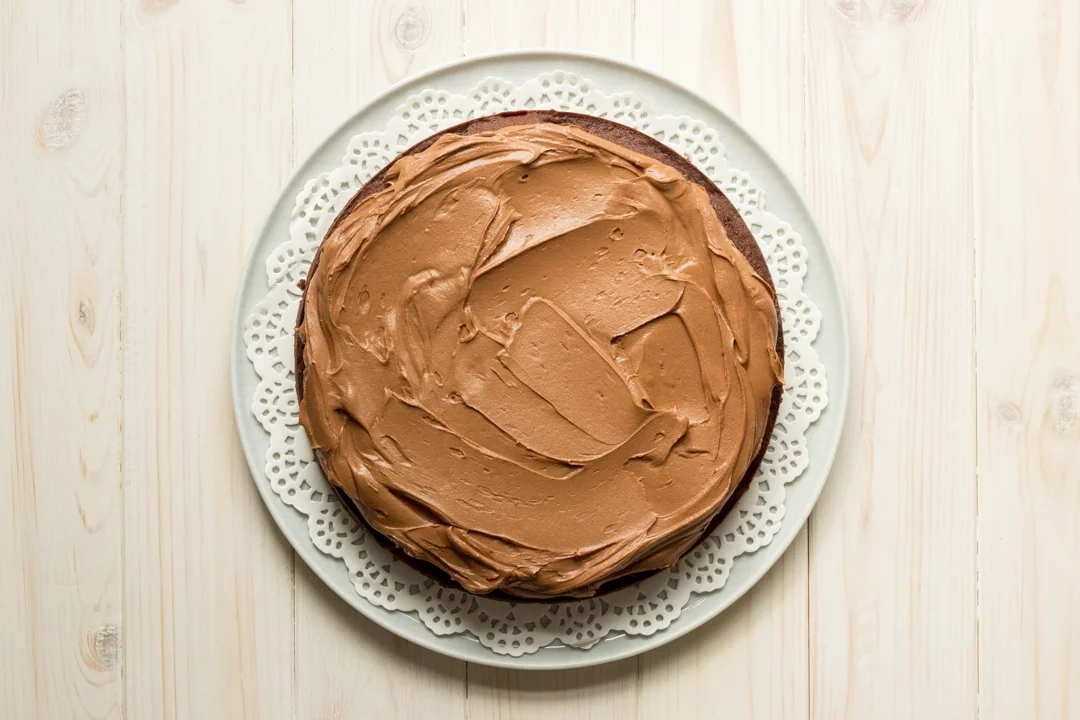
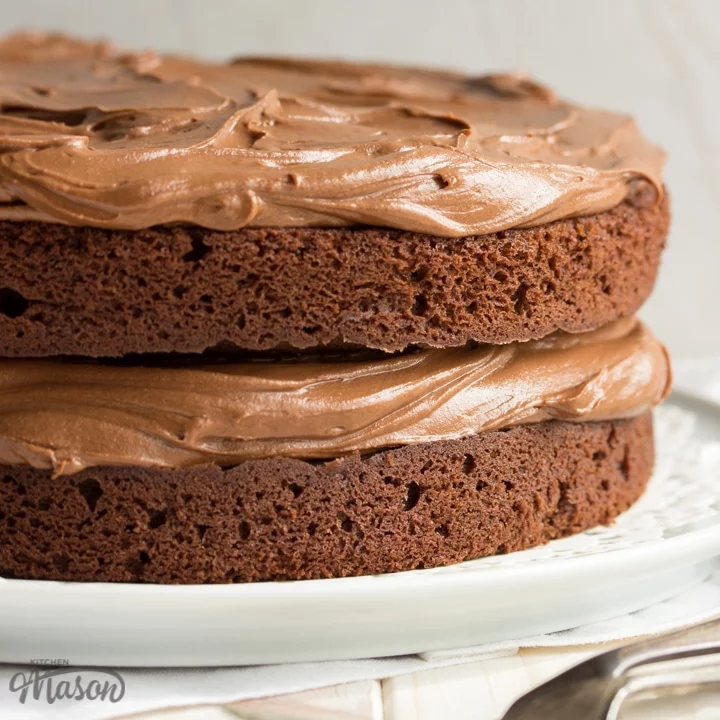
Now this may not look like your average Michelin starred pastry chef’s cake but it still looks incredibly appetizing doesn’t it?!
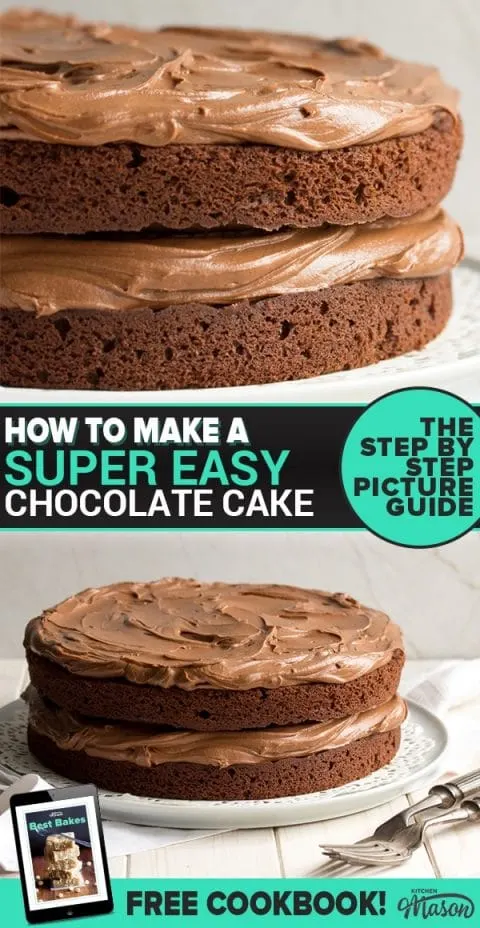
Next, take the other sponge layer and place it upside down (bottom side up) on top of the frosting. This will give us a nice flat top without any effort at all. Finally, smear the remaining frosting over the top of your cake, stand back and marvel at your handy work.
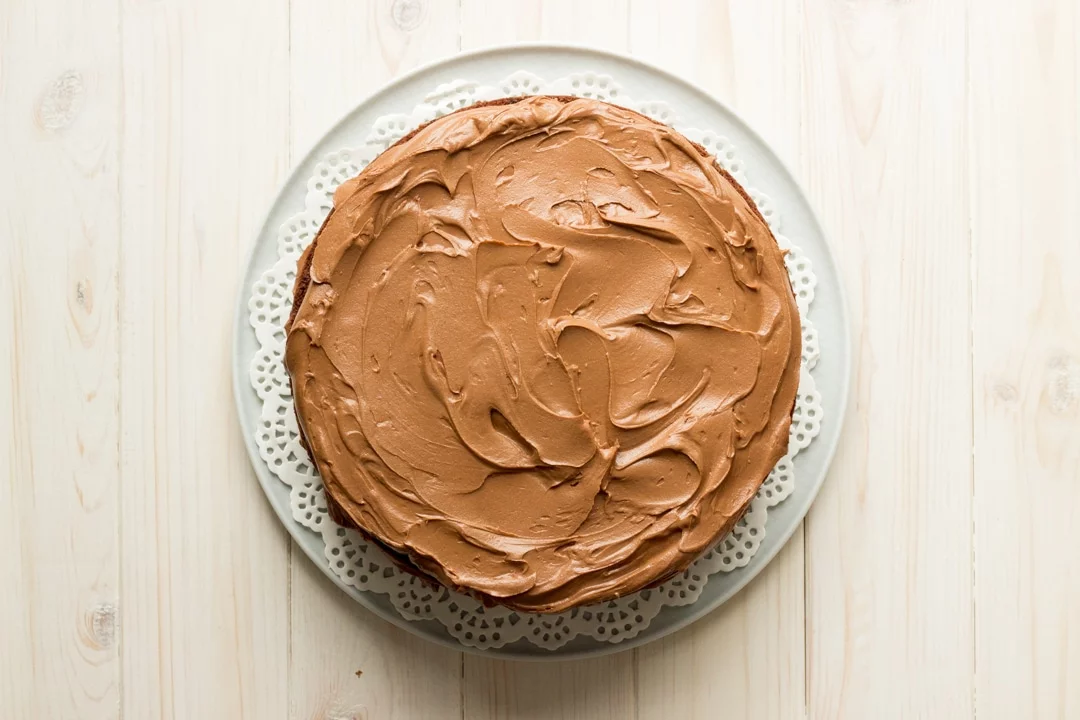
I don’t know about you but I feel like doing a Mrs Doubtfire with this cake, don’t you?? “Well hellooooooooo!”
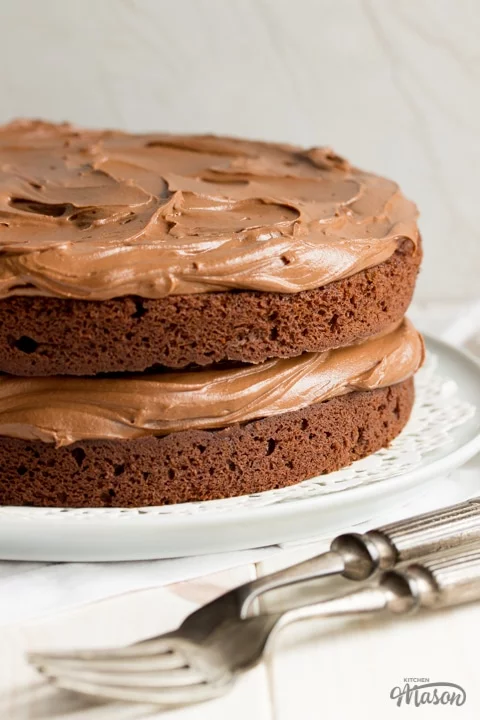
It looks SO good doesn’t it? If you don’t inhale this whole, store it covered (in a tin or covered cake stand) at room temperature and consume within 3-4 days.
Loved this recipe? Pin it!
Easy Chocolate Cake - Printable Recipe
This beautifully simple 'dump it in' all in one chocolate cake is perfect for any and all occasions!
Ingredients
For the Sponge Layers
- 150 g Plain Flour
- 2 tsp Baking Powder
- 30 g Cocoa Powder
- 175 g Dark Muscovado Sugar
- 175 g Unsalted Butter, (Room Temp & Cubed)
- 3 Eggs , (Room Temp)
- 1 tsp Vanilla Extract
- 1 tsp Instant Coffee Granules, (Dissolved in 2 tsp Water)
- 100 g Dark Chocolate, (Melted)
- Pinch Salt
For the Chocolate Frosting
- 200 g Unsalted Butter, (Room Temp & Cubed)
- 200 g Icing Sugar
- 200 g Dark Chocolate, Melted
Essential Equipment
- 2 20cm (8″) Sandwich Tins *
- 1 Electric Stand Mixer or Electric Hand Whisk & a Bowl
Instructions
For the Sponge Layers
- Grease & line both sandwich tins and preheat the oven to 180°C/Fan 170°C.
- Place all the sponge ingredients into a stand mixer (or large bowl with electric hand whisk) and mix until smooth.
- Divide between the two tins and bake for 15-18 mins until a skewer inserted into the middle comes out clean. Remove from the tins and put on a cooling rack to cool completely.
For the Chocolate Frosting
- Beat together the butter and icing sugar on low until combined. Then beat on medium until very light and fluffy.
- Pour in the melted dark chocolate and beat again until smooth and even in colour.
To Assemble
- Put a sponge layer on a plate or cake stand. Spread half the frosting over the top.
- Place the other sponge layer bottom side up on top of the frosting. Spread the remaining frosting over the top.
Notes
*I use loose bottomed but it’s not essential
Store covered at room temperature and consume within 3 days.
Recommended Products
As an Amazon Associate and member of other affiliate programs, I earn from qualifying purchases at no extra cost to you.
Nutrition Information:
Yield: 10 Serving Size: 1Amount Per Serving: Calories: 684Total Fat: 42gSaturated Fat: 25gTrans Fat: 0gUnsaturated Fat: 14gCholesterol: 139mgSodium: 174mgCarbohydrates: 72gFiber: 3gSugar: 52gProtein: 6g
Nutritional information on kitchenmason.com should only be used as a general guideline, I am not a certified nutritionist. Please always check labels for allergens where applicable.

sue
Wednesday 12th of October 2022
hoooooooooo !!! sounds delicious - making it this weekend thanks Emma for another good one!
Emma
Thursday 13th of October 2022
Aww thanks Sue! You’re very welcome :) Emma x