
This post may contain affiliate links. Where I make a small commission on purchased items, at no extra cost to you. See my disclosure for details.
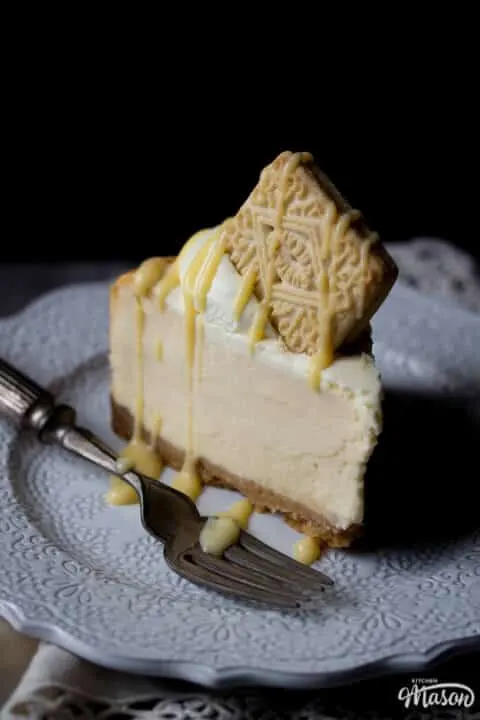
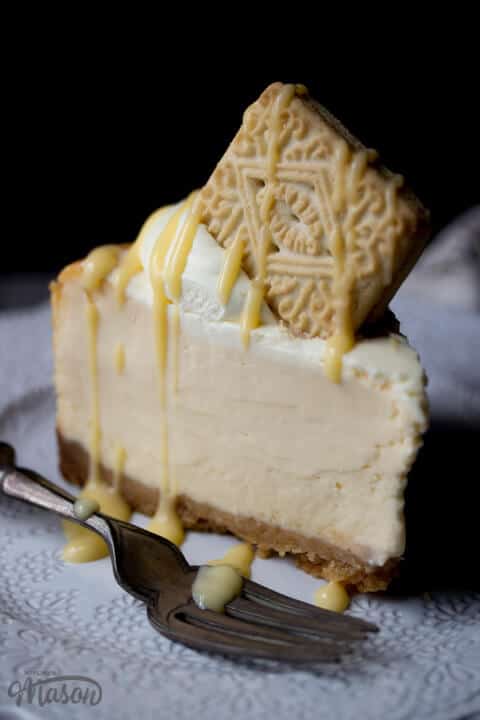
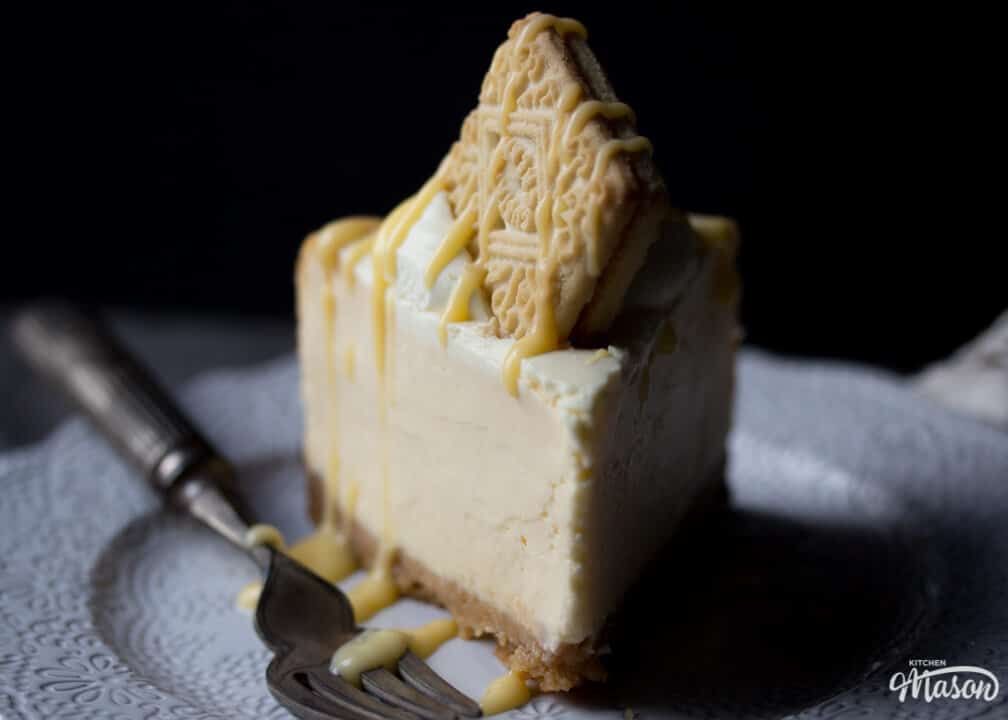
When you get the time to make one, a baked cheesecake can be the most beautiful dessert in the world. Especially when it’s custard flavour and lavishly smothered in fresh whipped cream, custard cream biscuits and yep, you guessed it – custard!
This custard cream baked cheesecake is the most gorgeous, extravagant and creamiest baked cheesecake you will ever taste. It’s really not as difficult to make as you might think either!
If you follow my super easy to follow step by step picture recipe and use my top tips to create the perfect baked cheesecake every time – you literally can’t go wrong! Plus, if you love custard as much as me, you should probably check out my rhubarb and custard cake recipe too – it’s to die for!
Can't face cooking dinner on Fridays? 😩
Imagine a guilt free Friday night dinner, without the exhausting mental load. BYOD Fridays are a fun and supportive Friday night community for tired people who still need to cook, but really cba 💛
Join The Community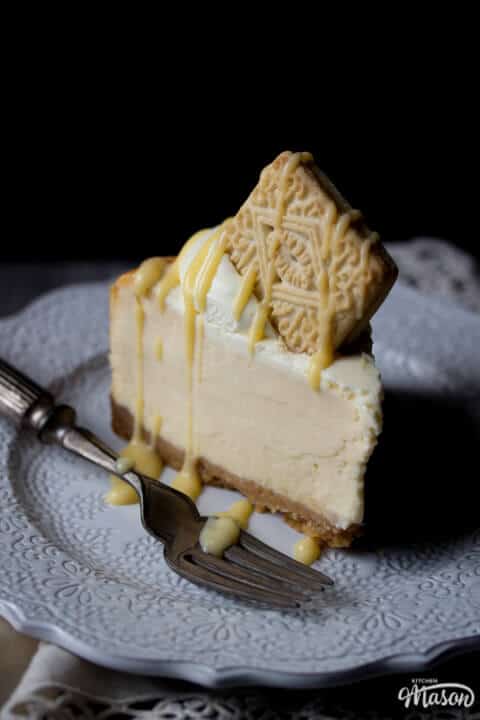
A few good friends and colleagues helped me ‘dispose’ of this wonderful dessert and they had plenty of delicious things to say about it. I had an incline that this was a great baked cheesecake recipe but when words like ‘sublime’ ‘luxurious’ and ‘luscious’ are thrown at you – it’s hard to take it as anything other than a huge compliment!
My personal favourite was when it was referred to as ‘The Happy Cake.’ So there you have it lovelies, this right here is The Happy Cake. It will literally make happy goodness all up in your belly!
I do think that baked cheesecakes have a bit of a bad rep compared to their no bake counterpart. No bake cheesecakes are quick and easy to make, light in texture and always a guaranteed hit.
Put a little time and effort into making a baked cheesecake though, and you will create something so wonderful people will literally be begging you for the recipe! Usually slightly heavier in texture, this custard cream cheesecake recipe is much lighter and creamier than you might think.
The flavour is WELL worth the extra time it takes to create this creamy custard cake, I whole heartedly recommend you give it a try for yourself and see!

Custard Cream Baked Cheesecake Recipe Tips
- Bring your cold ingredients to room temperature before using. This is particularly important of the cream cheese as it’s much easier to beat until creamy & smooth. Plus, ingredients blend much better together when they’re all the same temperature.
- Does your baked cheesecake always crack on top? When the cooking time is finished, switch the oven off, open the door and let it cool on the shelf for 10 minutes. Then remove from the oven and run a knife around the edge to prevent any cracks from forming.
- Bake your base a little before adding the filling to prevent a soggy bottom. (In this recipe I recommend 10 minutes at 180°C until golden.)
- Topping with crunchy biscuits? Add them as close to serving time as possible. Biscuits will start to go soft within a few hours of being near any moisture.
- Always use a springform pan when baking a cheesecake. The finished texture is very delicate and you don’t want to be disturbing it too much to remove it (i.e. tipping it upside down to get out of the tin!). Always make sure to lightly grease the base and sides and line the bottom with baking paper too.
New to baking? Or looking to improve your skills? Check out baking for beginners and bag my Top 5 Tips to Guarantee Baking Success!

Easy Custard Cream Baked Cheesecake – Step by Step Picture Recipe
(For a printer friendly version, see the recipe card at the end of this post)
Please note, this recipe includes both UK metric and US Cup measurements.
Ingredients
Here is what you will need to serve 10-12.
Biscuit base
- 200g (7 oz) Custard Cream Biscuits
- 60g (1/4 Cup) Unsalted Butter
Filling
- 750g (3 + 1/3 Cups) Full Fat Cream Cheese *
- 225g (1 + 1/8 Cup) Golden Caster Sugar
- 4 tbsp Custard Powder
- 3 Eggs
- 300ml (1 + 1/4 Cups) Double Cream
Topping (optional)
- 150ml (1/2 Cup + 1 tbsp) Soured Cream
- Splash of Vanilla Extract
- 1 tbsp Golden Caster Sugar
Decoration
- 100ml (1/3 Cup + 1 tbsp) Double Cream, Cold
- 8 Custard Cream Biscuits
- 100ml (1/3 Cup + 1 tbsp) Fresh Custard, to drizzle
*I use Philadelphia full fat cream cheese.
Essential Equipment
- Food Processor
- Electric Stand Mixer or Large Bowl with an Electric Hand Whisk
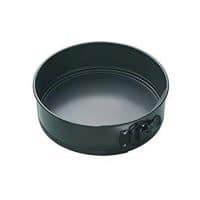
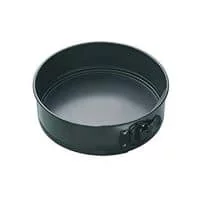
- 21.5cm (8.5″) Springform Pan
Base instructions
Preheat your oven to 190°C/Fan 180°C/374ºF. Lightly grease the base and sides of your tin and line the bottom with baking paper.
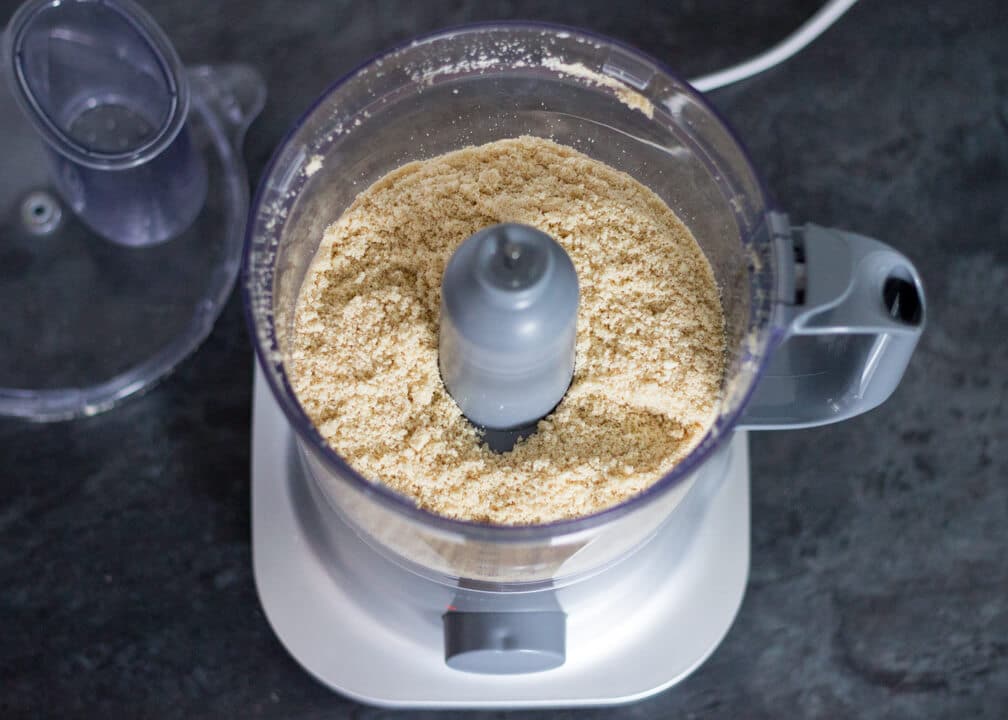
Tip the custard creams into a food processor (fillings and all) and blitz until they become like fine breadcrumbs.

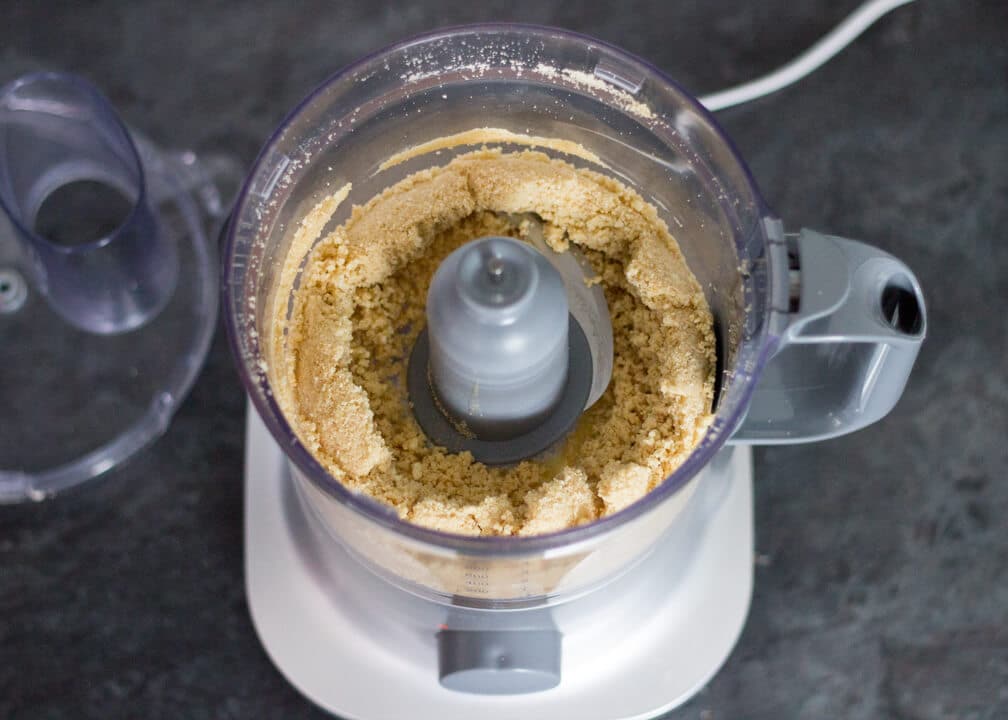
Then melt the butter in a little bowl/ramekin in the microwave in 10 second intervals. Pour that into the biscuits crumbs and blitz again until it starts to clump together.

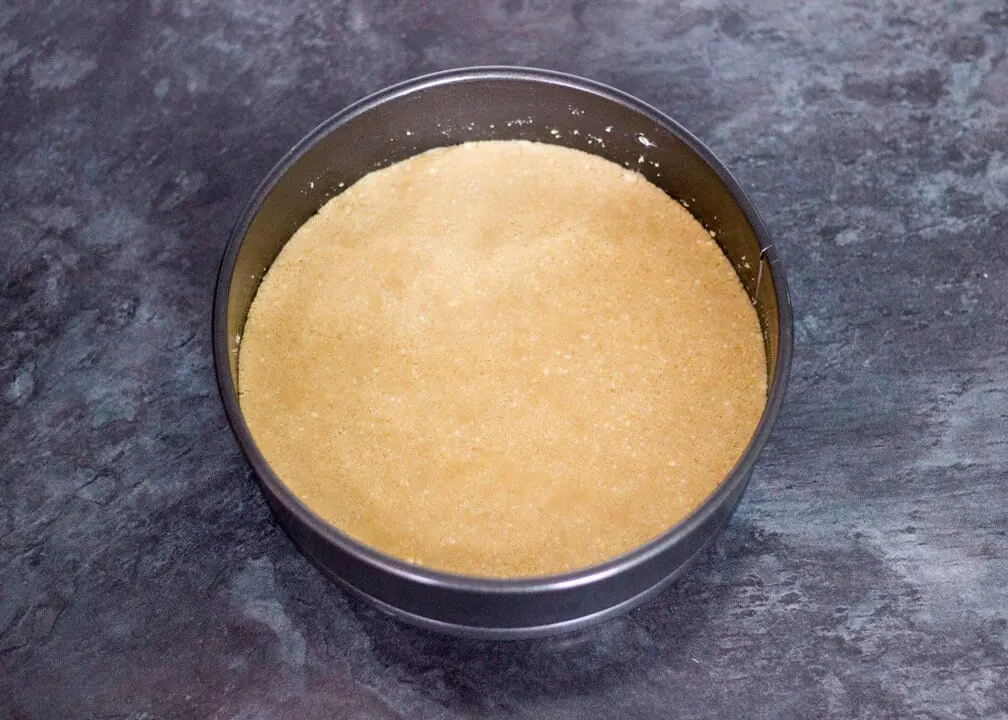
Tip the crumbs into your prepared baking tin and press down firmly until even. Then pop it into the oven to bake for 8-10 minutes until golden on top.


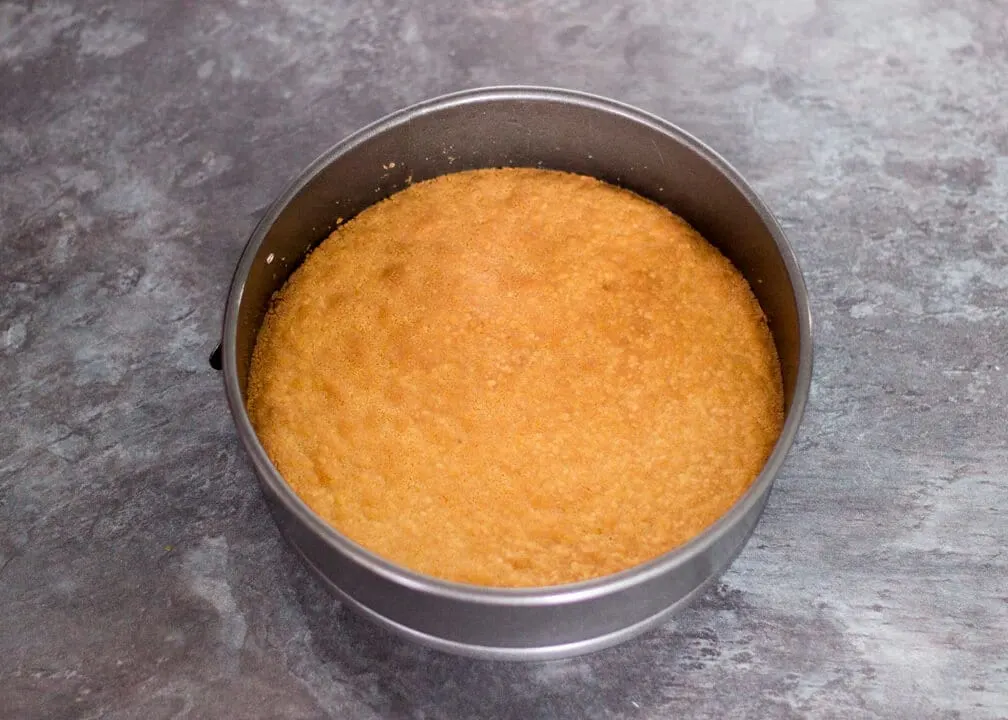
Set aside to cool while we make the filling.
Filling instructions
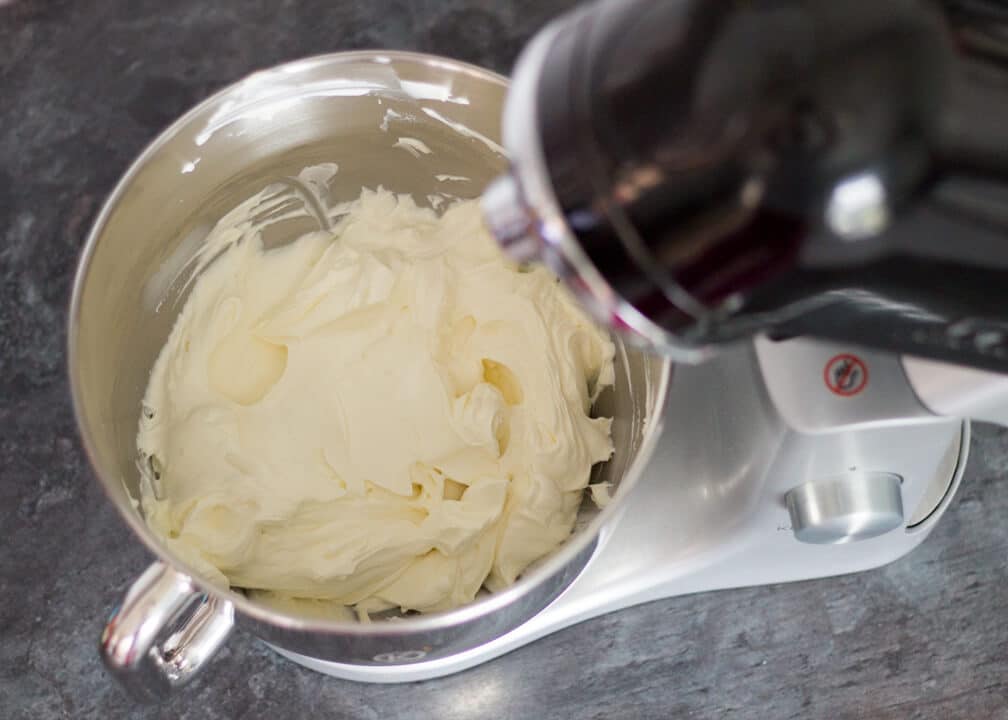
In an electric stand mixer or a very large bowl with an electric hand whisk, beat the cream cheese on a medium speed until really soft and smooth. (At least 2-3 minutes.)
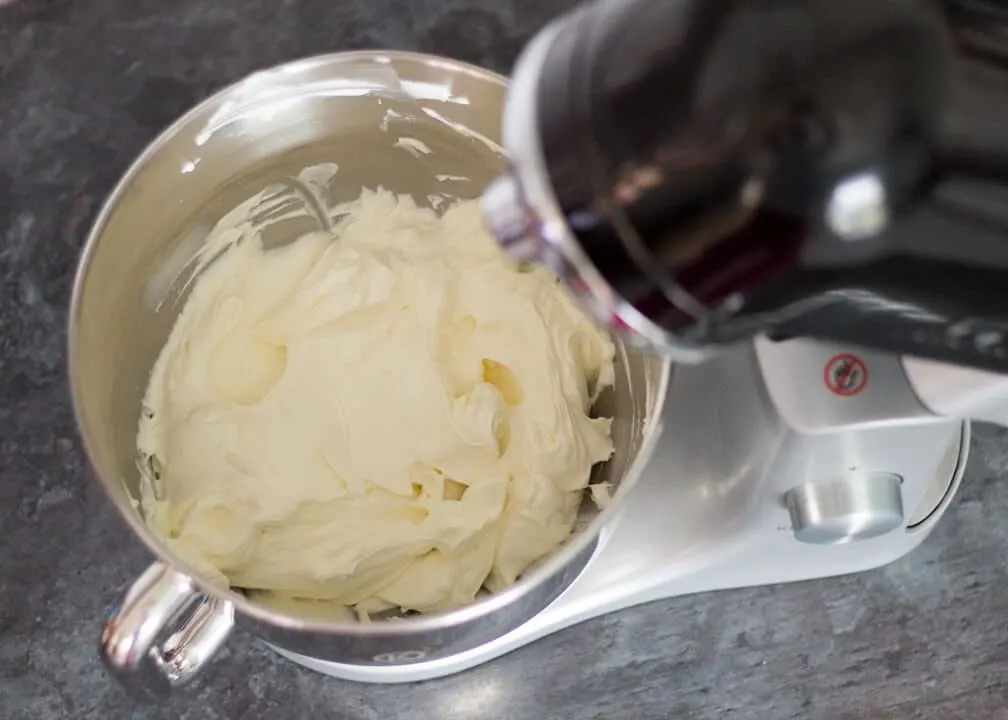
Then add in the sugar and the custard powder. Beat again on a medium speed until very smooth and shiny. (At least 3-4 minutes.)
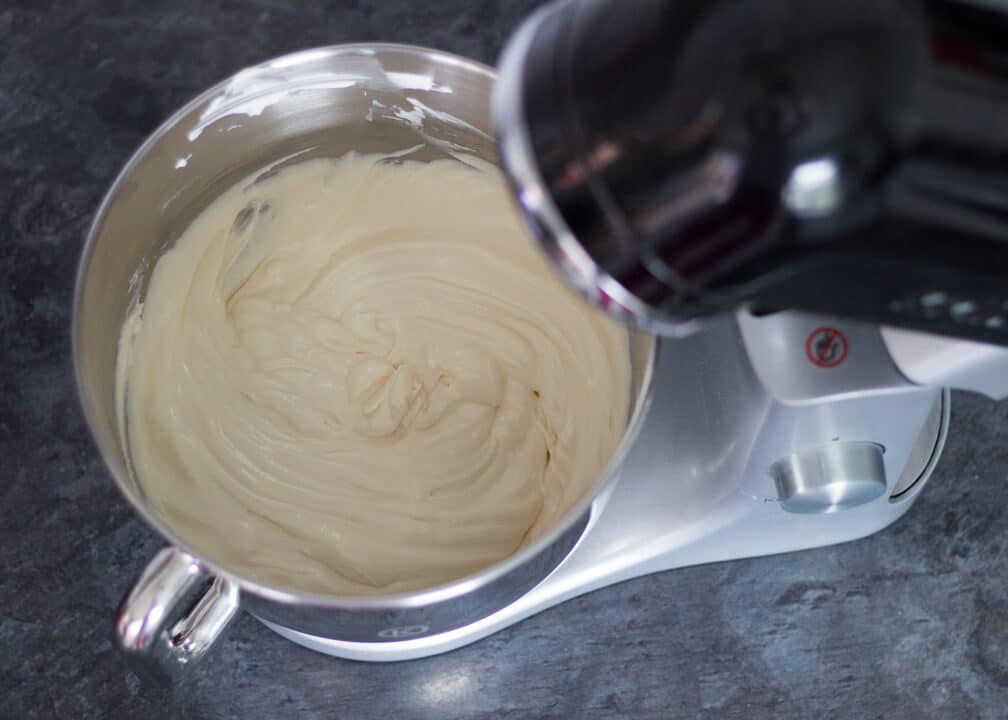

Now one at a time, crack in an egg and beat on a slow/medium speed each time until just incorporated.
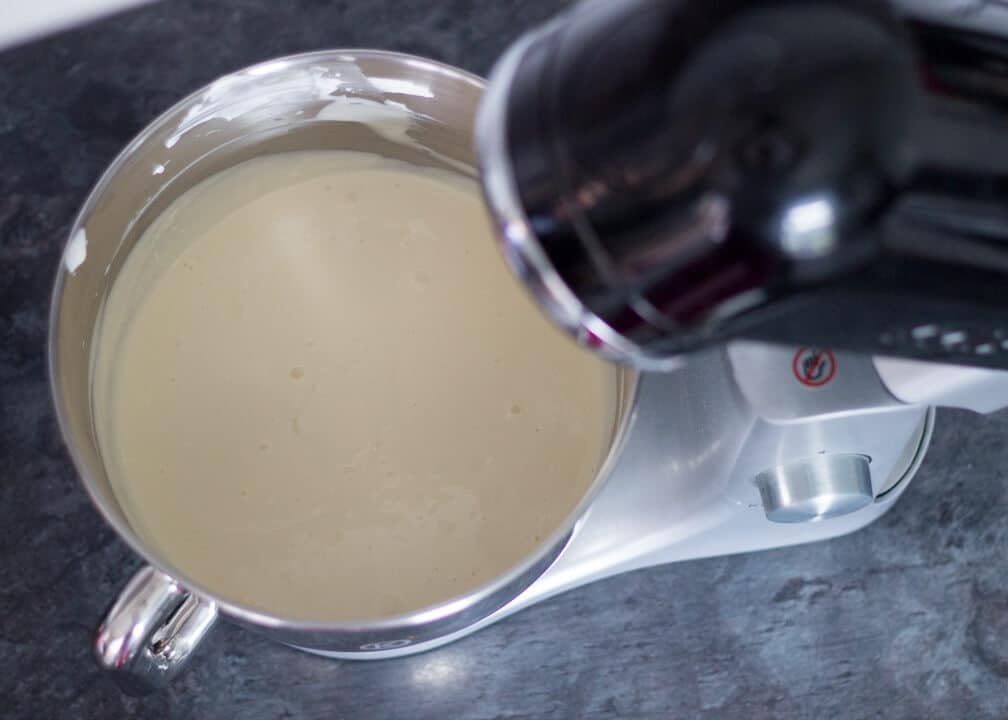

Finally pour in the cream and beat one final time just until it’s all evenly blended together.

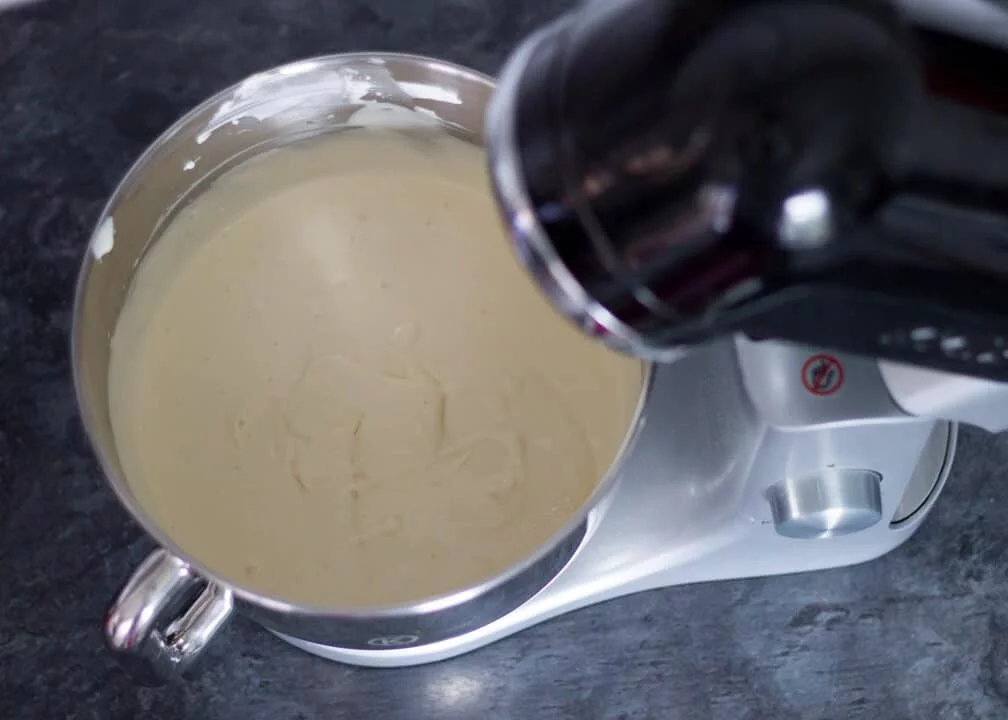
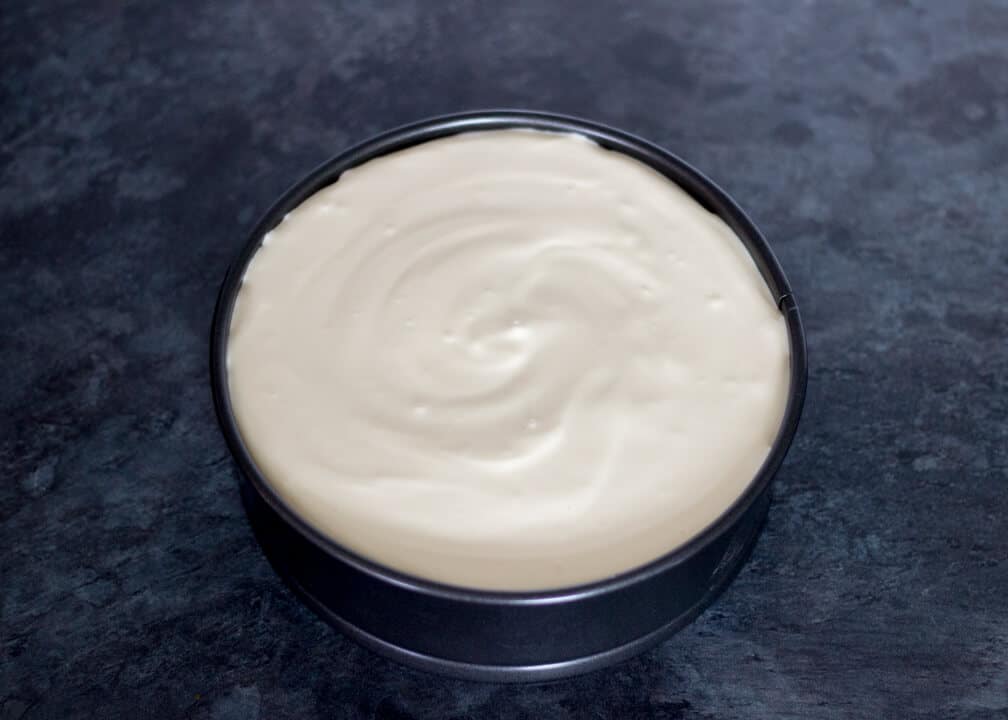
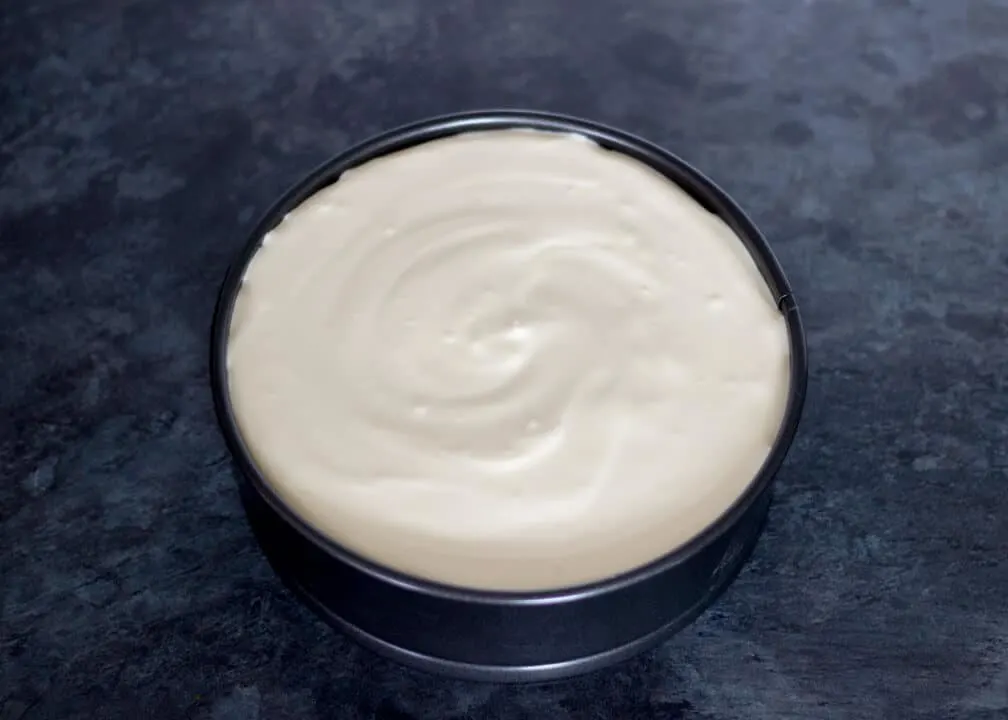
Pour the filling over your prepared base and smooth out a little. (Don’t worry too much, it will find it’s own level in the oven anyway.)
Bake in the oven on the bottom shelf for 10 minutes. (It should still be at 190°C/Fan 180°C.)
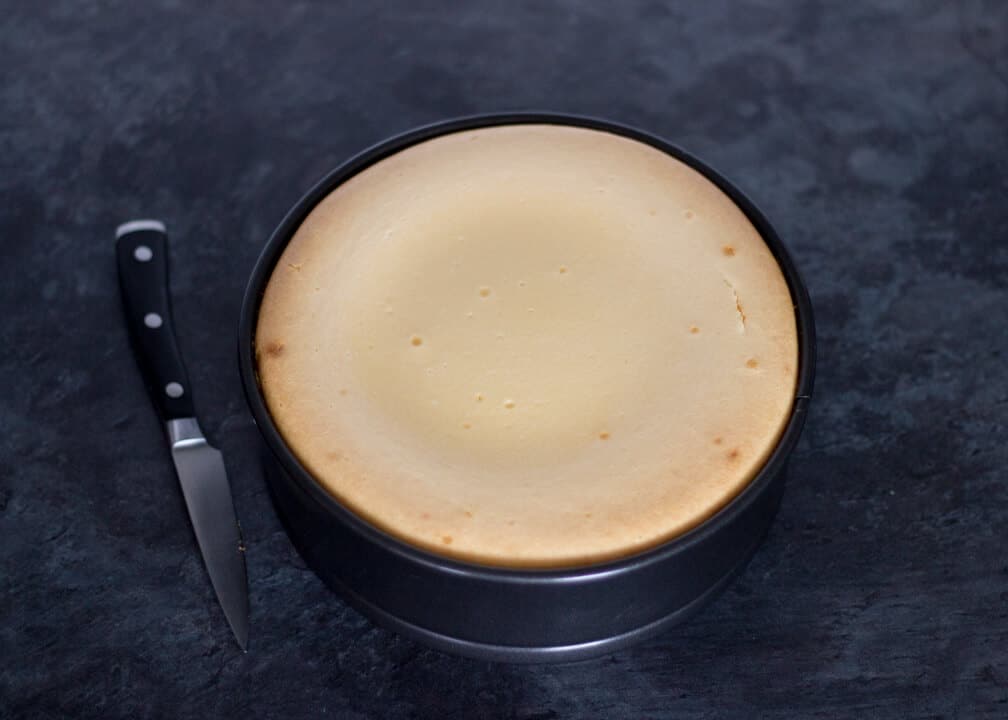
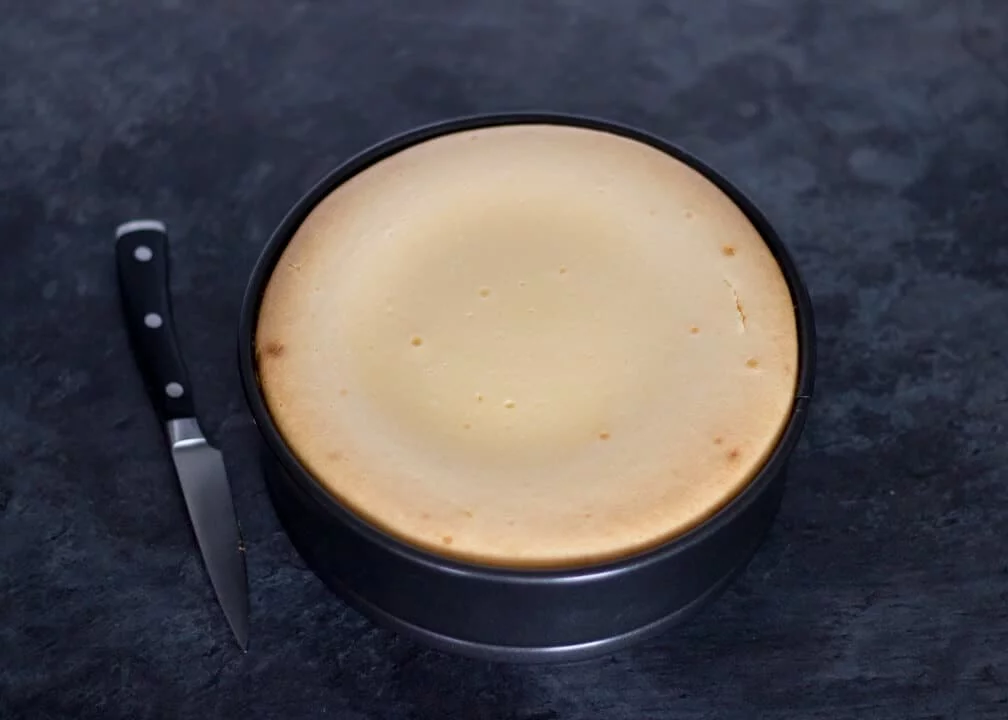
Then turn the oven temperature down to 150°C/Fan 140°C/302ºF and bake for a further 30-35 minutes until it looks set on the edge but still a bit wobbly in the middle. It will carry on cooking in the middle while cooling.
Top Tip! When the cooking time is over, switch the oven off, open the door and leave the cheesecake right there on the shelf to cool for 10 minutes. Then remove from the oven and carefully run a sharp knife around the edge – this will really help to prevent any cracks from forming on the top.
Allow to sit at room temperature for 20-30 minutes to allow to cheesecake to sink back into the tin. (It will likely have risen quite far above it during baking!)
Topping instructions (optional)
If you’re not going to make the topping, allow your cheesecake to cool completely at room temperature (this is important!!) before popping into the fridge, still in the tin, to set completely for at least 4 hours. Overnight is best if you have the time.
If you’re making the topping, after allowing the cheesecake to sit for 20-30 minutes, put your oven back on at 150°C/Fan 140°C/302ºF.
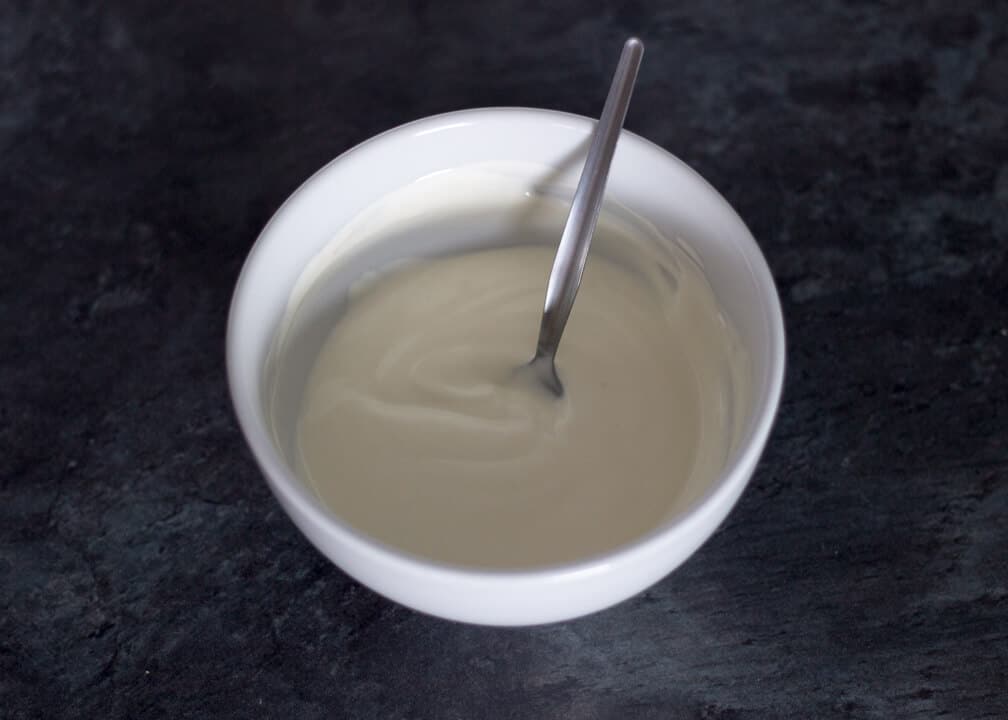
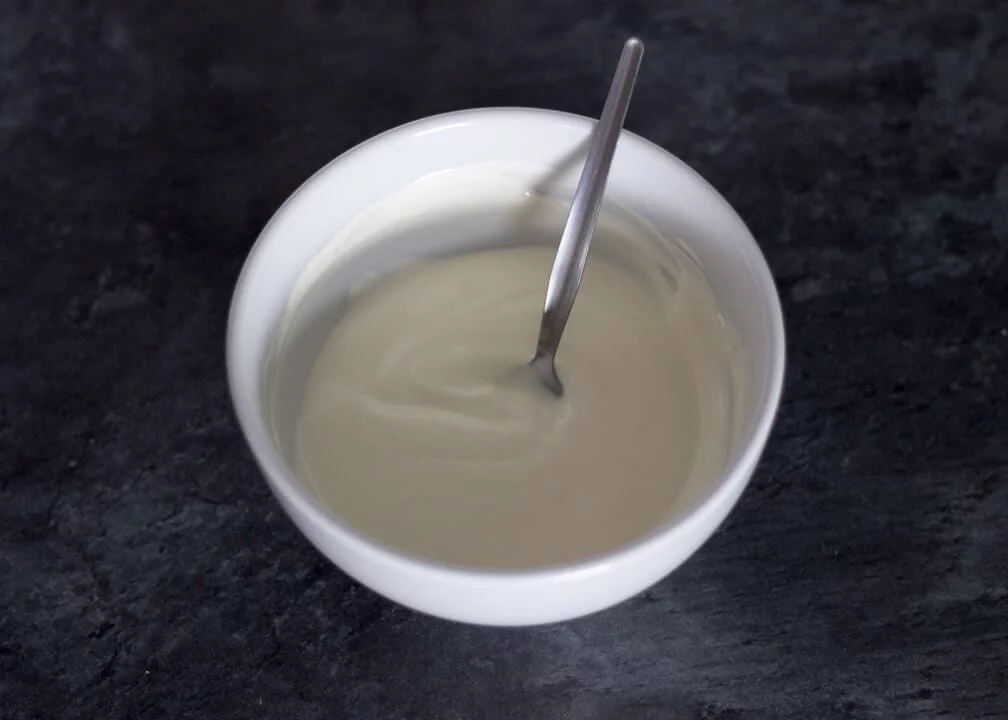
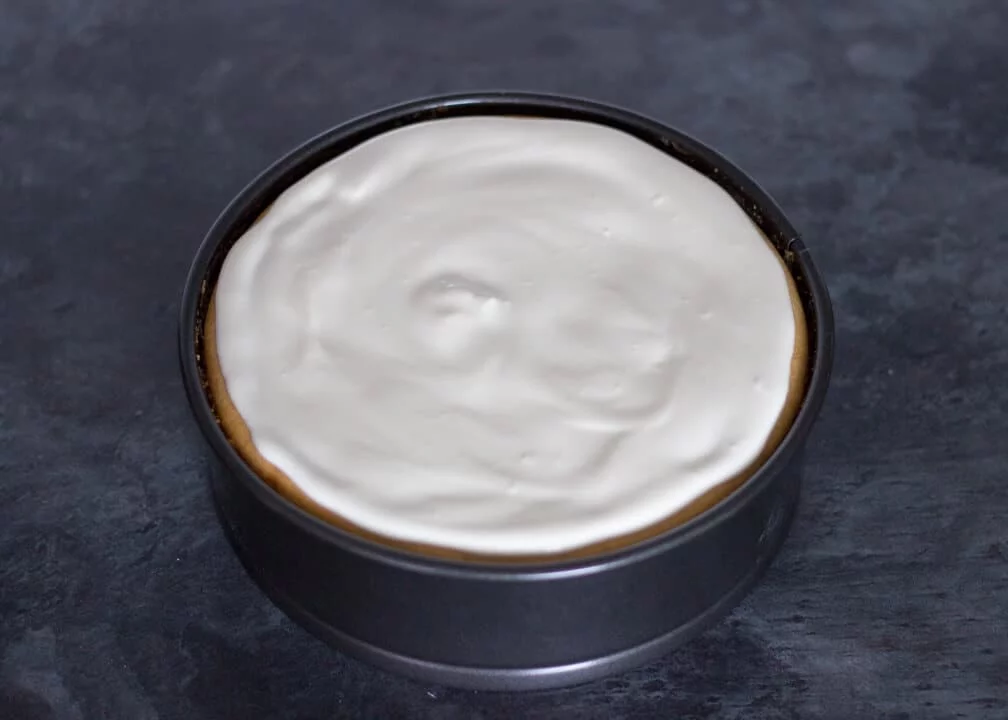
Then mix together the sour cream, vanilla and sugar in a small bowl.
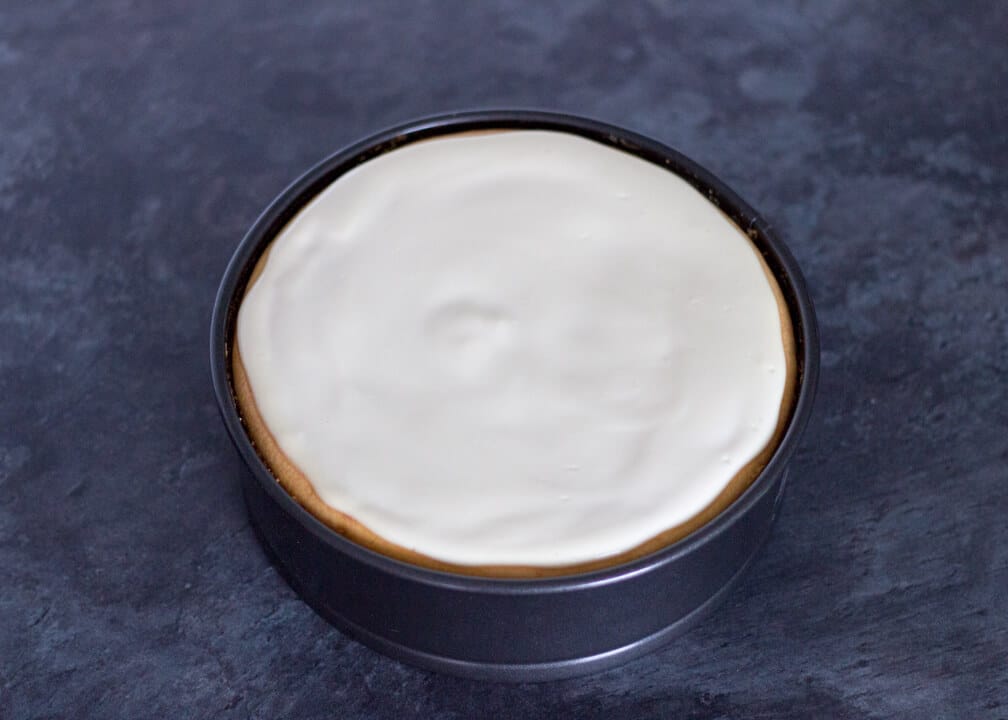
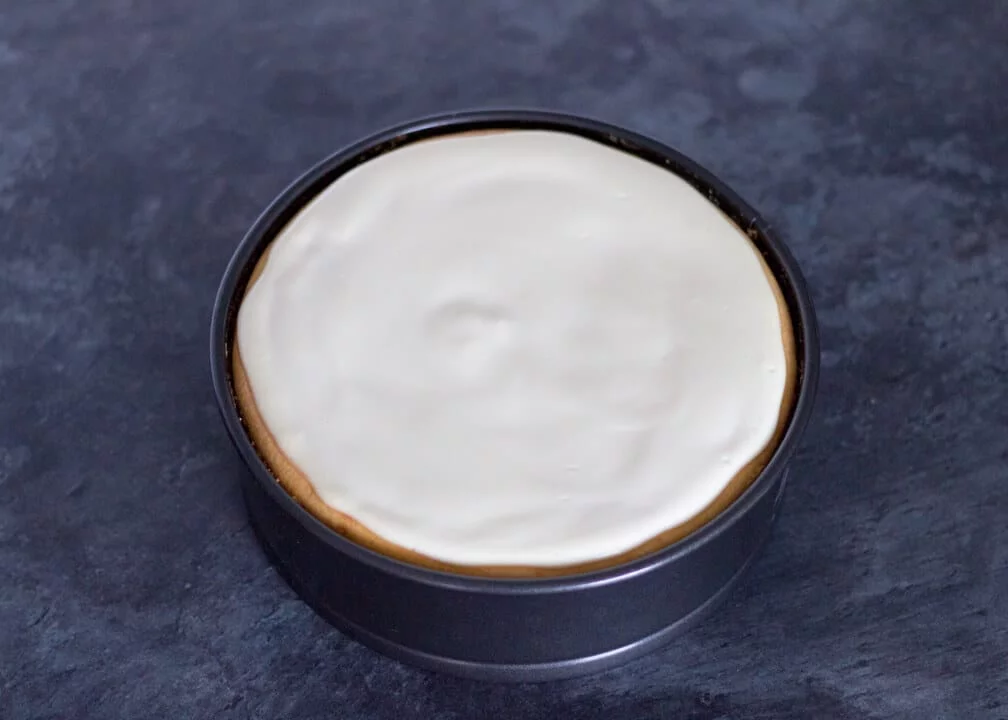
Pour it over the cheesecake and smooth out with a spoon.
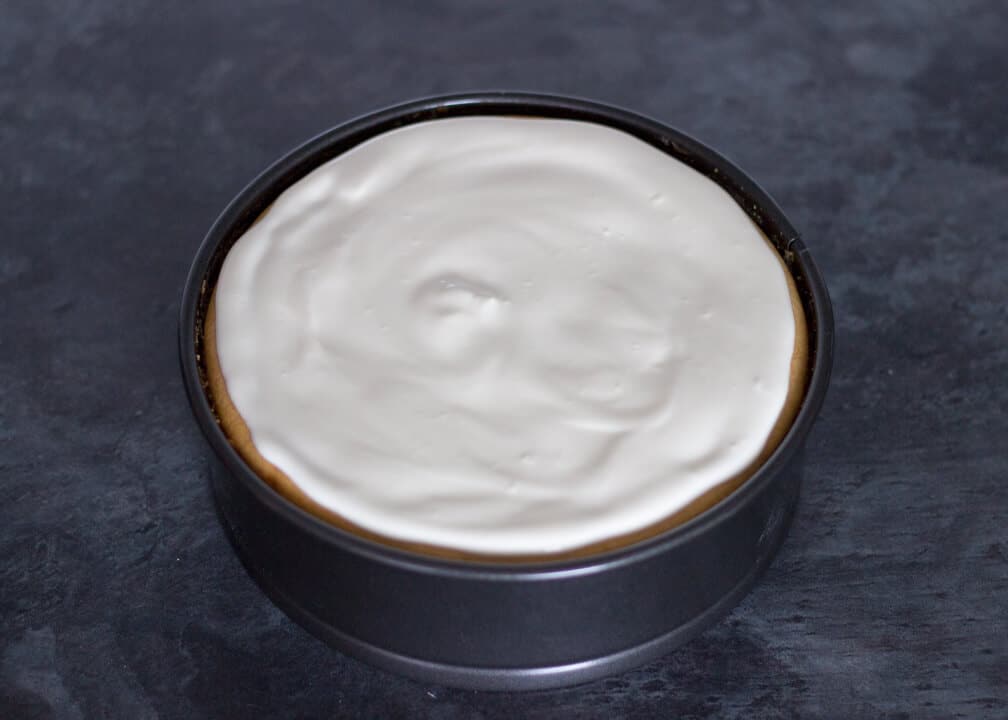
Pop into the oven for 10 minutes then repeat the cooling method as before: Switch off the oven, open the door and allow to sit on the shelf for 10 minutes. Remove and cool completely at room temperature before placing in the fridge to set for at least 4 hours or overnight if you have the time.
Decorating instructions
Decorate as close to serving time as possible. To whip your cream, pour the cold cream into a bowl and whisk until soft peaks form. (When it just starts to hold it’s shape.)
I prefer to do this by hand and put a metal bowl/hand whisk in the fridge for 20 minutes before to chill. The trick is to really get as much air into it as possible, so big movements not ‘stirring.’ Don’t over whip it either – in literally seconds it can go grainy and unusable so take it easy once it starts to thicken.
Dollop spoonfuls of it around the top edge of your cheesecake. I personally wouldn’t pipe it as the act of pushing it through a nozzle will actually over whip it! (Speaking from experience.) Then top with whole custard cream biscuits.
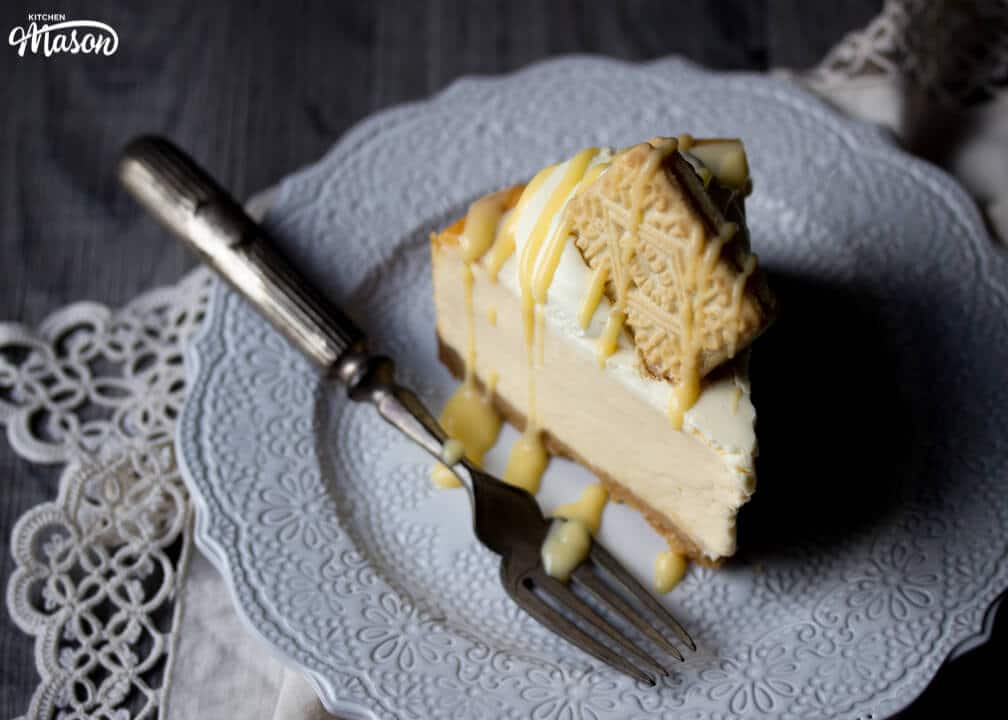
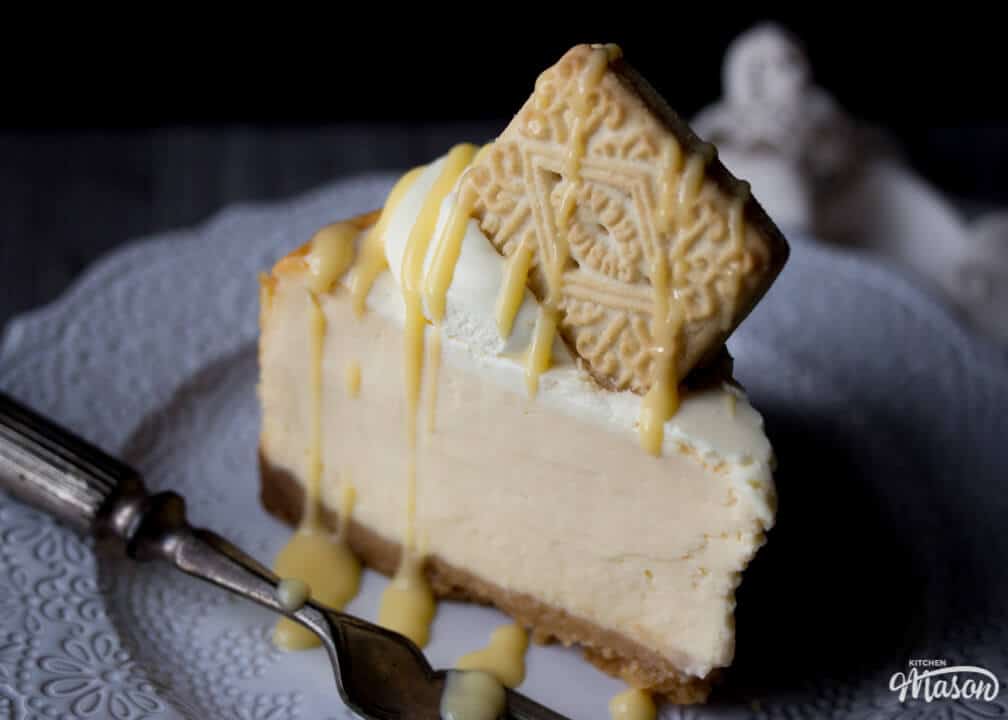
If you really want to go the extra mile, pour some fresh custard into a piping bag/plastic food bag and, once sliced and on a plate, snip the end/corner and drizzle over the cheesecake in a zigzag.

Store any uneaten cheesecake in the fridge and consume within 3-4 days.

Loved this Recipe? Pin it!


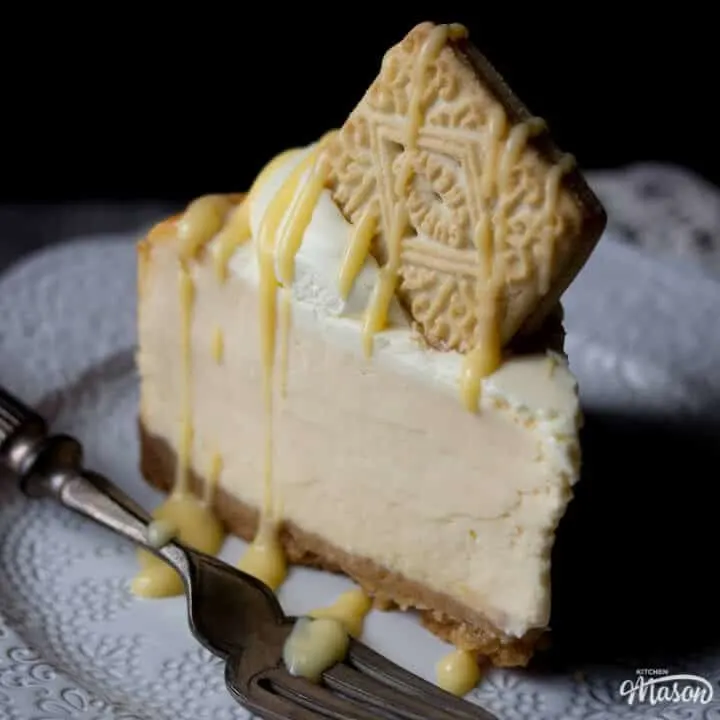
Custard Cream Baked Cheesecake Recipe
When you really need to impress, break out this irresistible baked cheesecake! Creamy and luxurious, it's guaranteed to be a hit with friends and family.
Ingredients
For the Base
- 200g (7 oz) Custard Cream Biscuits
- 60g (1/4 Cup) Unsalted Butter
For the Filling
- 750g (3 + 1/3 Cups) Full Fat Cream Cheese *
- 225g (1 + 1/8 Cup) Golden Caster Sugar
- 4 tbsp Custard Powder
- 3 Eggs
- 300ml (1 + 1/4 Cups) Double Cream
For the Topping
- 150ml (1/2 Cup + 1 tbsp) Soured Cream
- Splash of Vanilla Extract
- 1 tbsp Golden Caster Sugar
For the Decoration
- 100ml (1/3 Cup + 1 tbsp) Double Cream, Cold
- 8 Custard Cream Biscuits
- 100ml (1/3 Cup + 1 tbsp) Fresh Custard, to drizzle
Essential Equipment
- Food Processor
- Electric Stand Mixer or Large Bowl with an Electric Hand Whisk
- 21.5cm (8.5") Springform Pan
Instructions
Base
- Preheat oven to 190°C/Fan 180°C/374ºF, and grease and line the base of the tin. Then pulse the custard creams in a food processor until fine crumbs, add melted butter and pulse again until clumping.

- Press into the base of the tin and bake for 10 minutes until golden. Set aside to cool.
Filling
- Beat the cream cheese for 3 mins until very smooth. Then add the sugar and custard powder, and beat for 3 mins until really smooth again.
- Beat in the eggs one at a time until blended, then pour in cream. Mix until JUST incorporated.
- Pour over the base and cook in the oven for 10 mins.
- Reduce the temperature to 150°C/Fan 140°C/302ºF and cook for 40 mins more. The edge should look set but the middle a little jiggly.
- Turn off the oven, open the door, cool on the shelf for 10 mins. Run a knife round the edge to prevent cracks. Cool on the side for 30 mins.
Topping
- Preheat oven to 150°C/Fan 140°C/302ºF again. Mix sour cream, sugar and vanilla in a bowl then smooth out over the top of the cheesecake. Bake for 10 minutes.
- Repeat cooling as above (minus the knife round the edge part.) Then allow to cool completely at room temperature before chilling in the fridge for 4 hours.
To Decorate
- Top with dollops of whipped cream, whole custard cream biscuits and drizzle with fresh custard.
Notes
*I use full fat Philadelphia cream cheese
If you would rather use a more in depth picture recipe, please see the main body of this post. Where you’ll also find lots of extra FAQs and helpful tips, should you need them.
Please note, this recipe includes both UK metric and US Cup measurements.
Storage
Store in the fridge and consume within 3-4 days.
Tips
- Bring your cold ingredients to room temperature before using. This is particularly important of the cream cheese as it’s much easier to beat until creamy and smooth. Plus, ingredients blend much better together when they’re all the same temperature.
- Does your baked cheesecake always crack on top? When the cooking time is finished, switch the oven off, open the door and let it cool on the shelf for 10 minutes. Then remove from the oven and run a knife around the edge to prevent any cracks from forming.
- Bake your base a little before adding the filling to prevent a soggy bottom. (In this recipe I recommend 10 minutes at 180°C/Fan 170ºC/356ºF until golden.)
- Topping with crunchy biscuits? Add them as close to serving time as possible. Biscuits will start to go soft within a few hours of being near any moisture.
- Always use a springform pan when baking a cheesecake. The finished texture is very delicate and you don’t want to be disturbing it too much to remove it (i.e. tipping it upside down to get out of the tin!). Always make sure to lightly grease the base and sides and line the bottom with baking paper too.
Recommended Products
As an Amazon Associate and member of other affiliate programs, I earn from qualifying purchases at no extra cost to you.
Nutrition Information:
Yield: 12 Serving Size: 1Amount Per Serving: Calories: 624Total Fat: 47gSaturated Fat: 25gTrans Fat: 1gUnsaturated Fat: 17gCholesterol: 173mgSodium: 324mgCarbohydrates: 45gFiber: 0gSugar: 34gProtein: 8g
Nutritional information on kitchenmason.com should only be used as a general guideline, I am not a certified nutritionist. Please always check labels for allergens where applicable.

Emma is a British recipe writer, home cook, and founder of Kitchen Mason. For over 15 years, she has been creating simple, comforting recipes and practical kitchen tips that help tired, everyday people make dinner feel easier and more enjoyable again. Passionate about British home cooking, Emma shares reliable recipes, comforting classics, and realistic kitchen guidance designed for real life. Her work has also been featured in publications including Food Network, Cosmopolitan, and The Huffington Post.
Knowledgeable On: British home cooking, Easy dinner ideas, Comford food recipes, Recipe writing
Andrea
Thursday 27th of May 2021
Hi I really want to try this cheesecake but can’t find custard creams (I live in France) could I use golden Oreos instead? Thanks.
Emma
Thursday 27th of May 2021
Hi Andrea. The flavour will obviously be quite different but it should work well with golden Oreos! Emma x
Michelle D
Saturday 14th of November 2020
Ooooh sounds good. What do you think of using homemade melting moments for the base?
Emma
Sunday 15th of November 2020
Hi Michelle. I don’t think melting moments are robust enough to be a cheesecake base if I’m honest. I like to use either digestive biscuits (if you’re based in the UK), graham crackers (if you’re based in the US) or golden Oreos. Emma x
Emma
Tuesday 10th of March 2020
Hi, this sounds amazing! I'm hoping to make it for some friends this weekend. What about freezing the cheesecake once cooked, have you tried that? And hows best to do so?
Miss KitchenMason
Wednesday 11th of March 2020
Hi Emma, thanks so much for your kind words! As for freezing a cheesecake, it’s honestly something that I’ve never done before. If I were to try it, I would make sure it was completely cooled then chilled in the fridge until cold before freezing. I would also make sure it was covered well and leave off any decoration too. Hope that helps :) Emma x
Gina
Monday 24th of February 2020
Hi, This cheesecake looks wonderful & I would like to make it. I am in the US & not sure what the custard powder or custard is in this recipe? I believe that I can substitute dark brown sugar for the golden caster sugar? Any suggestions? Thanks.
Miss KitchenMason
Monday 24th of February 2020
Hi Gina! I’m so happy you like the look of my cheesecake. Being based in the UK, custard powder and custard are readily available in the shops. I did find this helpful article for substitutes in the US which I think may help? The fresh custard for the drizzle is optional so you don’t have to use that anyway. Hope it works for you! Emma x
sharon
Friday 22nd of November 2019
I want to make individual cheesecakes in custard cups-what temp and for how long should I bake?
Miss KitchenMason
Friday 22nd of November 2019
Hi Sharon. That’s a slightly tricky question having never done that myself with this particular recipe. Personally I would try it at the same temperature and check them around the 20 minute mark. Then use your judgement - they should look set on the edge but still a bit wobbly in the middle. I hope that helps! Emma x