This post may contain affiliate links. Where I make a small commission on purchased items, at no extra cost to you. See my disclosure for details.
This amazing hummus recipe yields the most luscious, creamy and exquisite hummus EVER! An enticing addition to any party table, delicious healthy snack or tempting side dish, this crazy good hummus recipe goes the extra mile for both taste and texture. It would also pair perfectly with bacon halloumi bites!
If you love homemade dips, you should check out my perfect homemade tzatziki recipe too – you’ll love it!

Ever made hummus and wondered why it doesn’t taste as flavourful as the stuff you can buy? Or get annoyed because yours is super lumpy and, no matter what you do, it just won’t get any smoother?!
By adding one surprising step to your hummus recipe, you can enjoy the smoothest hummus in all the land! Even smoother that shop bought – yes REALLY!
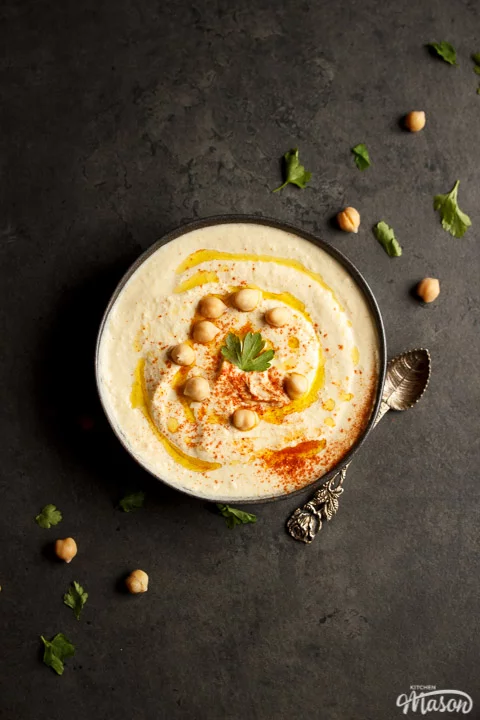
How to make smooth hummus
So what’s the trick? Boil the chickpeas with a little bicarbonate of soda. I know, sounds weird right? Hear me out – it makes perfect sense when you think about it. By boiling the chickpeas, they swell and soften. Let’s be honest – tinned chickpeas can be quite hard and undercooked at the best of times, so this is only a good thing! And what does the bicarb do? Well this helps to break down the chickpeas and pop off their outer skins. So what does all this mean? It means that they blend WAY smoother! Giving you the perfect hummus consistency.
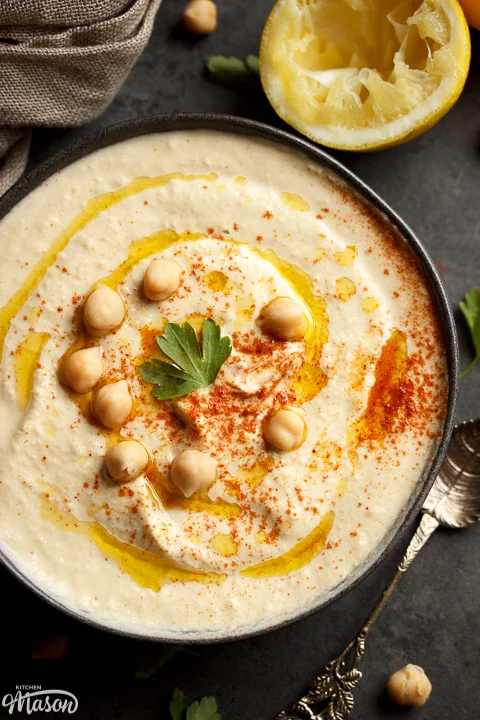
Hummus Recipe Tips
At first glance, making hummus can seem simple, but there are a few things that can easily trip you up! Here’s some helpful tips so you can avoid any disappointing pitfalls…
- Don’t skip adding the bicarbonate of soda to the water when boiling the chickpeas. It really helps to break them down which makes them blend WAY smoother than if you omitted it.
- No need to discard the chickpea skins once they’ve popped off! They won’t prevent your hummus from becoming smooth or affect the flavour in any way.
- Allowing the lemon, garlic and salt to marinade together for 10 – 15 minutes really helps the overall flavour of your hummus.
- Taste test the whole way through the recipe. That way you won’t be disappointed with the end result!
- If you don’t dip directly into your hummus, it will last much longer! Spoon what you need into a small bowl instead of dipping into the whole batch.
- Hummus doesn’t thicken much once chilled so make sure you’re happy with the consistency before hand.
- Remember, you can always add more but you can’t take it out. Bear this in mind when adding the lemon juice, if you add too much – your hummus may become thin.
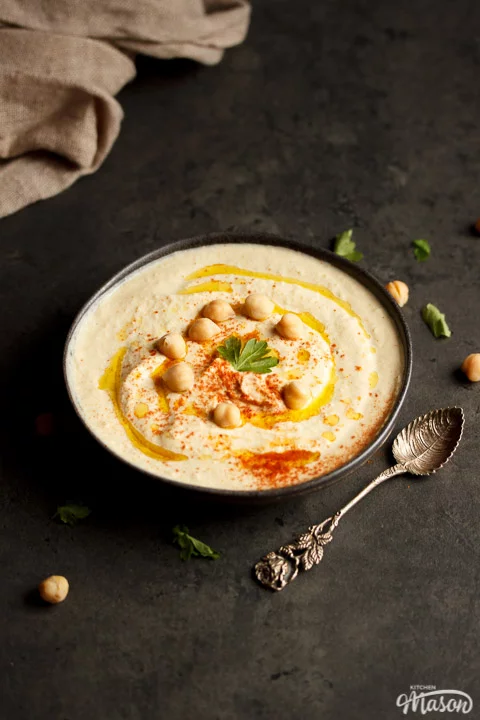
Hummus Ingredients
- Chickpeas – Because we’re going to boil them, it doesn’t really matter what brand or how expensive your chickpeas are. Any will work fine!
- Bicarbonate of Soda – Don’t skip adding this to the pan. It really helps to break down those chickpeas / give a super smooth hummus.
- Lemon Juice – Add little by little. Remember you can always add more but you can’t take it out! If your lemons are really large, it may be a little too much and make the hummus runny.
- Garlic – I use large cloves but, if you use small – increase the amount. Go with your taste, as everyone has a garlic limit!
- Salt – A pinch of salt really does go a long way in the flavour world. I prefer to use Cornish sea salt.
- Tahini – Bought Tahini varies and each brand can be either thick or runny. If yours in quite runny, add it in stages as. If you add too much, your hummus could become runny. *
- Cumin – Ground cumin really brings out the best in all the other ingredients here. I wouldn’t skip it if you have the choice!
*You can make hummus without tahini if you’d prefer not to buy a special ingredient to make this.
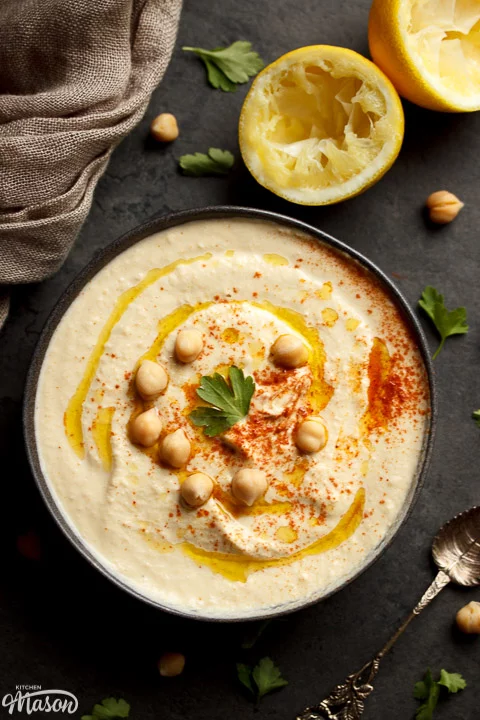
Perfect Homemade Hummus – Step by Step Picture Recipe
Here is what you will need to Make 1 Litre. (Easily halved or doubled.)
(For a printer friendly version, see the recipe card at the end of this post)
Ingredients
- 2 x 400g (14 oz) Tins of Chickpeas, drained and rinsed
- 1/2 tsp Bicarbonate of Soda
- Juice of 2 Lemons
- 3 Large Garlic Cloves, peeled and minced *
- 1 tsp Salt
- 85g (1/3 Cup) Tahini
- 1/2 – 1 tsp Ground Cumin
To serve (optional)
- Drizzle of Olive Oil
- A few Chickpeas **
- 1/4 tsp Paprika
- 1 Parsley Leaf
Essential equipment
- Medium Saucepan
- Food Processor or Nutribullet
*Yes, these need to be large cloves. If you can’t get large, use 5 – 6 small ones instead. We want big flavour here!
**No need to open a new tin! Just reserve a few from the hummus ingredients before you boil them.
Preparation
First, if you haven’t already, prepare your ingredients as follows…
- Drain and rinse the chickpeas (2 x 400g | 14 oz tins) in a seive until the water stops bubbling.
- Roll the lemons (x 2) on a worktop to get the juices going, then slice in half and squeeze out the juice.
- Peel the garlic (3 x large cloves or 5-6 small) and finely mince.
Now we’re ready to make some hummus!
Instructions
Place the rinsed chickpeas into a medium sized saucepan and add the bicarbonate of soda (1/2 tsp). Cover with cold water, at least 2″ more than the level of the chickpeas.
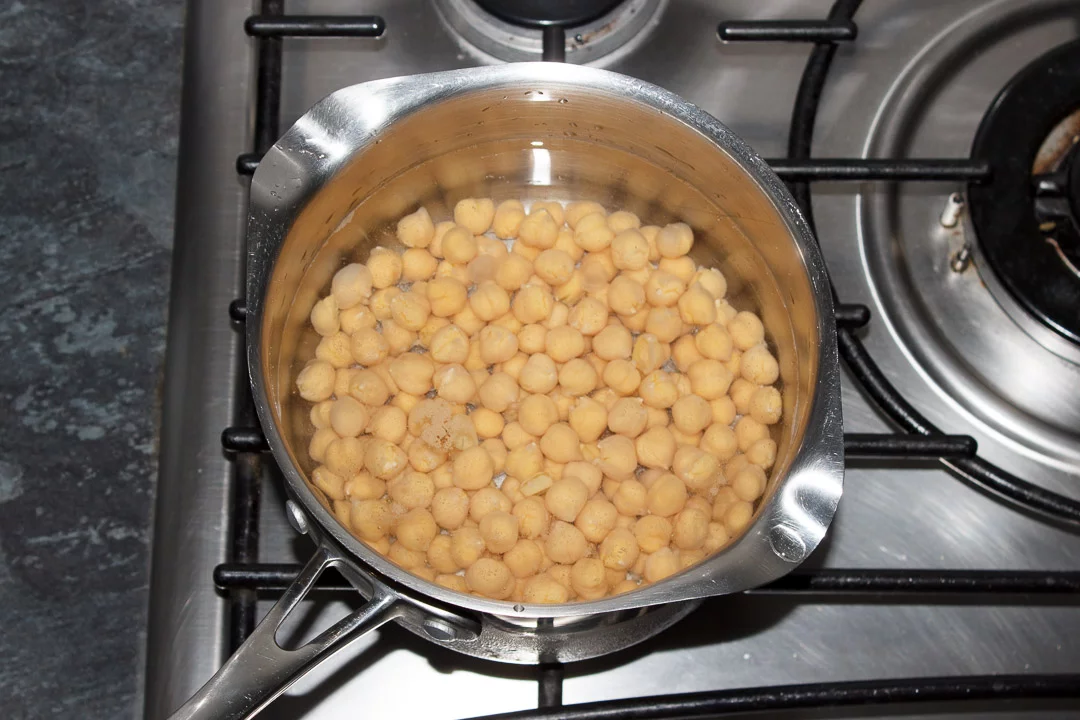
Then place the pan over a high heat and bring it to the boil…
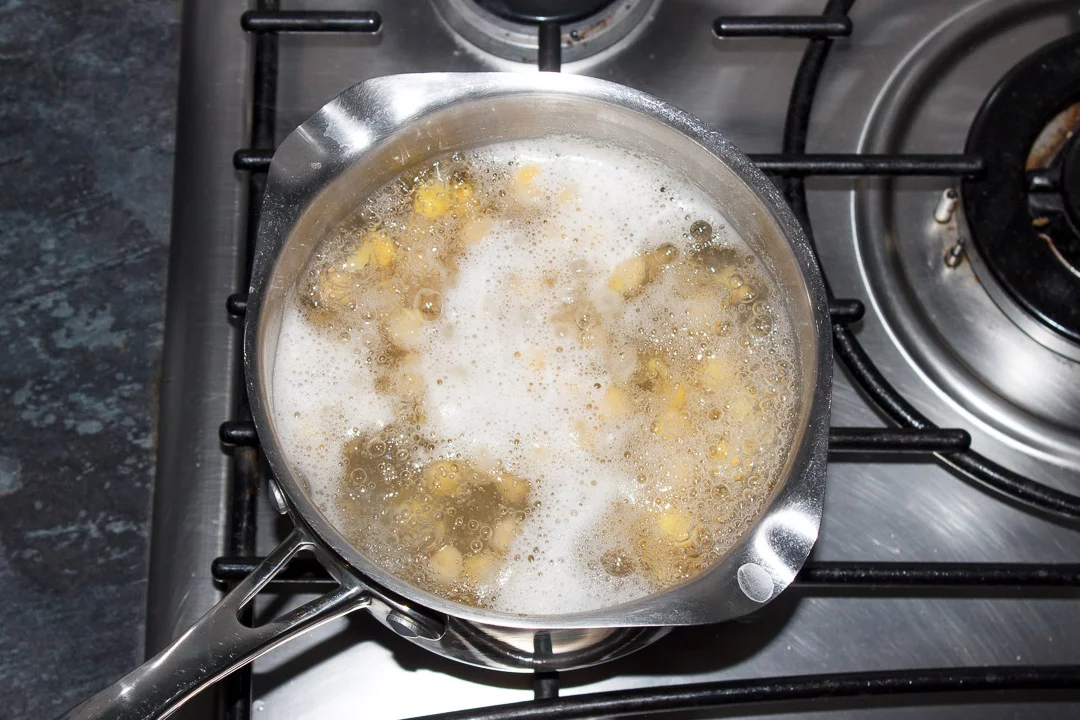
Once the water is boiling, reduce the heat and allow to simmer, stirring occasionally, for around 15 – 20 minutes until the chickpeas look plump and most of the skins have come off.
Meanwhile, let’s make a start on the flavour!
Place the lemon juice into a food processor or nutribullet and add the minced garlic and salt (1 tsp). Give it a quick blitz then leave to one side while we wait for the chickpeas to finish simmering. This will also allow that harsh garlic flavour to mellow into a beautiful, well rounded, garlic flavour.
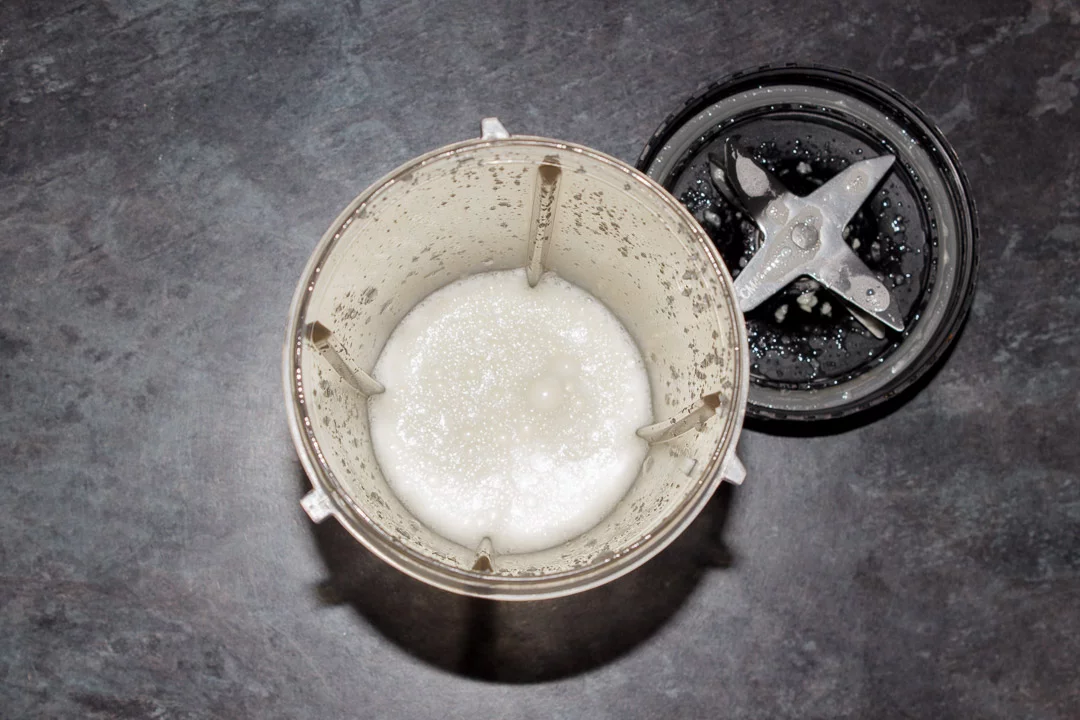
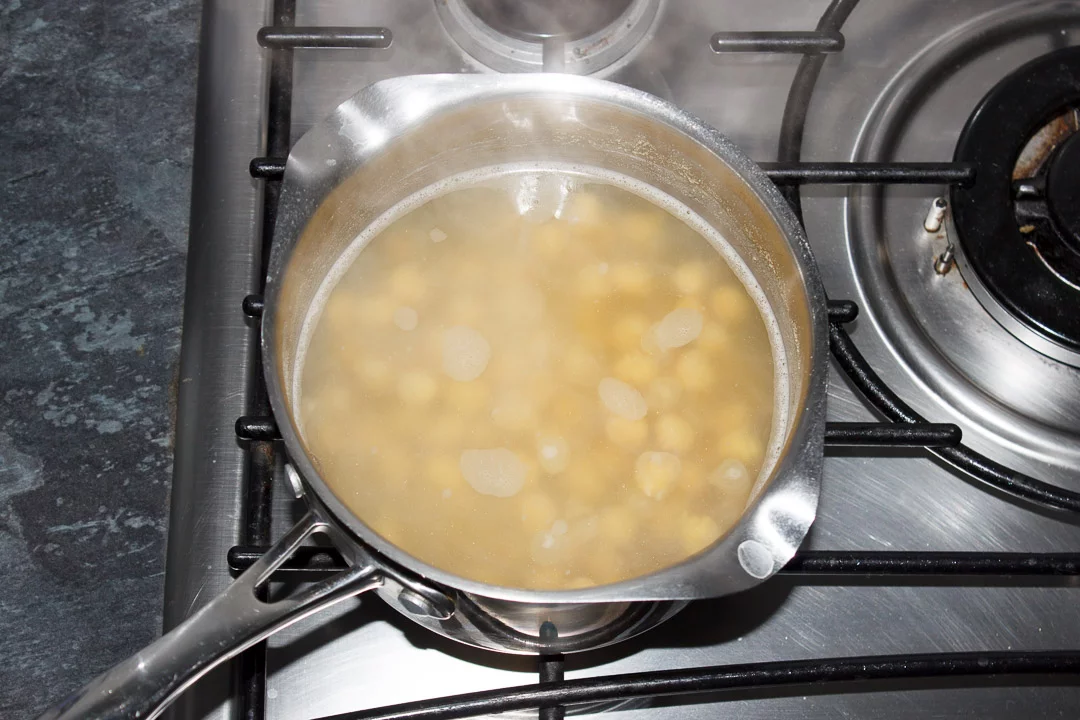
When the chickpeas have finished boiling, immediately drain the hot water and rinse in cold water to cool them right down…
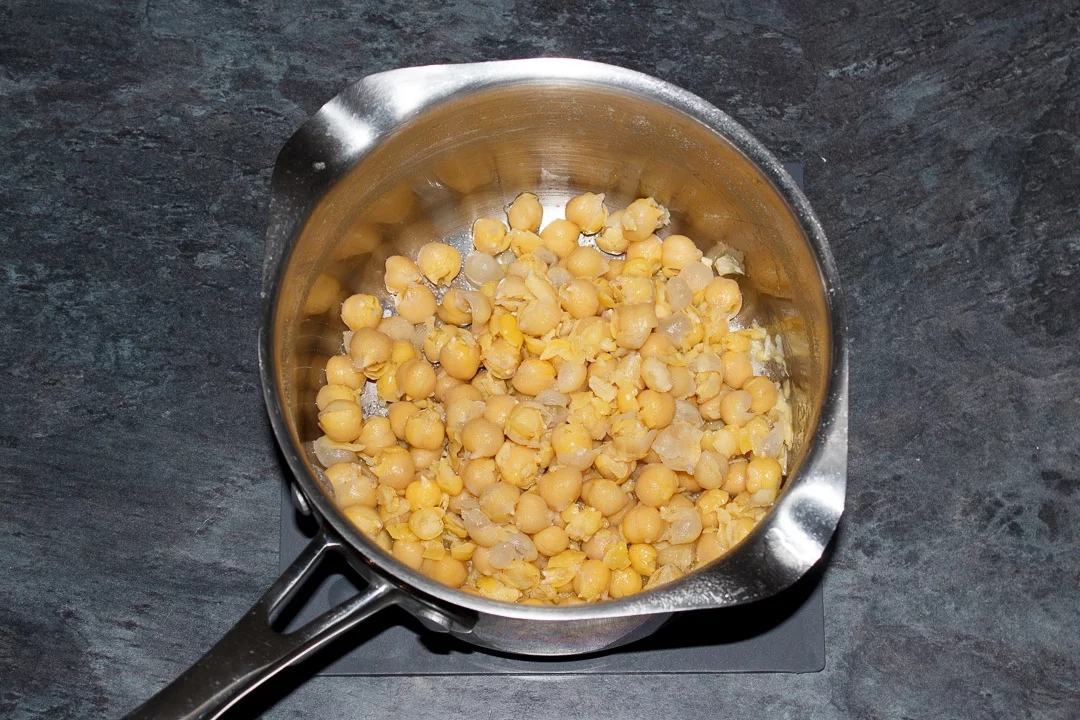
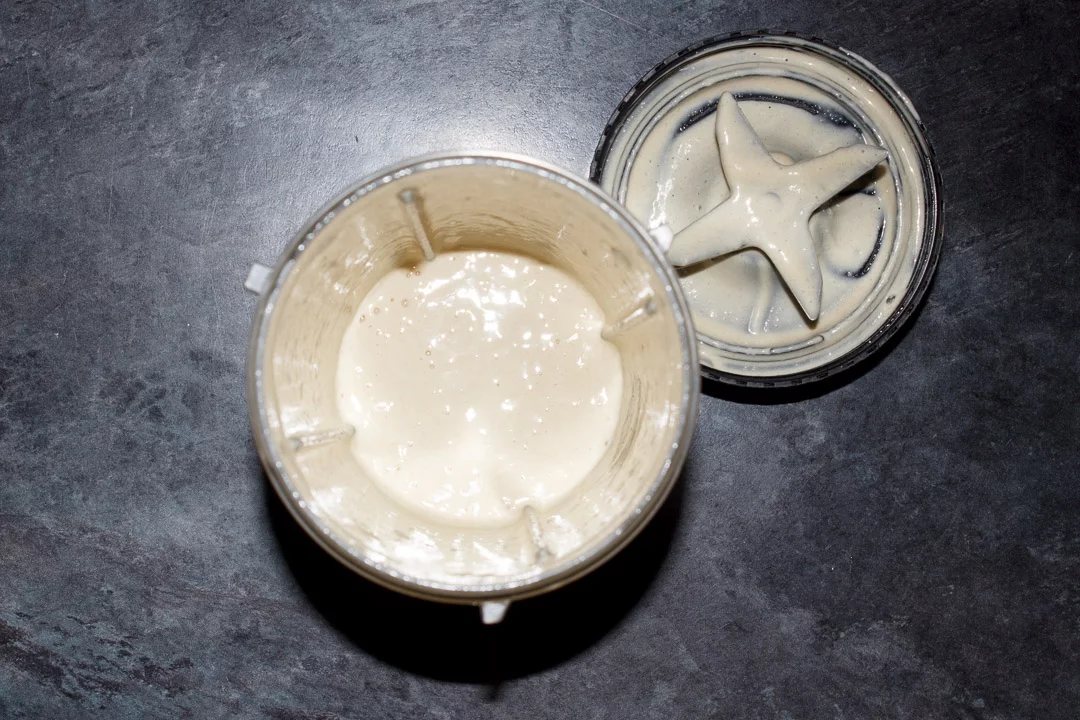
Next, add the tahini (85g | 1/3 cup) to the lemon and garlic mixture and blitz until smooth.
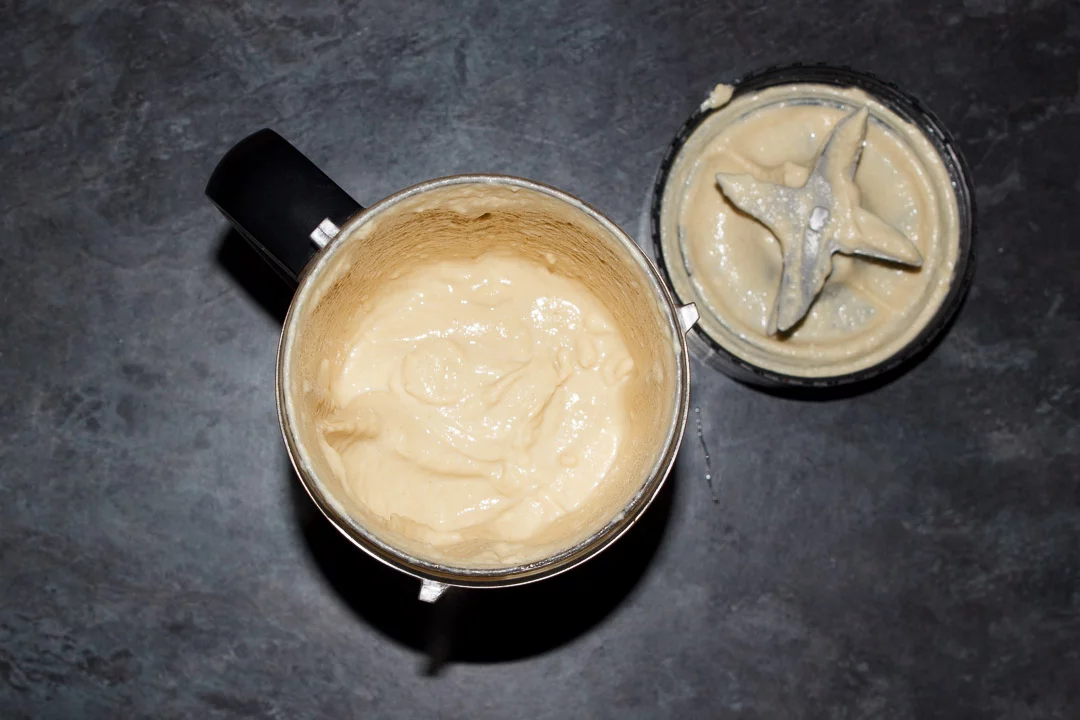
Then add the chickpeas and cumin (1/2 – 1 tsp) and blitz until smooth and thick.
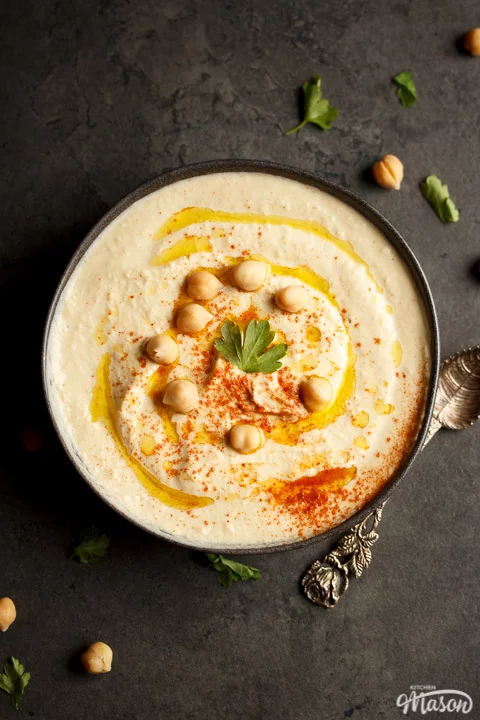
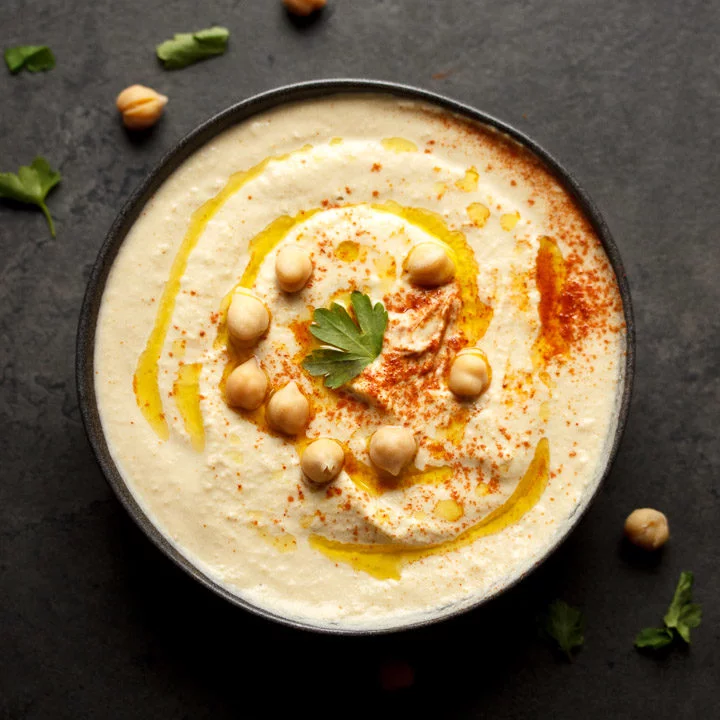
Finally, have a taste and add more lemon juice, cumin or salt as required. Then pour some into a serving dish and, for that finishing touch, drizzle with olive oil, dot a few reserved chickpeas on top then dust with a sprinkling of paprika and a parsley leaf or two.
And there you have it – the creamiest and most heavenly hummus you ever did see!
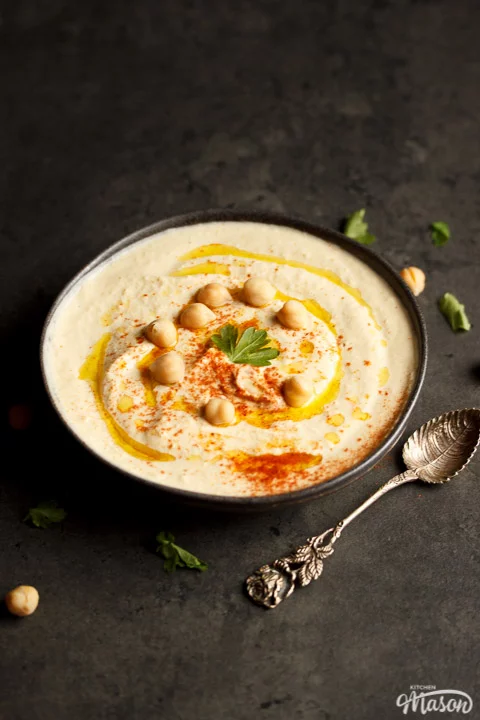
Store your hummus in an airtight container in the fridge and it will easily last for 7 – 10 days.
Rather make your own tahini than buy it at the shops? Here’s a great tahini recipe and it’s easier than you’d think too!
Have you made this recipe?
Will this gorgeous minestrone soup be making it’s way into your home? I’d love to know if it is! Send me your pics and comments on Facebook, Twitter and Instagram or email me at emma@kitchenmason.com.
Loved this recipe? Pin it!
Perfect Homemade Hummus - Printable Recipe
This amazing hummus recipe produces the creamiest, smoothest and most heavenly hummus ever... proving that homemade really is always better!
Ingredients
- 2 x 400g (14 oz) Tins of Chickpeas, drained and rinsed
- 1/2 tsp Bicarbonate of Soda
- Juice of 2 Lemons
- 3 Large Garlic Cloves, peeled and minced *
- 1 tsp Salt
- 85g (1/3 Cup) Tahini
- 1/2 – 1 tsp Ground Cumin
To Serve (Optional)
- Drizzle of Olive Oil
- A few Chickpeas **
- 1/4 tsp Paprika
- 1 Parsley Leaf
Essential Equipment
- Medium Saucepan
- Food Processor or Nutribullet
Instructions
- Add the chickpeas and bicarbonate of soda to a medium saucepan and cover with water by a clear 2".
- Place over a high heat and bring to the boil, then reduce and simmer for 15 minutes.
- Add the lemon juice, garlic and salt to a food processor/nutribullet and pulse briefly. Allow to marinade until the chickpeas have finished boiling.
- Drain the chickpeas and rinse in cold water until the chickpeas have cooled.
- Add the tahini to the lemon and pulse until creamy.
- Add the drained, cooled chickpeas and the cumin and pulse until completely smooth.
- Taste and add more lemon juice, salt or cumin as needed.
- (Optional) To serve, pour some into a bowl and place a few chickpeas on top. Drizzle with a little olive oil, sprinkle with some paprika and finish with a few parsley leaves.
Notes
This recipe is easily halved or doubled.
*If you can't get large cloves, use 5 - 6 small ones instead. We want big flavour!
**No need to open a new tin - just reserve a few from the hummus ingredients before you boil them.
Recommended Products
As an Amazon Associate and member of other affiliate programs, I earn from qualifying purchases at no extra cost to you.
Nutrition Information:
Yield: 18 Serving Size: 1Amount Per Serving: Calories: 112Total Fat: 4gSaturated Fat: 0gTrans Fat: 0gUnsaturated Fat: 3gCholesterol: 0mgSodium: 326mgCarbohydrates: 16gFiber: 4gSugar: 4gProtein: 5g
Nutritional information on kitchenmason.com should only be used as a general guideline, I am not a certified nutritionist. Please always check labels for allergens where applicable.

Jacqueline
Wednesday 12th of October 2022
Can I ask why you boil the chickpeas? I normally just rinse and add to food processor, thanks
Emma
Thursday 13th of October 2022
Hi Jacqueline. That's a great question! Boiling the chickpeas with a little bicarb helps them to swell and soften. This helps them blend much smoother than they would if you didn't boil them. Giving you a more creamy and smooth hummus. Emma x