This post may contain affiliate links. Where I make a small commission on purchased items, at no extra cost to you. See my disclosure for details.
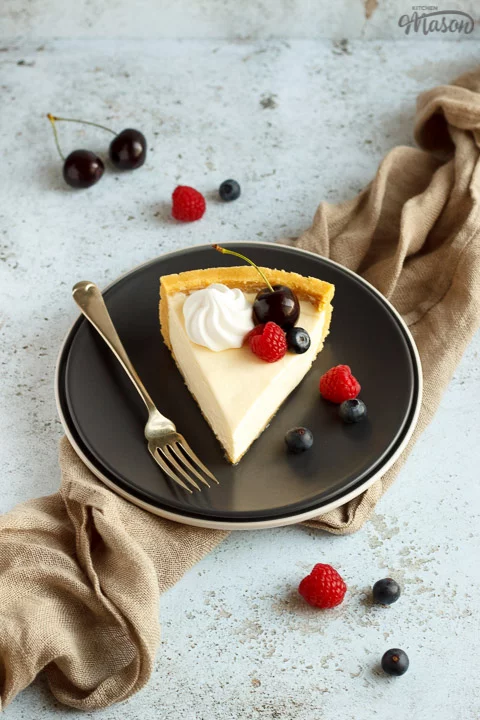
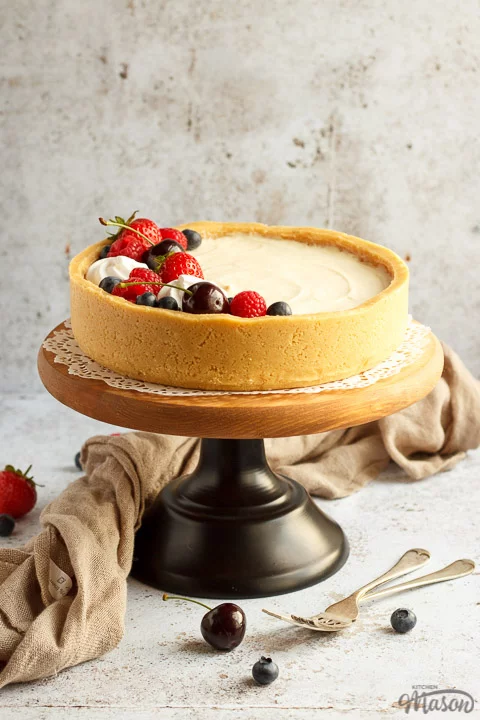
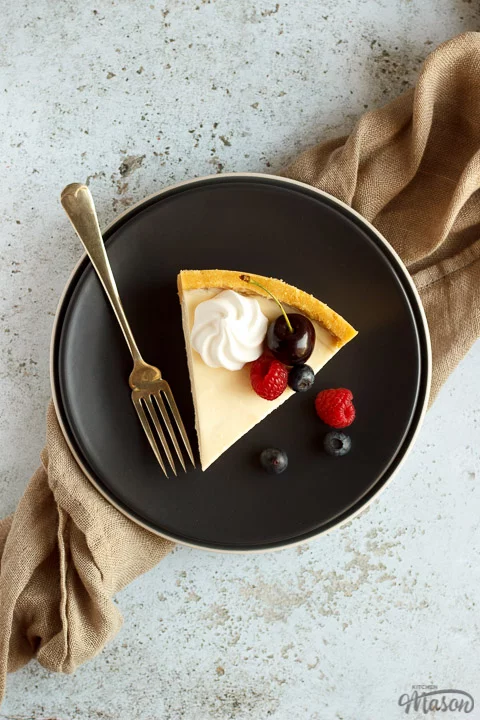
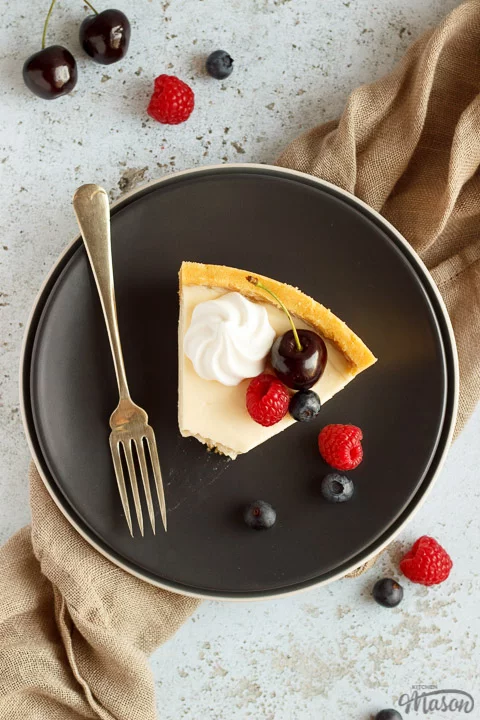
Light, creamy and easy to make, this beautiful no bake vanilla cheesecake should definitely be up there on your go to desserts! Just like my no bake chocolate cheesecake recipe, it’s a perfect make ahead dessert, ideal for gatherings, BBQ’s and dinner parties. Read on for the full recipe and tons of helpful tips and tricks…

I’ve always had a soft spot for cheesecakes but can rarely be bothered to make a baked one. (I know I know, I can be so lazy!) No bake cheesecakes are so quick and easy to make, plus they’re almost always much lighter in texture – exactly what you want after eating a big meal or enjoying several courses at a dinner party. Also, who wants to put the oven on in the heat of Summer when you don’t have to?!
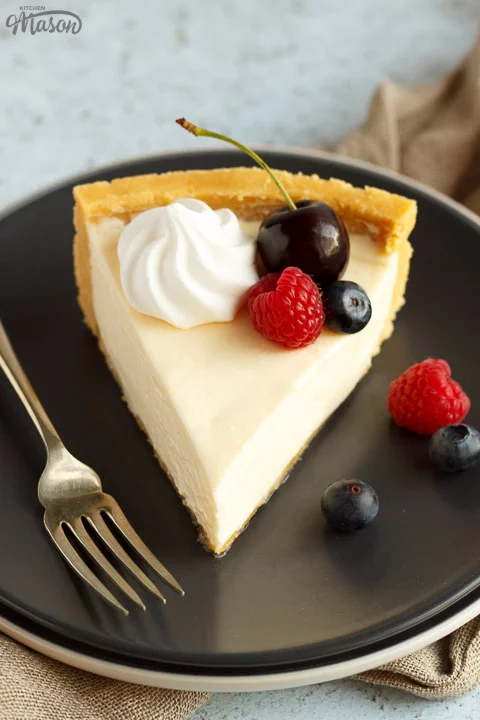
You can so easily turn a no bake cheesecake into a showstopper too. How about slicing some colourful, seasonal fruits and presenting them on top? Or even piling a ton of your favourite chopped up chocolate bars on top and drizzling all over with dark chocolate to create a trendy ‘freakshake cheesecake’ dessert?
You can even throw fruit right into the filling, like these gorgeous raspberry cheesecake bars!
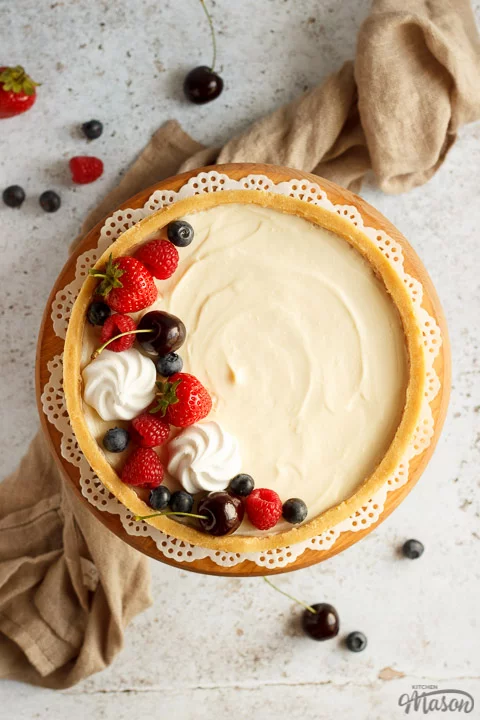
Even swirling through a topping like in this no bake Biscoff cheesecake can make for a delightful variation. I have to say though, I am a plain vanilla fan girl. If you use a really good quality vanilla extract, this decadent dessert will shine all on it’s own!
If you’re after a slightly more fruity and refreshing dessert, these mango and white chocolate cheesecake and no bake lemon cheesecake recipes will be right up your street.
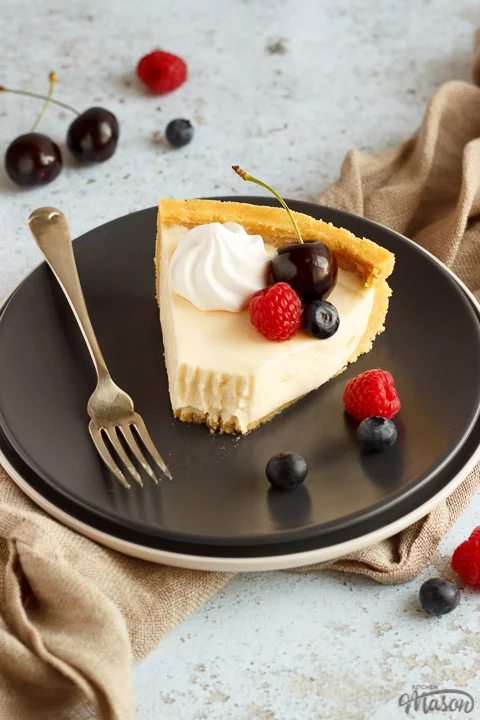
No bake vanilla cheesecake – recipe summary
It really couldn’t be any easier!
- Blitz golden Oreos and mix with melted butter.
- Press into the base and sides of your tin and chill.
- Whip cream and icing sugar to soft peaks.
- Beat together softened cream cheese and caster sugar.
- Mix through soured cream and vanilla.
- Fold the whipped cream into the cream cheese then pour into the base.
- Chill until set.
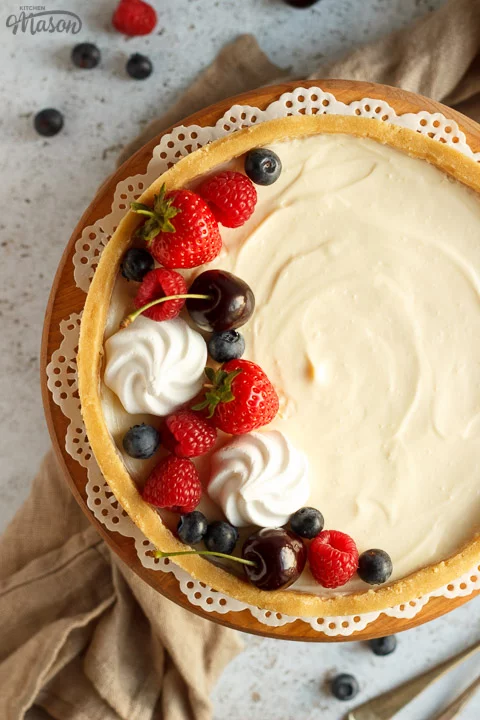
No bake vanilla cheesecake ingredients
Here’s everything you need to know about the ingredients for this recipe…
- Golden Oreos – Digestives are ok but Golden Oreos give a firmer base and much better flavour.
- Butter – Always use unsalted butter in baking unless specified otherwise.
- Cream – It needs to be whippable so use double cream in the UK and heavy cream in the US.
- Icing Sugar – Also known as confectioners sugar, this dissolves easily into cream.
- Cream Cheese – In my experience, full fat Philadelphia Original is best. Other brands/lighter versions may not set.
- Caster Sugar – Golden caster sugar is my favourite as it adds a slight caramel flavour. Regular caster sugar (superfine in the US) will work well too.
- Soured Cream – It is what it is. Don’t substitute this or leave it out. It really adds to the flavour!
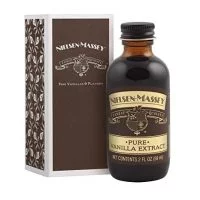
- Vanilla – In a vanilla cheesecake, use the best quality vanilla extract you can afford. My favourite is Nielsen Massey.
No bake vanilla cheesecake recipe tips and troubleshooting
We are not perfect baking cyborgs sent from the future, we are but mere mortals and we all make mistakes. Here’s some handy tips to help you nail it first time!
- Use a springform pan. It’s SO much easier to remove it at the end.
- To avoid a soggy base, ensure you make the base as thick as the sides.
- Base still going soggy? Try brushing a thin layer of melted white chocolate over it to create a barrier. Set in the fridge before pouring in the filling.
- Use the best vanilla extract you can afford. It will make the world of difference!
- Go easy when whipping the cream. It can very quickly become over whipped.
- Use full fat original Philadelphia cream cheese. Other brands and lighter versions might not set!
- Top just before serving to keep the toppings as fresh as possible for as long as possible.
- Make a day ahead to avoid unnecessary stress on a big party/dinner party day.
Other recipes you might like…
- Easy no bake lemon cheesecake
- No bake chocolate cheesecake
- Mango and white chocolate cheesecake
- No bake Kinder Bueno cheesecake
Easy No Bake Vanilla Cheesecake – Step by Step Picture Recipe
(For a printer friendly version, see the recipe card at the end of this post)
Please note, this recipe includes both UK metric and US Cup measurements.
Ingredients
Here is what you will need to serve 10
Biscuit base
- 375g (13 oz) Golden Oreos
- 125g (1/2 cup) Unsalted Butter
Cheesecake filling
- 200ml (2/3 Cup + 1 tbsp) Double/Heavy Cream
- 70g (1/2 Cup) Icing/Confectioners Sugar
- 340g (2 + 3/4 Cups) Full Fat Philadelphia Original Cream Cheese
- 70g (1/3 Cup) Caster/Superfine Sugar
- 100ml (1/4 Cup + 2 tbsp) Soured Cream
- 2 tsp Vanilla Extract
Decoration
- 2 or 3 Mini Meringue Nests
- Handful of Mixed Berries (i.e. blueberries, raspberries, cherries and strawberries.)
Essential equipment
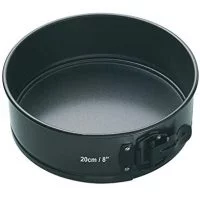
- 20cm (8″) Springform Baking Tin
- Food Processor
- Small Bowl
- Metal Spoon
- 2 Large Mixing Bowls
- Electric Hand Whisk
- Spatula
Biscuit base instructions
Lightly grease and line the base and sides of your springform baking tin and set to one side.
Place the Golden Oreos (375g | 13 oz) into a food processor, fillings and all, and blitz until they become fine crumbs.
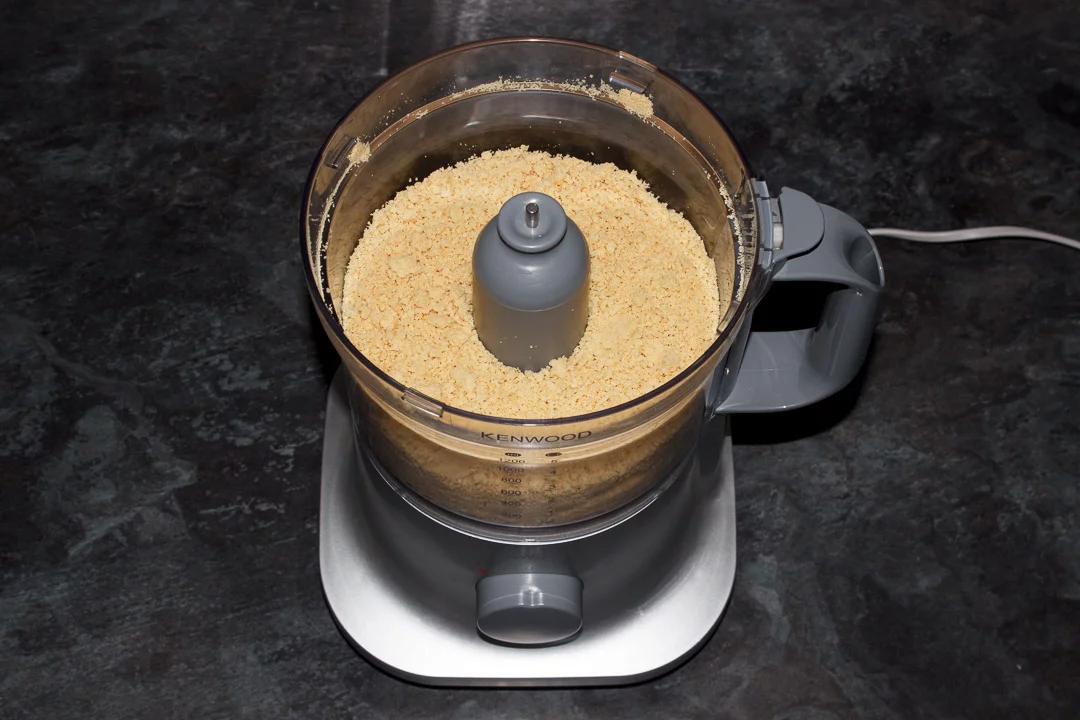
Melt the butter (125g | 1/2 cup) in a small bowl in the microwave (or in a small saucepan set over a low heat).
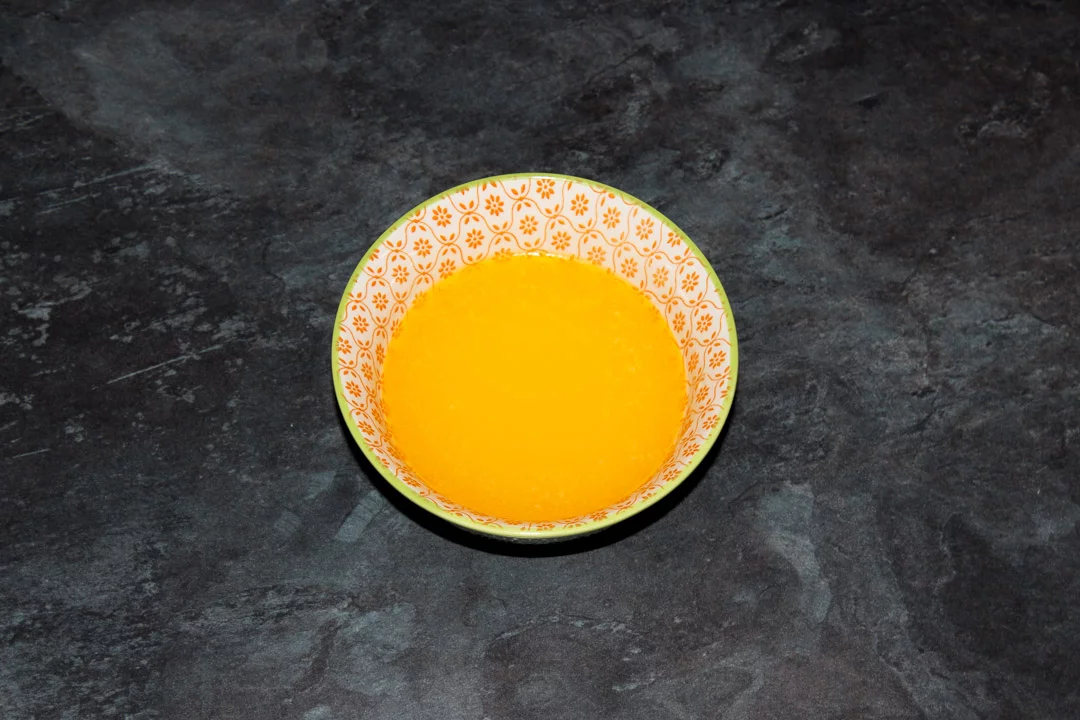
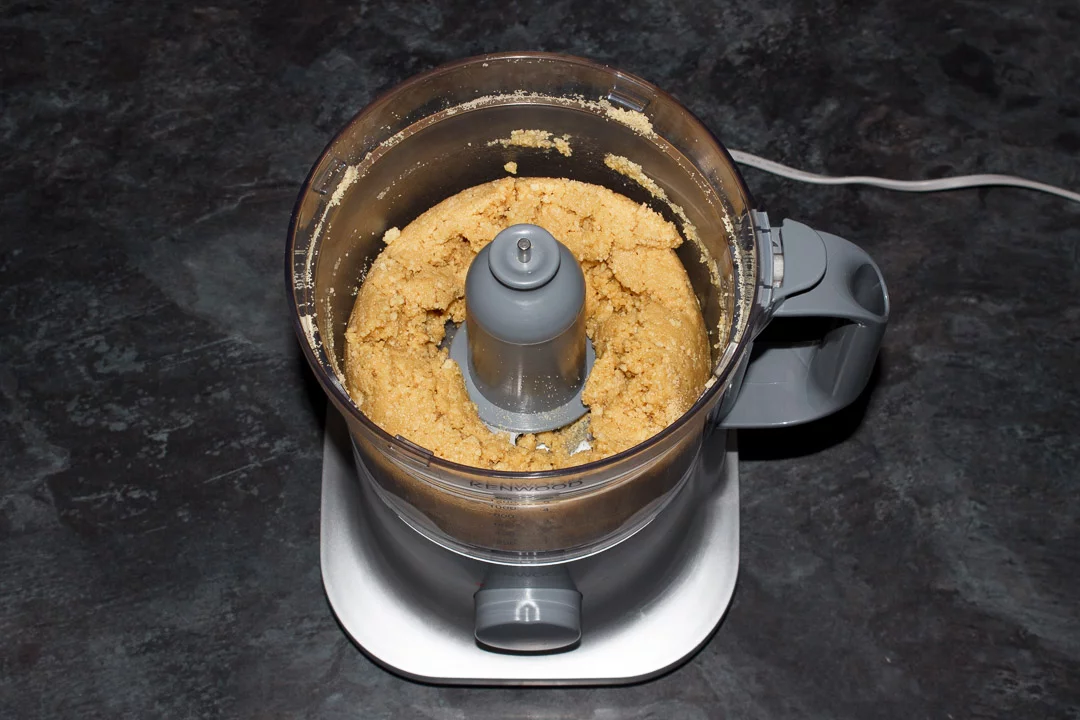
Then pour the melted butter into the food processor along with the Oreo crumbs and blitz once more until it resembles wet sand.
Next, press the wet crumbs into the base and sides of your prepared tin with the back of a metal spoon. Make sure you get the base quite thick so it can withstand the moisture from the filling later. (Or you may end up with a soggy bottom!)
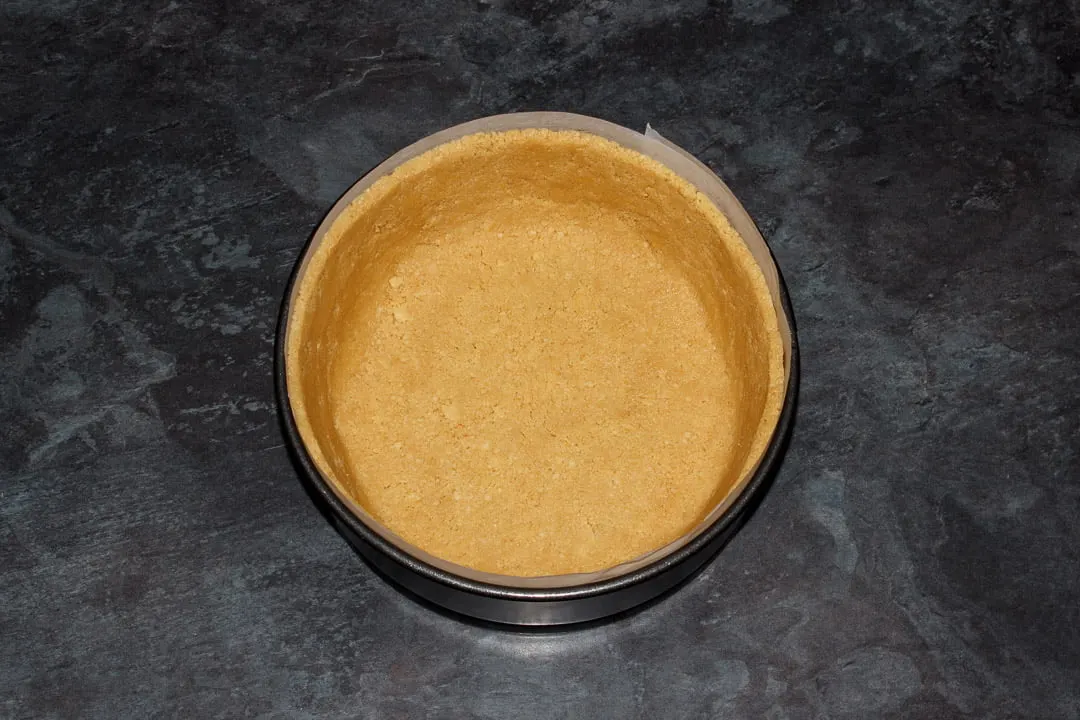
Now place the tin into your freezer to set firm while we make the filling.
Filling instructions
Measure out the double/heavy cream (200ml | 2/3 Cup + 1 tbsp) and icing/confectioners sugar (70g | 1/2 Cup) into one of the mixing bowls and whip with an electric hand whisk until it gets to the soft peaks stage.
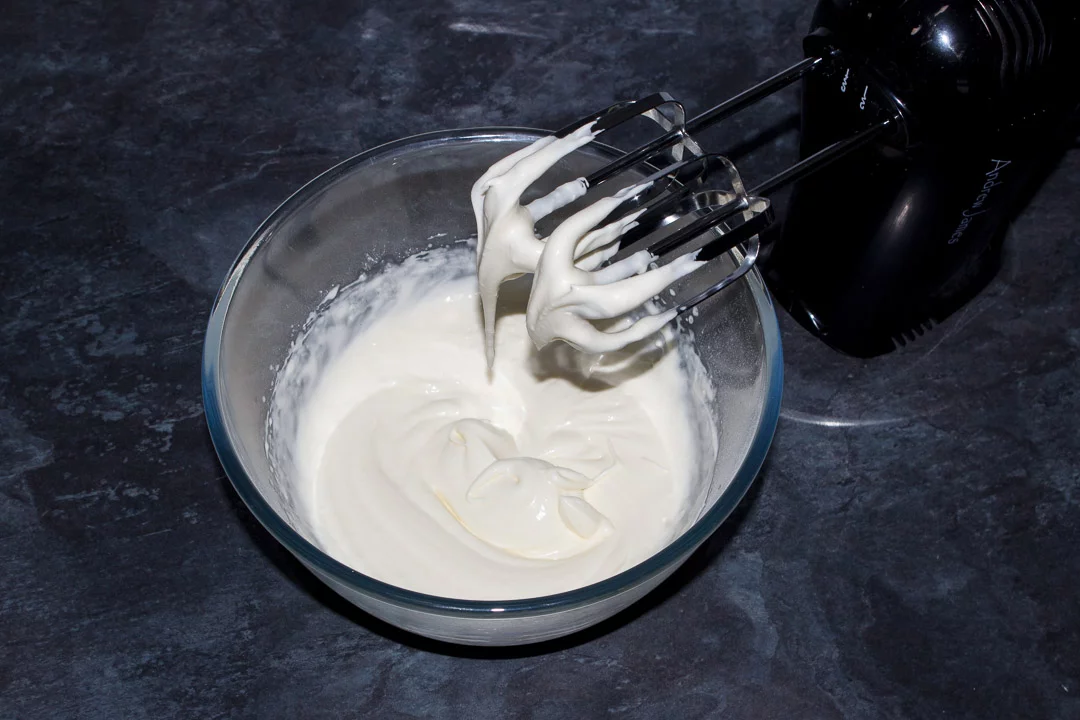
Next, in the other mixing bowl, beat the cream cheese (340g | 2 + 3/4 Cups) with a spatula until it’s nicely softened.
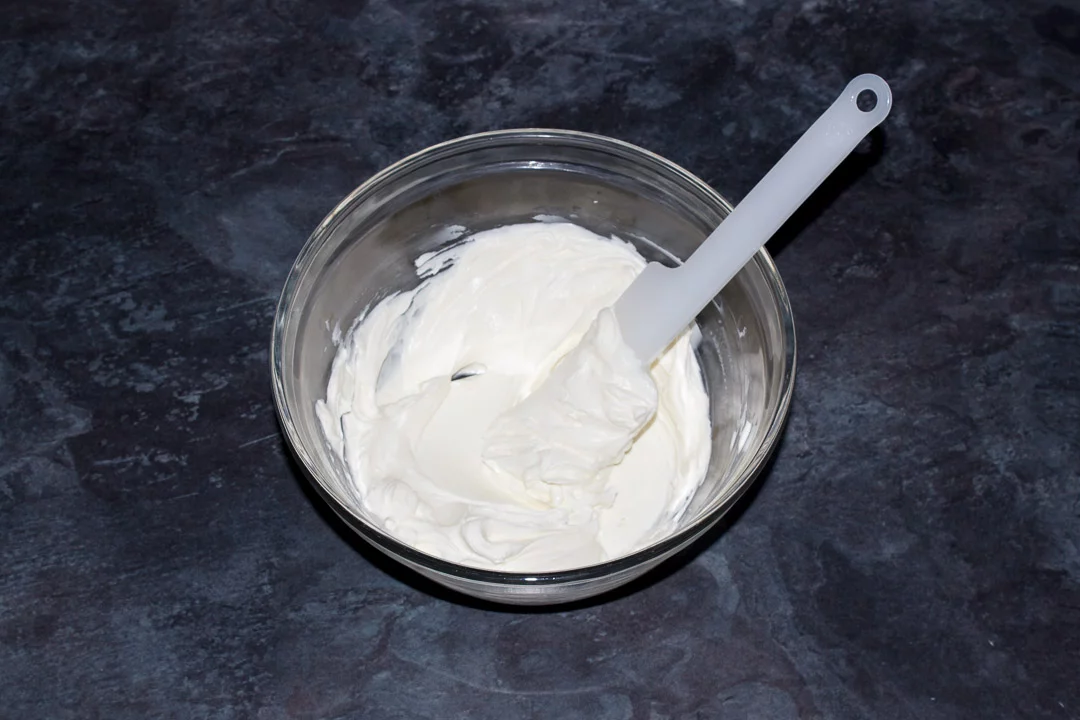
Then add in the caster/superfine sugar (70g | 1/3 Cup) and beat again with a spatula until the sugar has dissolved and it no longer feels grainy on the bottom of the bowl. It should become quite shiny and smooth.
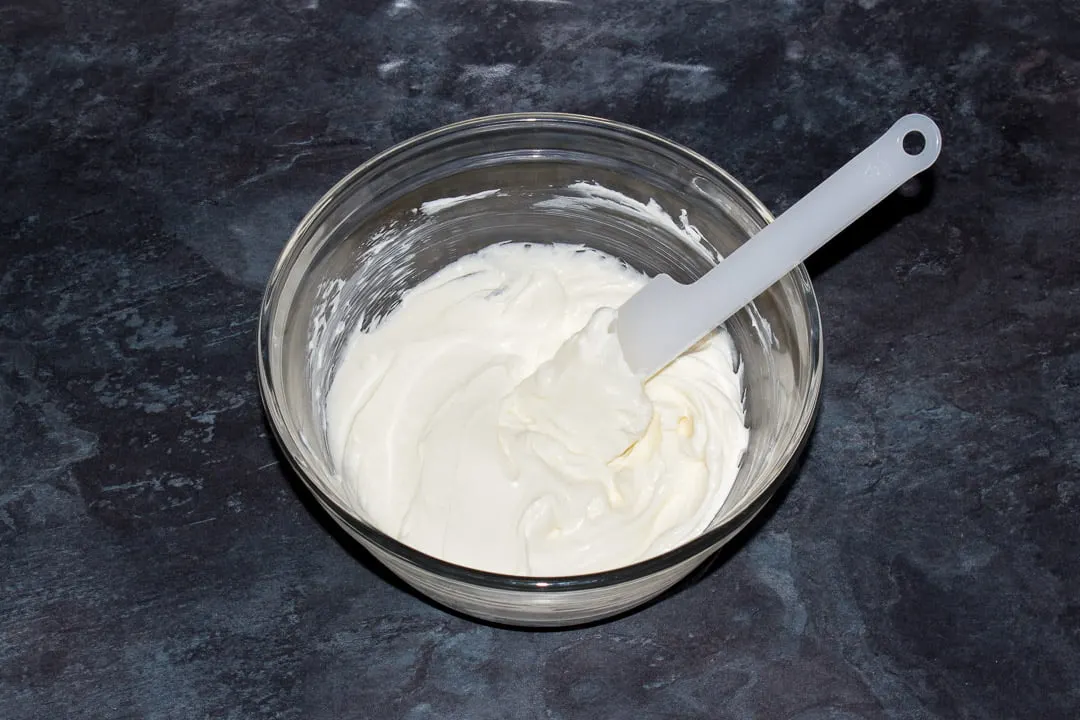
Now add in the soured cream (100ml | 1/4 Cup + 2 tbsp) and vanilla (2 tsp) and give it a good mix until everything is nicely incorporated.
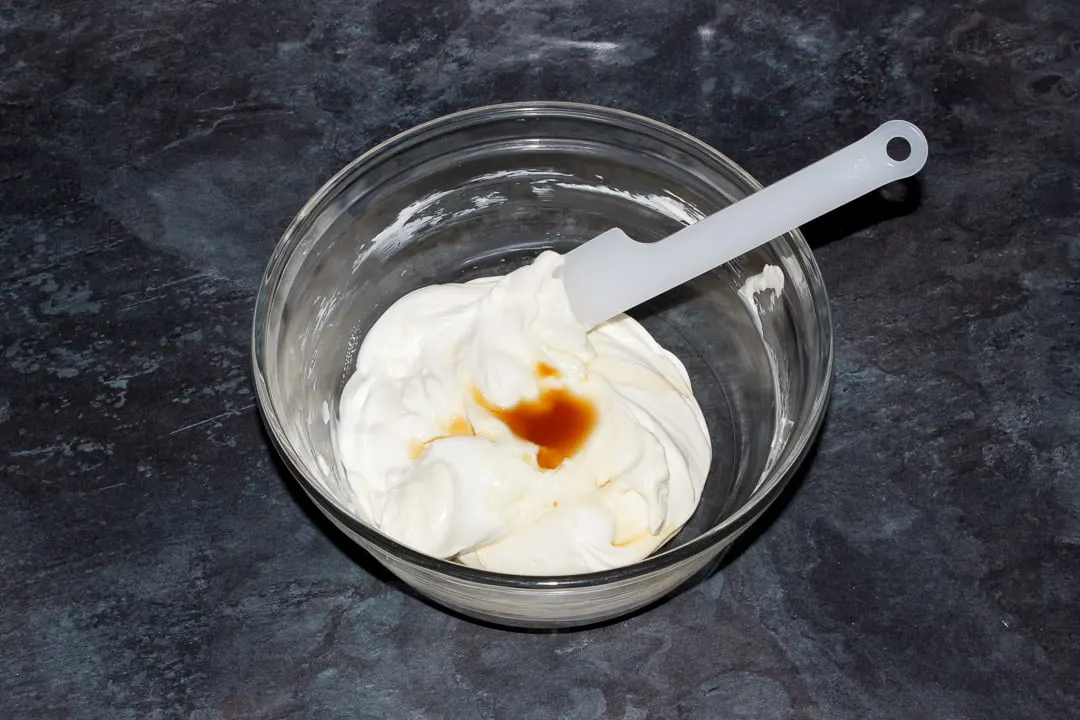
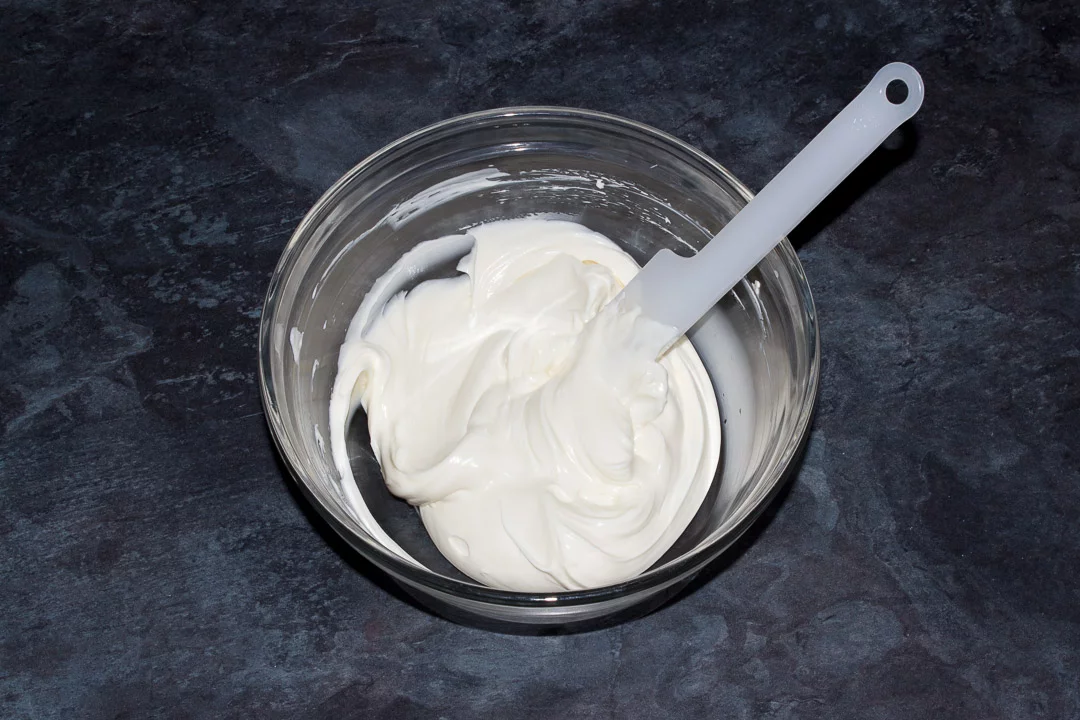
The last thing to do is gently fold the whipped cream into the cream cheese mixture. Try your best to be careful and avoid knocking out all the air you put into that cream!
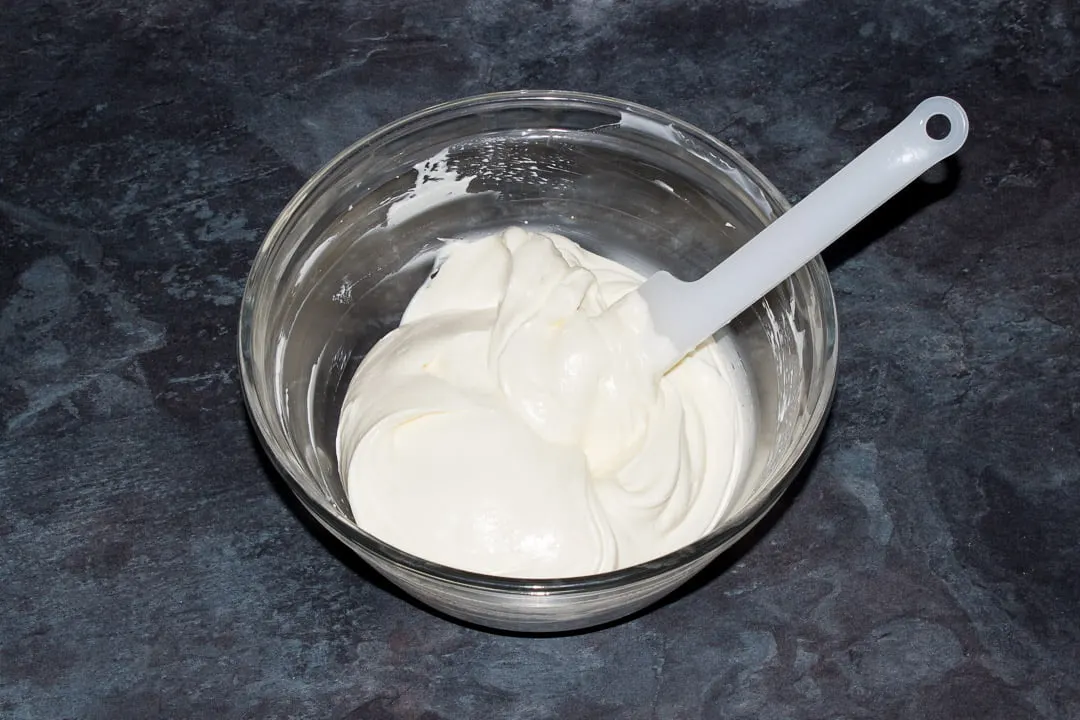
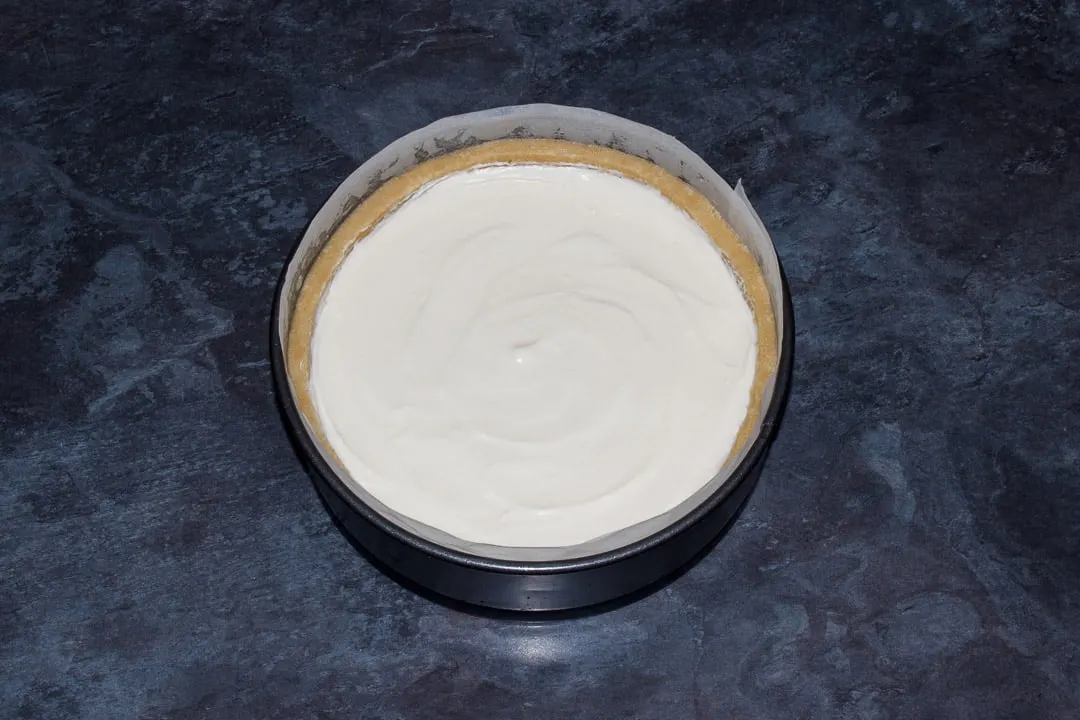
Then simply pour the filling into the base (which should have set firmly by now) and smooth it out. Refrigerate your no bake vanilla cheesecake for about 4 hours until completely set.
Decoration instructions
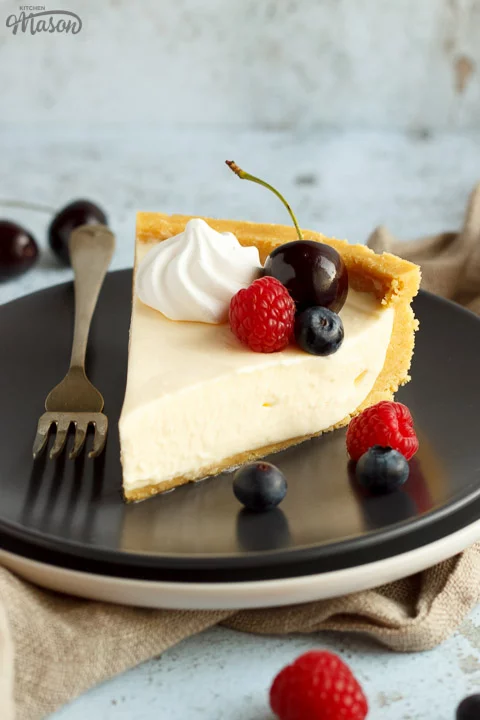
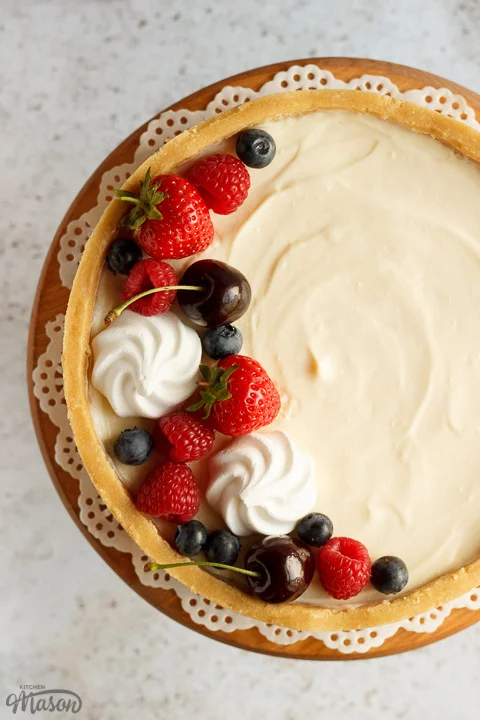
Just before serving, top with a mixture of mini meringue nests and mixed berries such as blueberries, cherries, raspberries and strawberries.
How to store no bake Oreo cheesecake
If you are lucky enough to have any left over vanilla cheesecake, store it covered in the fridge and consume within 3-4 days.
Have you made this recipe?
Have you made this beautifully light and creamy vanilla cheesecake? I’d love to know if you have! Send me your pics, comments and questions on Facebook, Twitter and Instagram or email me at emma@kitchenmason.com.
Loved this recipe? Pin it!
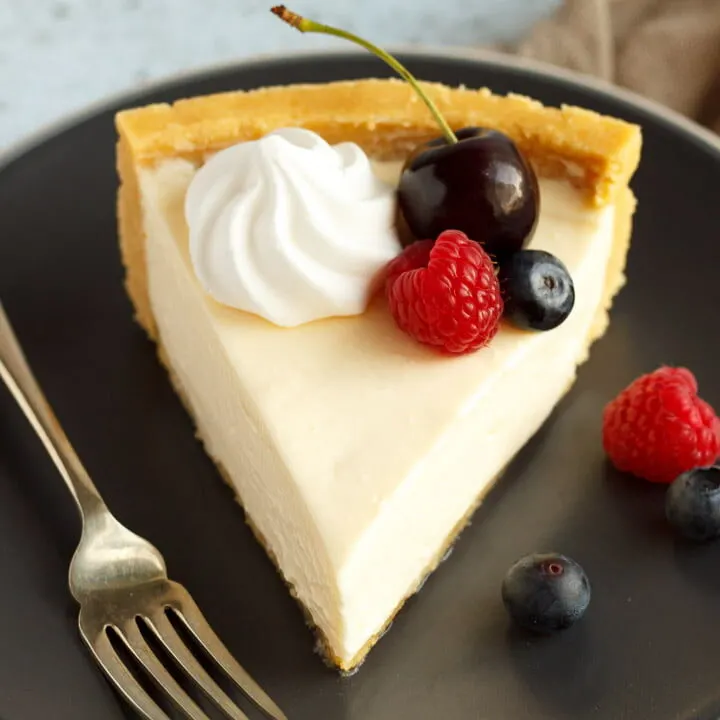
Easy No Bake Vanilla Cheesecake Recipe
Light, creamy and oh so delicious, this perfect no bake vanilla cheesecake is the ideal make ahead dessert!
Ingredients
Biscuit Base
- 375g (13 oz) Golden Oreos
- 125g (1/2 cup) Unsalted Butter
Cheesecake Filling
- 200ml (2/3 Cup + 1 tbsp) Double/Heavy Cream
- 70g (1/2 Cup) Icing/Confectioners Sugar
- 340g (2 + 3/4 Cups) Full Fat Philadelphia Original Cream Cheese
- 70g (1/3 Cup) Caster/Superfine Sugar
- 100ml (1/4 Cup + 2 tbsp) Soured Cream
- 2 tsp Vanilla Extract
Decoration
- 2 or 3 Mini Meringue Nests
- Handful of Mixed Berries (i.e. blueberries, raspberries, cherries and strawberries.)
Essential Equipment
- 20cm (8″) Springform Baking Tin
- Food Processor
- Small Bowl
- Metal Spoon
- 2 Large Mixing Bowls
- Electric Hand Whisk
- Spatula
Instructions
Biscuit base
- Grease and line the base and sides of the springform tin. Then pulse the Oreos in the food processor (including the fillings) until they reach a fine crumbs consistency.

- Melt butter in the microwave in a small bowl in 10 second intervals and add it to the biscuit crumbs. Pulse until it clumps together.


- Press the mixture into the base and sides of the pan with a metal spoon and freeze to set firm.

Cheesecake filling
- In a mixing bowl, whip together the cream and icing sugar with an electric hand whisk until soft peaks form. Set to one side.

- In another bowl, beat the cream cheese with a spatula until softened.

- Add the caster sugar and beat again until smooth and shiny. (It shouldn't feel grainy on the bottom of the bowl anymore.)

- Mix the soured cream and vanilla into the cream cheese until nicely blended.

- Gently fold the whipped cream into the cream cheese, being careful not to knock out any of the air.

- Pour the filling into the base and smooth out. Refrigerate for 4 hours until completely set.

Decoration
- Right before serving, top with a mixture of mini meringue nests and mixed berries (i.e. blueberries, cherries, raspberries and strawberries).

Notes
If you would rather use a more in depth picture recipe, please see the main body of this post. Where you’ll also find lots of extra FAQs and helpful tips, should you need them.
Please note, this recipe includes both UK metric and US Cup measurements.
Storage
Store covered in the fridge and devour within 3-4 days.
Tips
- Use a springform pan. It’s SO much easier to remove it at the end.
- To avoid a soggy base, ensure you make the base as thick as the sides.
- Base still going soggy? Try brushing a thin layer of melted white chocolate over it to create a barrier. Set in the fridge before pouring in the filling.
- Use the best vanilla extract you can afford. It will make the world of difference!
- Go easy when whipping the cream. It can very quickly become over whipped.
- Use full fat original Philadelphia cream cheese. Other brands and lighter versions might not set!
- Top just before serving to keep the toppings as fresh as possible for as long as possible.
- Make a day ahead to avoid unnecessary stress on a big party/dinner party day.
Recommended Products
As an Amazon Associate and member of other affiliate programs, I earn from qualifying purchases at no extra cost to you.
Nutrition Information:
Yield: 10 Serving Size: 1Amount Per Serving: Calories: 575Total Fat: 40gSaturated Fat: 21gTrans Fat: 0gUnsaturated Fat: 16gCholesterol: 95mgSodium: 251mgCarbohydrates: 50gFiber: 1gSugar: 36gProtein: 5g
Nutritional information on kitchenmason.com should only be used as a general guideline, I am not a certified nutritionist. Please always check labels for allergens where applicable.

Experienced British Online Publisher, recipe writer, and home cook, Emma has a background of over 20 years in British cuisine and cooking. Born and bred in the UK, she excels in classic British dishes, is passionate about air frying, and loves sharing her Gran’s old school recipes. She has been featured in popular publications such as Food Network, Cosmopolitan, and The Huffington Post.
Knowledgeable On: Traditional British Cuisine, Recipe Writing, Air Frying, Home Cooking.


Big Bear's Wife
Saturday 10th of July 2021
That is the most beautiful cheesecake!! Thanks for linking up to Meal Plan Monday this week!
Emma
Saturday 10th of July 2021
Awww thank you so much Angie!!! Emma x
Junade Shaik Dawood
Monday 17th of May 2021
Best cheesecake recipe I followed and made,my guests was very pleased and couldn't stop complementing me,thanks to kitchen Mason for making life so much easier.
Emma
Monday 17th of May 2021
Hi Junade. Aww you’re so very welcome! I’m so happy you enjoyed my recipe and it worked so well for you :) Emma x
Adri Lopes
Saturday 8th of May 2021
Best cheesecake I have ever made. So smooth, tasty, absolutely delicious. Thank you so much xxx
Emma
Saturday 8th of May 2021
Amazing!!! I’m SO happy you enjoyed my recipe and it worked so well for you! Thanks for sharing, you’ve made my day :) Emma x
Becky
Tuesday 6th of October 2020
Emma!!! I am AWED at how WONDERFUL your cheesecake recipes are every time I make one! This one is so light and lovely! These are THE #1 cheesecakes in the universe!!! Thank you!
Emma
Wednesday 7th of October 2020
Hi Becky. Wow! This is honestly the best comment I've ever received, thank you SO much!! I'm super happy you enjoy my cheesecake recipes, you really have made my day :) Emma x
Louise
Wednesday 17th of June 2020
Can you use the supermarket version of cream cheese or does it work better with Philadelphia?
Emma
Thursday 18th of June 2020
Hi Louise. I have had very mixed results using supermarket brands or ‘light’ versions in the past. Some didn’t set at all and it was very disappointing! This is why I always use Philadelphia original full fat as it’s never let me down. I do try and time it when it’s on offer though as I appreciate it can be a little more pricey than other brands! Emma x