
This post may contain affiliate links. Where I make a small commission on purchased items, at no extra cost to you. See my disclosure for details.
(This post has been updated from the original March 2015 version to provide a better experience for you)
Who doesn’t love a Victoria sandwich cake eh?! I know I certainly do. This may come as a surprise but I’d actually rather pick a slice of this over a great big slice of chocolate cake. Seriously! There’s just something so simple and classic about a Victoria sponge cake, I just love it! In fact, I love it equally as much as this luxurious rhubarb and custard cake. Which is also an amazing and classic combo. Ok ok, I’m basically just addicted to cake!

While we’re on the subject of classic cakes, have you seen my ultimate carrot cake recipe? You should totally go and check it out, the cream cheese frosting is incredible!
In other news, it’s Mother’s Day this Sunday and I’m quite excited as it’s the first one I actually qualify for! Although I’m of the firm opinion that we should appreciate our Mums all year round, I also think it’s nice that we set aside a day to really spoil them rotten. And what’s the best way to do that? With cake of course!

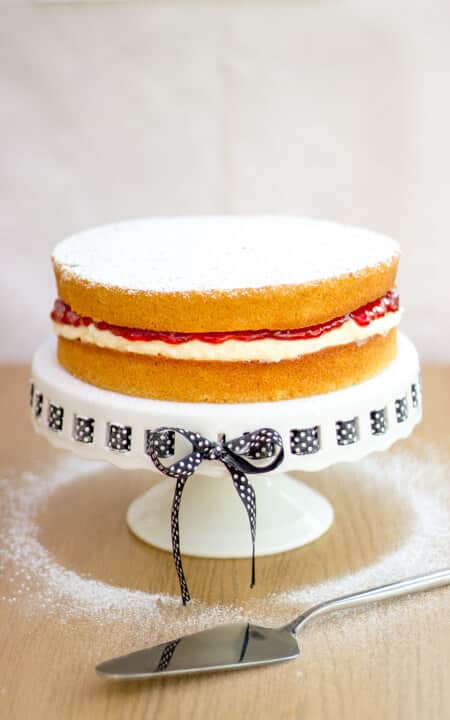
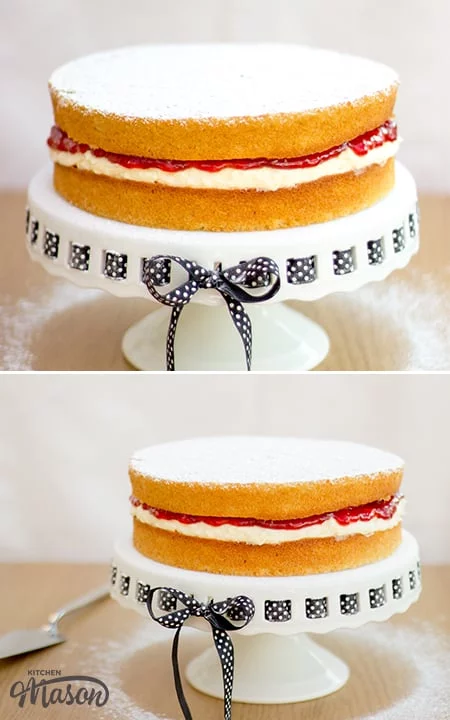
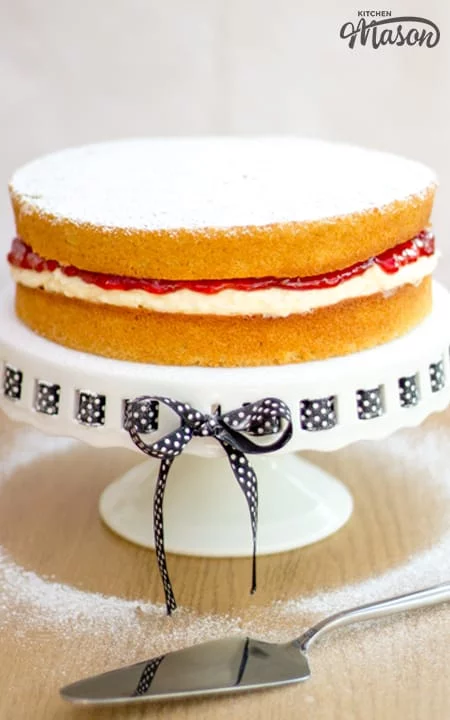
This brilliant ‘back to basics’ recipe for a classic Victoria Sandwich Cake is so simple. It’s perfect for Dads and kids to team up and really put a smile on Mum’s face this weekend.
Much like Biscoff cake and air fryer cake, it’s what we call an ‘all in one’ cake recipe. You literally just dump all the cake ingredients into a bowl, mix it and you’re done! It couldn’t be more simple.
Still not feeling overly confident in your baking skills? Check out baking for beginners first to boost your knowledge and confidence! Plus you can grab some fantastic freebies!

Victoria Sandwich Cake Recipe Tips
- Have all your ingredients at the same temperature. I.e. take all refrigerated ingredients out the fridge an hour before using. This will not only make them easier for you to use (particularly the butter) but it will blend much better and create a more even texture throughout your cake.
- There’s no need to line the sides of the tins, only line the base.
- If you are using a vanilla extract, I recommend using a good quality one for maximum flavour. My personal favourite is Neilsen-Massey’s. (See link further down in this post.)
- Bake cakes in the lower part of your oven to prevent doming in the middle.
- Don’t open the oven door until right near the very end of the cooking time (when you need to check for doneness with a skewer) as you could cause the cake to collapse!
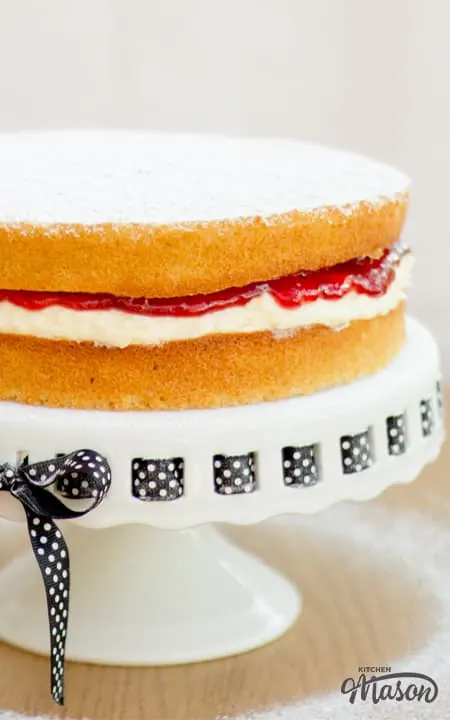
- Turn the top sponge layer upside down before placing onto the jam. This will give you a perfectly flat top and no one will be any the wiser!
- NEVER store cake in the fridge. It draws out the moisture and makes it really dry.

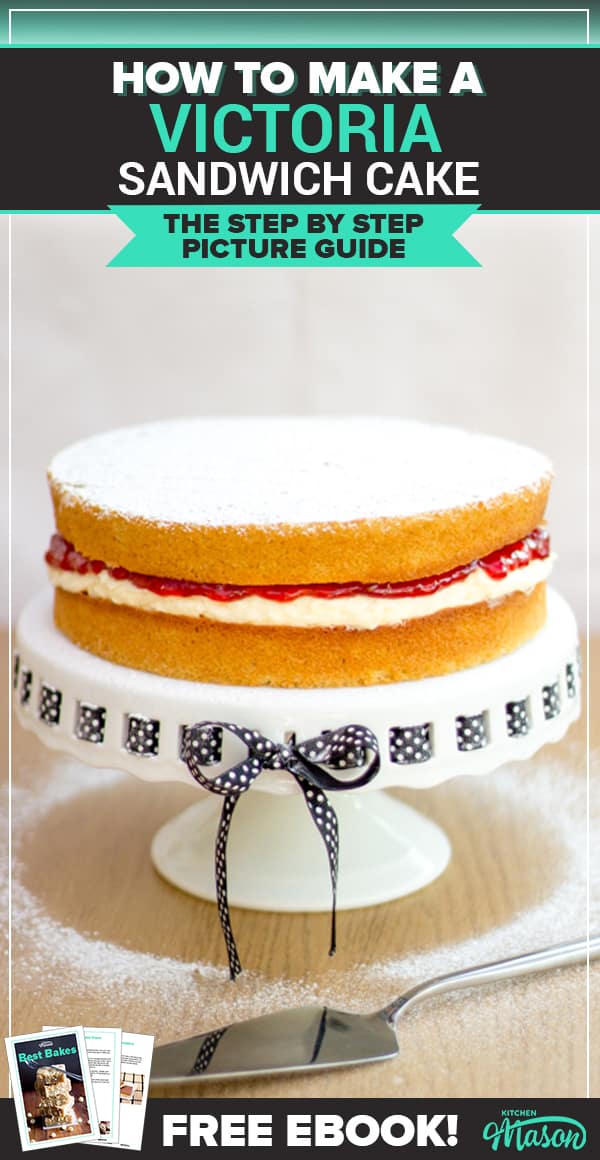
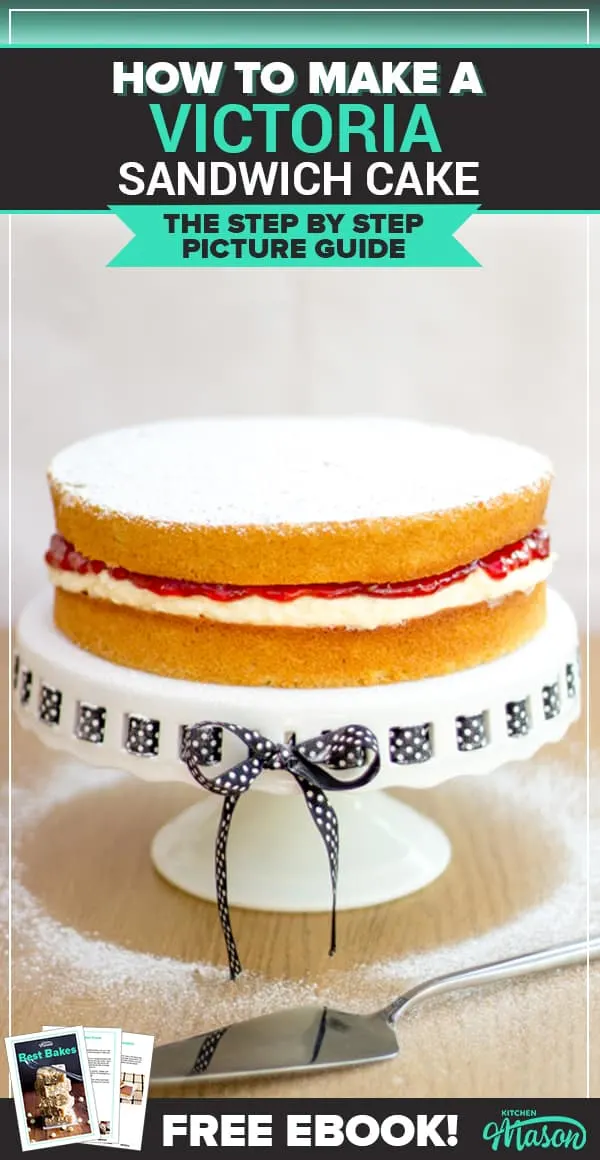
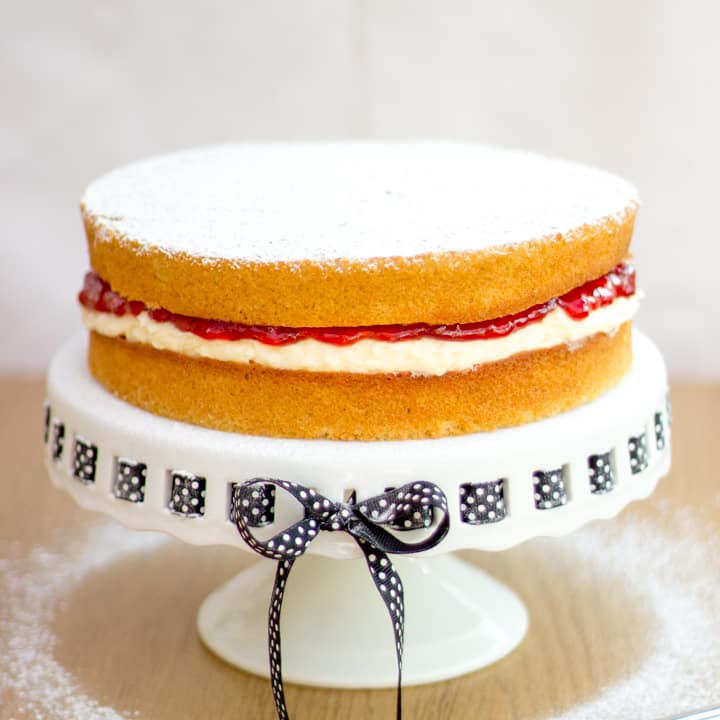
Victoria Sandwich Cake – Step by Step Picture Recipe
So, here is what you will need to make a 20cm (8″) cake.
For the Sponge
- 200g Golden Caster Sugar
- 200g Unsalted Butter, Room Temp
- 4 Eggs, Room Temp
- 200g Self Raising Flour
- 1 tsp Baking Powder
- 2 tbsp Milk
- 1 tsp Vanilla Extract (Optional)
- 1/4 tsp Salt
For the Filling
- 100g Unsalted Butter, Room Temp
- 140g Icing Sugar
- 1/2 tsp Vanilla Extract (Optional)
- Approx 300g Strawberry Jam
- Icing Sugar for Dusting
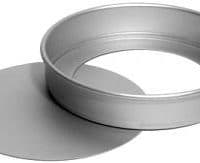
Essential Equipment
- 2 x 8″ (20cm) Round Loose Bottomed Cake Tins
Sponge Instructions
Now, lightly grease the base & sides of your cake tins & line the bases with baking paper.
Preheat your oven to 190°C/Fan 170°C.
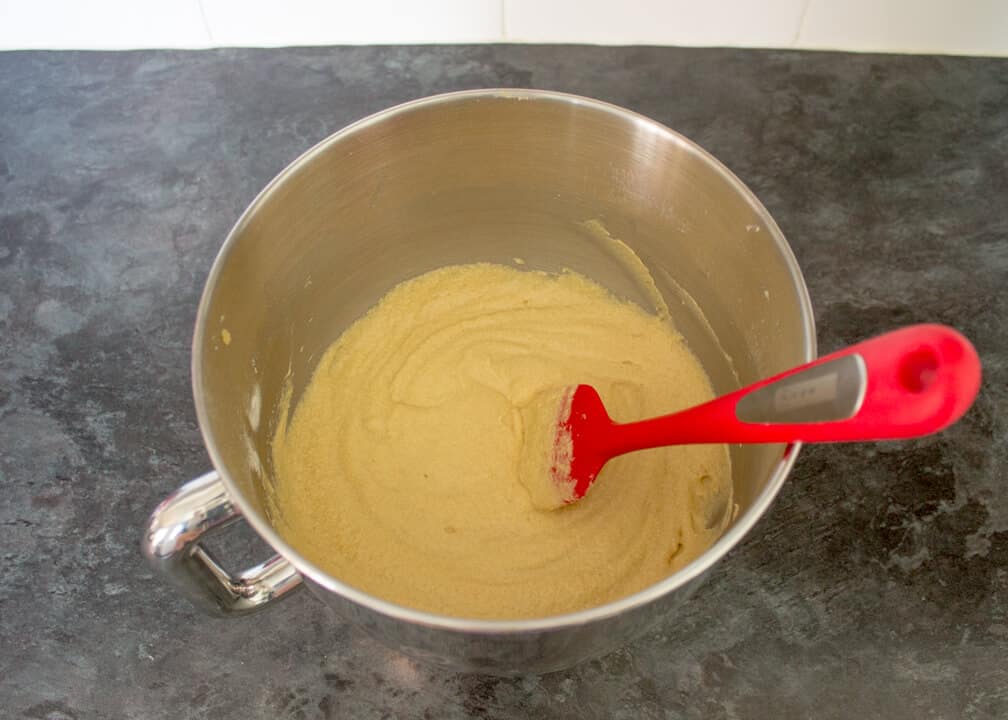
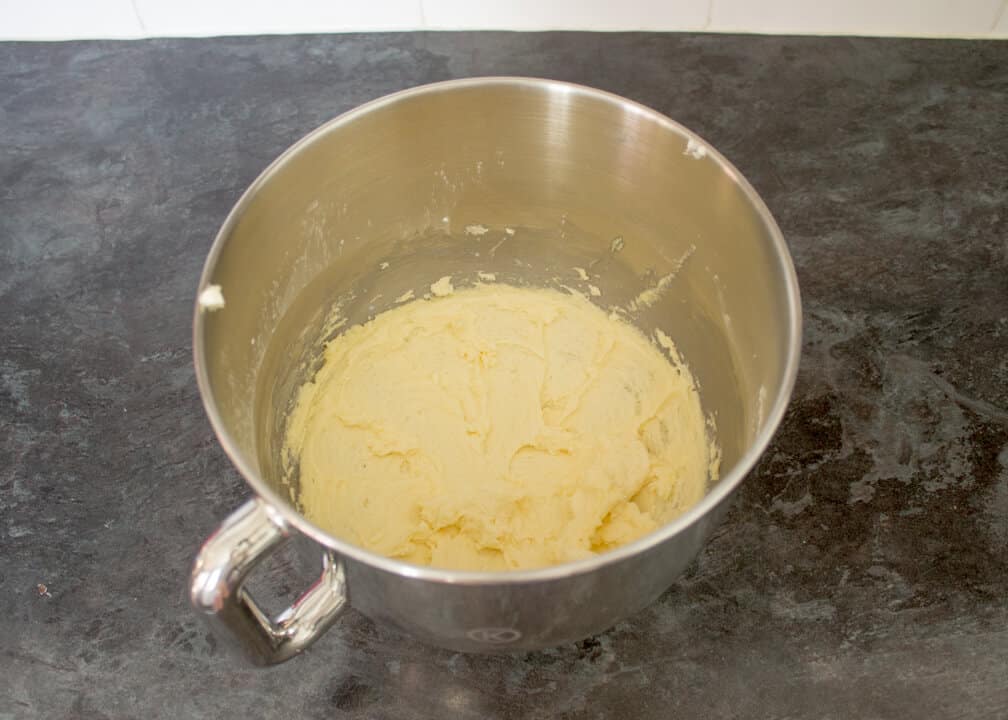
Either in an electric stand mixer or a large bowl with an electric hand whisk – add in all the sponge ingredients & mix together until smooth & lump free.

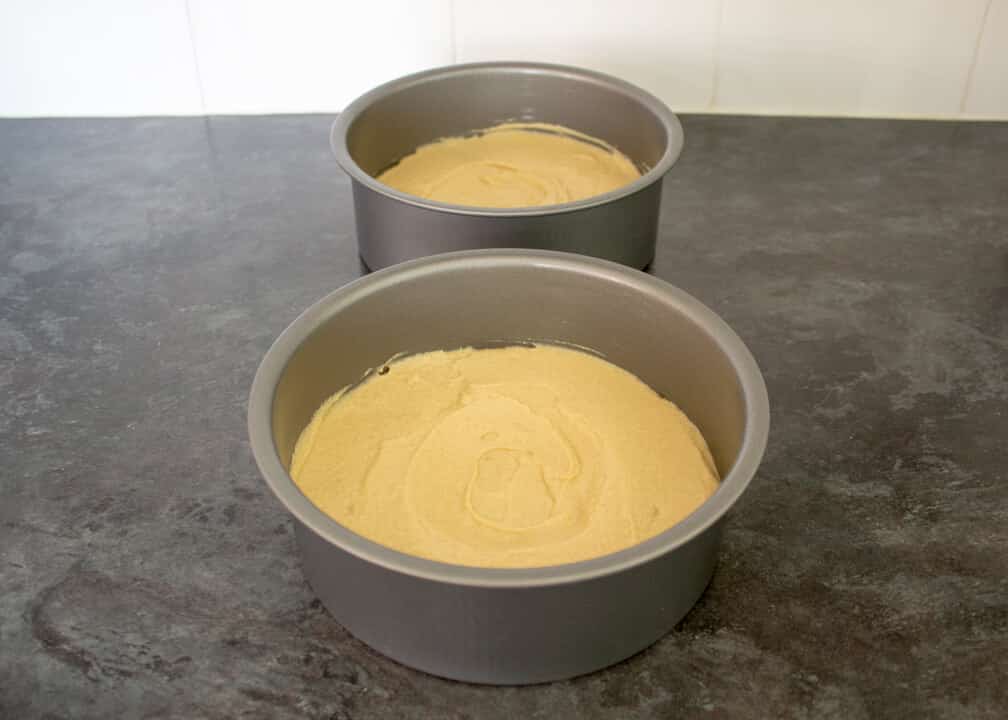
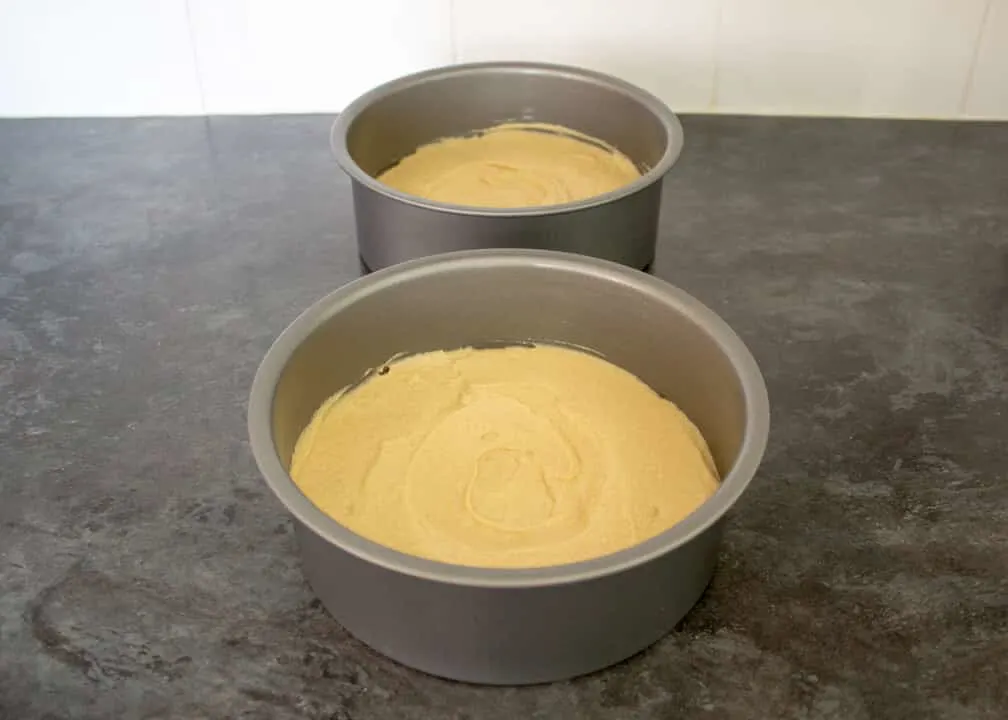
Divide the batter evenly between the two tins and smooth with a spatula. To prevent the cake from doming so much in the middle – put a ‘dip’ in the centre of the batter.
Place in the lower part of the preheated oven (preferably on the same shelf) for about 15-20 minutes or until a skewer inserted into the centre comes out clean.

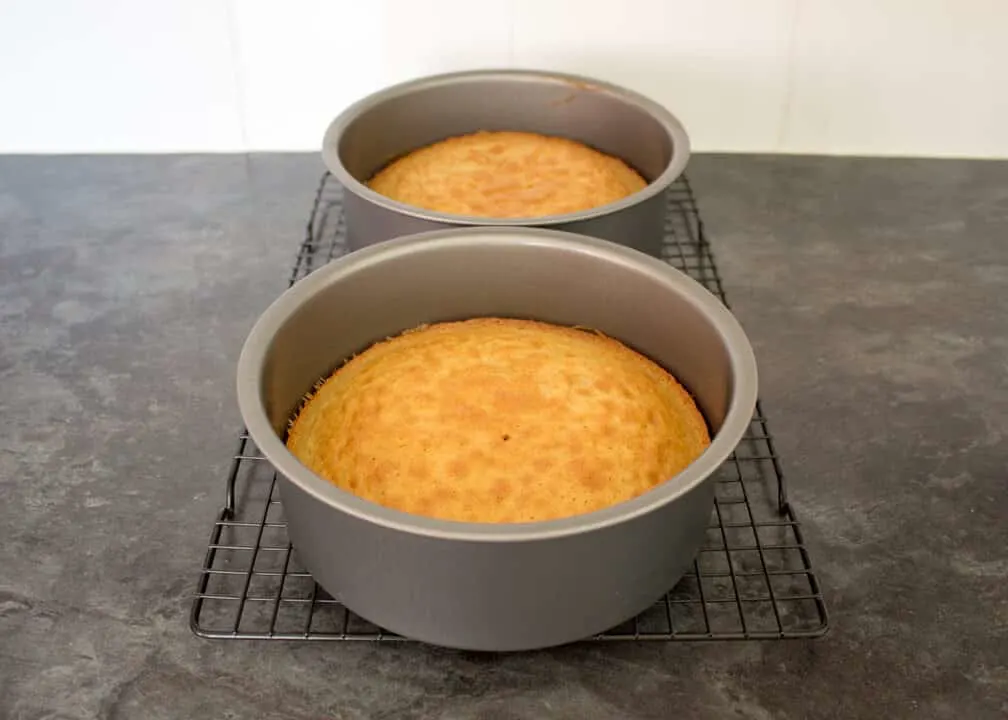
Leave to cool in the tins for 10 minutes. Then slide a pallet knife around the sides of each cake to loosen, remove from the tin, peel off the baking paper from the base and leave to cool completely on a wire rack before decorating.
Buttercream Filling Instructions
To make the buttercream filling, place the butter, icing sugar and vanilla extract (if using) into either an electric stand mixer or a large bowl with an electric hand whisk. Mix slowly to start with (or you may find yourself head first in a mushroom cloud of icing sugar!)
Increase the speed and beat until light and fluffy. (At least 3-4 minutes.) Scrape down the sides of the bowl periodically and if you need to loosen the mixture a little – add a splash of milk and continue to mix.

Assembly Instructions
Once the sponge layers have completely cooled, place one layer onto a cake stand. If you need to, level the top by slicing any domed cake off with a large, sharp knife.
Then smear the buttercream evenly all over the top, right to the edges.

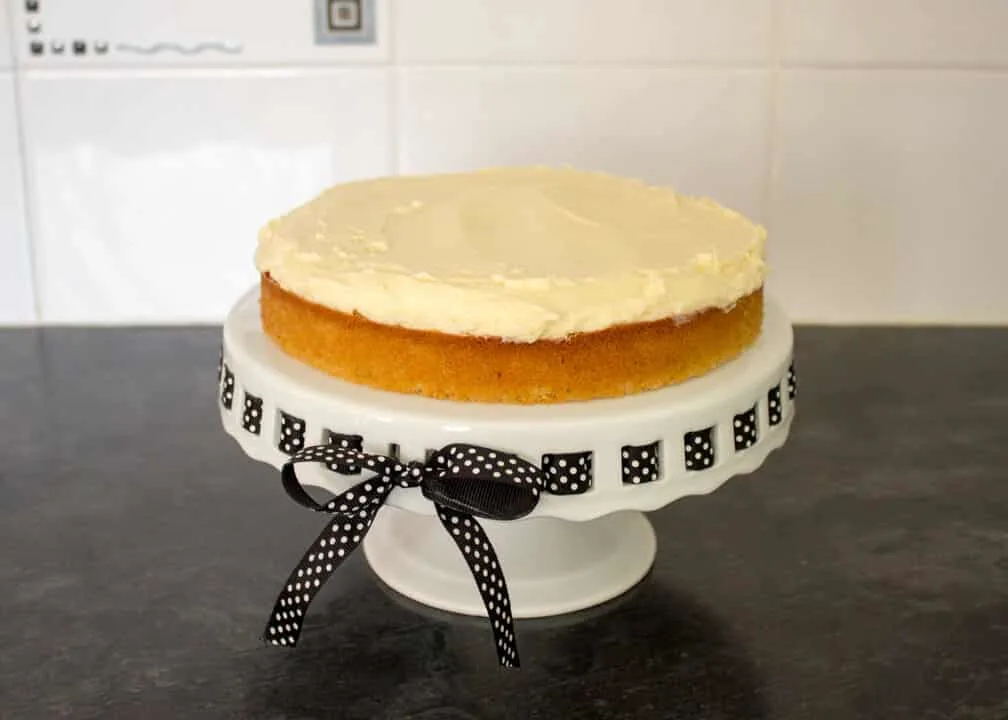
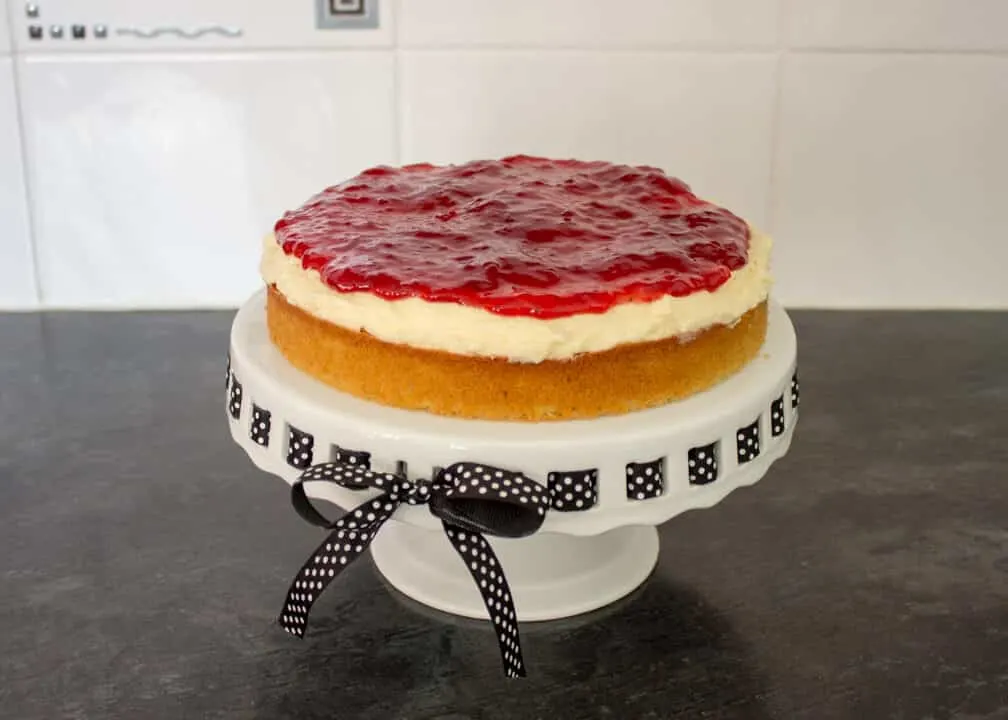
Top with the jam and spread out evenly. Not quite right to the edges, but close. Remember this will squash outwards slightly when you put the top layer on.

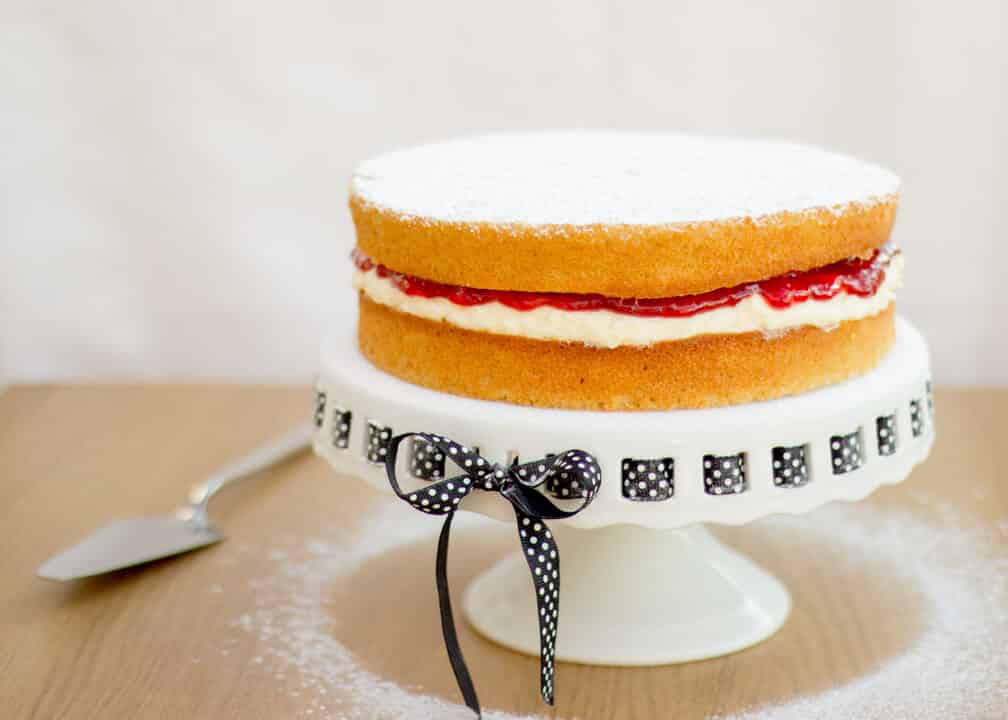
When you’re happy with that, top with the remaining sponge layer. I like to level any dome and use the bottom side to give a nice flat edge. But it’s entirely up to you.
Place a heaped teaspoon or two of icing sugar into a sieve, then generously sprinkle all over the top of the cake.
Store in an airtight container and eat within 2 days.

I told you it was easy! I love the all in one sponge method. It’s so simple and quick that anyone can do it! Yes, even those of you who claim you can’t bake – you can do it too!
So here’s to all you wonderful Mums out there that put up with our dirty washing, our bad tempers and untidy bedrooms, yet still (somehow!) love us unconditionally. You are all incredible and I hope you are showered with appreciation and love this Sunday, because you deserve it.
Loved This Recipe? Pin It!


Easy Victoria Sandwich Cake - Printable Recipe
This super simple 'all in one' Victoria sandwich recipe will become a firm household favourite, I guarantee it!
Ingredients
For the Sponge
- 200 g Golden Caster Sugar
- 200 g Unsalted Butter, (Room Temp)
- 4 Eggs, (Room Temp)
- 200 g Self Raising Flour
- 1 tsp Baking Powder
- 2 tbsp Milk
- 1 tsp Vanilla Extract, (Optional)
- 1/4 tsp Salt
For the Filling
- 100 g Unsalted Butter, (Room Temp)
- 140 g Icing Sugar
- 1/2 tsp Vanilla Extract, (Optional)
- 300 g Strawberry Jam
- Icing Sugar for Dusting
Essential Equipment
- 2 20cm (8") Round Loose Bottomed Cake Tins
Instructions
To Make the Sponge
- Grease the base and sides/line the base of the two sandwich tins and preheat your oven to 190°C/Fan 170°C.
- Put all the sponge ingredients into an electric stand mixer and beat until just blended.
- Divide the batter between the two sandwich tins and bake on the lower shelf in the preheated oven for 15-20 mins until a skewer inserted in the middle comes out clean.
- When cool enough to handle, remove the cakes from the tins, peel off the baking paper and place on a cooling rack to cool completely before decorating.
To Make the Filling
- Weigh the butter, icing sugar and vanilla extract (optional) into an electric stand mixer. Beat on slow until the icing sugar has dissolved then beat on high for a couple of minutes until light and smooth.
- Place the jam into a small bowl and mix with a spoon to loosen.
To Assemble
- If your cakes have domed at all, level them out with a sharp knife. Then place one of the sponge layers onto a serving plate or cake stand.
- Spread the buttercream evenly over the top then smooth over the jam.
- Turn the remaining sponge layer upside down then place on the top of the cake. (This gives you a nice flat top.)
- Dust generously with icing sugar before slicing and serving.
Notes
Store at room temperature and consume within 2 days.
Recommended Products
As an Amazon Associate and member of other affiliate programs, I earn from qualifying purchases at no extra cost to you.


Nutrition Information:
Yield: 10 Serving Size: 1Amount Per Serving: Calories: 606Total Fat: 28gSaturated Fat: 16gTrans Fat: 0gUnsaturated Fat: 10gCholesterol: 144mgSodium: 407mgCarbohydrates: 86gFiber: 1gSugar: 63gProtein: 5g
Nutritional information on kitchenmason.com should only be used as a general guideline, I am not a certified nutritionist. Please always check labels for allergens where applicable.
About Emma Mason
Emma is a professional blogger. Utilising over 20 years of cooking experience, she’s passionate about making your life easier, one recipe at a time! Drawing on her 12+ year background in recipe research and development, photography, copy writing and marketing, Emma has turned kitchenmason.com into a successful career. Known as ‘the organisation queen’ among friends, she is passionate about creating easy to follow recipes that anyone can follow and enjoy. She lives in Nottingham (UK) with her husband, daughter and 2 naughty cats. In her spare time she can be found reading a good book, training at the dojo preparing for her black belt grading, or dreaming up the next crazy colour combo for her hair!
Caroline
Thursday 10th of November 2022
Have you tried weighing the eggs and using that same weight in flour, butter and sugar. Adjust the milk to make it a soft dropping consistency. This method takes into account the variation of egg sizes. It was taught to me by my grandmother about 65years ago and it has never failed me yet.
Emma
Thursday 10th of November 2022
Hi Caroline. I've only ever weighed eggs once - when I was making some choux pastry. It worked very well but I'd forgotten about it until now. Thanks for the reminder!
Katie
Friday 5th of March 2021
I love the taste of this recipe but the sides are always low with a big dome in the middle. This is despite following instructions to create a dip. Do you have any other tips for stopping this happening?
Thank you
Emma
Friday 5th of March 2021
Hi Katie. I'm so happy you love the recipe but sorry you're running into trouble. It's possible your oven might be a little too hot. Maybe try turning the temperature down a bit the next time you bake and see if that helps? Emma x
Marisa @missmarzipan.com
Thursday 19th of March 2015
Perfect!
RFGrassi
Sunday 15th of March 2015
Reblogged this on Tasty Relax.
bakedbyh
Saturday 14th of March 2015
Love this! Congrats on making it to the first Mother's Day!
Miss KitchenMason
Saturday 14th of March 2015
Aww thank you :)