This post may contain affiliate links. Where I make a small commission on purchased items, at no extra cost to you. See my disclosure for details.
Valentines Day is just around the corner and if you’re anything like me – you’ll be wondering what on earth you can buy or make for your loved one. I have always been pretty useless at gift buying, but baking? Now you’re talking my language!
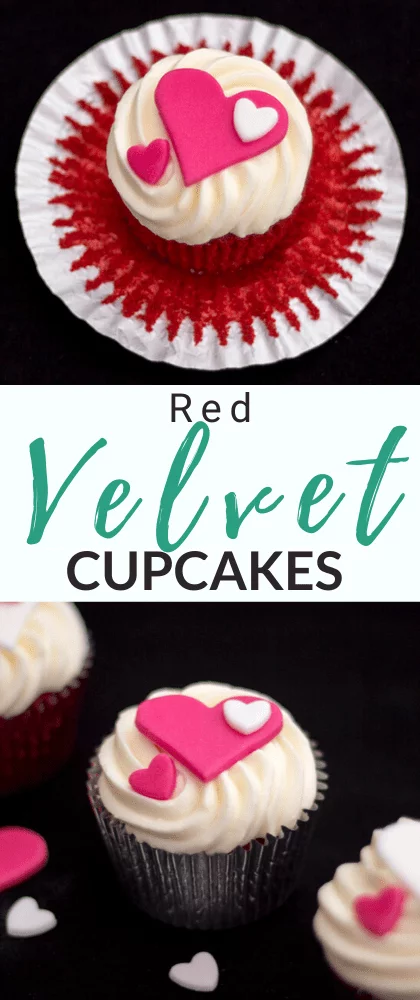
Here’s a great gift idea for you to have a go at. Red Velvet Cupcakes. Is there anything more Valentines than red velvet?? With a gorgeously decadent cream cheese frosting, these are the perfect indulgence for you and your other half!
Not a very confident baker? Check out baking for beginners before you start. It’ll boost your knowledge and confidence! Plus you can bag yourself some fabulous freebies!
Red Velvet Cupcakes – Step by Step Picture Recipe
Here is what you need to make 12.
Ingredients
For the Decorations *
- White Fondant Icing
- Red Fondant Icing (Or red food colouring gel)
- Heart Shaped Cutters
* I recommend you make these 24hrs in advance if you can. This allows them to harden slightly instead of staying ‘floppy.’
For the Cake
- 60g Unsalted Butter, Room Temp
- 150g Golden Caster Sugar
- 1 Egg, Room Temp
- 10g Cocoa Powder
- 2 tbsp Red Liquid Food Colouring OR 2 tsp Red Food Colouring Gel
- 1/2 tsp Vanilla Extract
- 120ml Buttermilk
- 150g Plain Flour
- 1/2 tsp Salt
- 1/2 tsp Bicarbonate of Soda
- 1 1/2 tsp White Wine Vinegar
For the Cream Cheese Frosting
- 300g Icing Sugar
- 50g Unsalted Butter, Room Temp
- 125g Philadelphia Original Cream Cheese **
**Don’t use a cheaper alternative or a ‘lighter’ version. Your cream cheese frosting will end up potentially very runny/wet if you do. The only one I have found to be stable enough is Philadelphia, original full fat cream cheese. In the words of Joey Tribbiani – If you’re going to do something wrong, do it right!
Decoration Instructions
For the decorations – If you are making the red coloured fondant yourself, just add some red food colouring gel to ready white fondant icing and knead until the colour is evenly distributed.
Then, on a work surface lightly dusted with icing sugar, simply roll out the fondant to about 3mm thick & cut using heart shaped cutters of your choosing.
If you are sticking shapes together, just dab on a little cold water and press lightly together. They will stick when dried.
Once you’ve cut out your shapes, on a tray lined with baking paper, place them out at room temperature to dry for 24 hours.
Cake Instructions
Preheat your oven to 170°C/Fan 160°C & line a 12 hole cupcake tin with cases. (I prefer to use foil cases as they don’t seep grease.)
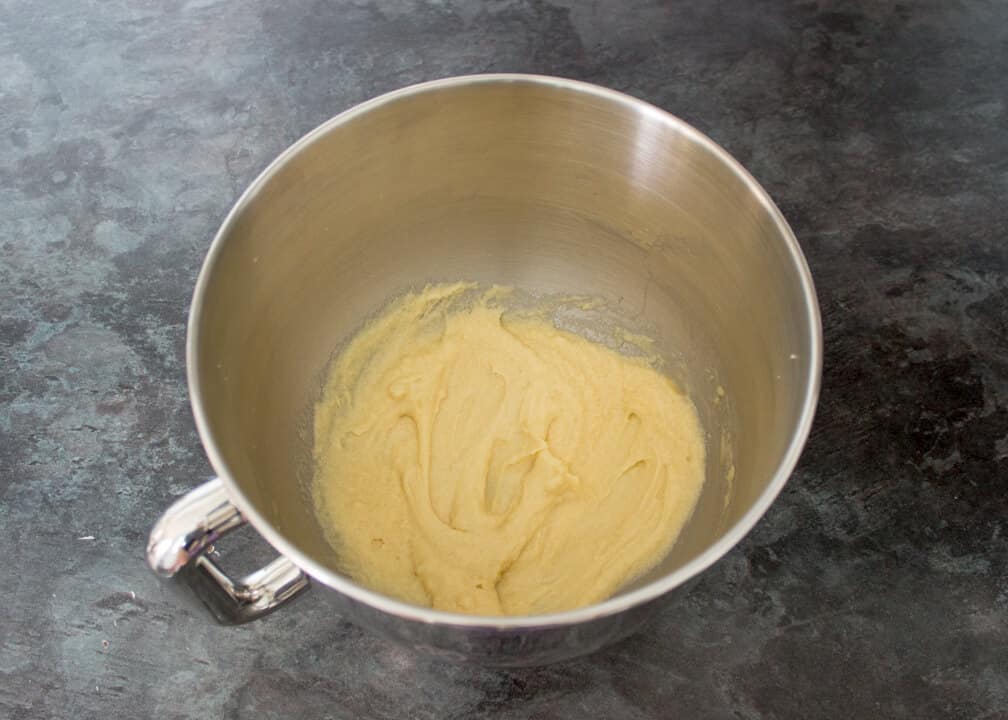
Either in an electric stand mixer or a large bowl with an electric hand whisk, cream together the butter & sugar until light and fluffy.
Beat the egg and gradually add this into the bowl. Mix on a high speed until well incorporated and smooth.
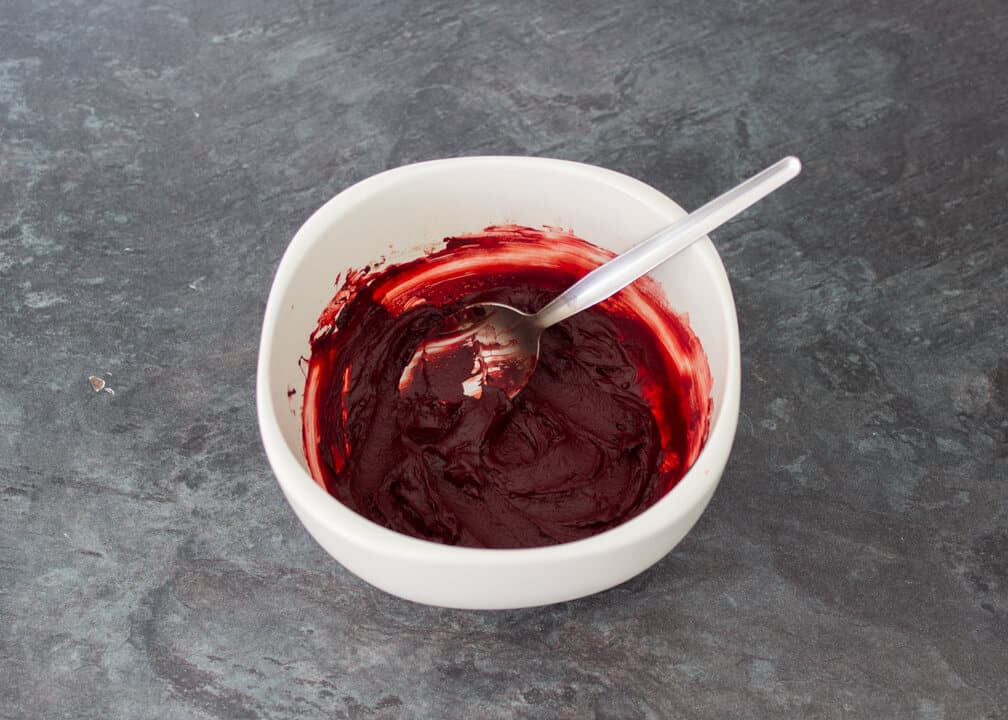
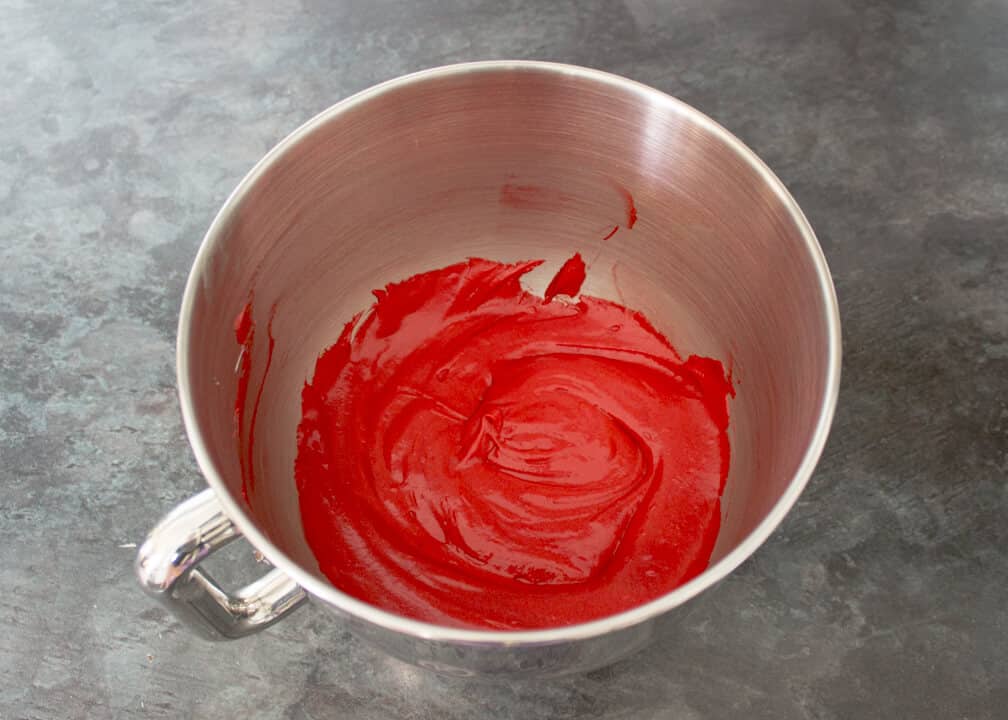
In a little bowl, mix together the cocoa powder, food colouring and vanilla extract to make a paste. If you are using a gel colour you may need to add a little water to loosen it.
You are looking for a deep red colour. (Remember that colours lighten once baked so don’t be skimpy!)
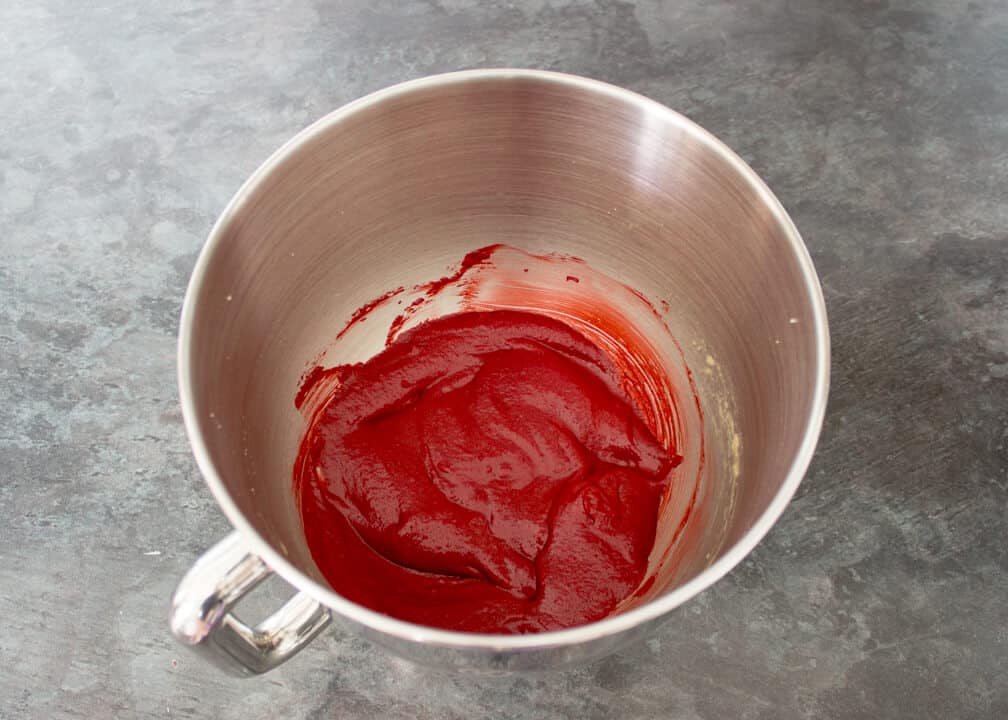
Add the paste into the butter mixture and mix until smooth. Scrape down the sides of the bowl then mix again to ensure the colour is evenly distributed.
With the stand mixer/electric hand whisk on a slow speed – gradually add in half the buttermilk and mix until smooth. Then sift in half the flour and mix again until smooth. Repeat until all the buttermilk & flour are used up. If needs be, scrape down the bowl to make sure all the ingredients have been evenly distributed.
Then add in the salt, bicarbonate of soda and white wine vinegar and mix on a medium/high speed until smooth.
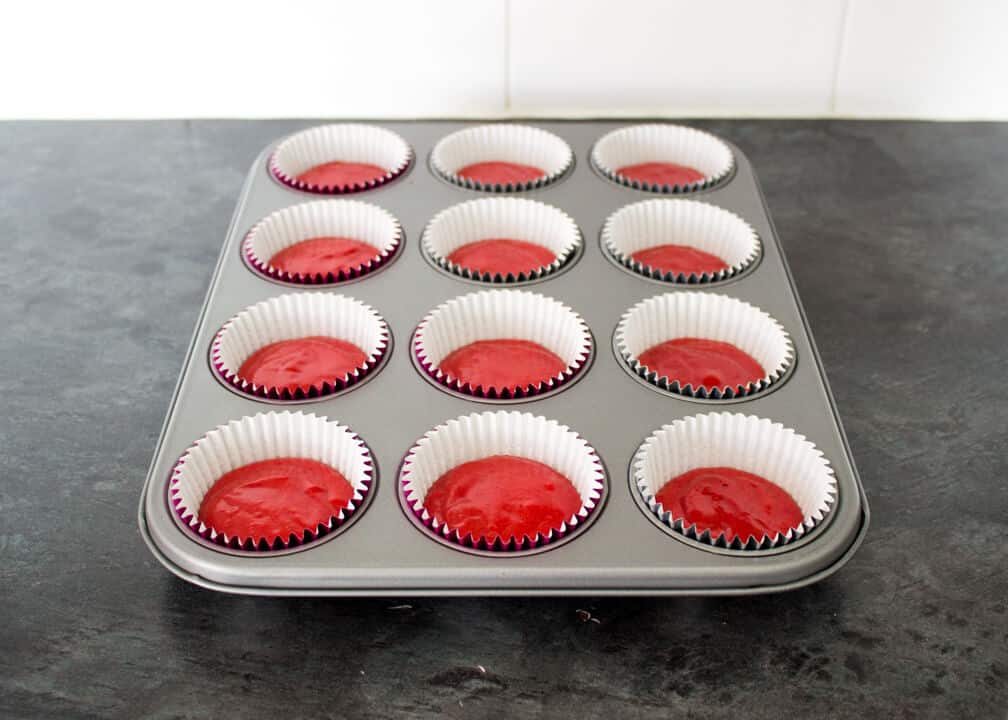
Divide evenly between the 12 cupcake cases. (They should be about half to two thirds full.)
Bake in the preheated oven for 18 – 25 minutes. To test, insert a skewer into the middle of a cupcake. If it comes out clean, they’re cooked. If there is batter on it – they need a little longer.
Once cooked, allow to sit in the tin for a couple of minutes then transfer to a wire rack to cool completely before decorating.
Cream Cheese Frosting Instructions
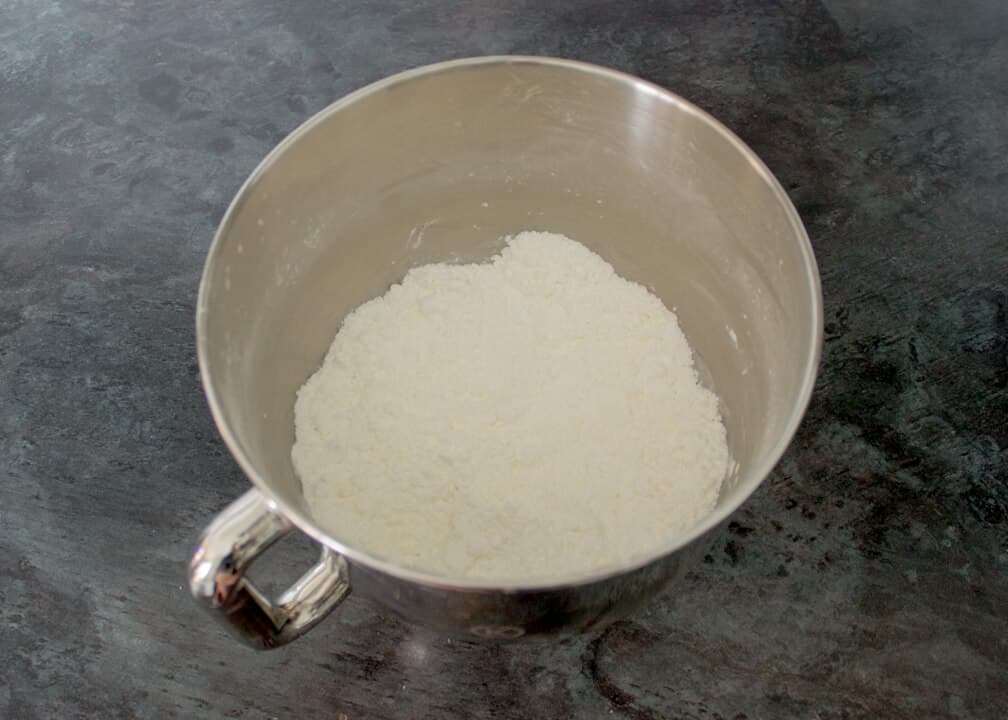
Sift the icing sugar into the bowl of an electric stand mixer and add the butter. Mix on a medium/slow speed until well mixed. (Or use an electric hand whisk and a large bowl.)
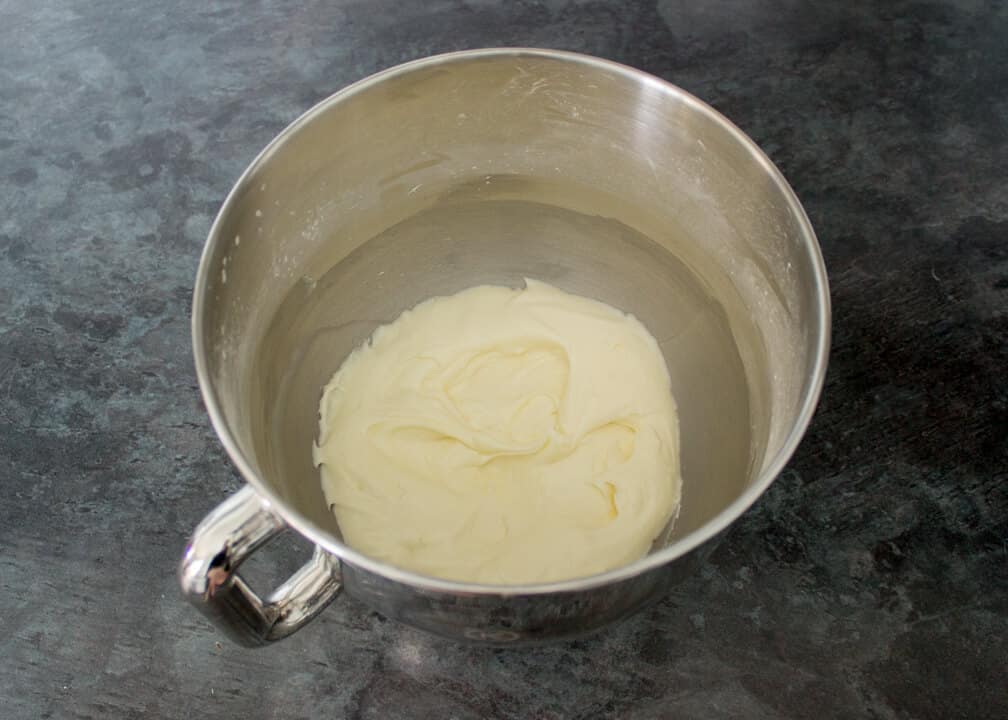
Add in the cream cheese and mix slowly to start with (until the icing sugar is no longer a risk of mushroom clouding your kitchen!) then mix on high until really light and smooth for about 5 minutes.
Be careful not to over do it though – cream cheese frosting is a delicate creature and will become very runny if you over mix it.
Chill in the fridge until ready to decorate your cupcakes.
When you’re cakes are completely cool – load a large piping bag with a nozzle of your choosing and fill with the cream cheese frosting.
I used a 3M open star nozzle (affiliate link) and piped frosting from the outside edge inwards.
Then simply top with your sugar heart decorations and et vous voila!
I usually say not to put cake in the fridge as it will dry it out quicker – but due to the cream cheese frosting, I recommend it with this particular recipe. They should keep for 3-4 days in a cardboard cupcake box. (If possible, don’t store in plastic as the sugar decorations will sweat.)
And there you have it! Sumptuously tempting, red velvet cupcakes that are good enough to make anyone fall in love with you!
Loved this recipe? Pin it!

About Emma Mason
Emma is a professional blogger. Utilising over 20 years of cooking experience, she’s passionate about making your life easier, one recipe at a time! Drawing on her 12+ year background in recipe research and development, photography, copy writing and marketing, Emma has turned kitchenmason.com into a successful career. Known as ‘the organisation queen’ among friends, she is passionate about creating easy to follow recipes that anyone can follow and enjoy. She lives in Nottingham (UK) with her husband, daughter and 2 naughty cats. In her spare time she can be found reading a good book, training at the dojo preparing for her black belt grading, or dreaming up the next crazy colour combo for her hair!




Fallon Elizabeth
Friday 20th of February 2015
Beautiful!
Hellbilly Mama
Sunday 8th of February 2015
Thank you for the recipe.. My daughters favorite is Red Velvet anything.
gourmet.gourmand
Sunday 8th of February 2015
I'm very jealous of people that have the patience for baking. Kudos!! They look absolutely delicious!
Miss KitchenMason
Sunday 8th of February 2015
Haha awww thank you! x