
This post may contain affiliate links. Where I make a small commission on purchased items, at no extra cost to you. See my disclosure for details.
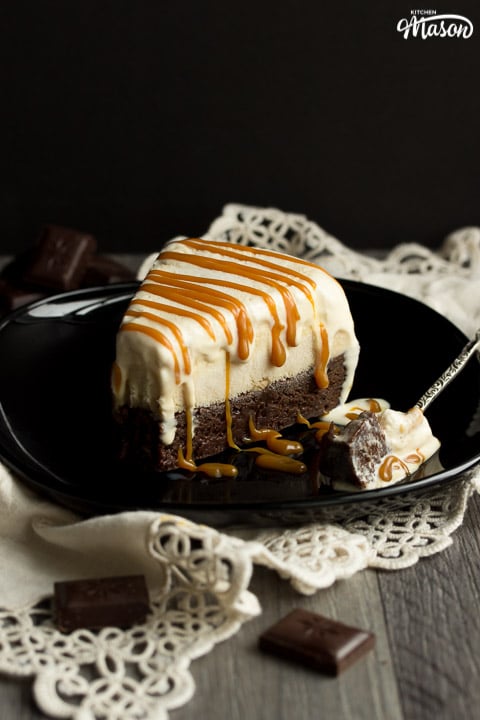
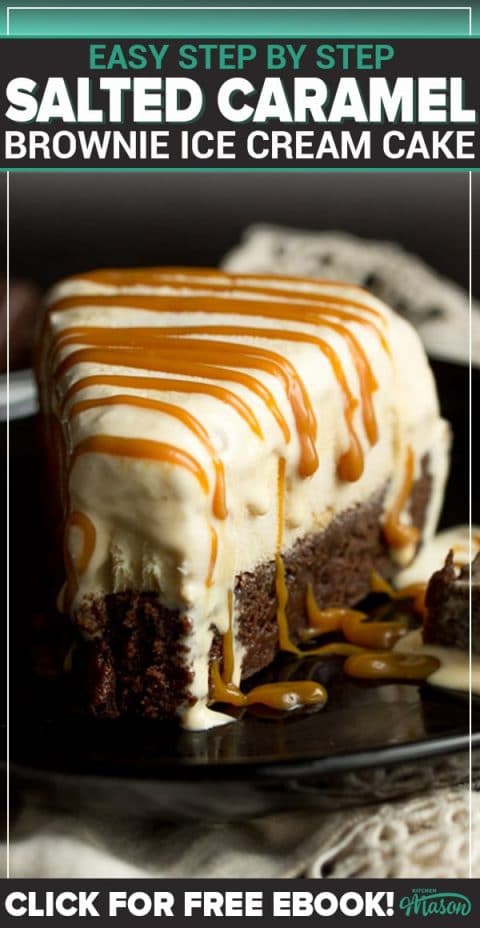
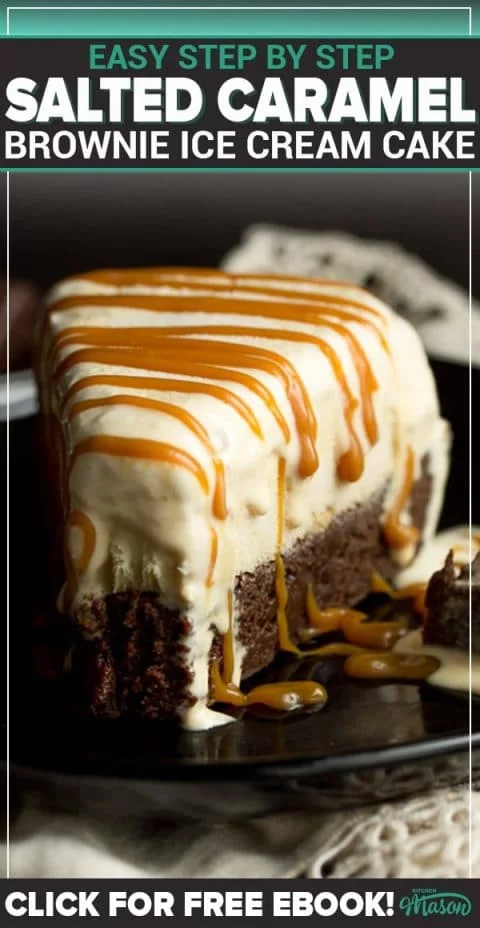
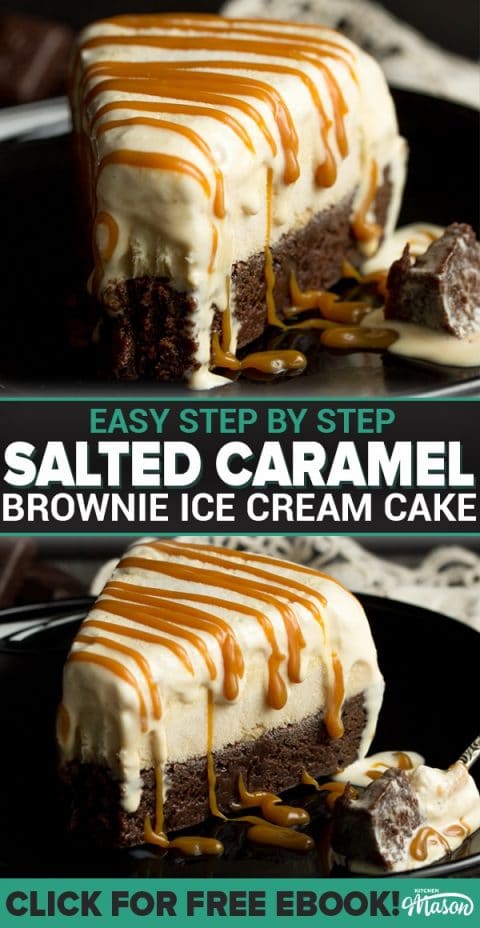
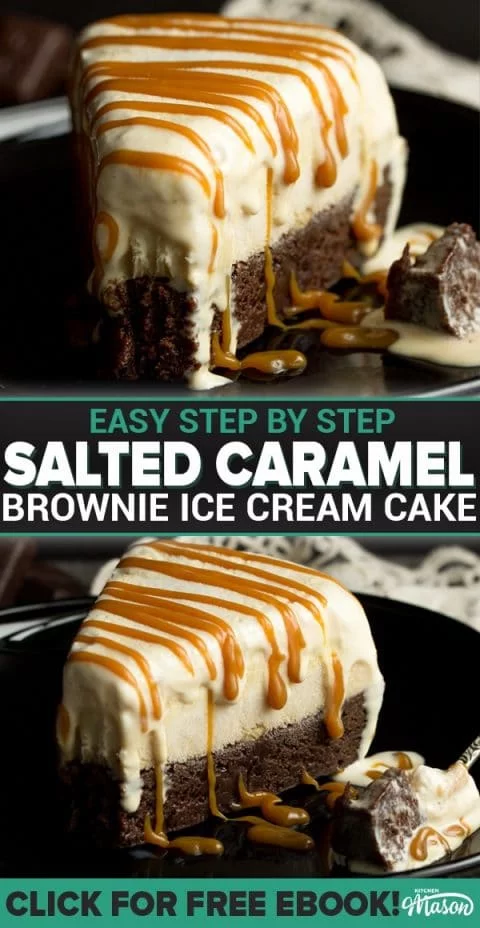
Looking for an impressive and amazing ice cream cake recipe that’s insanely easy to make? You’re in the right place! This crazy luxurious salted caramel brownie ice cream cake is so simple to make and yields, honestly, one of the most incredible tasting desserts I’ve EVER had the pleasure of eating! You would not believe how easy and impressive it is!
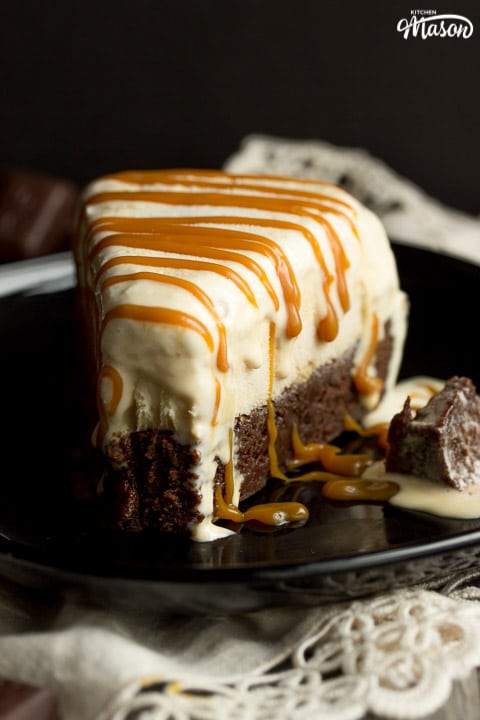

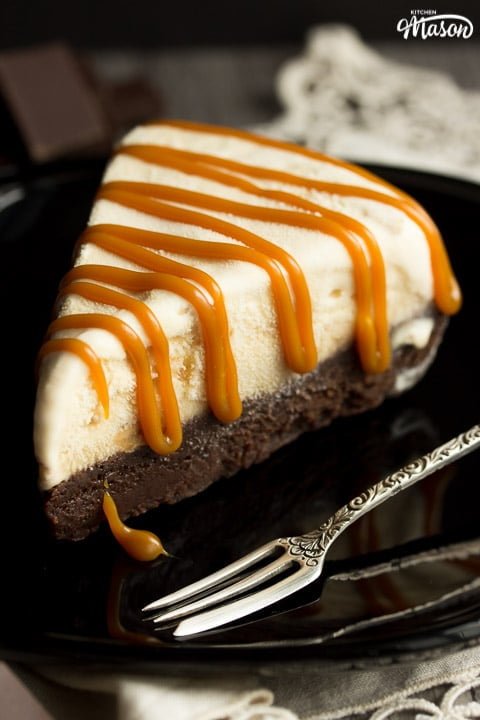
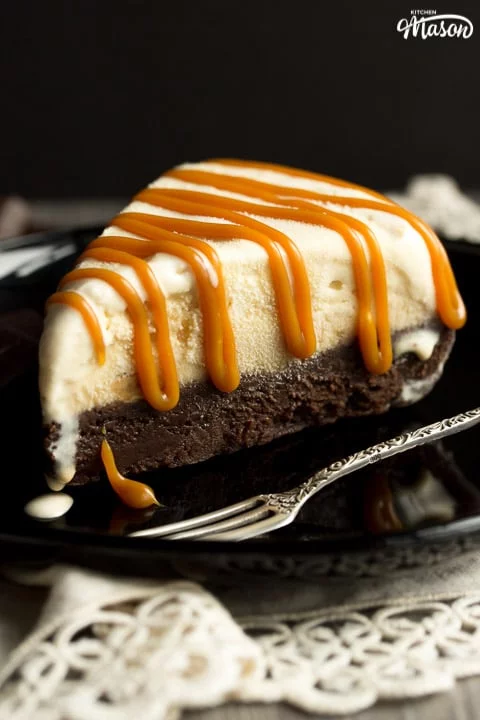
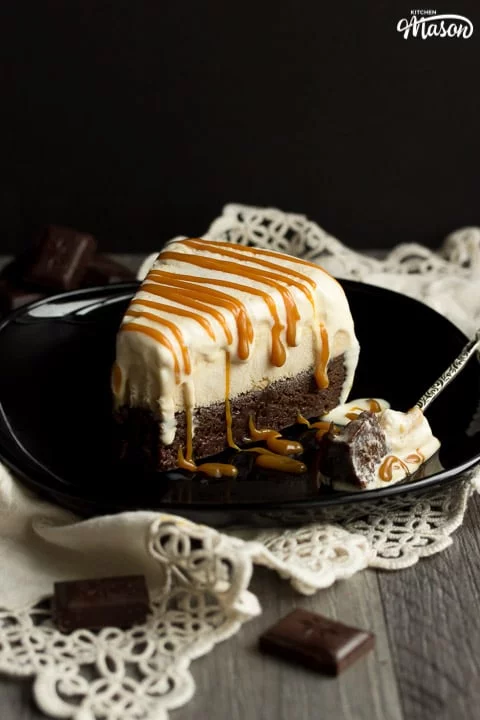
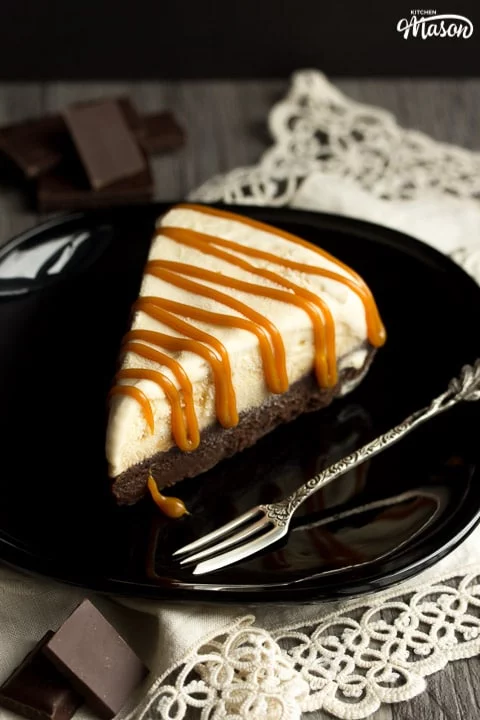
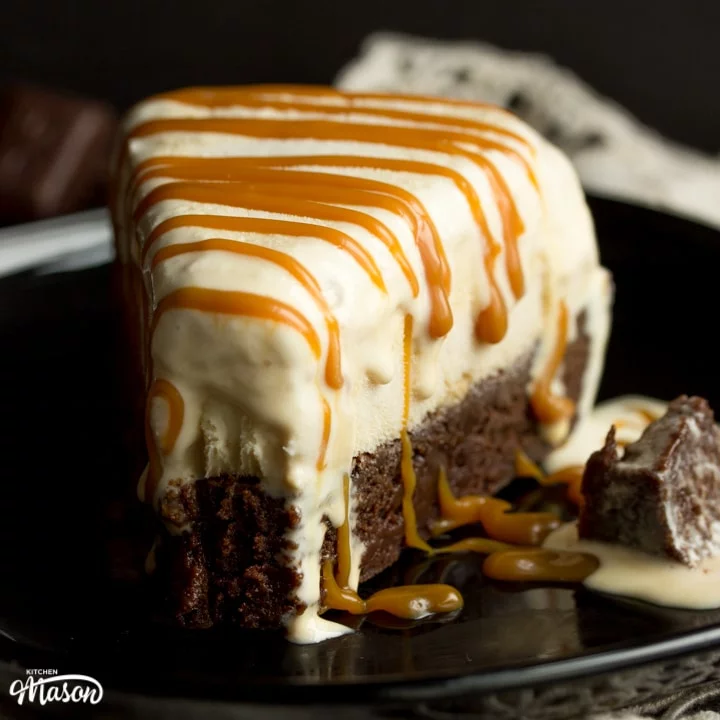
This ice cream cake recipe starts with a rich and indulgent brownie base, is then topped with a beautifully lavish salted caramel ice cream and finally smothered in lashings of salted caramel sauce… you know you’re onto a gigantic winner with this one before you’ve even started!
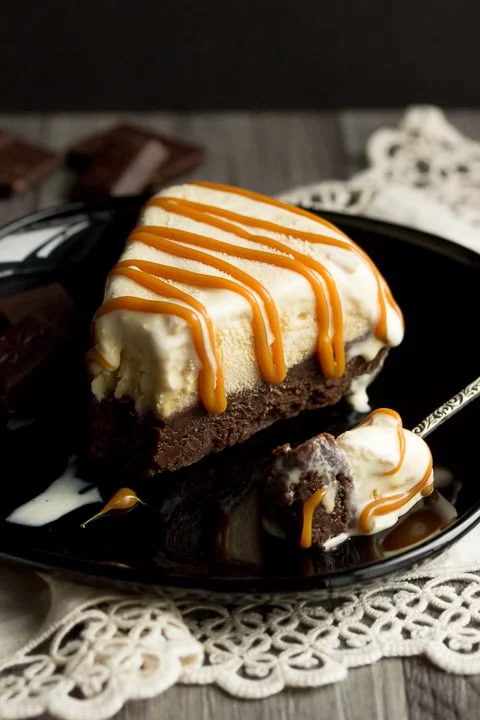
It’s a perfect make ahead recipe too. (Making it deal for Summer bbqs, dinner parties and even a Christmas dessert alternative!) All you need to do is take it out the freezer to soften slightly for 5-10 minutes then slice and serve. It couldn’t be easier! And brownie has the most addictive texture when it’s frozen. It doesn’t freeze solid. It actually becomes more chewy and even more chocolatey and rich!

If you’re a long time Kitchen Mason fan, you’ll know I’m no stranger to ice cream cakes. Remember when I made that Biscoff ice cream cake? That was a good day. I really feel like we both under use and under estimate the ice cream cake here in the UK. I don’t know why – they’re so ridiculously easy to make and very easy to adapt to all tastes!
They’re literally the perfect make ahead dessert for any occasion. The brownie layer is made using my all time favourite easy one bowl brownie recipe and then topped with shop bought ice cream. You literally can’t go wrong and I guarantee EVERYONE will be impressed.
If you’re new to baking, you might like to read this guide on baking for beginners first.

How to Adapt this Brownie Ice Cream Cake Recipe for Diets and Allergies
Have a guest that requires a gluten free, dairy free or vegan dessert? No problem! Simply use my vegan gluten free brownies recipe instead of the one included in this post (using the same lined round cake tin method though) and replace the ice cream for a dairy free version. There are plenty of options available in the supermarkets now. Remember to skip the salted caramel sauce on serving too if it’s for a vegan or dairy free diet. This vegan gluten free raspberry brownie ice cream cake is pretty darn awesome too!

Brownie Ice Cream Cake Recipe Tips
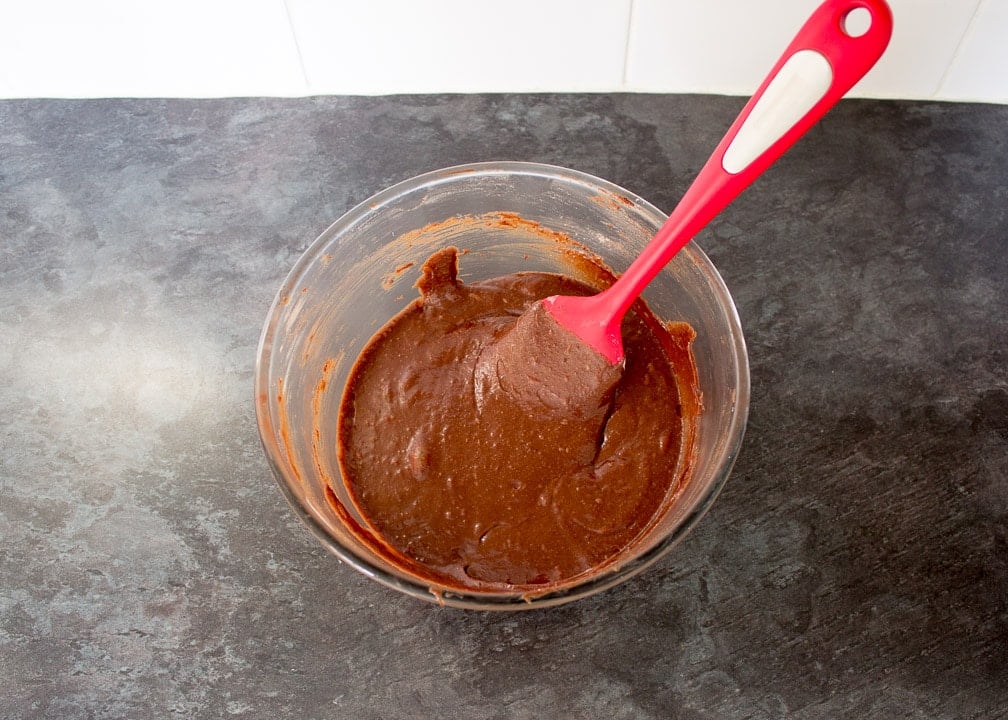
- When making the brownie batter, use a silicone spatula. It’s much easier and quicker to incorporate all the ingredients and scrape down the sides in one go.
- Allow the brownie to cool completely before topping with ice cream. For (hopefully) obvious reasons!
- Try not to let the ice cream melt completely. Just enough so you can pour it into the tin and smooth it out.
- Using ice cream that already has a caramel sauce running through it? Don’t mix it too much or that caramel will blend right into the ice cream and you’ll lose that lovely contrast.
- Want to change up the flavour? Go ahead, experiment! You could change the ice cream flavour, add in fudge pieces, chocolate chips or anything else that takes your fancy.
- This may seem silly but make sure you have enough room in your freezer for the dessert before you begin. (I’ve actually forgotten this before and had to make some sacrifices!)
Salted Caramel Brownie Ice Cream Cake – Step by Step Picture Recipe
(For a printer friendly version, see the recipe card at the end of this post)
Here is what you will need to serve 10-12
Ingredients
- 110g (1/2 cup) Unsalted Butter
- 110g (4 oz) Dark Chocolate
- 2 Eggs
- 225g (1 + 1/8 cup) Golden Caster Sugar
- 1 tsp Vanilla Extract
- 1/4 tsp Salt
- 60g (1/2 cup) Plain Flour
- 2 tbsp Cocoa Powder
- 920ml (4 cups) Salted Caramel Ice Cream
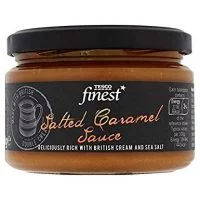
- Salted Caramel Sauce, To Serve (Optional)
Essential equipment
- 21.5cm (8.5″) Springform Cake Tin
Brownie instructions
First, lightly grease and line the base and sides of your springform tin with foil then put it to one side until needed. Preheat your oven to 180°C/Fan 170°C.
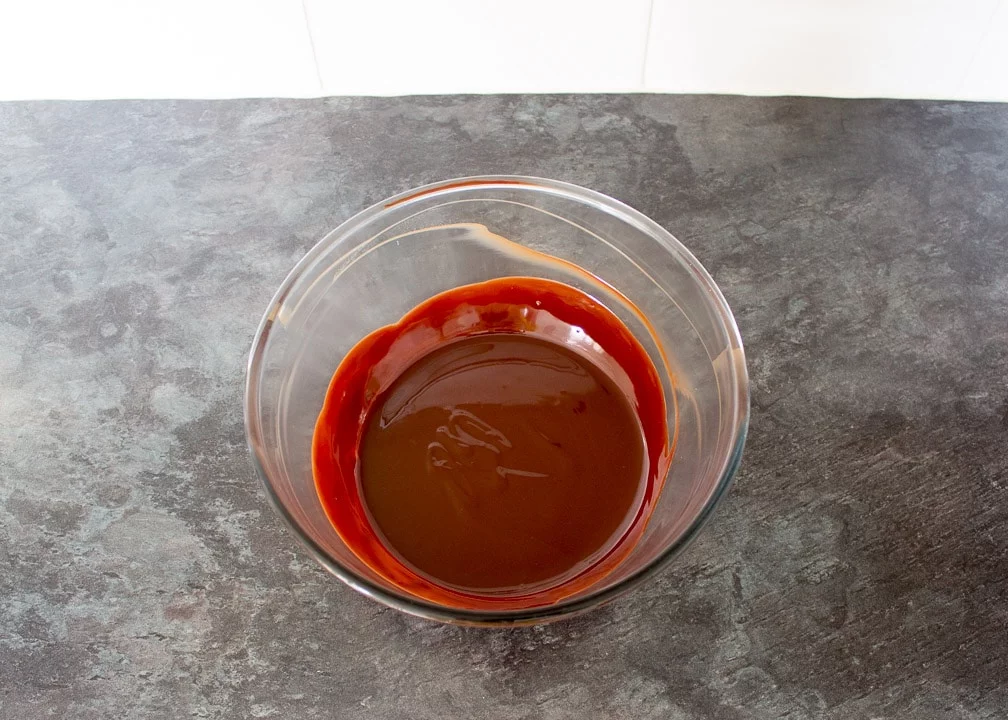
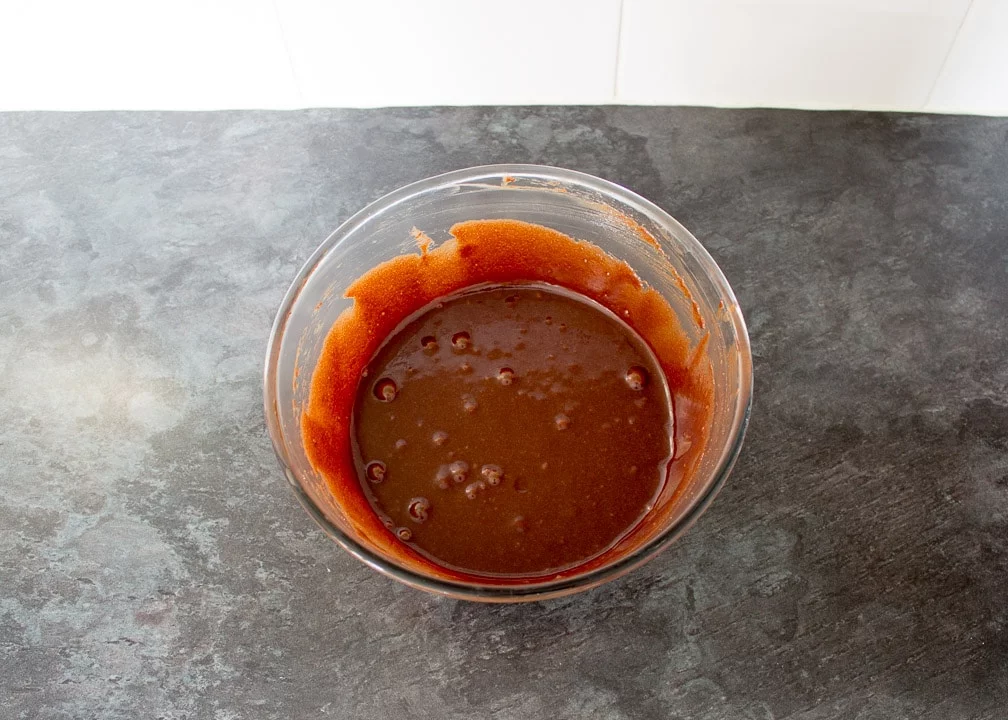
Next, put the butter (110g | 1/2 Cup) and dark chocolate (110g | 4 oz) into a glass bowl and melt in the microwave in 10 second intervals. Stir well after every time until it’s completely melted.

Then one at a time, beat in the eggs (x 2) with a spatula until blended evenly.
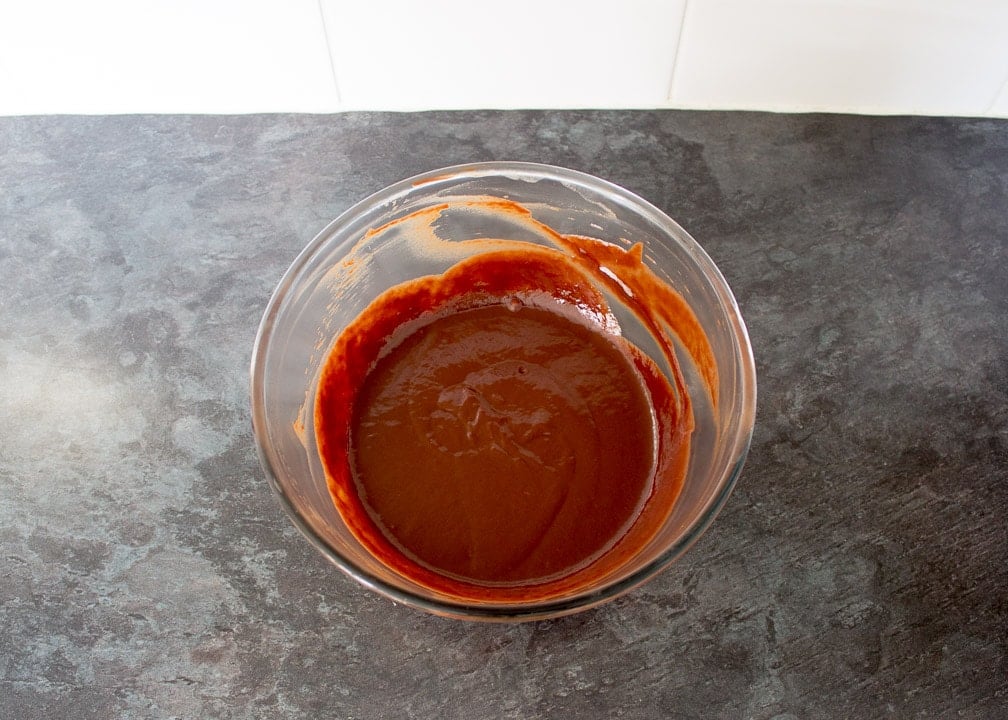

Next, weigh in the sugar (225g | 1 + 1/8 cup) and mix until it doesn’t feel grainy on the bottom of the bowl anymore – about 1 minute or so. Then add the vanilla (1 tsp) and salt (1/4 tsp) and mix again briefly.

Finally, sift the flour (60g | 1/2 cup) and cocoa powder (2 tbsp) directly into the bowl and fold into the batter until you can’t see any more flour on the sides or within the batter itself.

Now pour the batter into your prepared tin and smooth out.
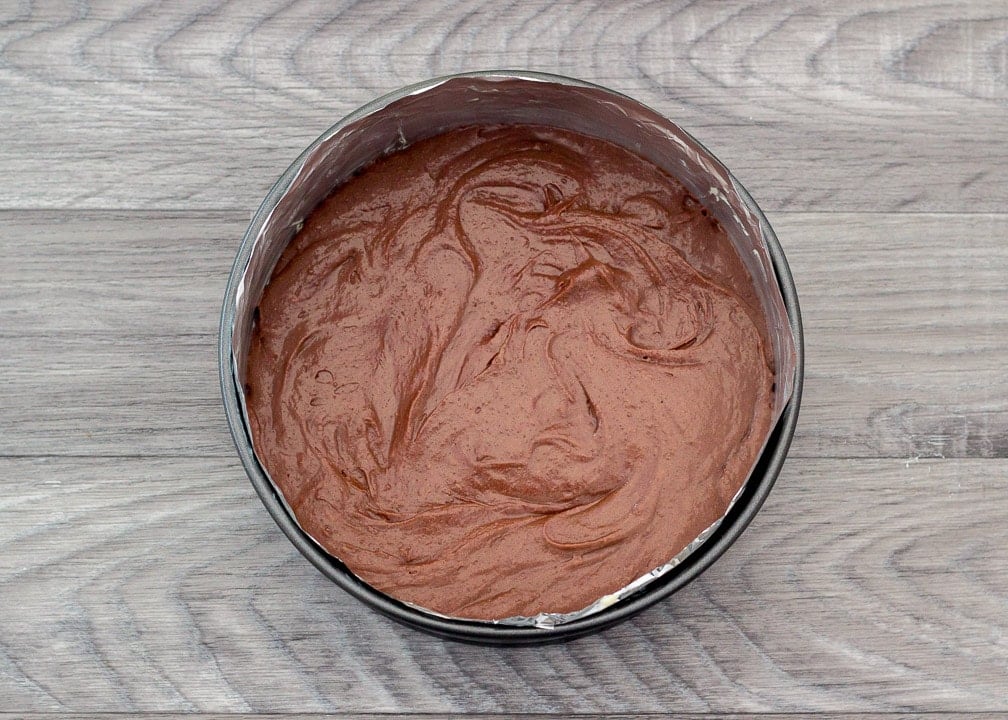
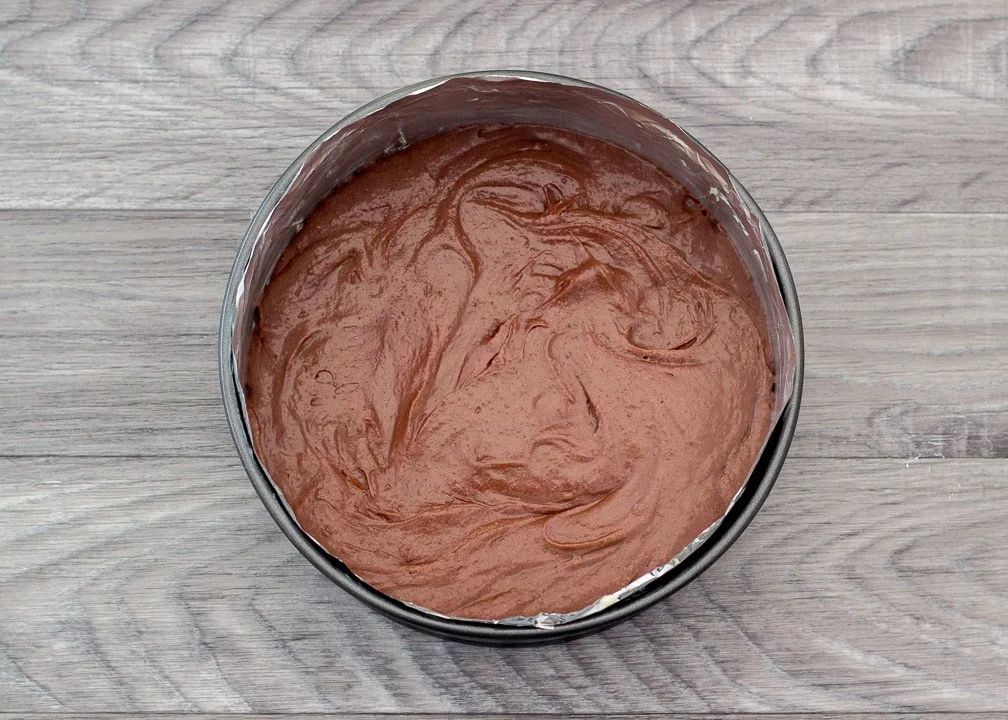
Then bake in the preheated oven for 18-20 minutes until the top is crispy but the middle still gives a little when pressed.
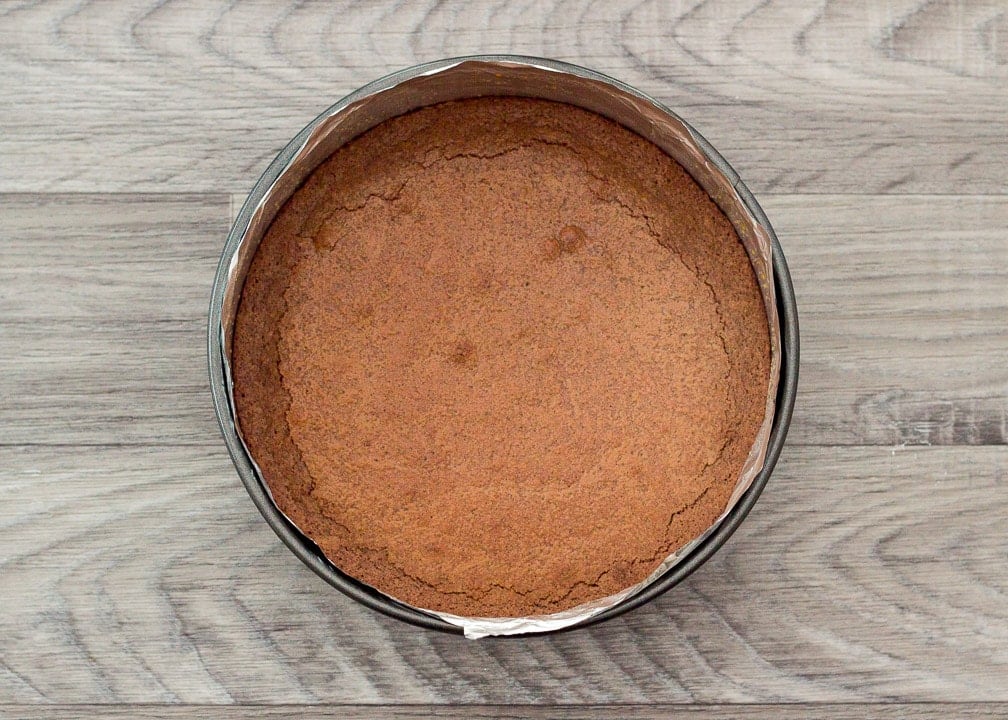

This is probably the hardest part of the whole recipe. Leave the brownie to cool completely before moving on to the next step. Yep – I said completely. Step away from the brownie!
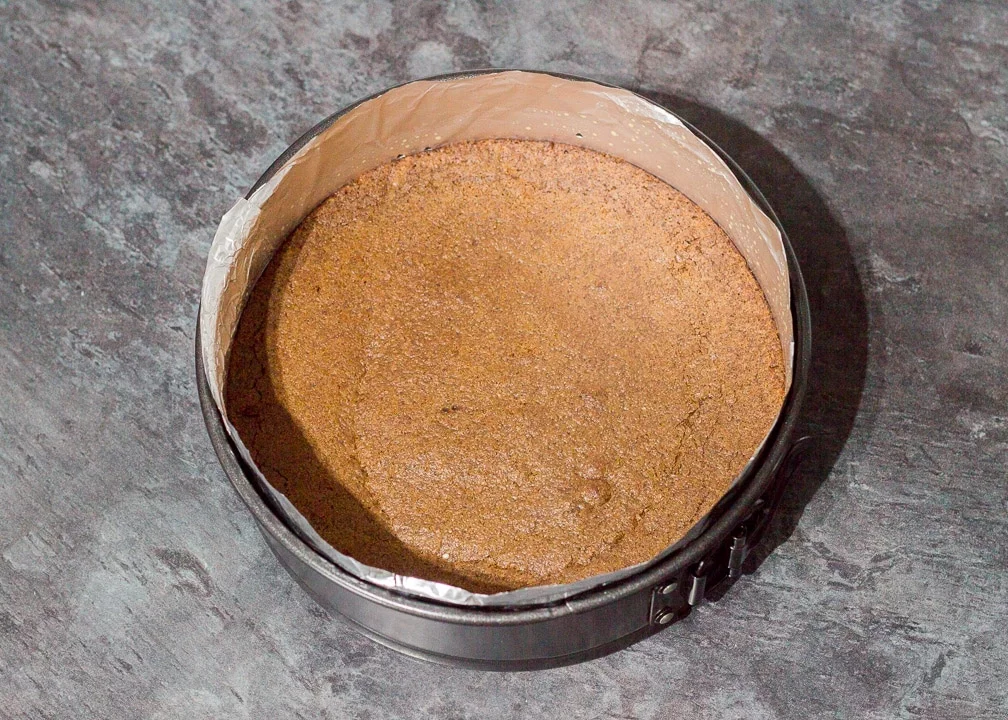
When it’s completely cooled, take a metal spoon and press the edges down a little. So the whole brownie is level and pressed right up to the edge of the tin all the way around. (This will stop ice cream from dripping down the sides.)

Assembly instructions
Remove the ice cream (920ml | 4 cups) from the freezer and allow to soften on the side for 15-20 minutes. Then tip the ice cream into a bowl and ‘mush’ with a spoon. If it’s still too firm, leave it out for another 10 minutes in the bowl then try again.

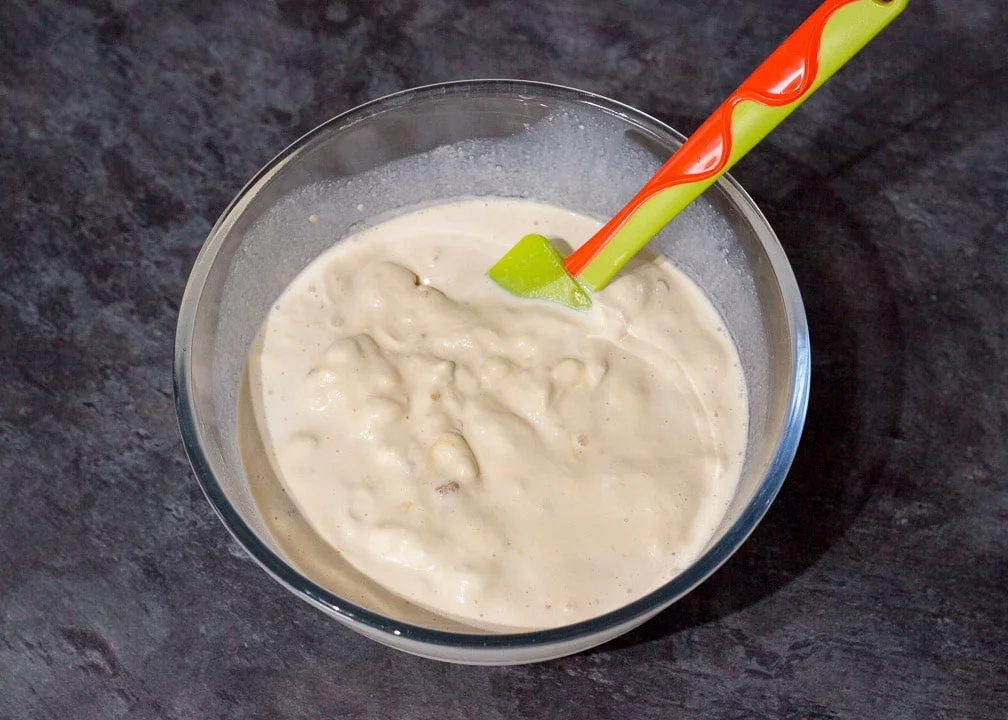
Once it’s about two thirds melted, pour it over the brownie and smooth out as best as you can.
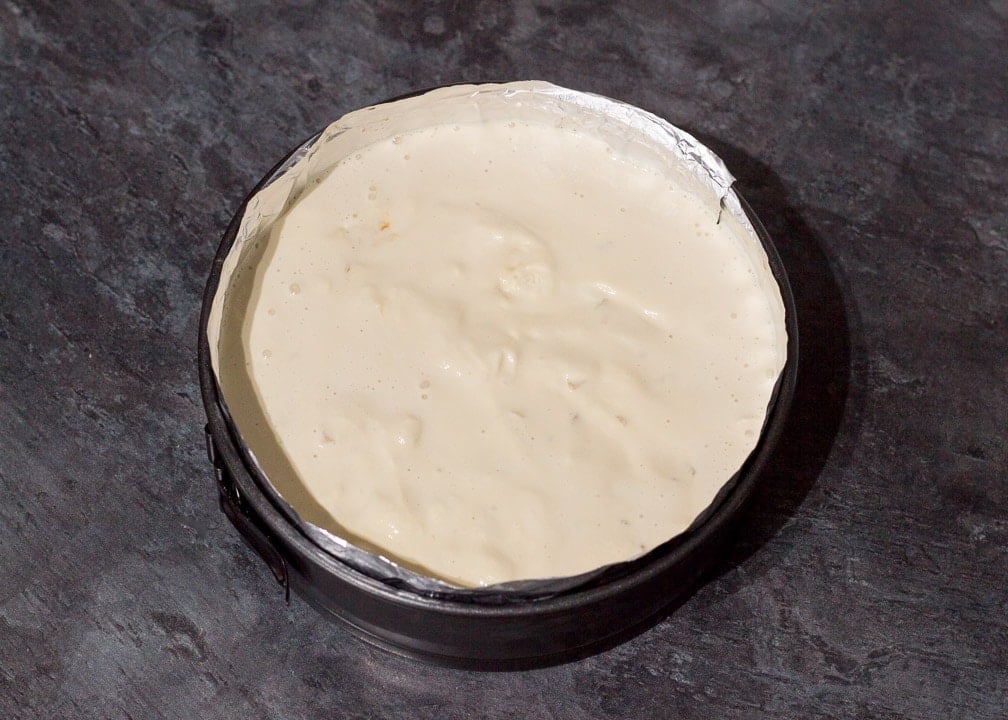
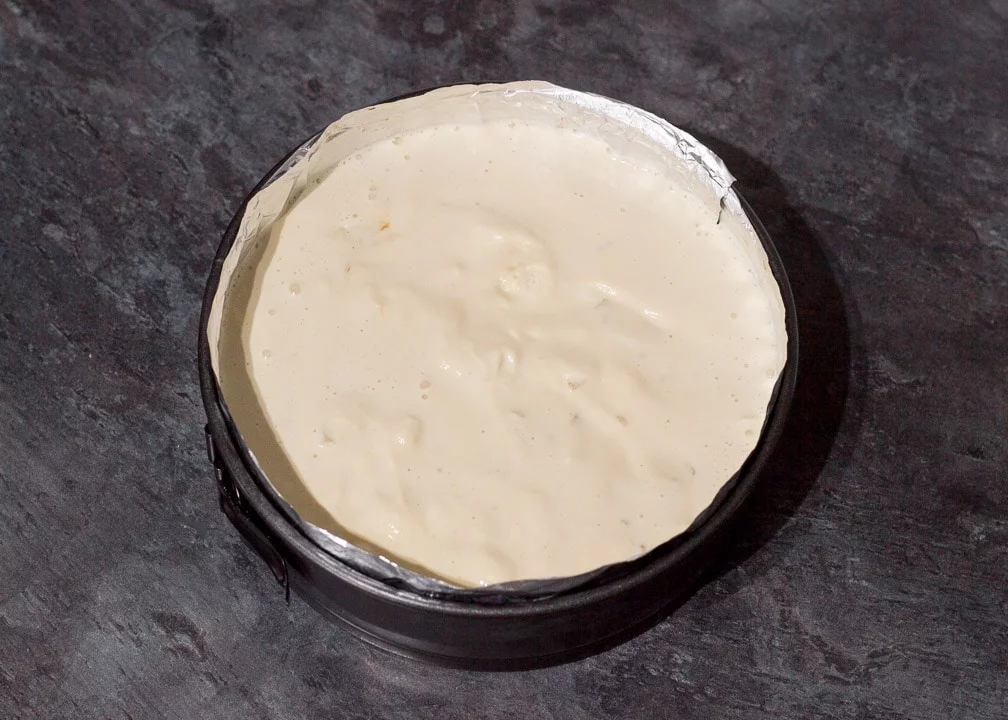
Now place it in the freezer to set for at least 4 hours. (Overnight is best if you have the time.) Once you are ready to serve, carefully remove it from the tin, peel off the foil and slice away. (It actually slices easier than you might think!) Serve drizzled with extra salted caramel sauce if you like.

Store your ice cream cake in the freezer and consume within 7-10 days.
I bet you didn’t believe me when I said it was ridiculously easy did you? Well It doesn’t get much better than that does it?! Answer me this, if you could have ANY flavour ice cream cake in the world – what would it be? Let me know in the comments section below.
Have you made this recipe?
I LOVE it when you share what you’ve made! You can get in touch by leaving a comment below, tagging me on social media or sending me an email. I don’t mind how, I just love hearing from you!
Loved this recipe? Pin it!

Salted Caramel Brownie Ice Cream Cake - Printable Recipe
This intensely luxurious brownie bottom ice cream cake recipe is not only INSANELY easy to make but it's seriously showstopping too! Perfect for Summer barbecues, dinner parties or even an alternative Christmas dessert - when you really want to impress.
Ingredients
- 110 g Unsalted Butter
- 110 g Dark Chocolate
- 2 Eggs
- 225 g Golden Caster Sugar
- 1 tsp Vanilla Extract
- 1/4 tsp Salt
- 60 g Plain Flour
- 2 tbsp Cocoa Powder
- 920 ml Haagen-Dazs Salted Caramel Ice Cream
- Salted Caramel Sauce, (To Serve, Optional)
Essential Equipment
- 1 21.5cm (8.5″) Springform Cake Tin
Instructions
- Lightly grease then line the base & sides of the tin with foil. Preheat the oven to 180°C/Fan 170°C.
- Melt the butter and dark chocolate in a large bowl in the microwave in 10 second intervals. (Stir well after each blast)
- Add the eggs one at a time and mix until blended. Then add the caster sugar and mix until it feels smooth under the spatula. (1-2 mins)
- Mix in the vanilla and salt. Then sift in the flour & cocoa powder and fold in until incorporated and smooth.
- Pour the brownie batter into the tin and bake for 18-20 mins. Cool completely before moving on to the next step.
- Take the ice cream out the freezer and allow to soften for 20 mins. Then tip into a bowl and mix gently until loose enough to pour.
- Meanwhile, smooth out the cooled brownie with the back of a spoon. (So it's nice & flat and pushed up to the edges round the whole tin - this'll stop the ice cream dripping down the sides.)
- Pour the ice cream over the brownie and smooth out. Place in the freezer for a minimum of 4 hours. (Overnight if you can.)
- When set, remove from the tin, peel off the foil then slice and serve drizzled with some extra salted caramel sauce.
Notes
Store in the freezer and consume within 7-10 days.
For US measurements, please see recipe within the blog post.
Recommended Products
As an Amazon Associate and member of other affiliate programs, I earn from qualifying purchases at no extra cost to you.

Nutrition Information:
Yield: 12 Serving Size: 1Amount Per Serving: Calories: 466Total Fat: 25gSaturated Fat: 15gTrans Fat: 0gUnsaturated Fat: 9gCholesterol: 127mgSodium: 158mgCarbohydrates: 55gFiber: 1gSugar: 47gProtein: 6g
Nutritional information on kitchenmason.com should only be used as a general guideline, I am not a certified nutritionist. Please always check labels for allergens where applicable.
Kenzie
Wednesday 29th of December 2021
There is a typo in one of the sets of instructions that says 14 oz of chocolate instead of 4.. needless to say my batter was THICK hahaha
Emma
Thursday 30th of December 2021
Hi Kenzie, oh my goodness - you’re right! I’m so sorry! I’ve corrected this now, thank you SO much for letting me know! Emma x