
This post may contain affiliate links. Where I make a small commission on purchased items, at no extra cost to you. See my disclosure for details.
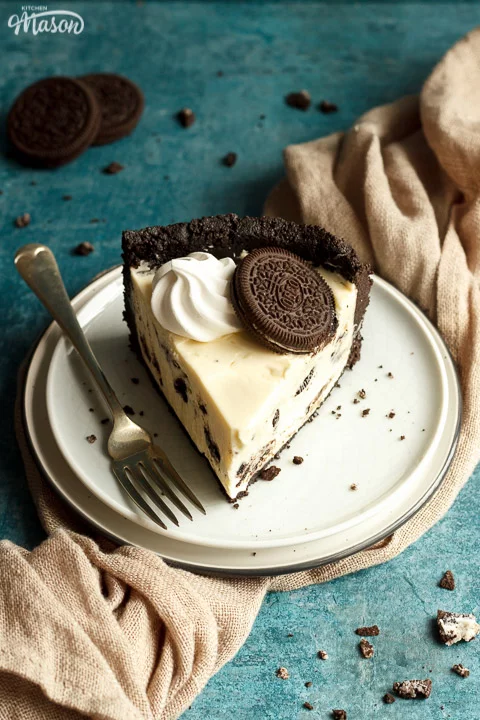
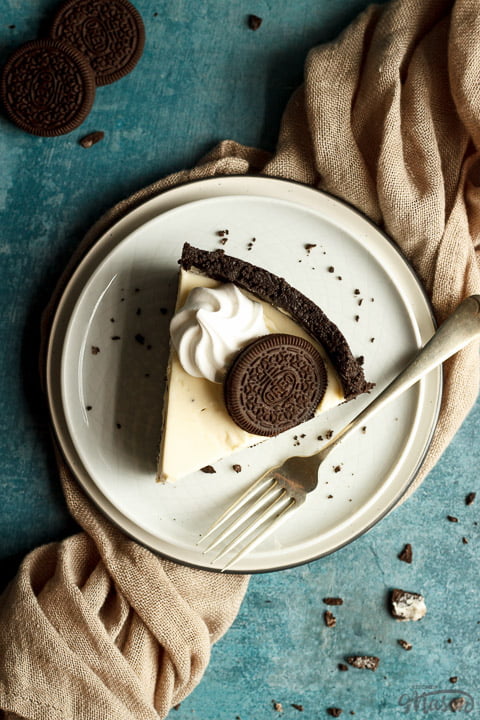
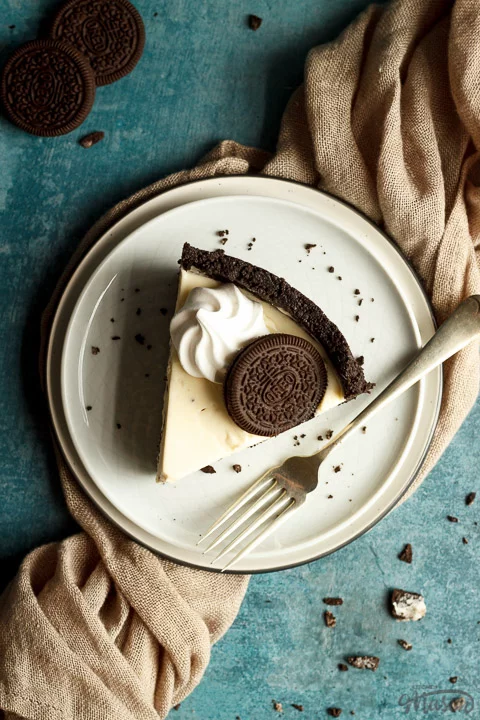
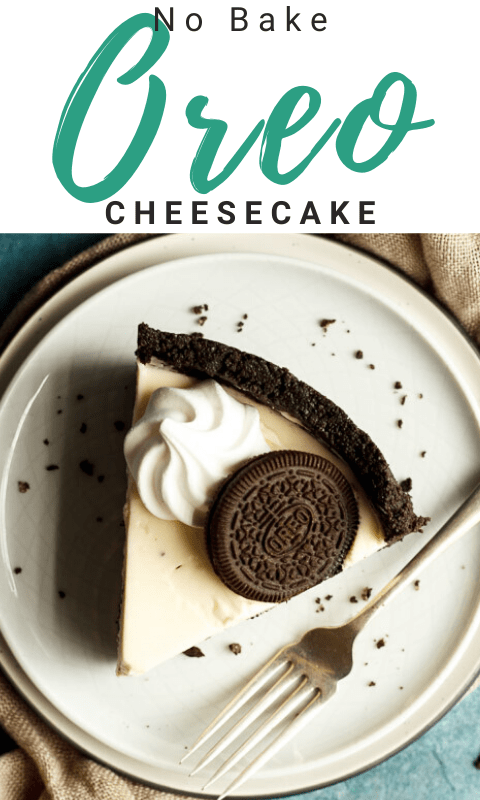
No bake Oreo cheesecake is a showstopping dessert that is guaranteed to please a crowd! It’s also really easy to make (just like my no bake vanilla cheesecake) and tastes absolutely lush! Read on for the easy step by step picture recipe, lots of helpful tips and much more…

I don’t know what it is, but there really is something very special about the combination or Oreos and cream cheese. Especially when you team it up with white chocolate, like in these Oreo truffles. (That’s my absolute favourite!)
Today we’re forgoing the white chocolate and sticking with an altogether more ‘modern classic’ dessert. No bake cheesecakes really are such a quick and convenient pudding. I mean, the fridge does all the hard work for you really!
If you don’t have the overnight setting time available, you can always make some Oreo fluff instead. It’s kind of a ‘deconstructed’ Oreo cheesecake, but chills in half the time!

This beautiful dessert would be perfect for dinner parties, Birthdays, Christmas, family parties… Ok ok, you get the ideas. It’s perfect for pretty much any occasion!

No bake Oreo cheesecake – recipe summary
I promise you it really is very simple!
- Blitz Oreos with melted butter in a food processor, press into a lined tin and chill.
- Whip together cream and icing sugar to stiff peaks.
- Beat cream cheese, sugar and vanilla together until smooth and shiny.
- Gently fold the whipped cream into the cream cheese.
- Roughly chop some Oreos.
- Pour a little cheesecake filling into the prepared base and top with a scattering of chopped Oreos.
- Repeat until all the cheesecake filling and chopped Oreos have been used.
- Chill for 3-4 hours then decorate with mini meringue nests and whole Oreos.

No bake Oreo cheesecake ingredients
Here’s everything you need to know about the ingredients.
- Oreos – I use original chocolate Oreos. You could use supermarket own brands but it probably won’t taste the same.
- Butter – Always use unsalted in baking unless specified otherwise. This gives you complete control of the overall flavour.
- Cream – Double cream (or heavy in the US) is the only one that will work here. It needs to be whippable.
- Icing Sugar – Icing/confectioners sugar will blend into the cream much easier than grainier sugars.
- Cream Cheese – Only Philadelphia full fat original cream cheese is guaranteed to work. Other brands/lighter versions might not set.
- Sugar – Golden caster sugar is my favourite as it gives a slight caramel flavour. Regular caster sugar (superfine in the US) will also work.
- Vanilla – A good quality vanilla extract is key in this recipe. I use Nielsen Massey’s.
- Meringue Nests – My go to cheat for decorating cheesecakes! You can, of course, pipe swirls of whipped cream instead.
Is Oreo cheesecake expensive to make?
Oreo cheesecake can be quite expensive to make thanks to 2 ingredients… the cream cheese and the Oreos. At full price, these ingredients will set you back quite a few pennies. If you keep an eye out for when Philadelphia cream cheese and Oreos are on offer at your local supermarket though, it can be very reasonable indeed!
No bake Oreo cheesecake tips and troubleshooting
Yes my recipes are easy to follow but we are only human and we all make mistakes! (Yes, even me!) Here’s a few helpful tips to ensure it works first time.
- Don’t forget to line the base and sides of your tin!
- Use a food processor to blitz the Oreos for the base. You will really struggle to do it by hand with those creamy fillings.
- Whip the cream by hand. It’s SO easy to over whip it by machine. Doing it by hand makes it far less risky.
- Only use Philadelphia full fat cream cheese. Other brands / light versions may not set.
- Buy Philadelphia cream cheese and Oreos when they’re on offer to save some pennies!
- Decorate just before serving as the Oreos will become soft over time.

- I over whipped the cream and now it’s too stiff – Pour in a little more cream and very gently fold it through with a spatula. That should loosen it up again.
- My filling has gone a grey colour – You mixed the Oreos through instead of layering it with the filling. For a beautiful white dessert, don’t mix the Oreos in.
- The cheesecake didn’t set – Either you didn’t use a firm enough cream cheese (like Philadelphia original full fat) or you didn’t allow it to set for long enough.
- The Oreos are soft – There’s no way to avoid them going soft so try to decorate at the last possible moment to give the longest life.

Other recipes you might like…
- No bake chocolate cheesecake
- No bake lemon cheesecake
- Mini Malteser cheesecakes
- No bake Kinder Bueno cheesecake
- No bake vanilla cheesecake


No Bake Oreo Cheesecake – Step by Step Picture Recipe
Here is what you will need to serve 10-12.
(For a printer friendly version, see the recipe card at the end of this post)
Ingredients
Biscuit base
- 375g (13 oz) Oreos
- 125g (1/2 Cup) Unsalted Butter
Cheesecake filling
- 300ml (2 + 1/4 Cups) Double Cream
- 60g (1/2 Cup) Icing Sugar
- 450g (2 Cups) Philadelphia Original Cream Cheese
- 110g (1/2 Cup) Golden Caster Sugar
- 1 tsp Vanilla Extract
- 85g (3 oz) Oreos, roughly chopped
Decoration
- 6 x Mini Meringue Nests
- 6 x Oreos
Essential equipment
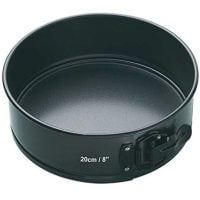
- 21.5cm (8.5″) Springform Pan
- Food Processor
- Small Bowl
- Metal Spoon
- 2 Large Mixing Bowls
- Whisk
- Rubber Spatula
- Sharp Knife
- Chopping Board
Biscuit base instructions
First, lightly grease and line the base and sides of your springform pan – set to one side until needed.
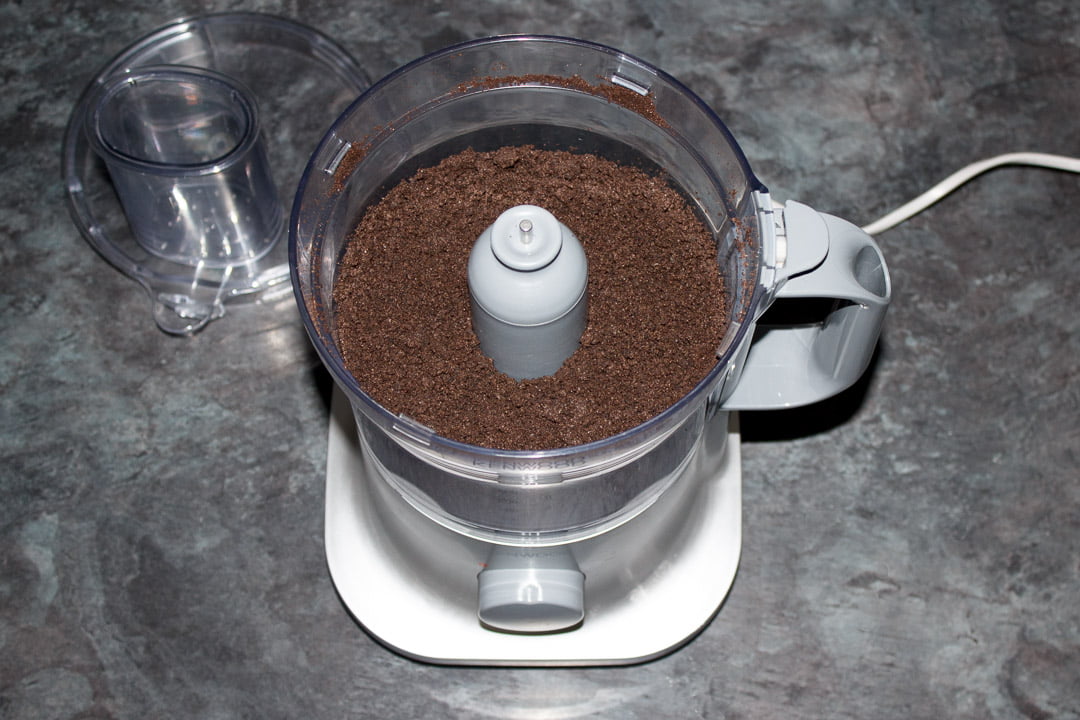
Next, pop the Oreos (375g | 13 oz) into a food processor and blitz until they become a fine, breadcrumb like consistency. And yes, I do mean the WHOLE Oreo, fillings and all.

Melt the butter (125g | 1/2 Cup) in 10 second intervals in a small bowl in the microwave.

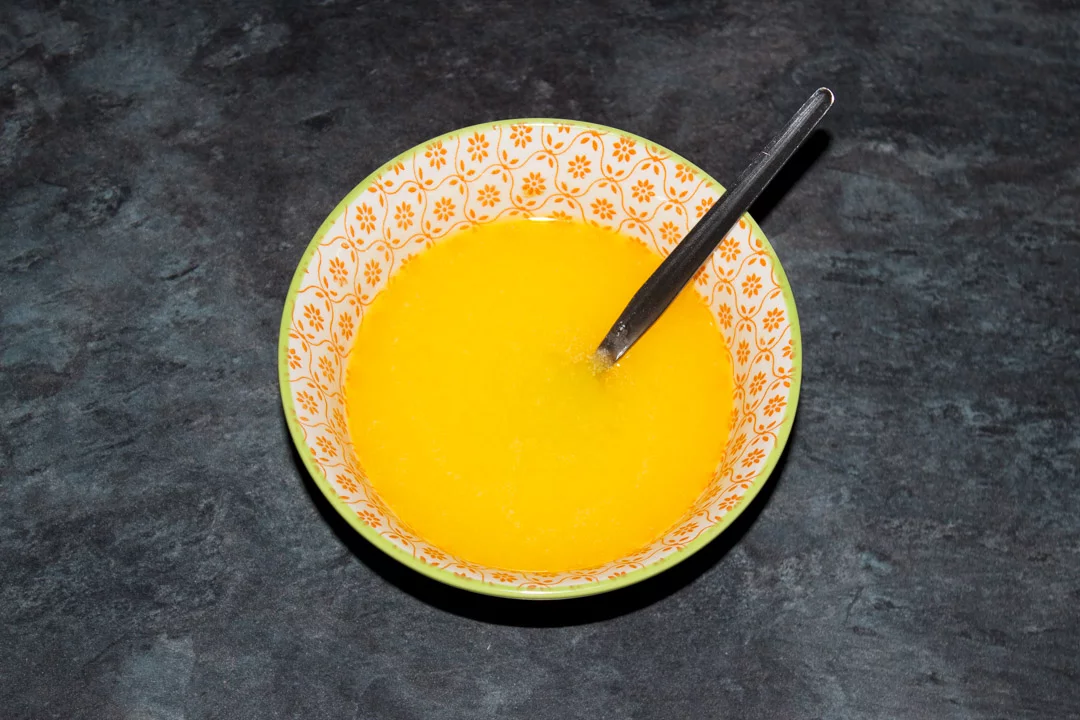
Then pour the melted butter into the food processor and pulse until it clumps together to look like wet sand.
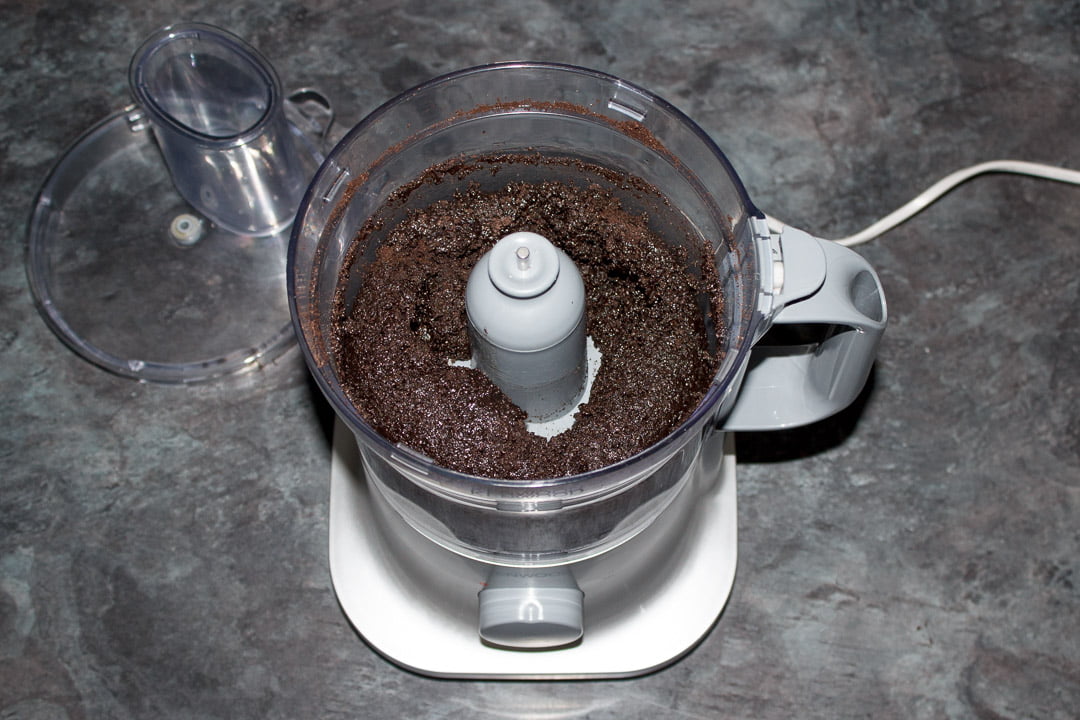
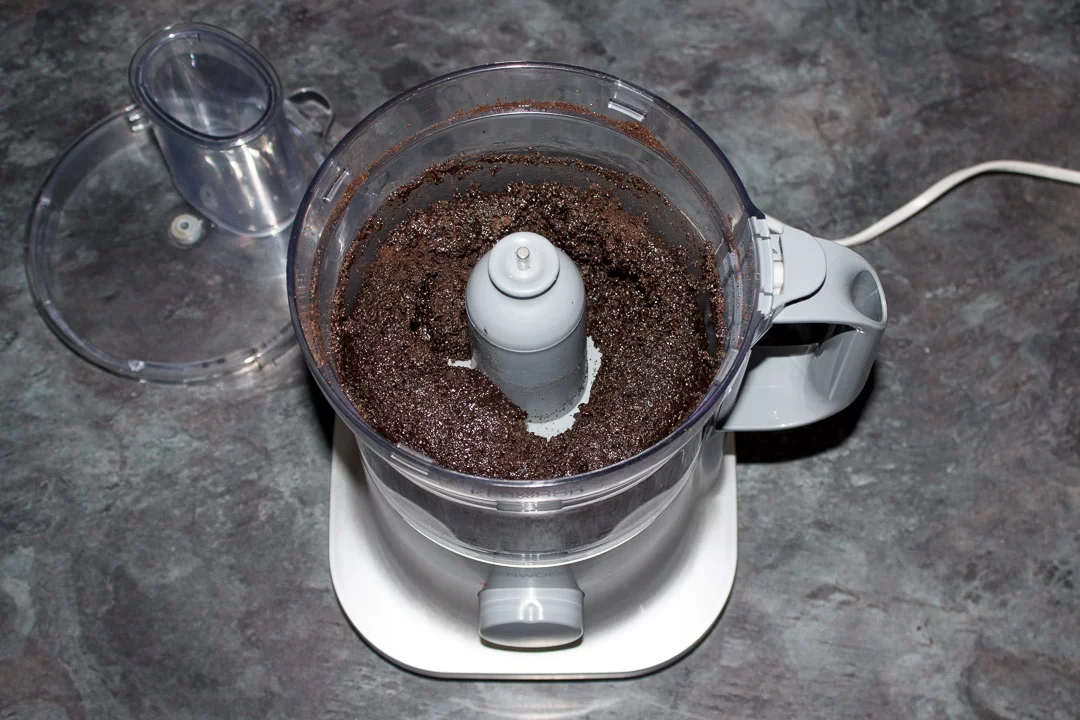
Tip the whole lot out into your lined tin and press into the base and sides using the back of a metal spoon.
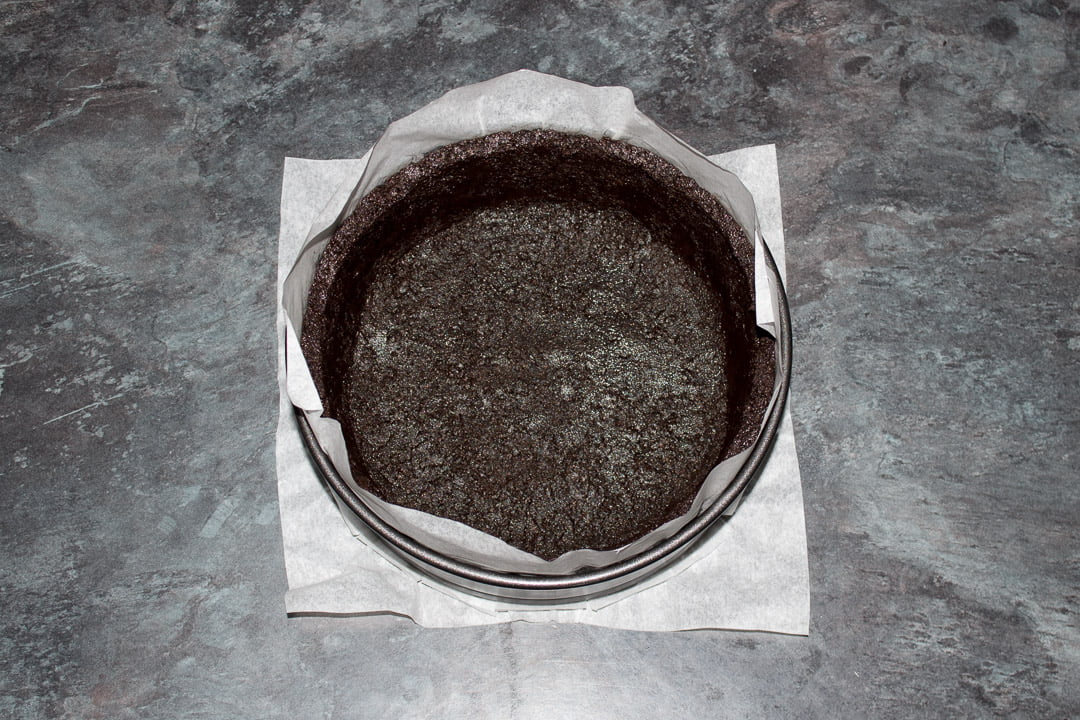
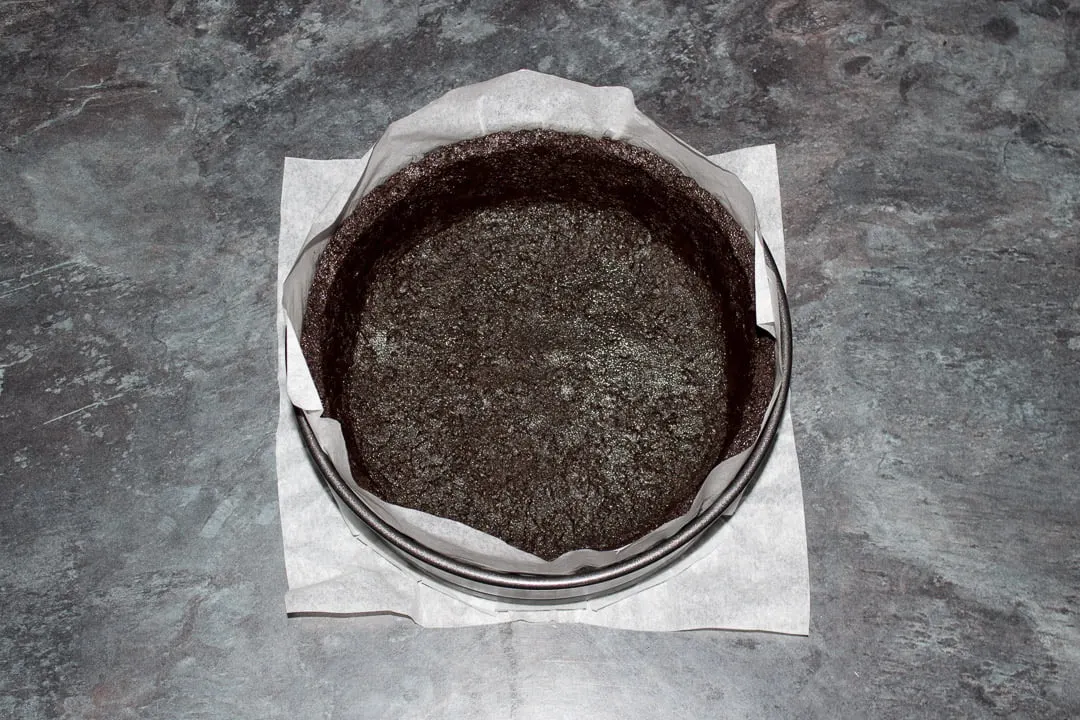
Fantastic! Now pop this into the freezer to set firm while you make the filling.
Cheesecake filling instructions
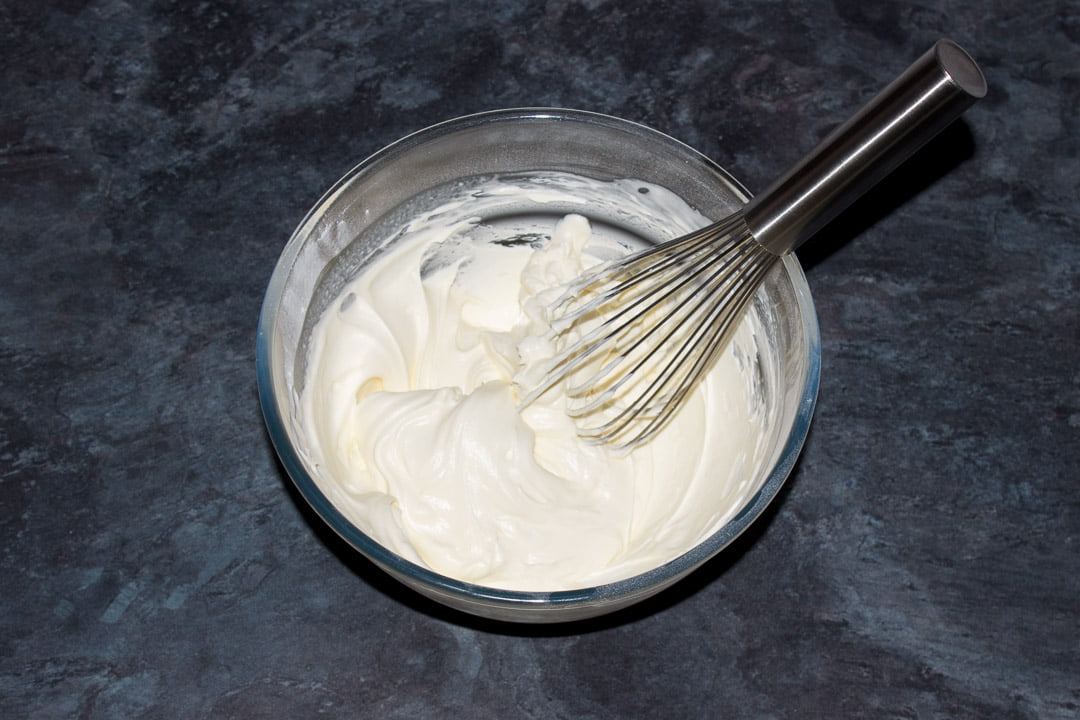
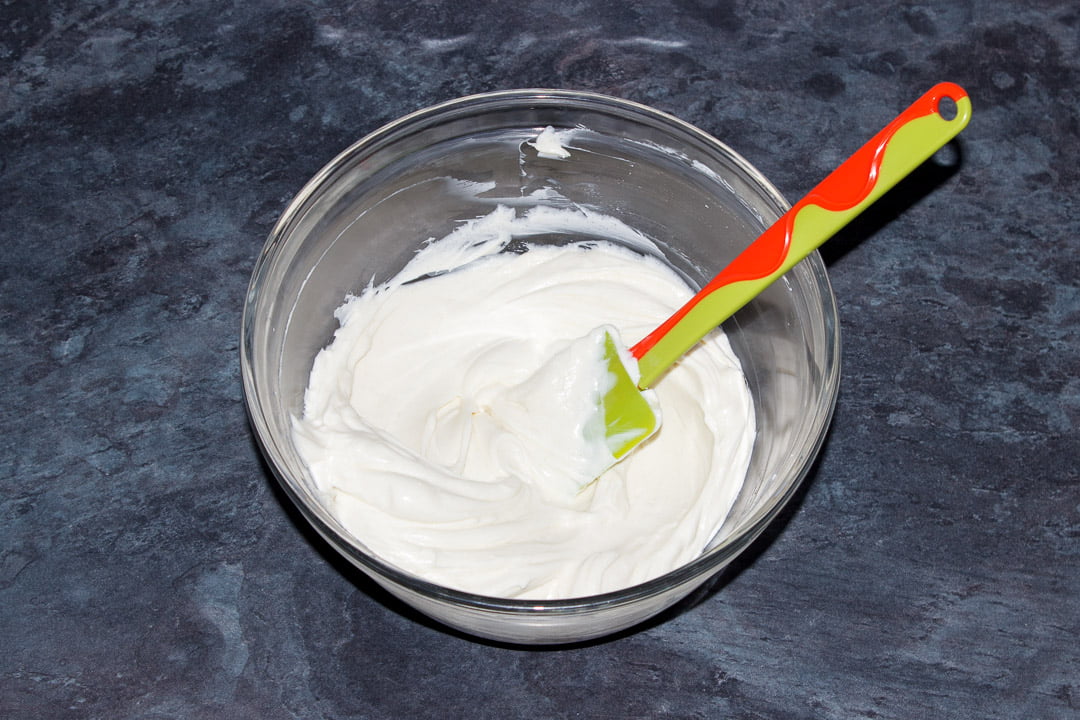
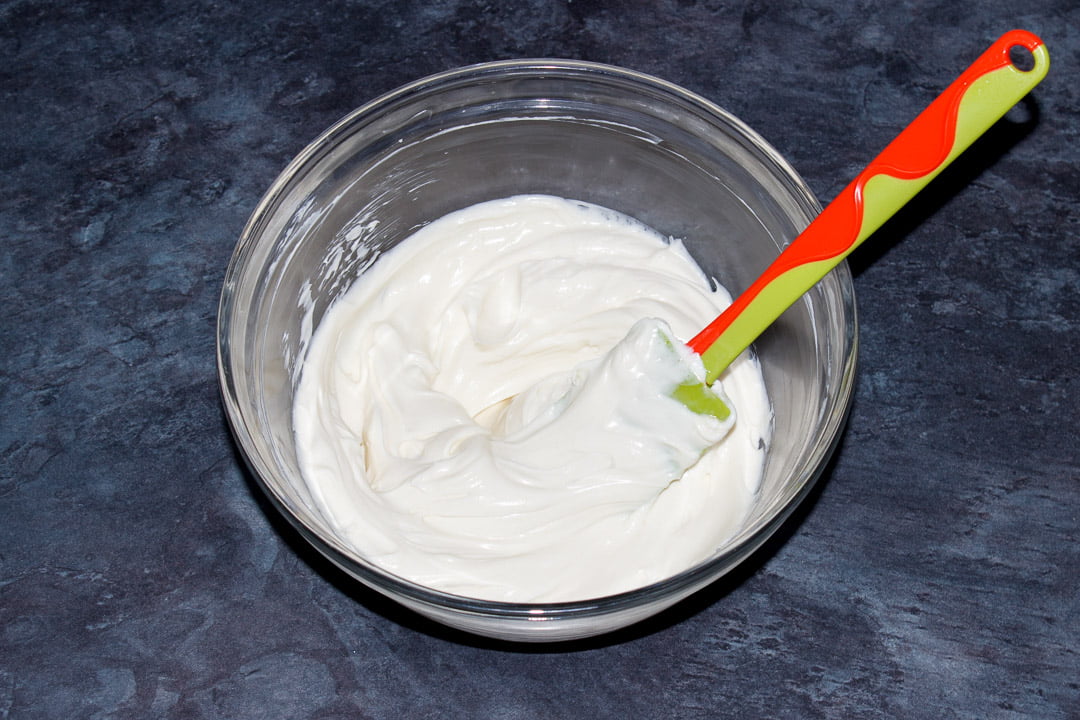
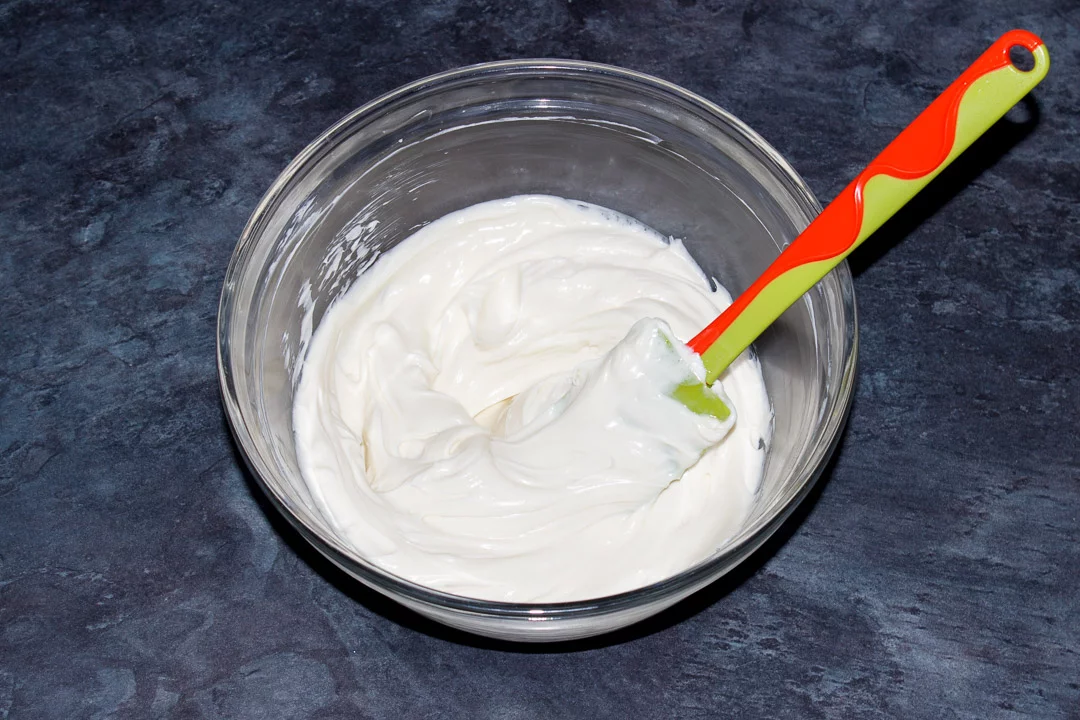
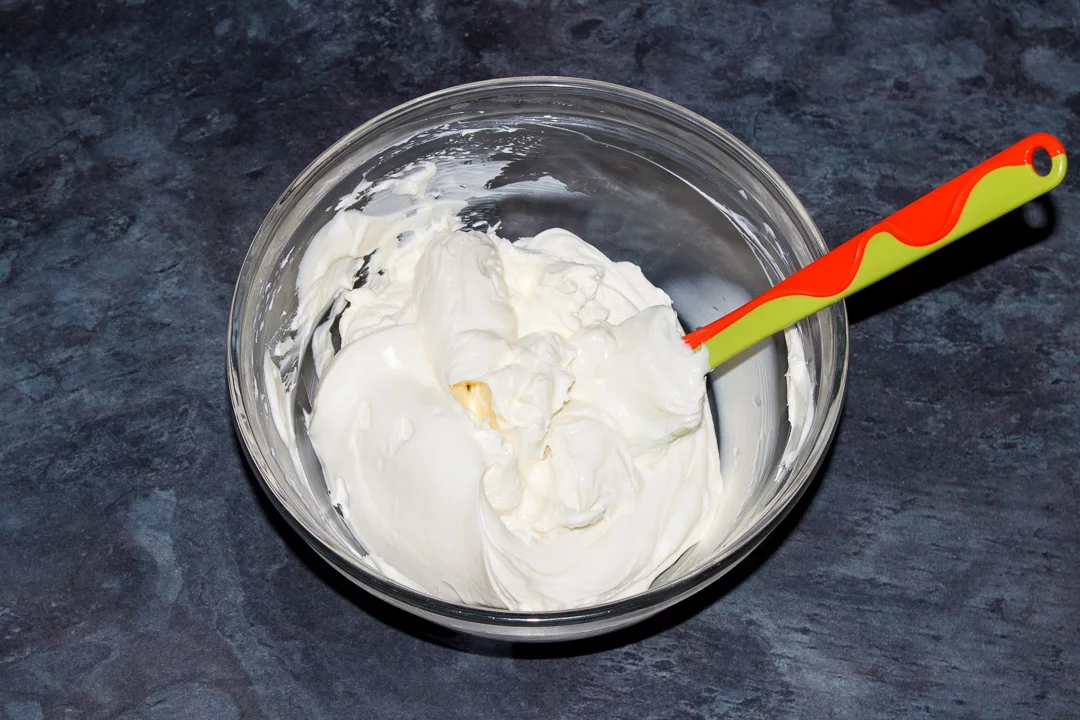
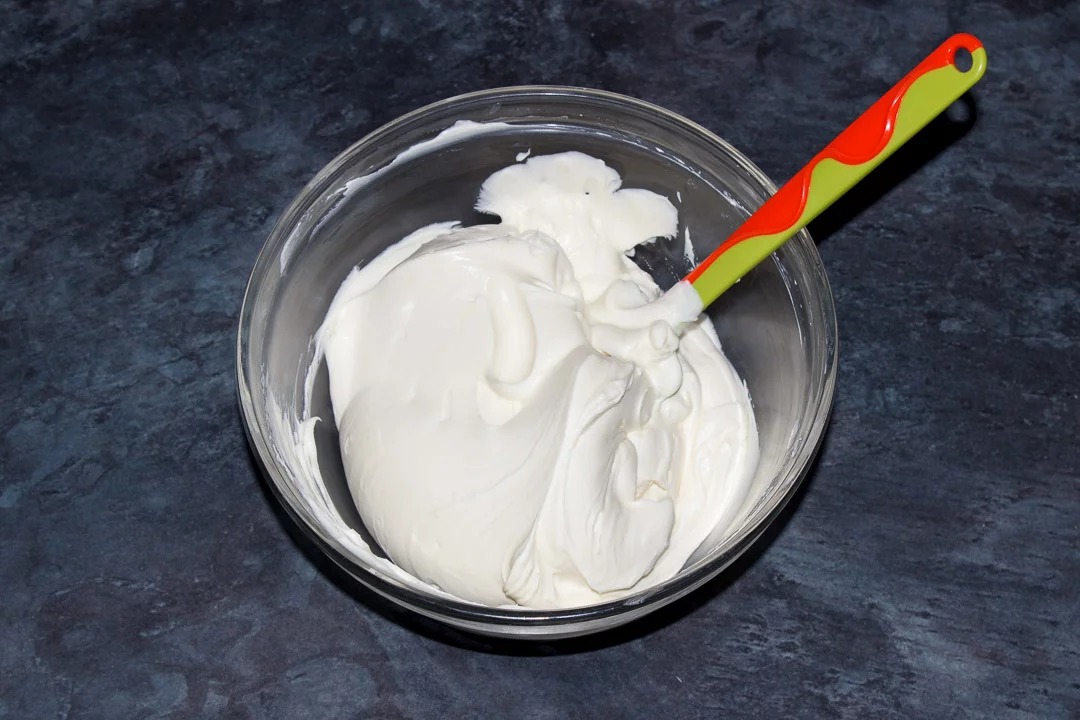
In a large bowl with a hand whisk, whip the double cream (300ml | 2 + 1/4 Cups) and icing sugar (60g | 1/2 Cup) together to the stiff peaks stage. You can use an electric whisk if you like but be very careful not to over whip it.

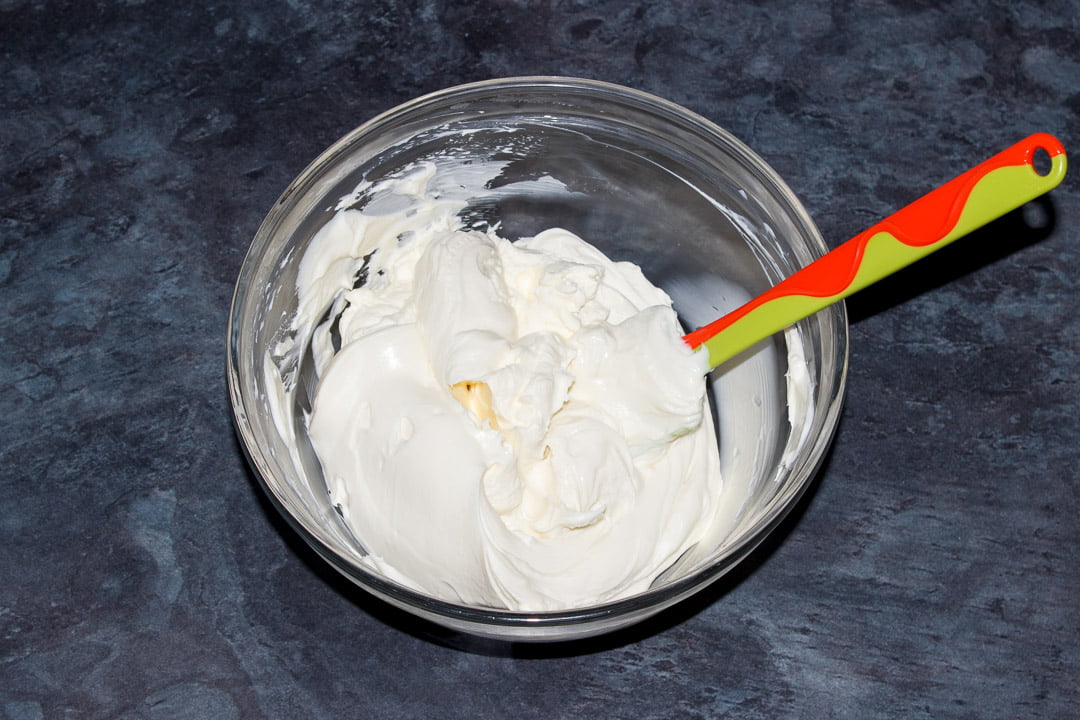
In the other large bowl, beat the cream cheese (450g | 2 Cups) with a rubber spatula until it’s softened.
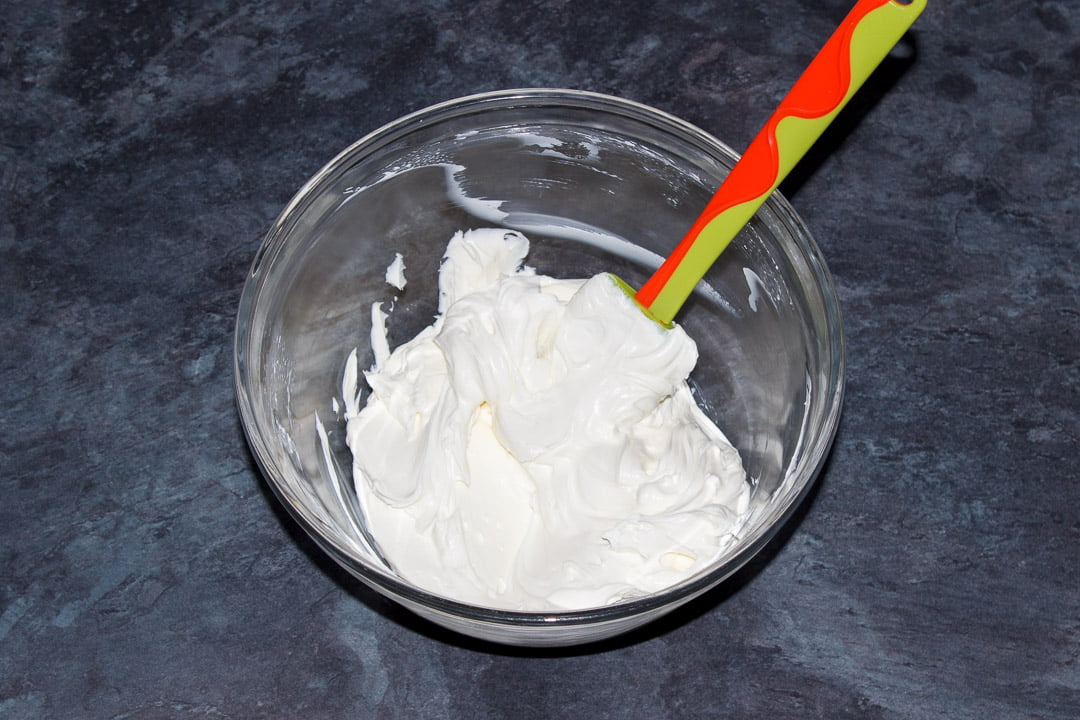

Next, add in the caster sugar (110g | 1/2 Cup) and beat very well, until the sugar has dissolved and it doesn’t feel grainy on the bottom of the bowl anymore.

Then add the vanilla (1 tsp) and beat until it’s thoroughly mixed through.
Now, in thirds, gently fold the whipped cream into the cream cheese mixture. Be careful not to knock out the air you spent so long putting into it!

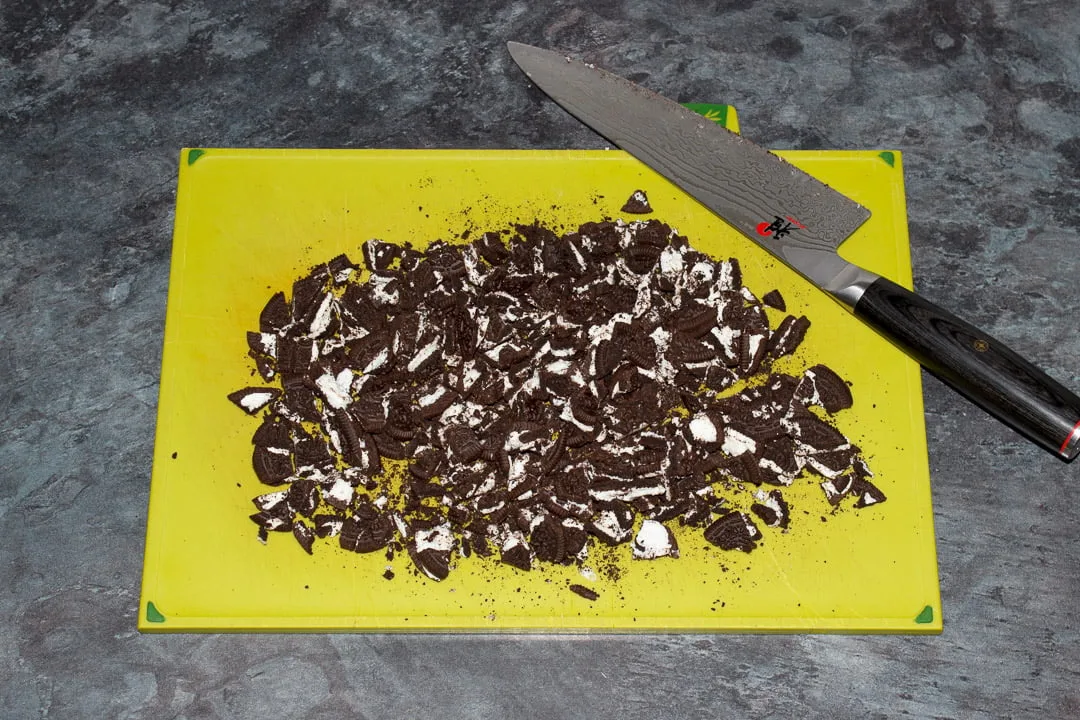
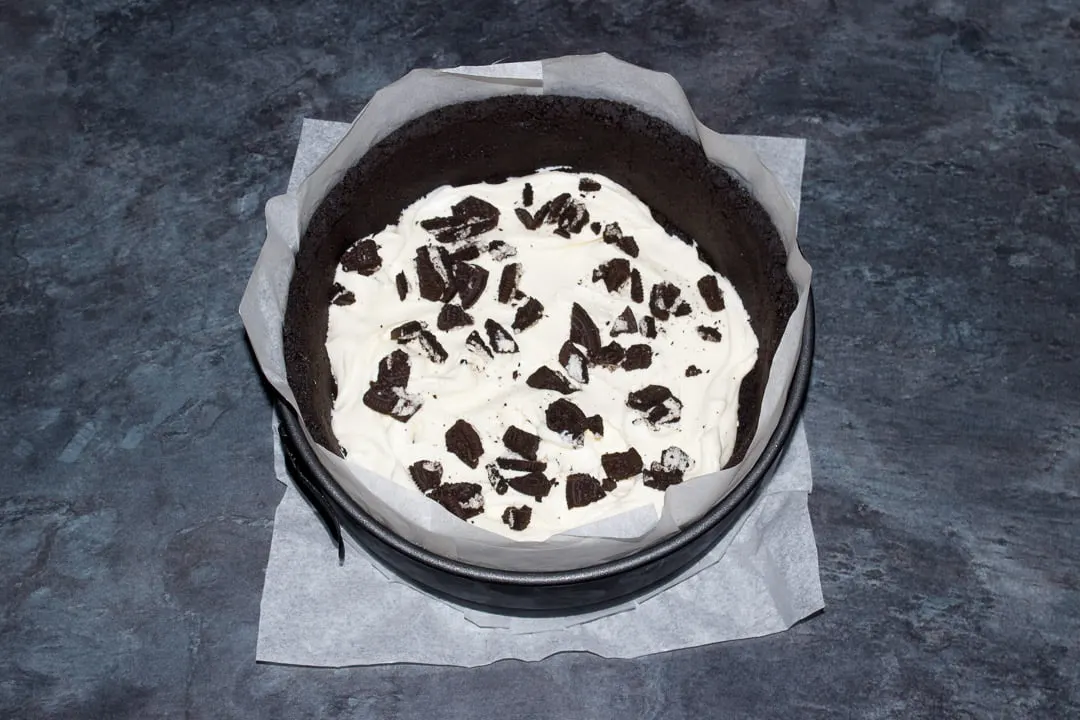
Roughly chop the Oreos (85g | 3 oz) with a sharp knife on a chopping board.

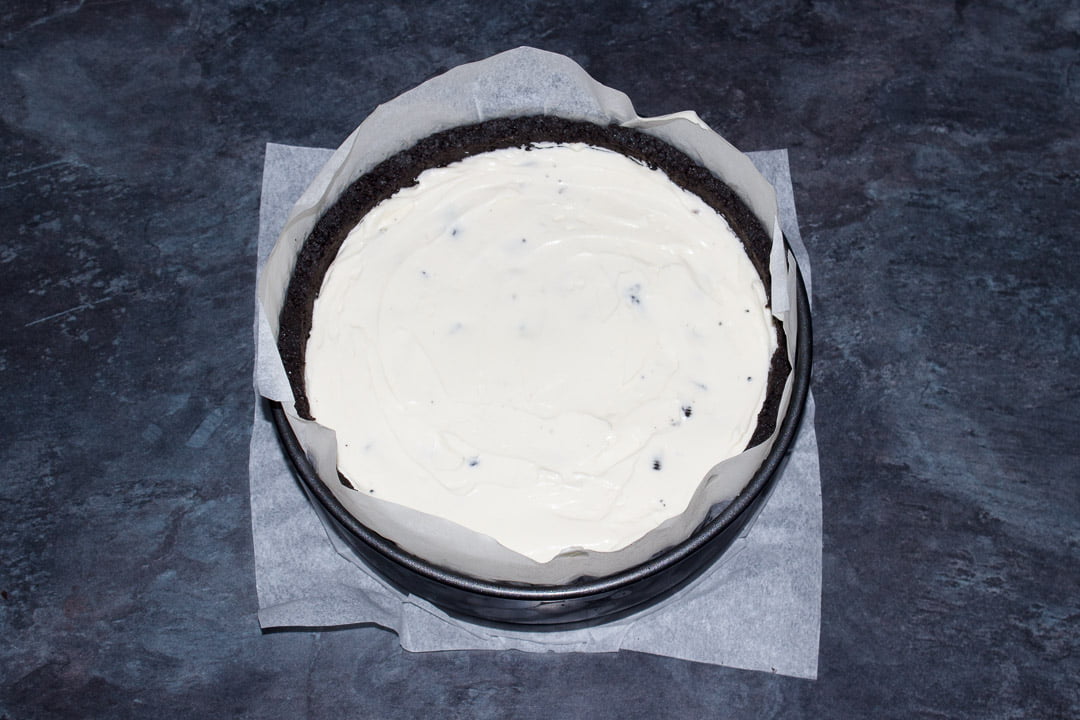
Dot a few big spoonfuls of the cheesecake filling into your prepared base then scatter with a handful of the chopped Oreos. Continue to layer the filling and Oreos until they’re all used up. Try not to mix them as your lovely white filling will turn a murky grey colour.
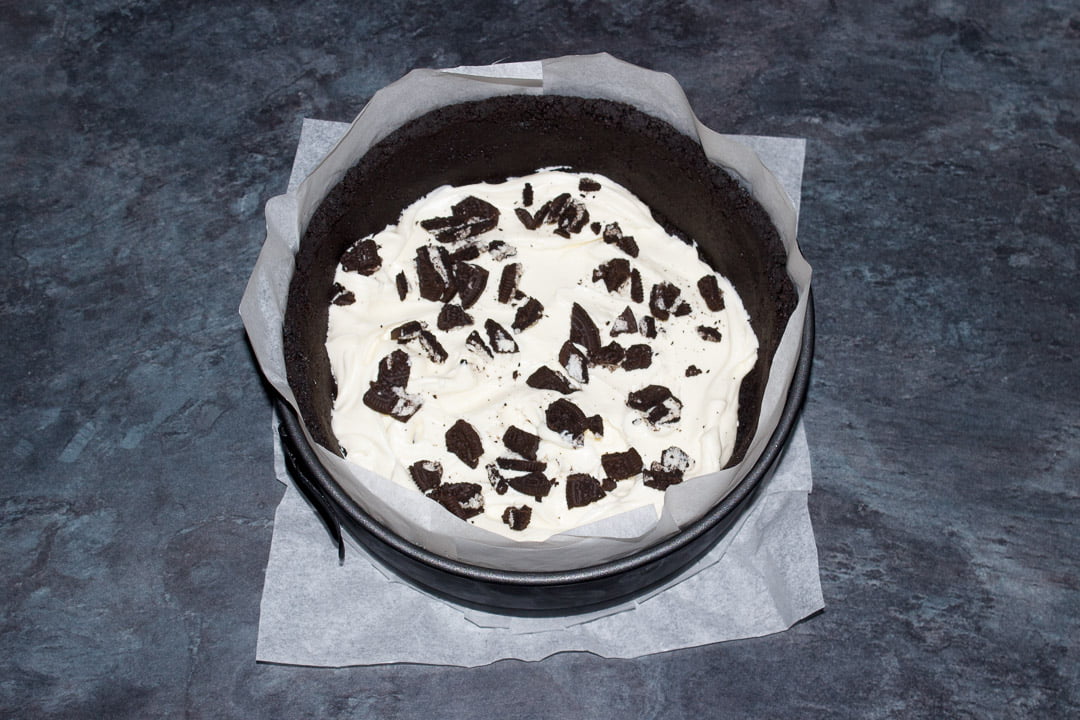
When all the ingredients are used up, smooth the top and allow to set in the fridge for 3 – 4 hours.

Decoration instructions
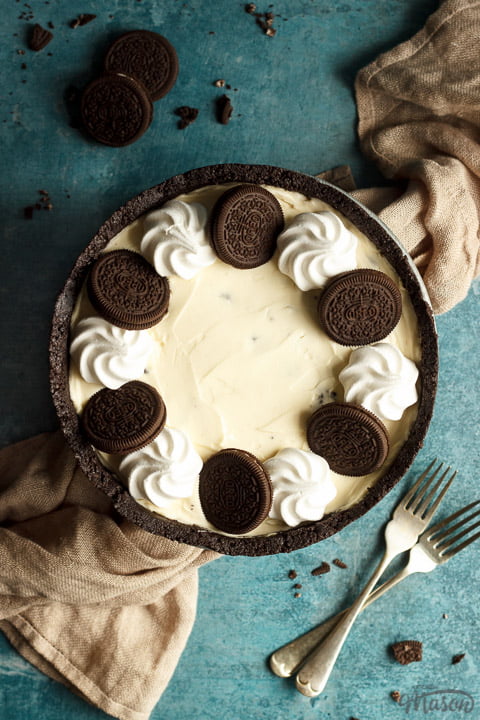
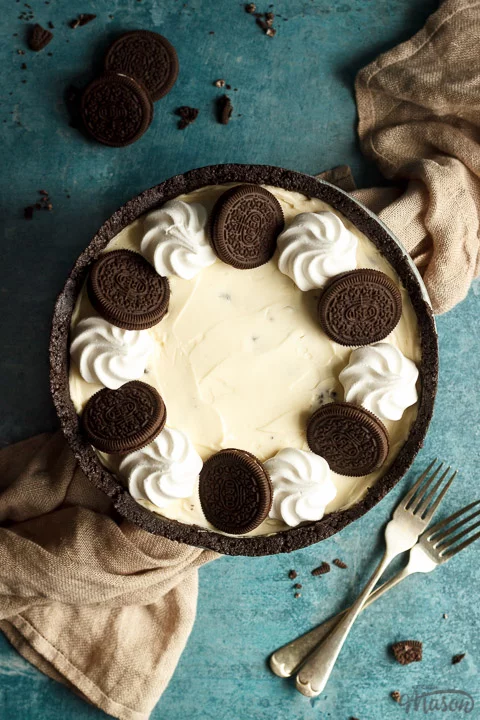
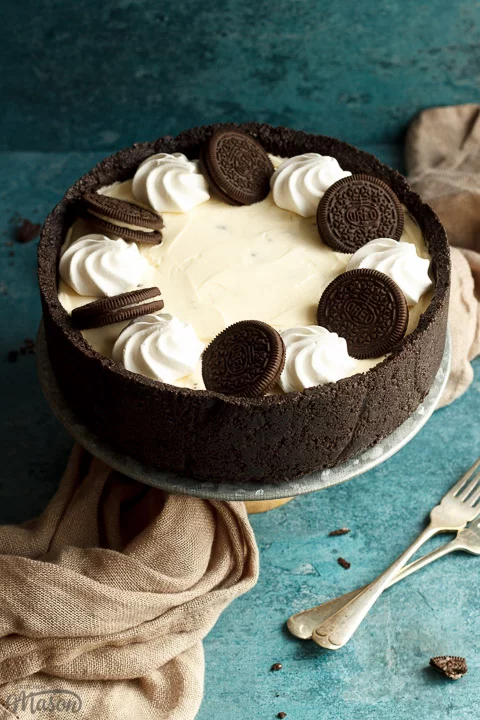
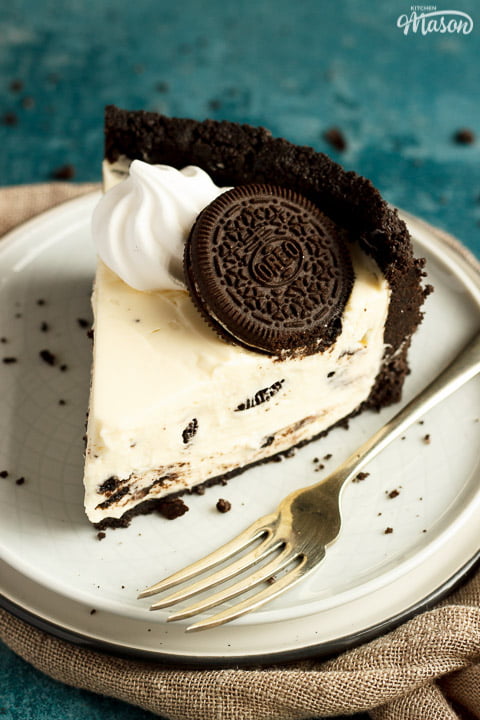
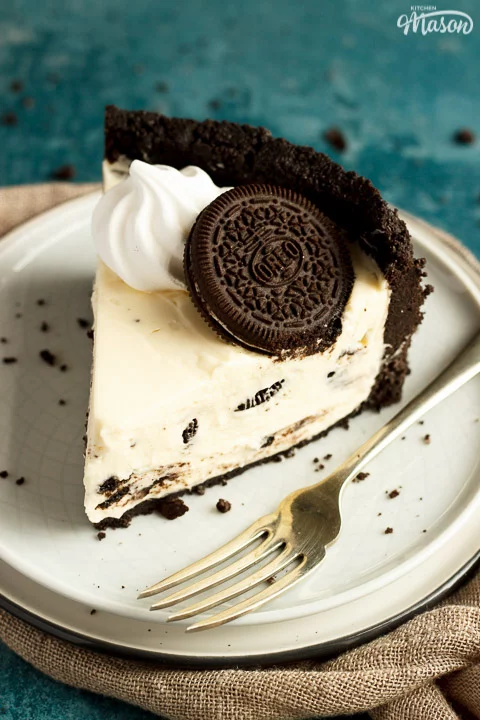
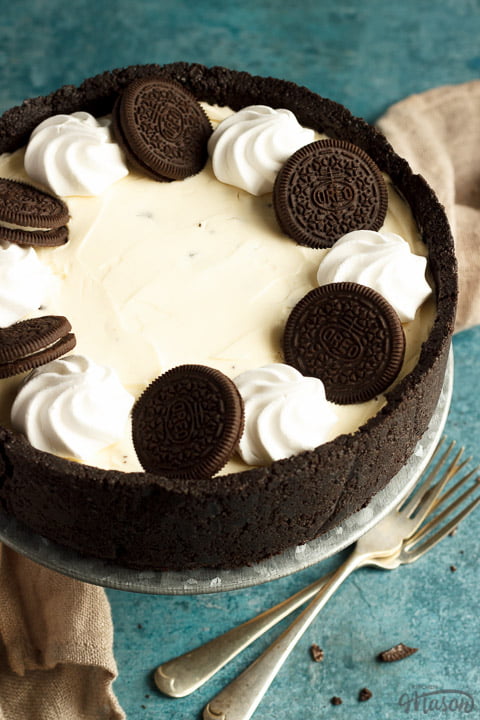
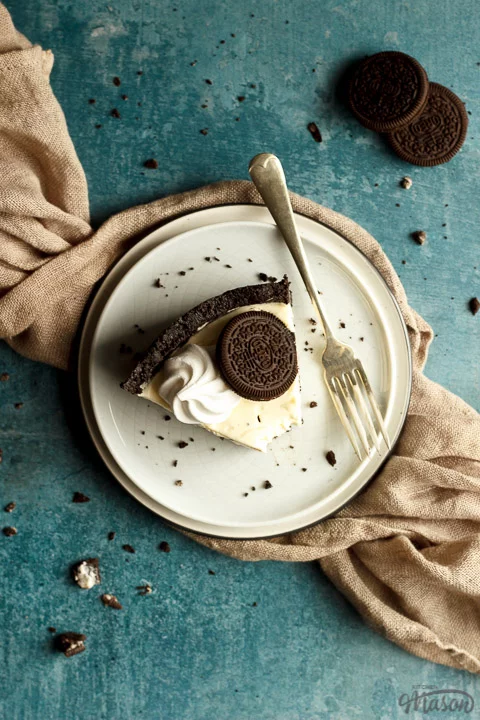
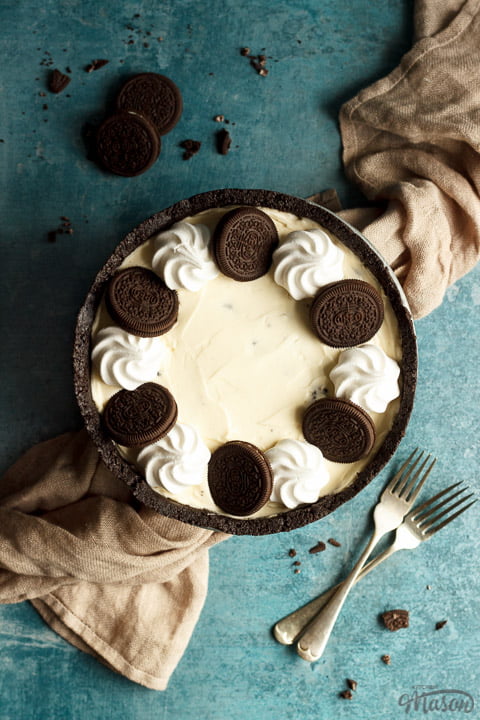
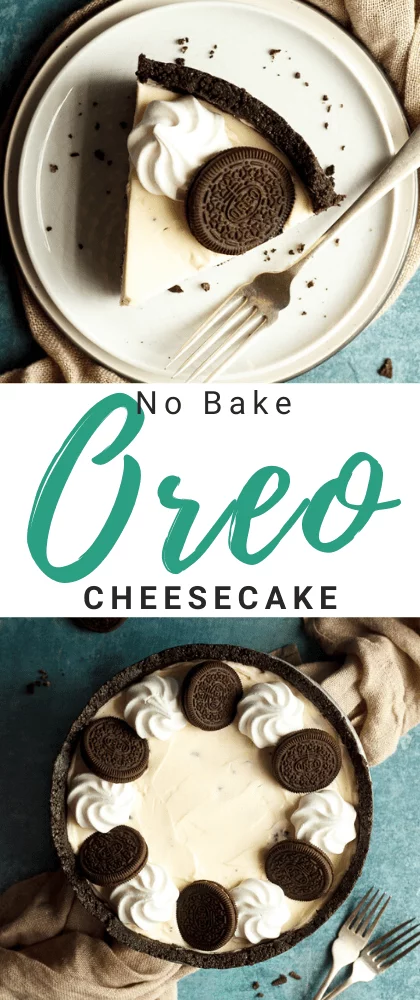
Here’s where I cheat. Piping beautiful swirls of whipped cream has always been my nemesis. For some strange reason I just can’t get them to look good! My answer? Use mini meringue nests instead. They look beautiful and taste great!
Note that any crunchy toppings will become soft over time, so try and decorate at the last possible moment to give the longest possible lifespan of crunch.
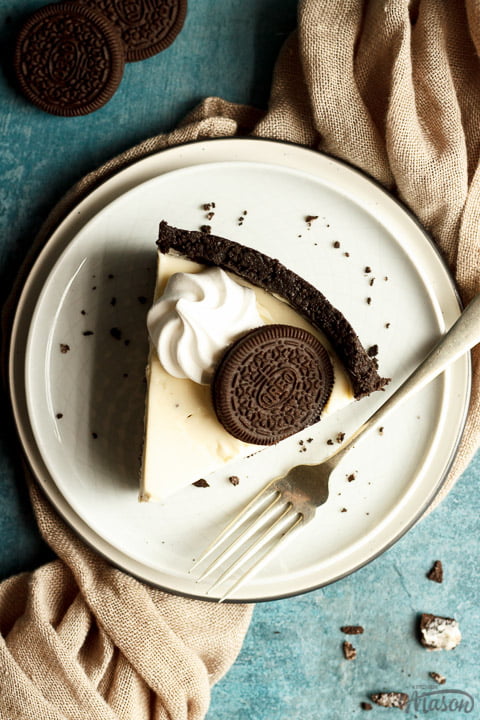
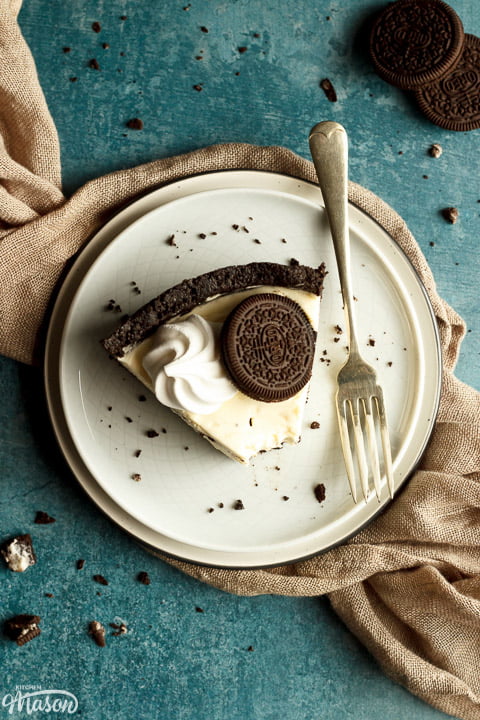
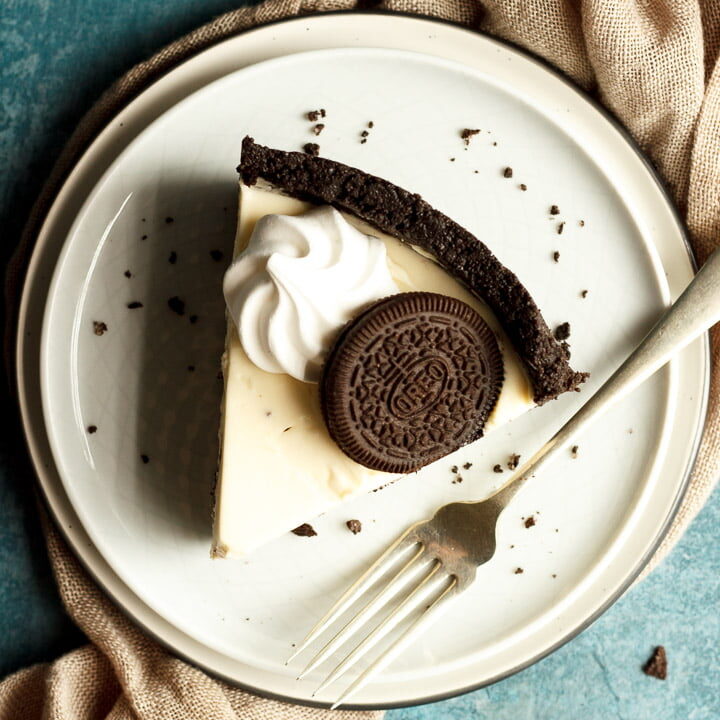
Simply space out mini meringue nests (x 6) evenly on the top of your cheesecake, then press whole Oreos (x 6) in next to them. That’s it! Looks pretty good doesn’t it?!
Store your Oreo cheesecake in the fridge and consume within 4-5 days.

Have you made this recipe?
Have you made this mouthwatering Oreo cheesecake? I’d love to know if you have! Send me your pics, comments and questions on Facebook, Twitter and Instagram or email me at emma@kitchenmason.com.
Liked this recipe? Pin it!


Super Easy No Bake Oreo Cheesecake Recipe
Creamy, luxurious and decadent, this showstopping no bake Oreo cheesecake is guaranteed to be a HUGE hit!
Ingredients
For the Base
- 375g (13 oz) Oreos
- 125g (1/2 Cup) Unsalted Butter
For the Filling
- 300ml (2 + 1/4 Cups) Double Cream
- 60g (1/2 Cup) Icing Sugar
- 450g (2 Cups) Philadelphia Original Cream Cheese
- 110g (1/2 Cup) Golden Caster Sugar
- 1 tsp Vanilla Extract
- 85g (3 oz) Oreos, roughly chopped
To Decorate
- 6 x Mini Meringue Nests
- 6 x Oreos
Essential Equipment
- 21.5cm (8.5″) Springform Pan
- Food Processor
- Small Bowl
- Metal Spoon
- 2 Large Mixing Bowls
- Whisk
- Rubber Spatula
- Sharp Knife
- Chopping Board
Instructions
For the Base
- Lightly grease and line the base and sides of the springform pan.
- Blitz the Oreos (including the fillings) in a food processor until fine crumbs.
- Melt the butter in a small bowl in the microwave in 10 second intervals.
- Add the melted butter to the processor and blitz until it clumps together.
- Press the mixture into the base and sides of the lined tin with the back of a metal spoon then chill in the freezer.
For the Filling
- Using a hand whisk, whip together the double cream and icing sugar to stiff peaks in a large mixing bowl.
- In another mixing bowl, beat the cream cheese with a spatula until soft. Add the sugar and beat well until smooth and shiny.
- Add the vanilla and mix through.
- Carefully fold the whipped cream into the cream cheese mixture in thirds.
- Roughly chop Oreos with a sharp knife on a chopping board.
- Pour a little cheesecake filling into the biscuit base and scatter chopped Oreos over the top. Layer more filling and chopped Oreos until they're all used up. Smooth out the top.
- Chill in the fridge for 3 - 4 hours until set.
To Decorate
- Top with mini meringue nests and whole Oreos right before serving.
Notes
Store in the fridge and consume within 4 - 5 days.
Recommended Products
As an Amazon Associate and member of other affiliate programs, I earn from qualifying purchases at no extra cost to you.


Nutrition Information:
Yield: 10 Serving Size: 1Amount Per Serving: Calories: 675Total Fat: 47gSaturated Fat: 25gTrans Fat: 0gUnsaturated Fat: 17gCholesterol: 107mgSodium: 359mgCarbohydrates: 61gFiber: 2gSugar: 44gProtein: 6g
Nutritional information on kitchenmason.com should only be used as a general guideline, I am not a certified nutritionist. Please always check labels for allergens where applicable.