

This post may contain affiliate links. Where I make a small commission on purchased items, at no extra cost to you. See my disclosure for details.
(This post has been updated from the original October 2016 version to provide a better experience for you)
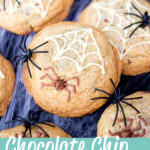
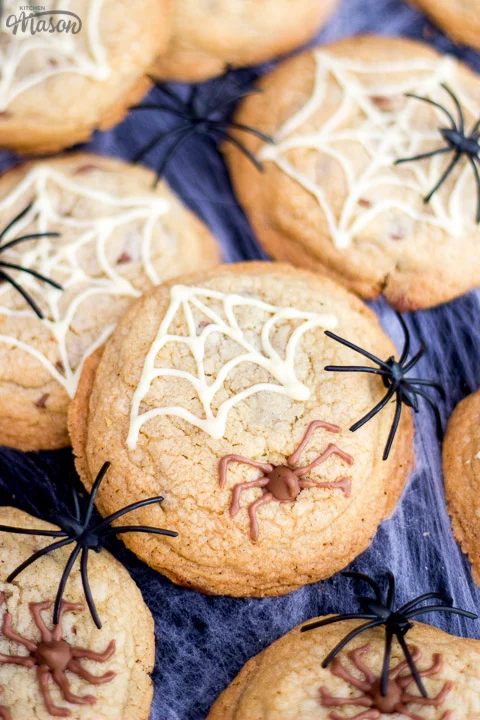
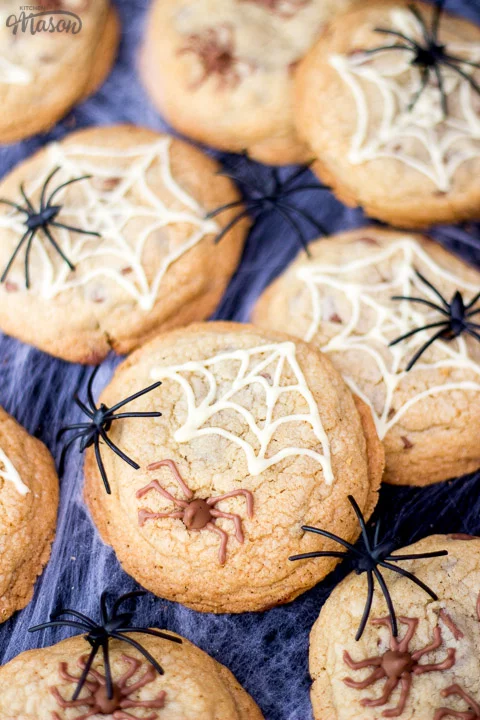
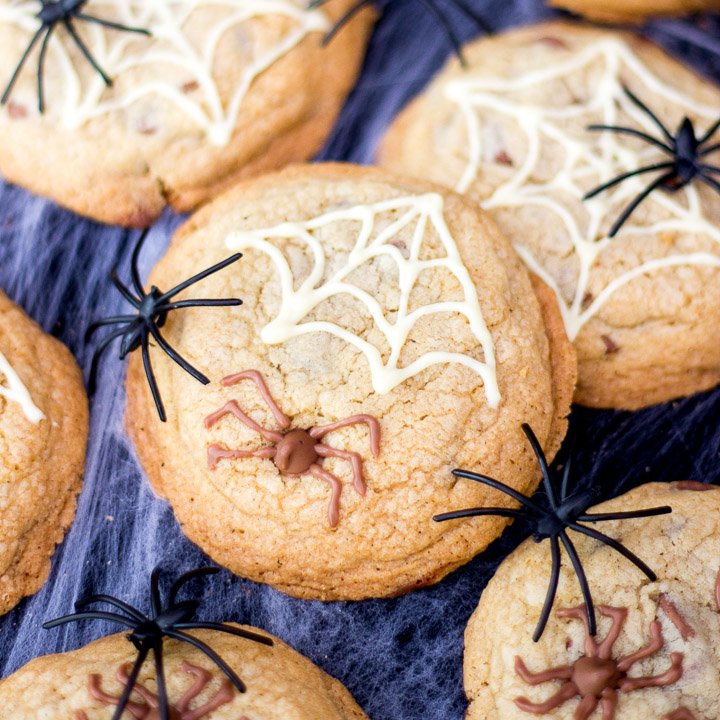
These terrifying chocolate chip spider cookies are a spooktacular treat for you to try this Halloween! Just like my ginger-dead men halloween biscuits, they’re great for giving out to trick or treaters or surprising your Halloween party guests. And hey, who doesn’t love a good choc chip cookie?!

When it comes to Halloween, you won’t be surprised when I tell you how much I LOVE it! All those spooky, gory surprises we can make are just too hard to resist. I mean, who doesn’t want to eat some rice krispie halloween treats with ‘eyes’ on or a slice of the greatest Halloween dessert EVER – bloody spider web chocolate tart?!
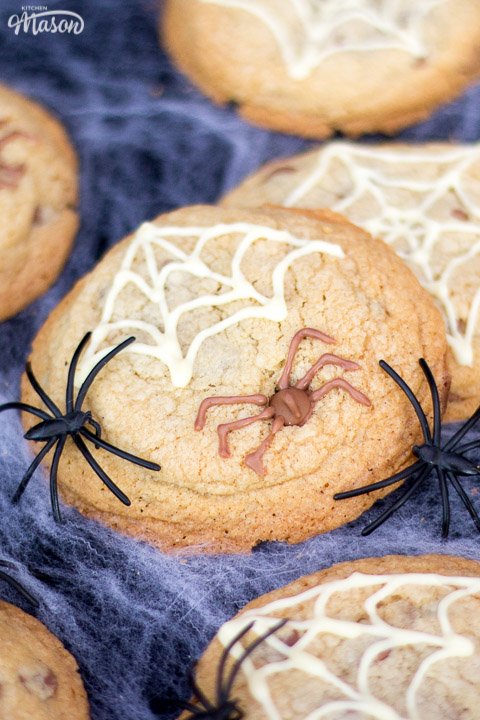

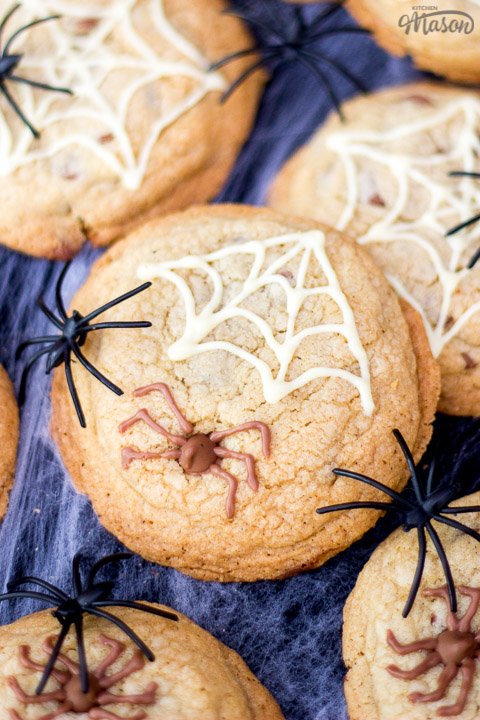
These spooky spider cookies are no exception. Beautifully perfect chocolate chip cookies decorated with simple (yet effective) chocolate spiders and webs. Not only would spider cookies be perfect for a Halloween party but they’d make lovely treats for all those ghoulish trick or treaters that grace your doorstep too!
Simply pop into cellophane bags and tie with curling ribbon or wrap in brown paper and tie with string for a more environmentally friendly option. Or you could serve them up with a super cute Halloween smoothie at your party!
Need some more inspiration? Check out these awesome Halloween food ideas.

Spider cookies recipe tips
- Don’t have any disposable piping bags? You can easily use a plastic food bag and snip off the corner or even make one out of baking paper. (See how to do that here.)
- Make sure you bring your butter to room temperature before baking. Ingredients blend SO much better when they’re all the same temperature.
- Why not create your own spooky designs? Instead of making spider cookies, you could make Mummy cookies using white chocolate and candy eyes or even monstor cookies!
- Keep an eye on your cookies when you’re baking them. They can go from underdone to overdone in a short space of time AND all ovens vary.
- Ensure you poke the chocolate chips for the spider designs onto the cookies immediately after they come out the oven. Otherwise they won’t press in easily/may not even press in at all.
If you haven’t been baking for long, and need to delve into the basics – read through baking for beginners first.

Chocolate Chip Halloween Spider Cookies – Step by Step Picture Recipe
(For a printer friendly version, see the recipe card at the end of this post)
Ingredients
Here is what you will need to make 18-22.
- 165g (3/4 Cup) Unsalted Butter, Room Temp
- 200g (1 Cup) Soft Light Brown Sugar
- 1 Egg + 1 Yolk
- 2 tsp Vanilla Extract
- 260g (1 + 3/4 Cup) Plain Flour
- 1/2 tsp Bicarbonate of Soda
- 1/2 tsp Salt
- 250g (1 + 3/8 Cup) Milk Chocolate Chips
- 50g (1.8 oz) Milk Chocolate
- 50g (1.8 oz) White Chocolate
Essential equipment
- Large Baking Sheet
- 2 Disposable Piping Bags
Cookie instructions
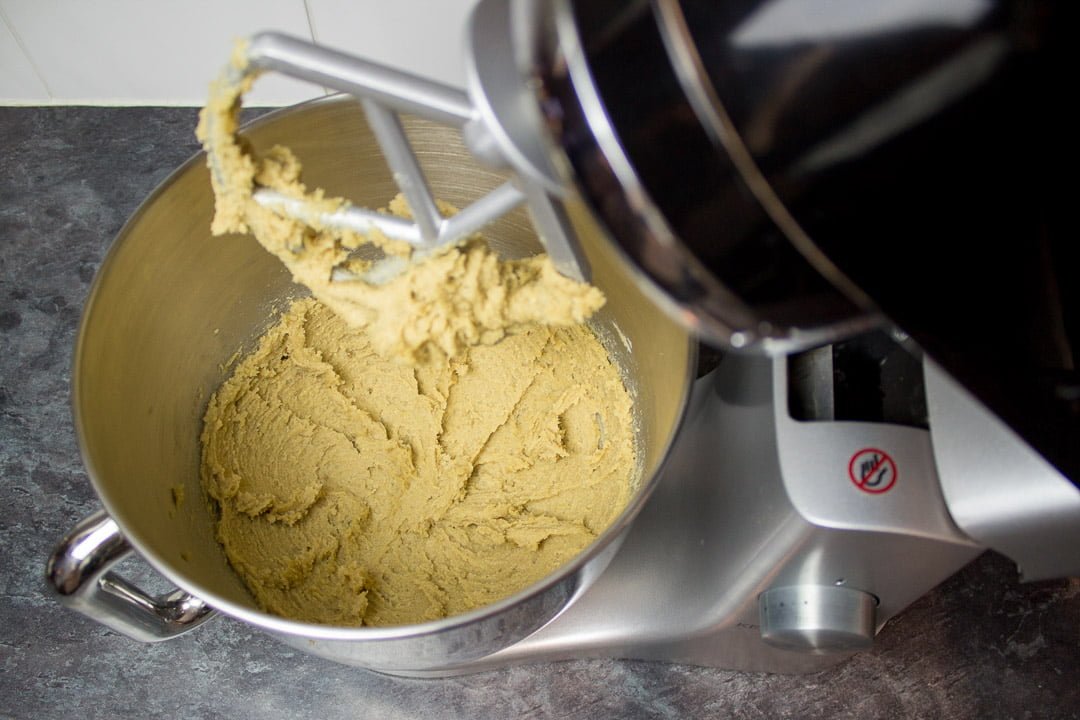
Firstly, preheat your oven to 170°C/Fan 160°C/338ºF and line a baking sheet with baking paper or a silicone baking mat. Then, in an electric stand mixer or a large bowl with an electric hand whisk, cream together the butter (165g | 3/4 Cup) and sugar (200g | 1 Cup) until light and fluffy.

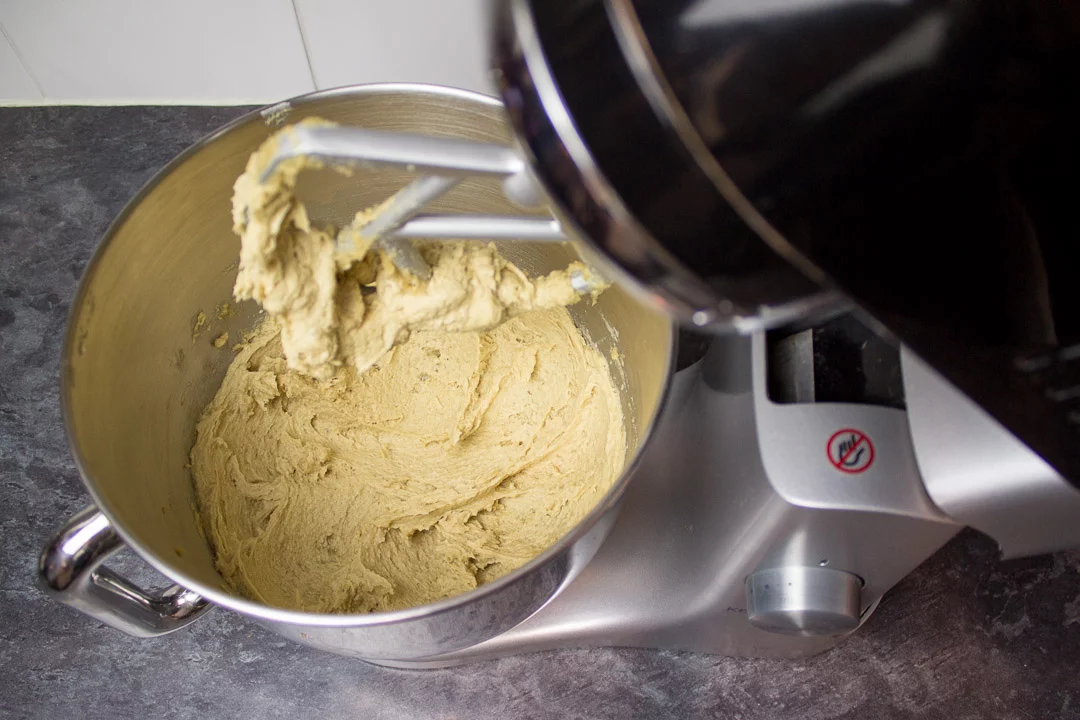
Next add in the egg (x 1), egg yolk (x 1) and vanilla (2 tsp) extract. Give it all a really good mix again until it’s nice and smooth.

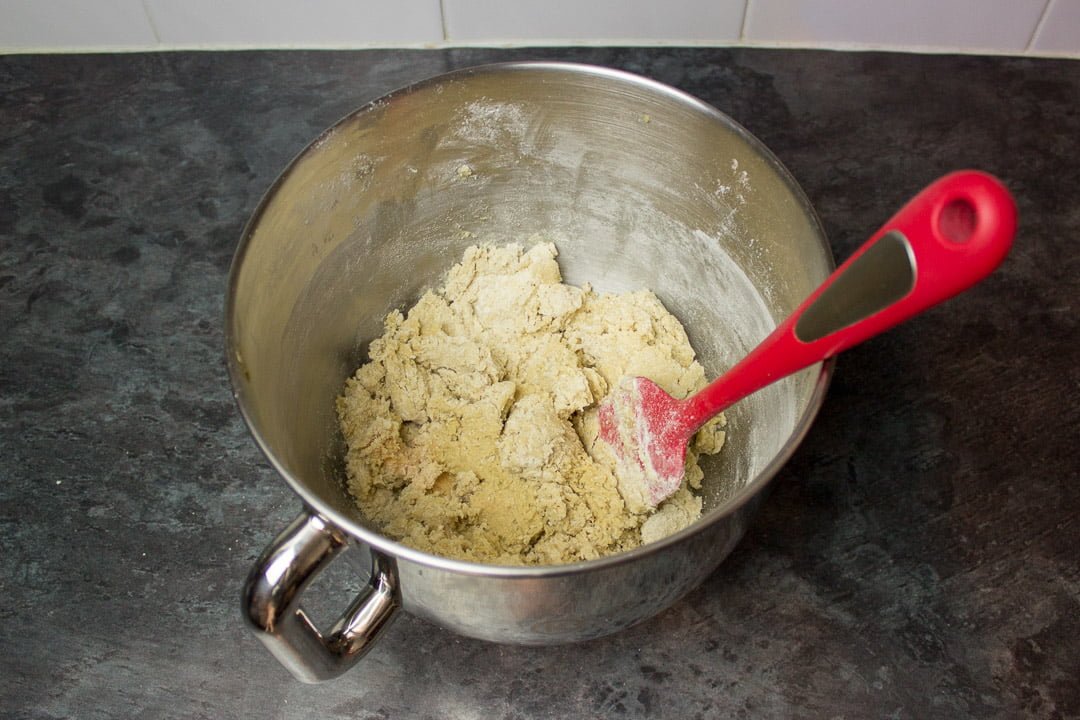
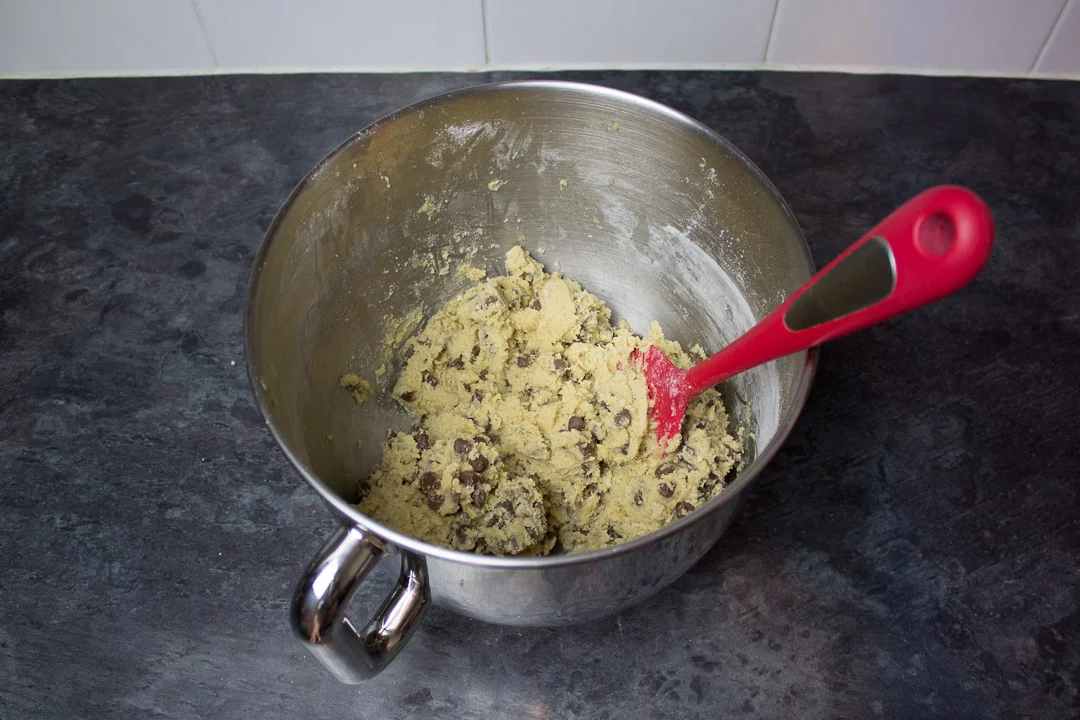
Now let’s sift in the flour (260g | 1 + 3/4 Cup), bicarbonate of soda (1/2 tsp) and salt (1/2 tsp). Mix with a spatula until it just comes together to form a dough. Don’t overdo it.

Lastly, tip in about 230g (1 + 1/3 Cup) of the milk chocolate chips and fold them through. Reserve the rest for decoration later.

Time to scoop out spoonfuls of dough and roll them into balls. (Mine were about 4cm/1.5″ in diameter.) Then place some of them onto the prepared baking tray, leaving plenty of room for spreading between. I imagine you will probably need to cook in batches like me.
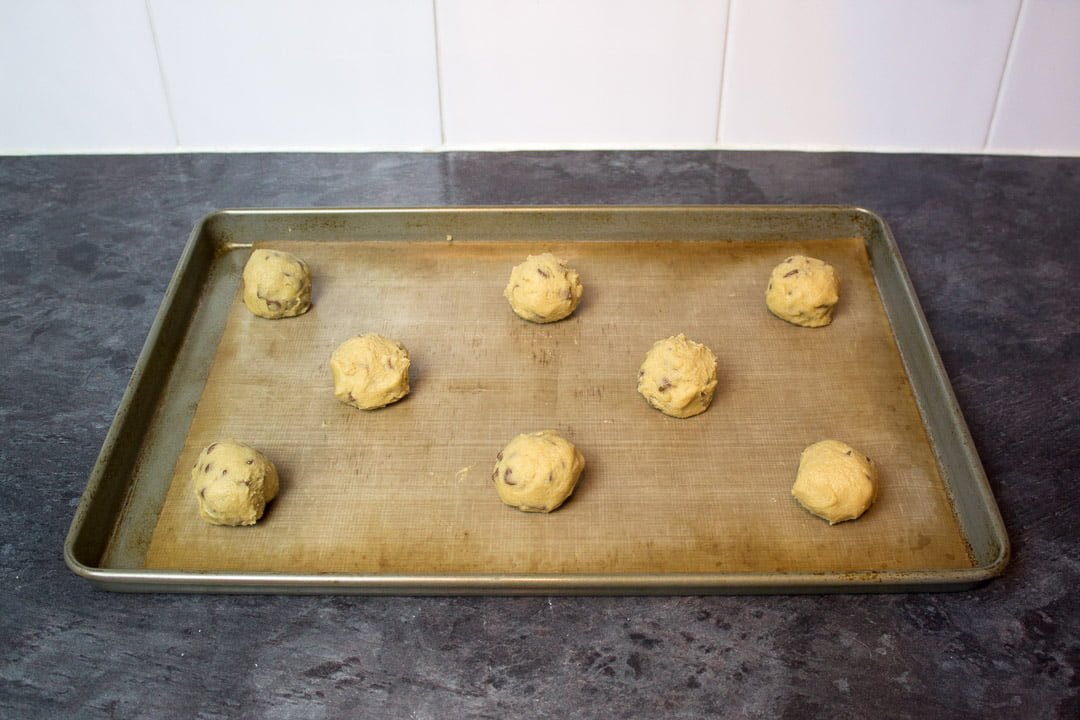

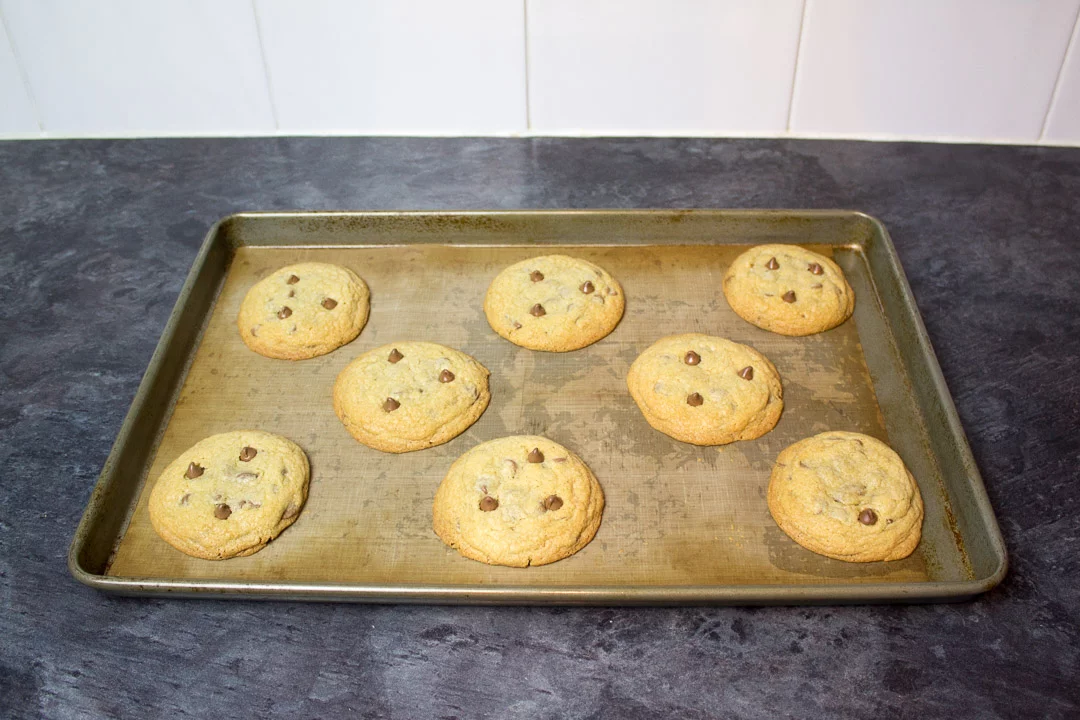
Bake your soon to be spider cookies in the preheated oven for 10-12 minutes until the edges are nicely golden.
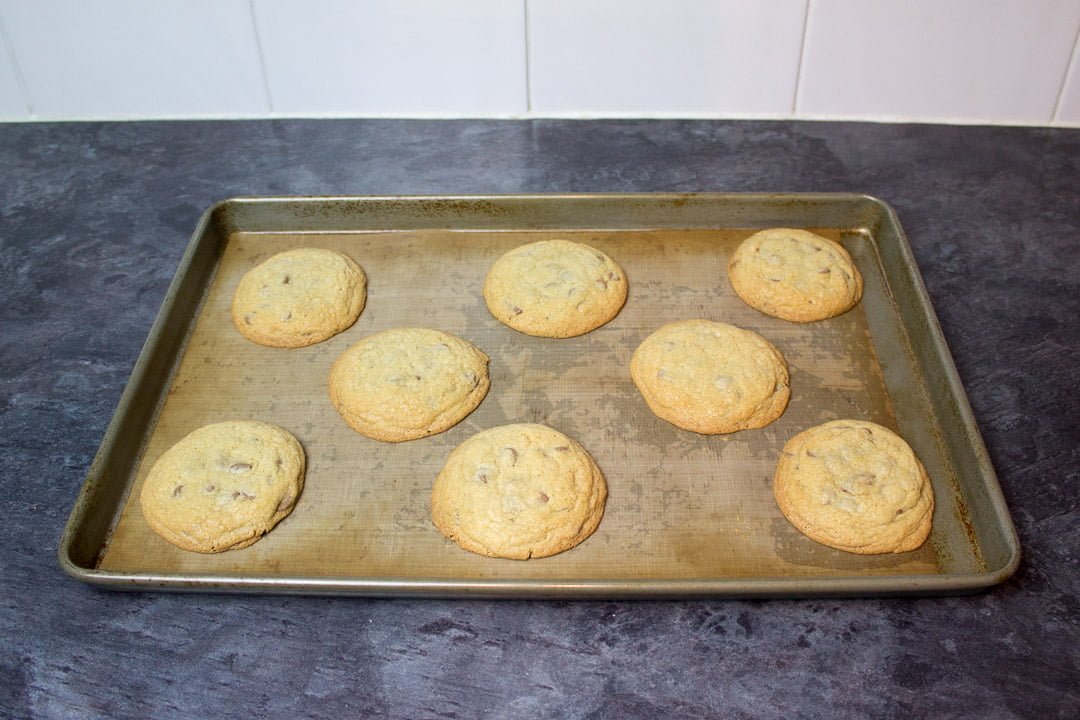
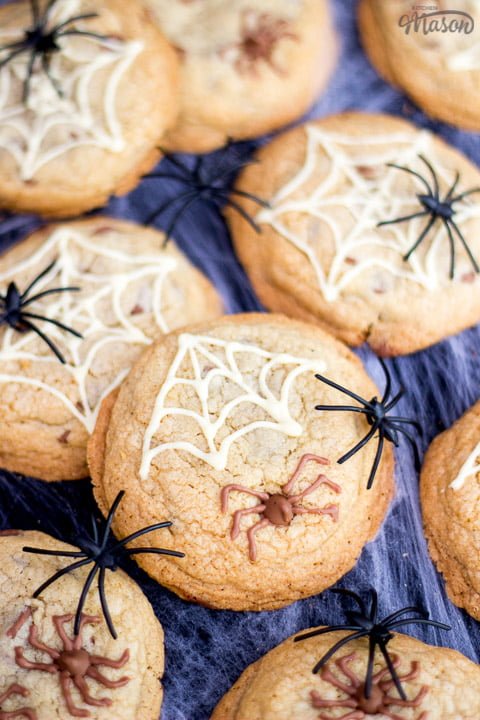
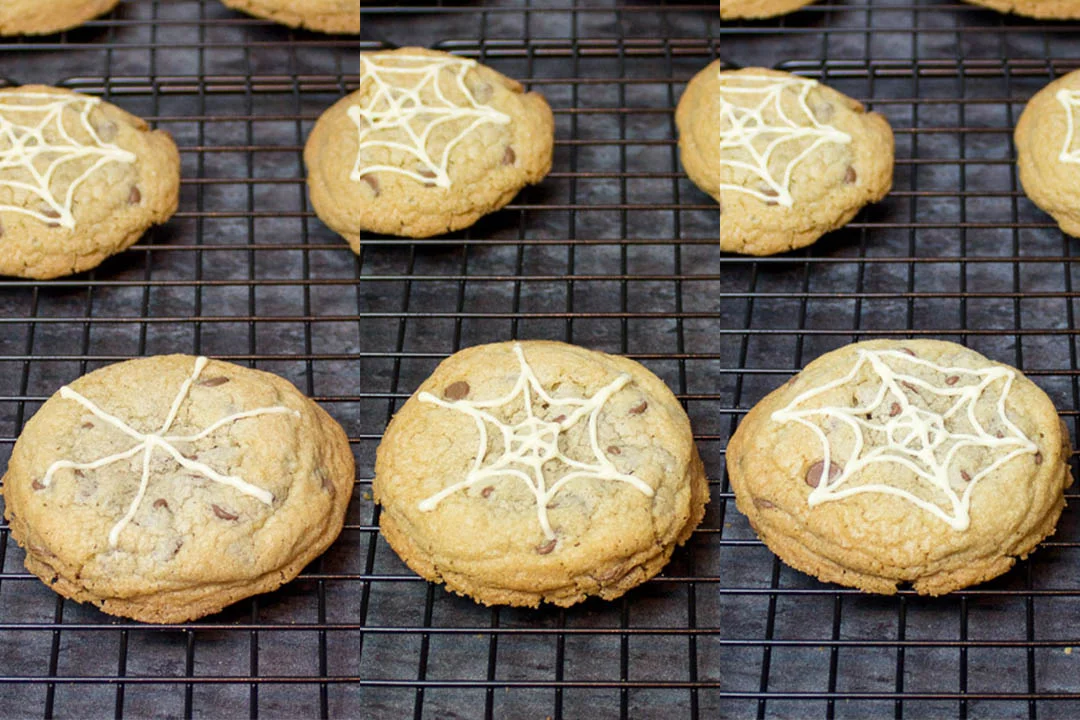
Decide what designs you’re going to make before your cookies are baked so you can react accordingly as soon as your cookies have come out of the oven. I chose to create 3 designs. The first was 3 spiders, the second was 1 spider and a web and the third was a big spider web.
- For the 3 spiders design, as soon as your cookies have come out of the oven, press 3 chocolate chips into each one.
- For the single spider and a web, press one chocolate chip into one side of the cookies as soon as they come out of the oven. (See bottom right of below pic.)
- For the big spider web, leave the cookies blank.
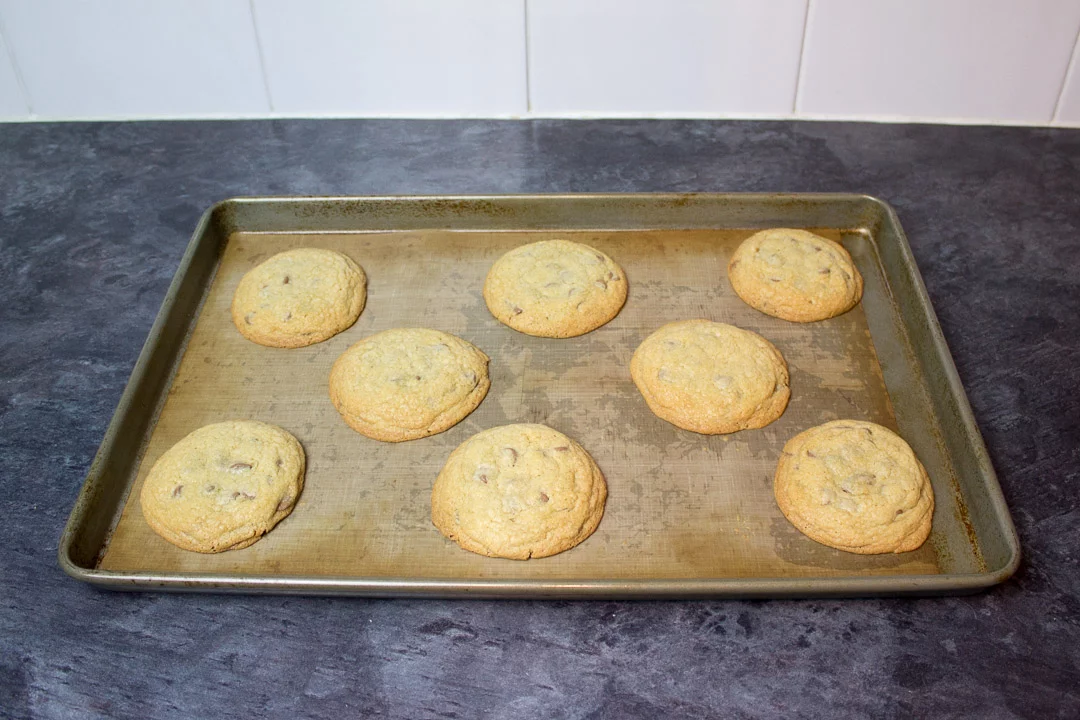
Allow your cookies to sit on the tray for a few minutes before transferring to a wire rack to cool completely before decorating.

Decoration instructions
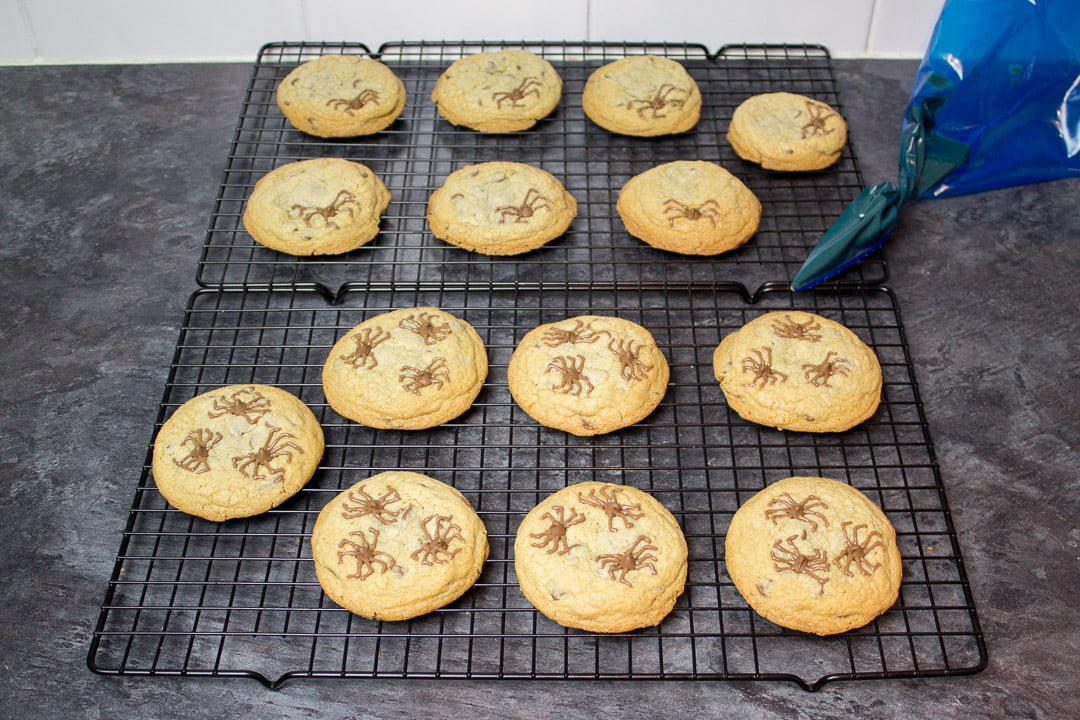
When you are ready to decorate, melt your milk chocolate (50g | 1.8 oz) in a bowl in 10 second intervals in the microwave (stirring well between each time) then pour into one of the disposable piping bags. Repeat for the white chocolate (50g | 1.8 oz), pouring it into a separate piping bag.
Snip a very small hole in the end of the milk chocolate bag and pipe little legs onto all of your spiders.

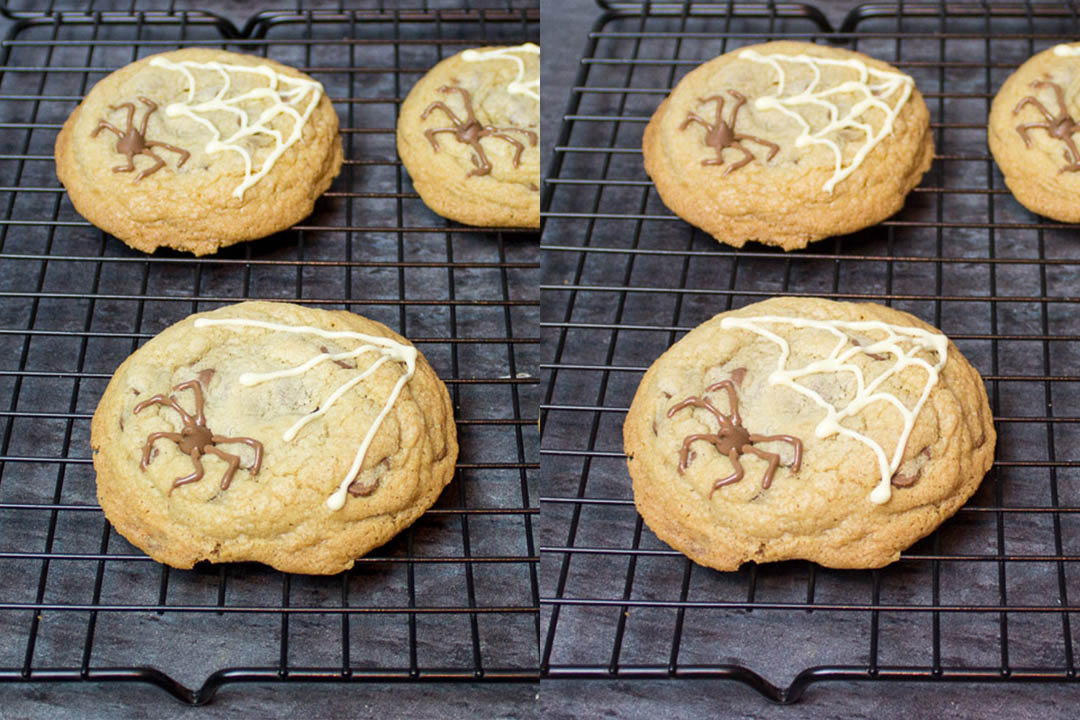
For the single spider and a web, snip a small hole in the white chocolate bag and pipe lines as shown in the image below. First the 4 straight lines, then the scalloped lines to create the web.

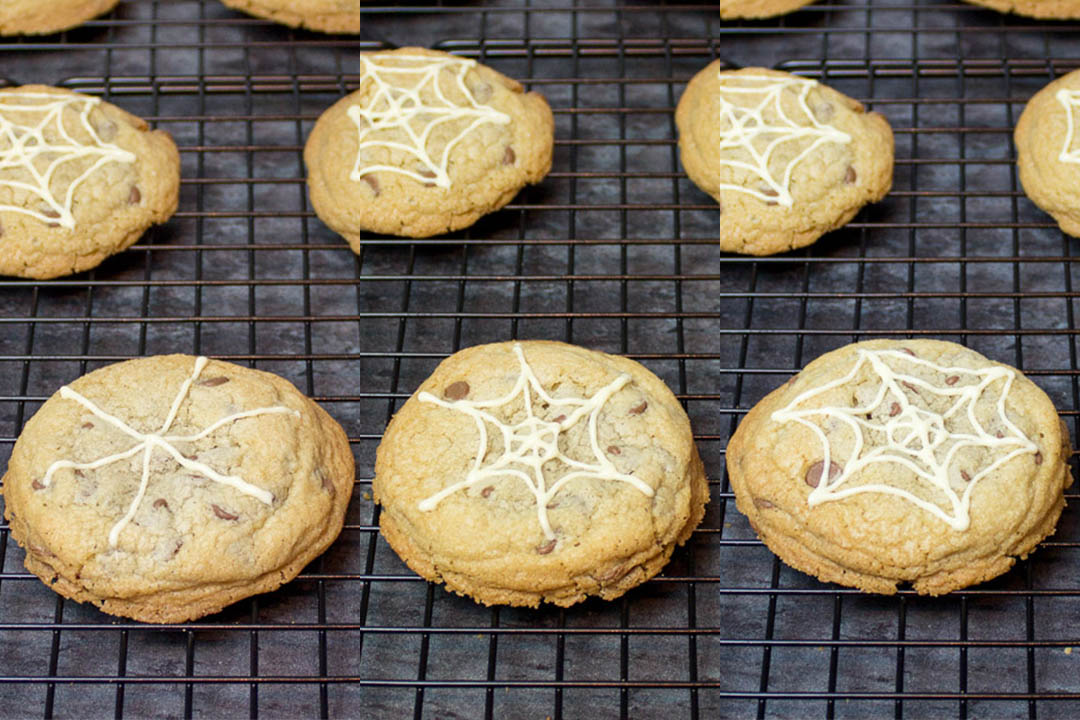
For the large spider web design, pipe lines with the white chocolate as shown in the image below. First the 3 straight lines overlapping in the centre, then the scalloped lines round to create the web. I found it easier to rotate the cookie as I was piping.
Once you have decorated all your spider cookies, leave them to set completely on a wire rack. Store in an airtight container at room temperature and consume within 5 days.

Have you made this recipe? I want to know!
Will you be making some chocolate chip spider cookies this Halloween? I’d love to know if you do! Send me your pics and comments on Facebook, Twitter and Instagram or email me at emma@kitchenmason.com.
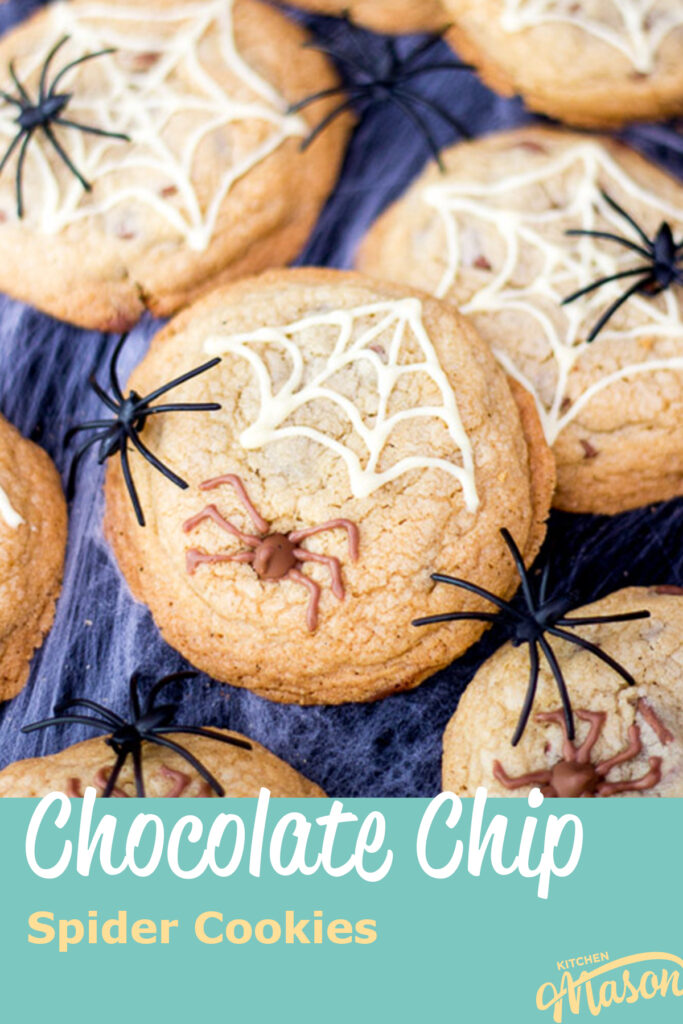
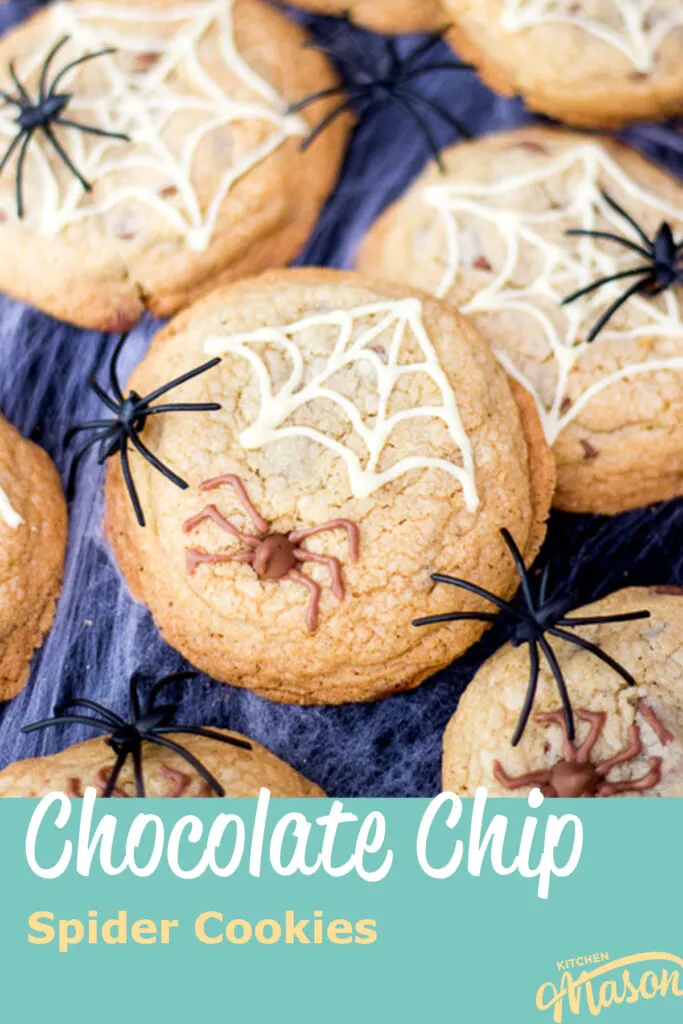
Loved this recipe? Pin It!

Chocolate Chip Halloween Spider Cookies - Printable Recipe
These spooky spider cookies are fun and easy to make! The perfect treat for your Halloween party and trick or treaters.
Ingredients
- 165g (3/4 Cup) Unsalted Butter, Room Temp
- 200g (1 Cup) Soft Light Brown Sugar
- 1 Egg + 1 Yolk
- 2 tsp Vanilla Extract
- 260g (1 + 3/4 Cup) Plain Flour
- 1/2 tsp Bicarbonate of Soda
- 1/2 tsp Salt
- 250g (1 + 3/8 Cup) Milk Chocolate Chips
- 50g (1.8 oz) Milk Chocolate
- 50g (1.8 oz) White Chocolate
Essential Equipment
- Large Baking Sheet
- 2 Disposable Piping Bags
Instructions
- Preheat the oven to 170°C/Fan 160°C/338ºF and line a large baking sheet with baking paper/a silicone mat. Cream together the butter, and sugar until light and fluffy. (Either in a stand mixer or with an electric mixer.)
- Add the egg, egg yolk and vanilla. Mix until smooth again.
- Sift in the flour, bicarb and salt. Mix until it forms a dough.
- Add 3/4 of the chocolate chips and mix through the dough.
- Scoop out cookie dough and roll into 4cm/1.5" sized balls.
- Space the cookies out evenly on the prepared baking sheet and bake for 10-12 minutes until golden. (You will probably need to bake in batches.)
- As soon as the cookies come out the oven, press chocolate chips into the top - 1 for each spider you are going to make. Leave to cool completely on a wire rack before moving on to the next step.
- Melt the milk chocolate in 10 second intervals in the microwave and stir well until thoroughly melted. Pour into a piping bag and snip the end. Repeat for the white chocolate in a separate piping bag. Pipe milk chocolate legs around the chocolate chips to create spiders. Use the white chocolate to pipe out spider webs. Allow to set completely. Store in an airtight container at room temperature and consume within 5 days.
Notes
See the main post for a more detailed, step by step picture recipe.
Recommended Products
As an Amazon Associate and member of other affiliate programs, I earn from qualifying purchases at no extra cost to you.

Nutrition Information:
Yield: 20 Serving Size: 1Amount Per Serving: Calories: 206Total Fat: 12gSaturated Fat: 8gTrans Fat: 0gUnsaturated Fat: 4gCholesterol: 31mgSodium: 77mgCarbohydrates: 21gFiber: 1gSugar: 9gProtein: 3g
Nutritional information on kitchenmason.com should only be used as a general guideline, I am not a certified nutritionist. Please always check labels for allergens where applicable.