55 mins

Easy Peasy Warm and Cosy Pear Crumble Recipe
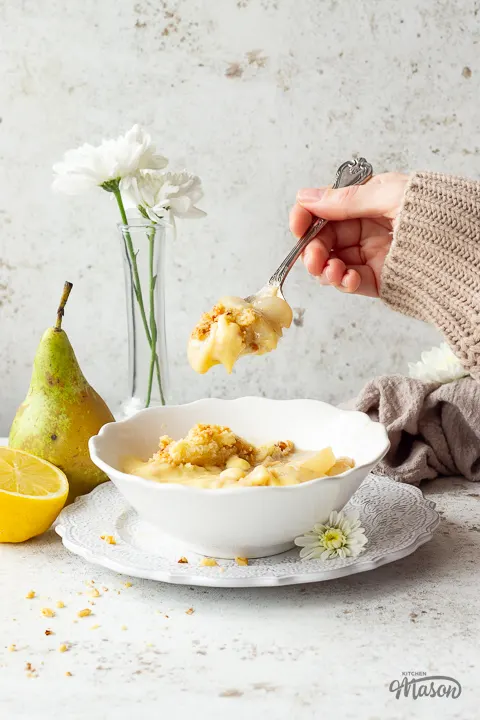
Need a comforting dessert that’s guaranteed to satisfy, and feels like a hug in a bowl? This easy pear crumble is exactly what you’ve been looking for! Perfectly ripe and …

Desserts and puddings are something of a British staple. From apple crumble to lemon meringue pie, we know what we love!
In this category you can find classic dessert and pudding recipes to something a little different.
Need a comforting dessert that’s guaranteed to satisfy, and feels like a hug in a bowl? This easy pear crumble is exactly what you’ve been looking for! Perfectly ripe and …


Tired of buying dry tasteless meringues? Want to know how to make meringues that are crisp on the outside, yet chewy in the middle? It’s easier than you think! This chewy …
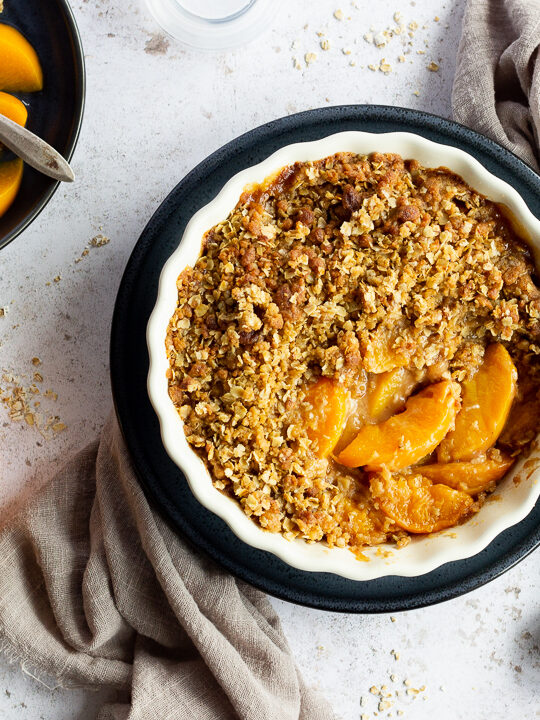

If you’ve never tried peach crisp, there’s no time like the present! With a beautifully crisp golden topping above a sea of sweet and juicy peaches, there’s never been a …
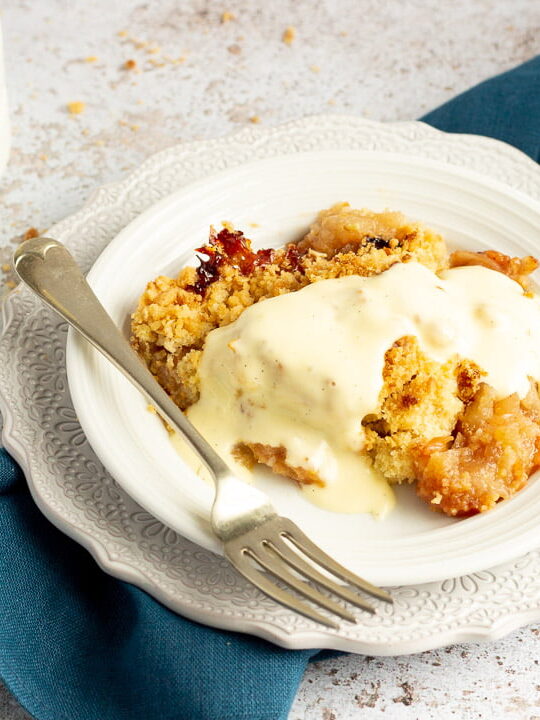

My Gran’s tried and tested apple crumble recipe is like a giant hug in a bowl! With a perfectly flavoured cinnamon apple filling and mountains of crispy crumble topping, you …

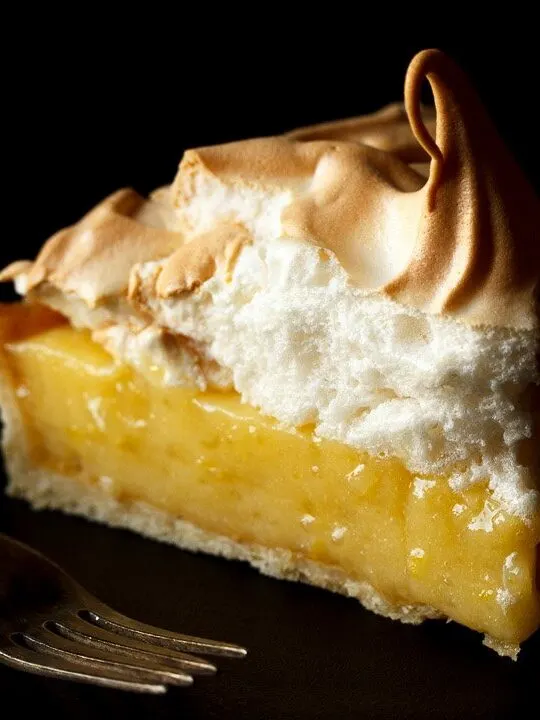
This lemon meringue pie recipe is a showstopping dessert they’ll never forget! It’s perfect for dinner parties and tastes so freakin’ GOOD! With the traditional shortcrust pastry case, lemon curd …
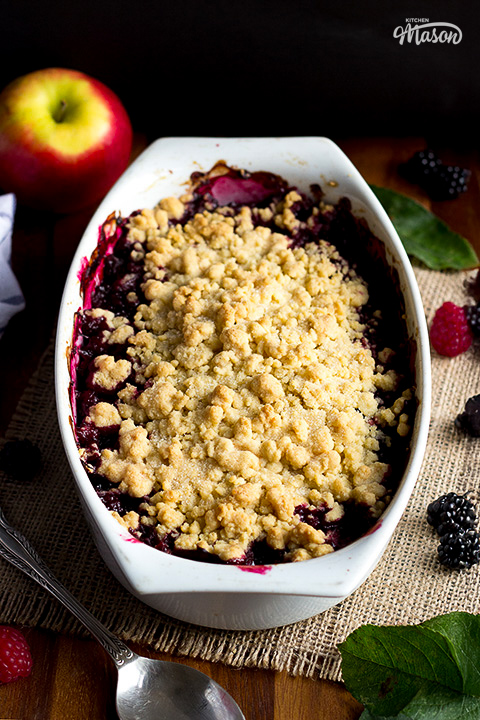
Looking for a summer fruit crumble that’s easy, comforting and simple to make from scratch? This fruity crumble is packed with juicy berries and sweet apples, all topped with a …