


This post may contain affiliate links. Where I make a small commission on purchased items, at no extra cost to you. See my disclosure for details.
(This post has been updated from the original September 2014 version to provide a better experience for you)
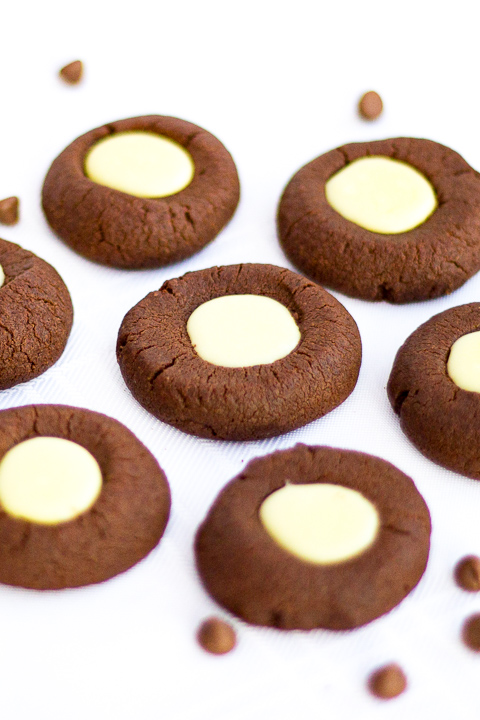
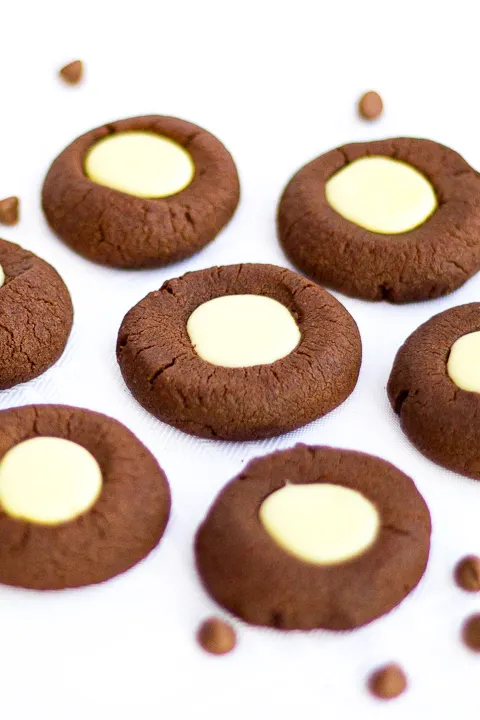
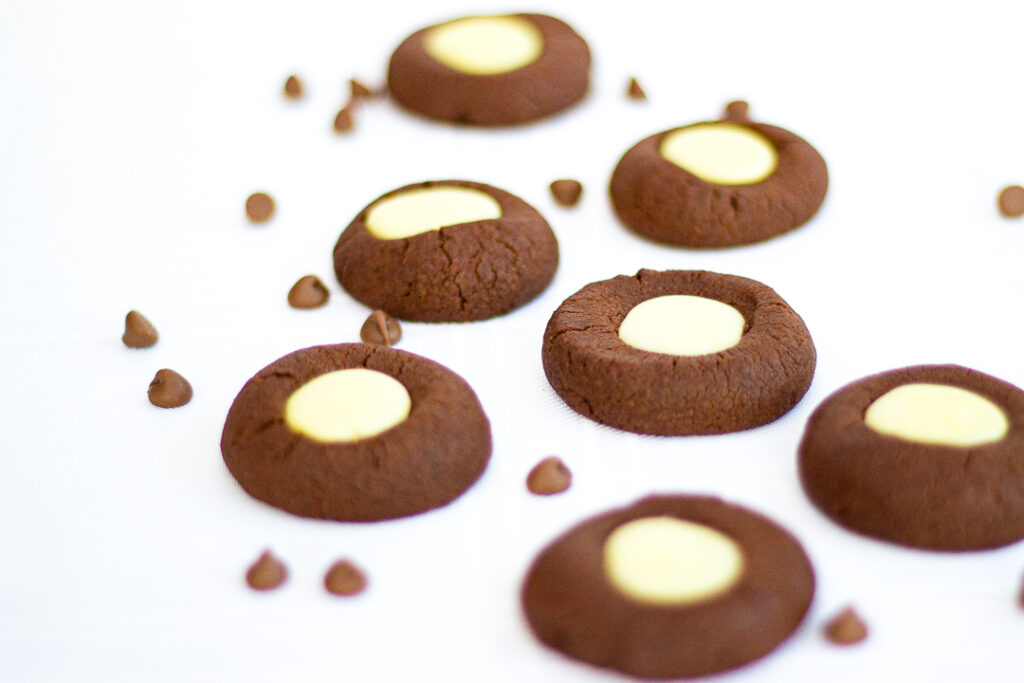
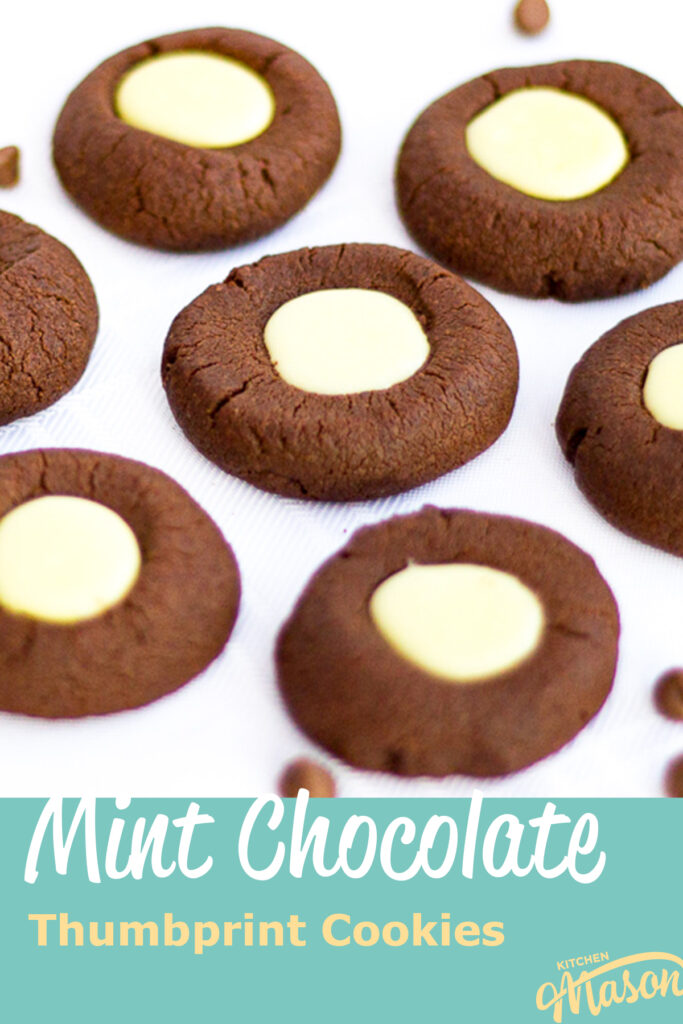
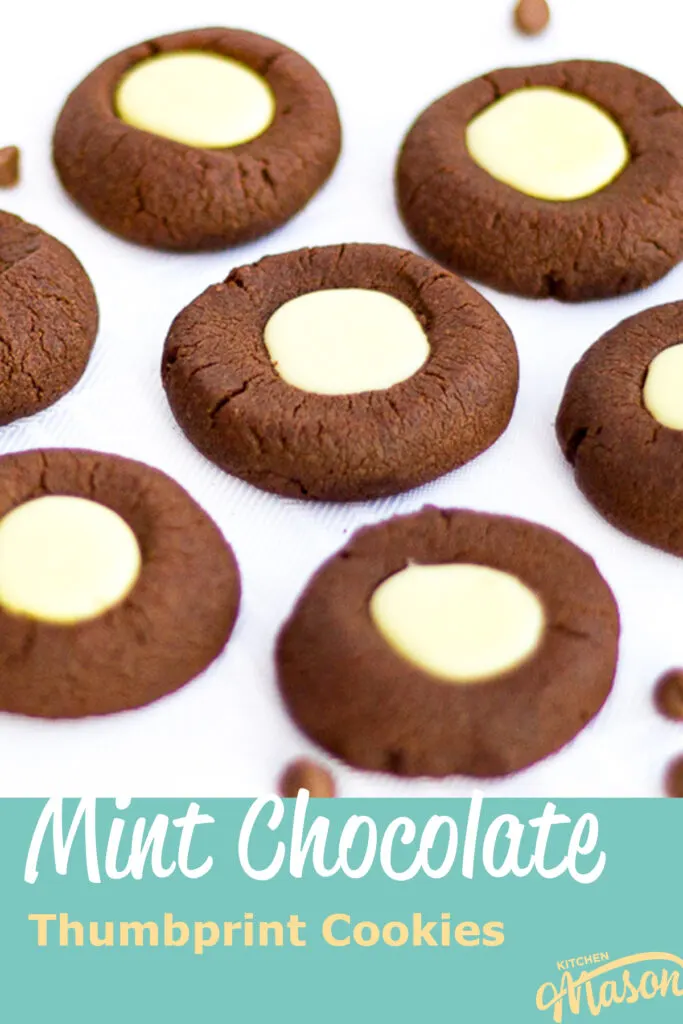
Want a quick and easy cookie to satisfy your sweet tooth? Big fan of mint chocolate? These mint chocolate thumbprint cookies are exactly what you’ve been looking for! Simple to make, and devilishly moreish, this easy thumbprint cookie recipe will become your new go to! Keep reading for the full recipe…
On a lazy Sunday, it’s very common for me to get the urge to bake. It almost always ends up being something sweet. And it definitely needs to be quick and easy to create.
These beautiful little mint chocolate thumbprint cookies are no exception! They’re super fun to make, and really very simple. And you can’t help but reach for another one when you’ve tried them!
Want my Top 5 Tips to Guarantee Baking Success? Check out baking for beginners to boost your knowledge and confidence!
If you like this recipe…
…you might also like:
Mint Chocolate Thumbprint Cookies Recipe
(For a printer friendly version, see the recipe card at the end of this post)
Ingredients
Here is what you will need to make about 20-25 cookies.
For the Cookies
- 60g (2.12 oz) Dark Chocolate
- 110g (1/2 Cup) Unsalted Butter, Room Temp
- 40g (1/8 Cup + 1 tbsp) Golden Caster Sugar
- 1 tbsp Soft Light Brown Sugar
- 1 Egg Yolk
- 1/2 tsp Vanilla Extract
- 1 tsp Peppermint Essence
- 125g (3/4 Cup + 1/8 Cup) Plain Flour
- 30g (1/4 Cup) Cocoa Powder
- 1/4 tsp Salt
For the Filling
- 80g (2.8 oz) White Chocolate
- 3-4 tbsp Double Cream
- 1 tsp Peppermint Essence
- Green Food Colouring Gel (Optional)
Essential equipment
- Mixing Bowl
- Spatula
- Electric Stand Mixer (or Large Mixing Bowl with Electric Hand Whisk)
- Seive
- Baking Tray
- Tablespoon
- Wire/Cooling Rack
- Small Bowl
- Piping Bag
Cookie instructions
Break the dark chocolate (60g | 2.12 oz) into either a bowl set over a pan of barely simmering water, or in a microwave. Gently melt, stirring often. Mix until smooth and leave to one side to cool.
In a stand mixer (or in a large bowl using an electric hand whisk) cream together the butter (110g | 1/2 Cup), the golden caster sugar (40g | 1/8 Cup + 1 tbsp) and brown sugar (1 tbsp) until light and fluffy.
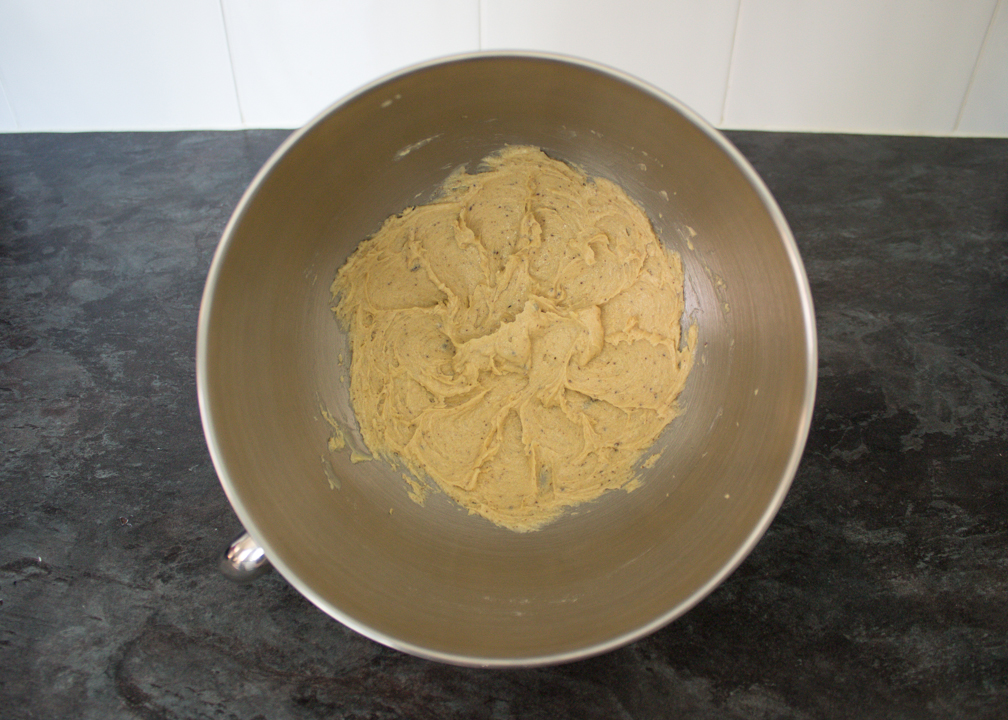

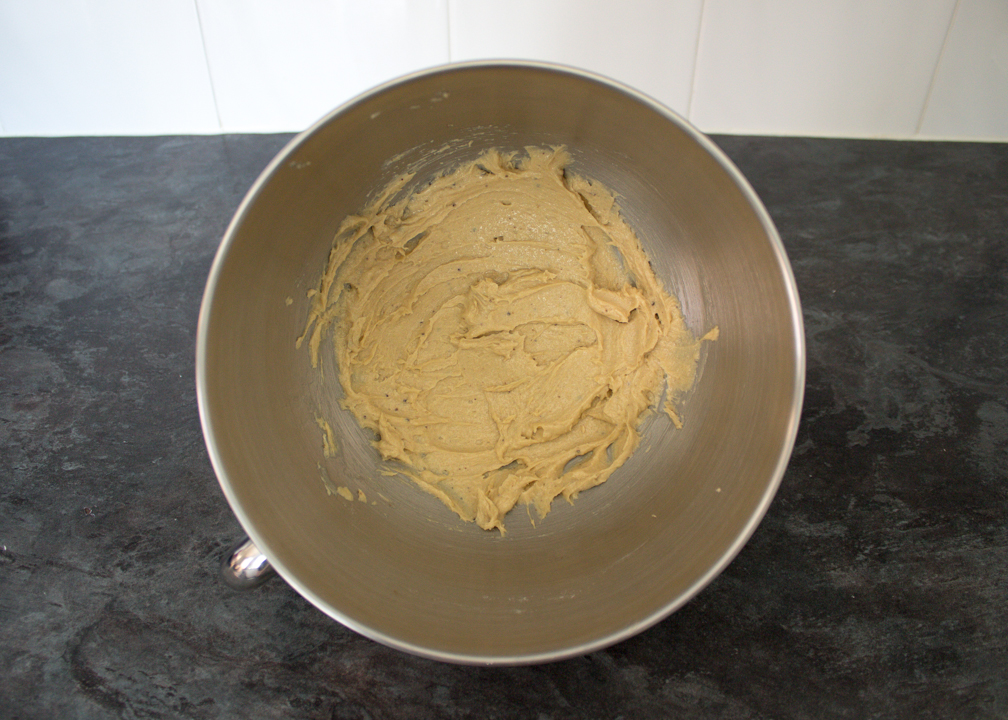
Then add in the egg yolk (x 1), vanilla extract (1/2 tsp) and peppermint essence (1 tsp). Mix well until it’s all nice and smooth.

Pour in the cooled, melted chocolate and mix until it’s all blended in.

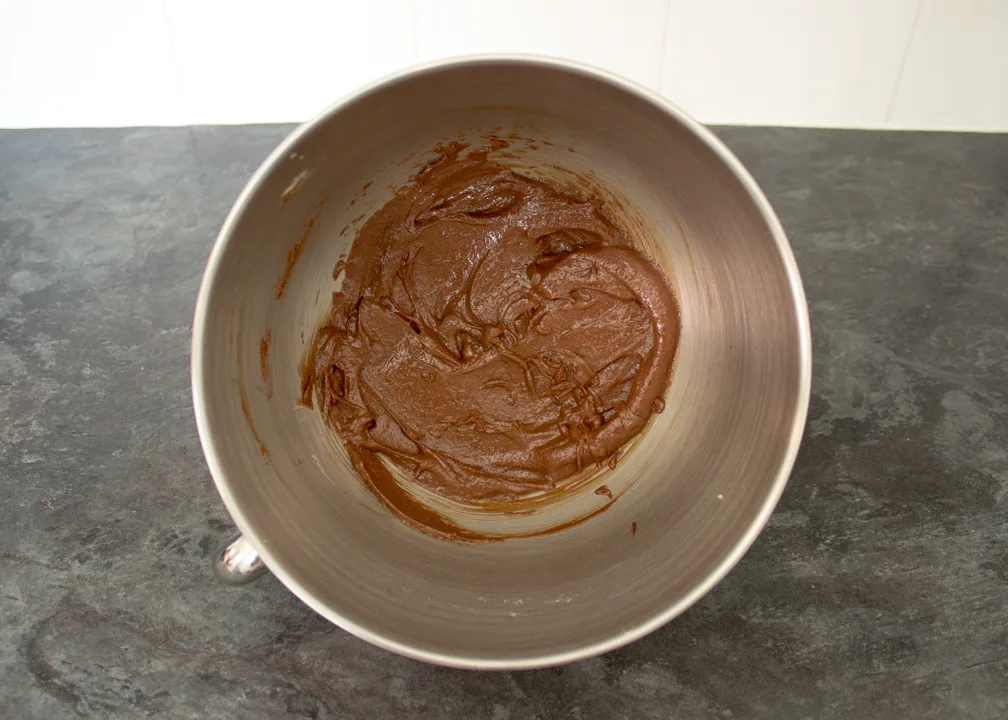
Lastly, sift in the flour (125g | 3/4 Cup + 1/8 Cup), cocoa powder (30g | 1/4 Cup) and salt (1/4 tsp). Mix it all together one last time until a smooth cookie dough forms and you can’t see any more flour.


Wrap the dough up in a piece of cling film, flatten into a disc and chill in the fridge for about 40 minutes.
Preheat your oven to 170°C/Fan 160°C/338ºF and line a large baking tray with baking paper or a silicone baking mat.
When the dough has chilled, roll tablespoon sized amounts into little balls.

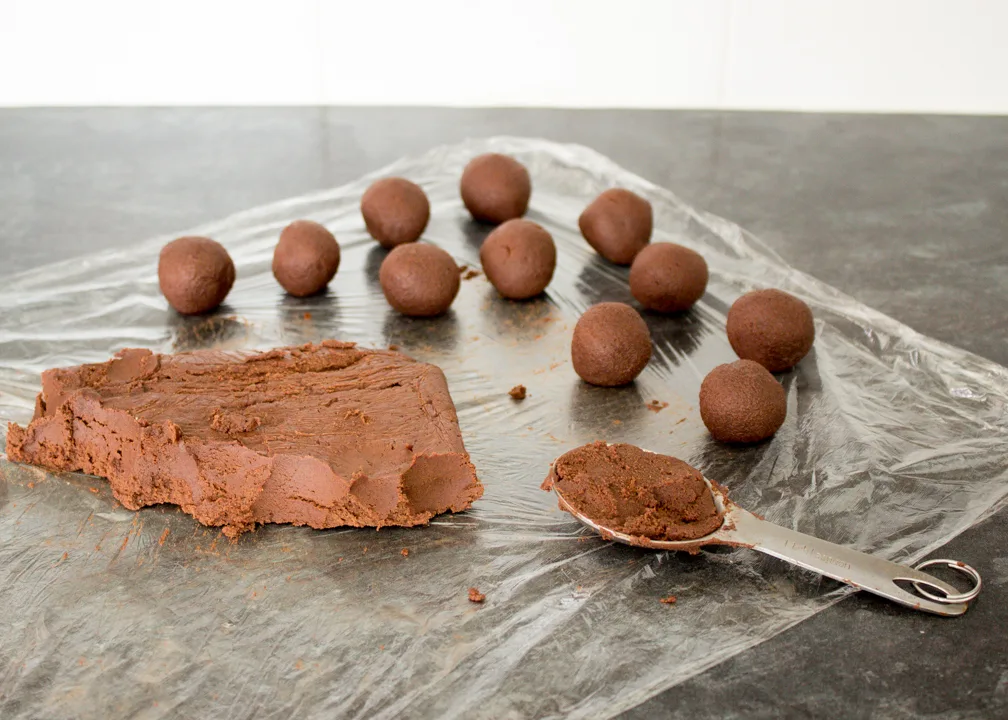
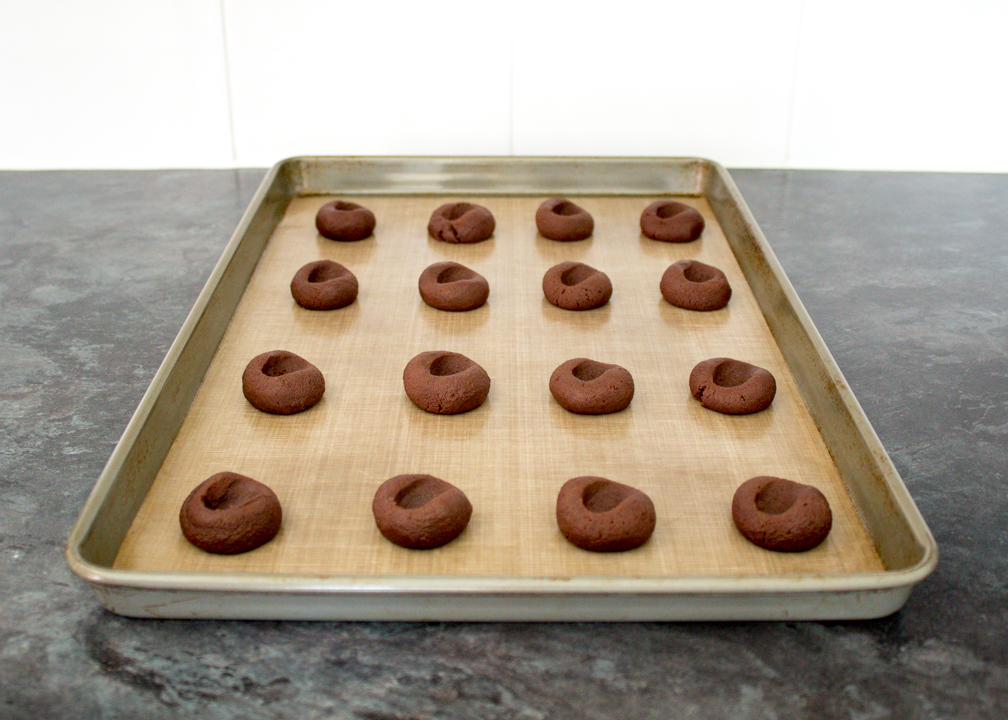
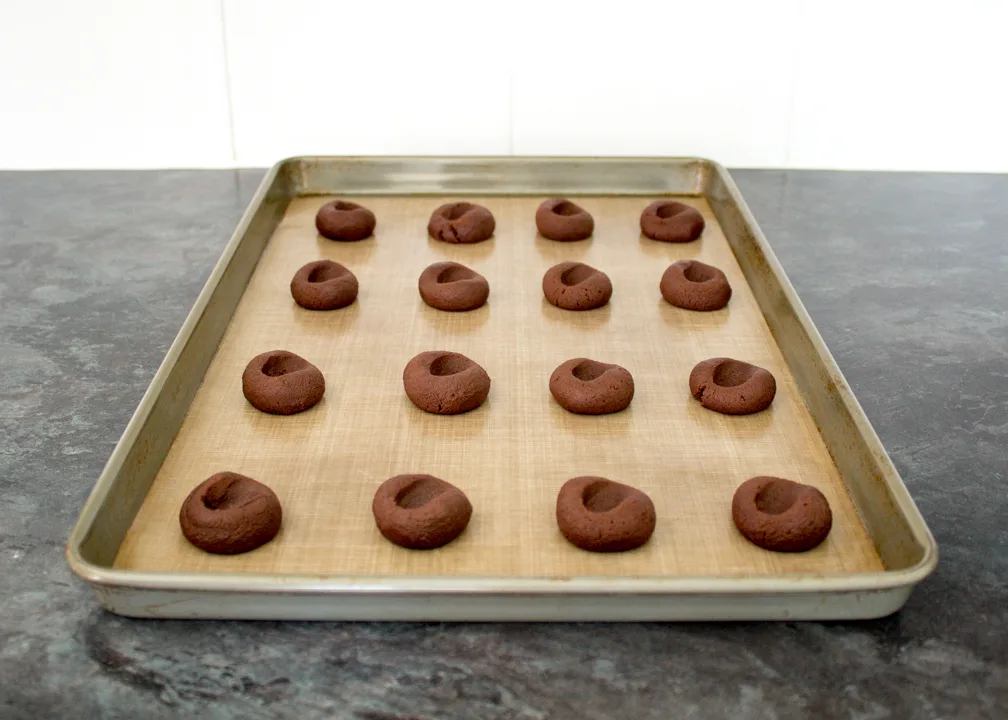
Spread a batch out on the baking tray, and pop the rest into the fridge for now. (They won’t spread a lot but allow a little room between each one just in case.)
Using your thumb (surprise surprise) press a reasonably deep dent into the middle of each cookie. But don’t break through to the bottom.
Bake in the centre of the preheated oven for approx 15 mins, or until they are slightly firm and just starting to crack a little on the edges.
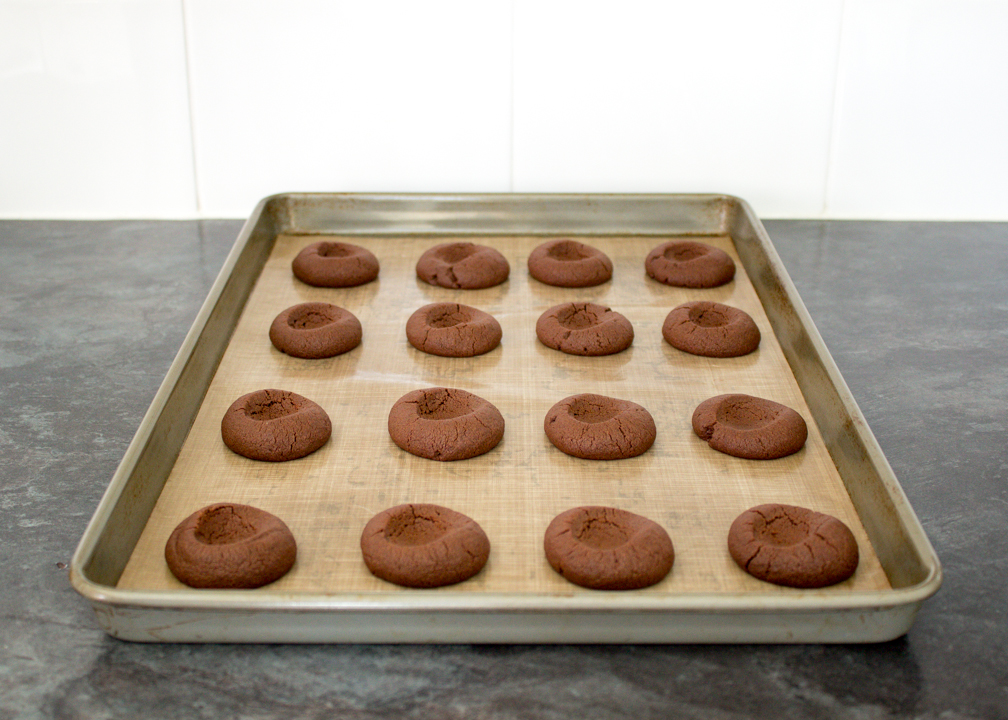
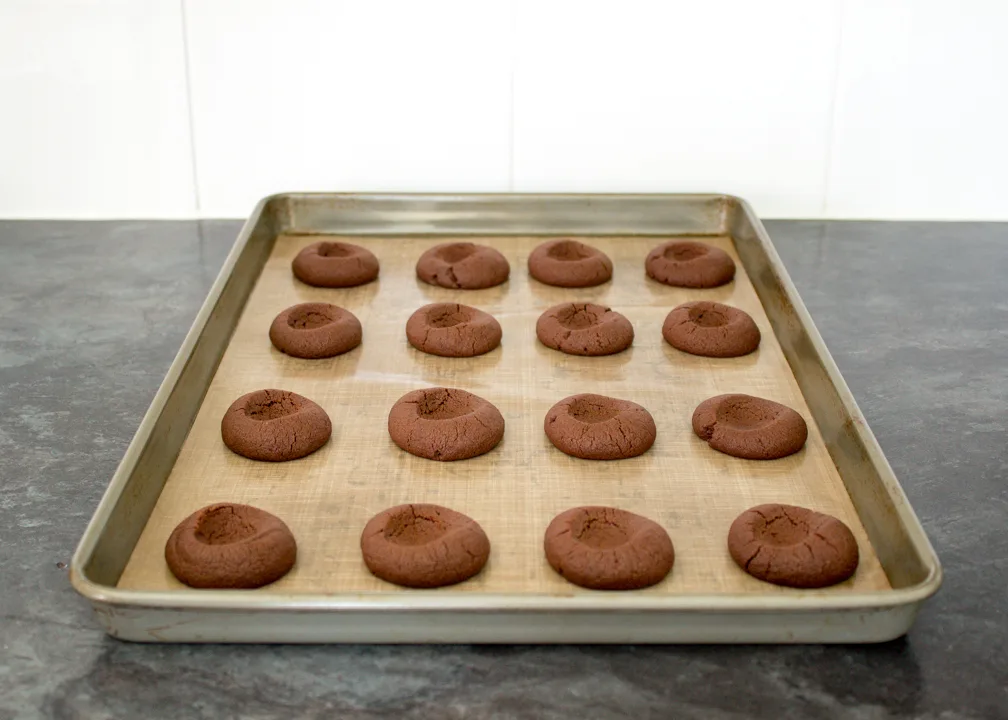
Allow to sit on the tray for a minute or two, then transfer to a wire rack to cool completely.
Repeat the process for the remaining cookie balls, until all of them are baked.
Filling Instructions
Whilst they are cooling, let’s make the filling!
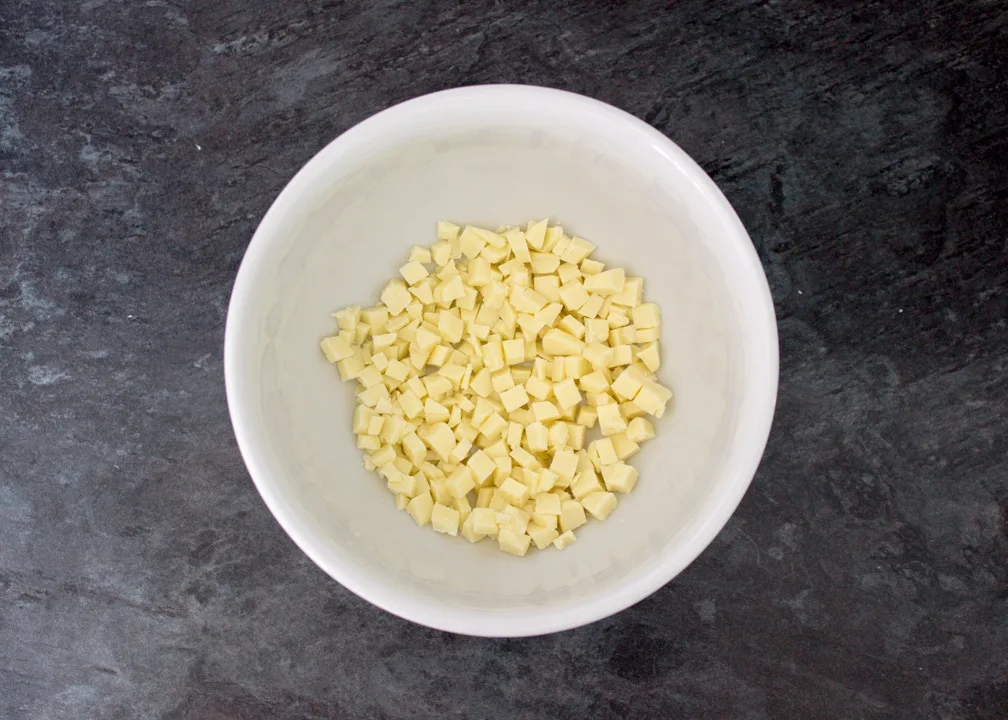
Chop the white chocolate (80g | 2.8 oz) as finely as you can and place into a bowl. (This will help it to melt quickly.)

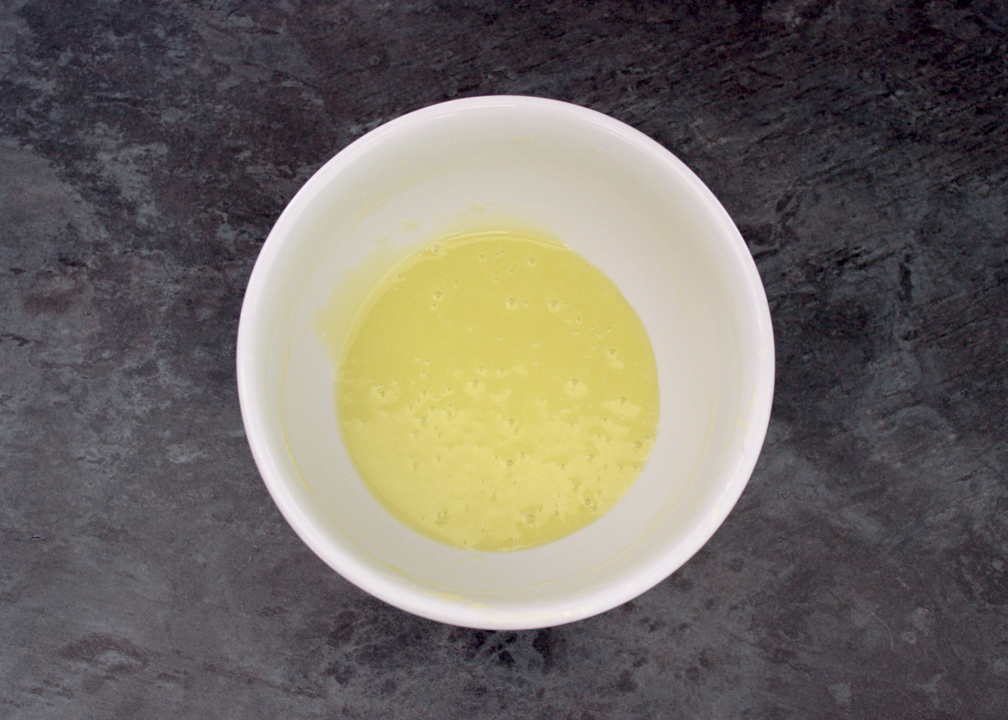
Either in the microwave or in a small saucepan over a low heat, bring the cream (3-4 tbsp) just up to boiling point then pour straight over the white chocolate.
Don’t mix it, just allow to stand for a minute until the chocolate has melted. Then give it a good stir until smooth and shiny.
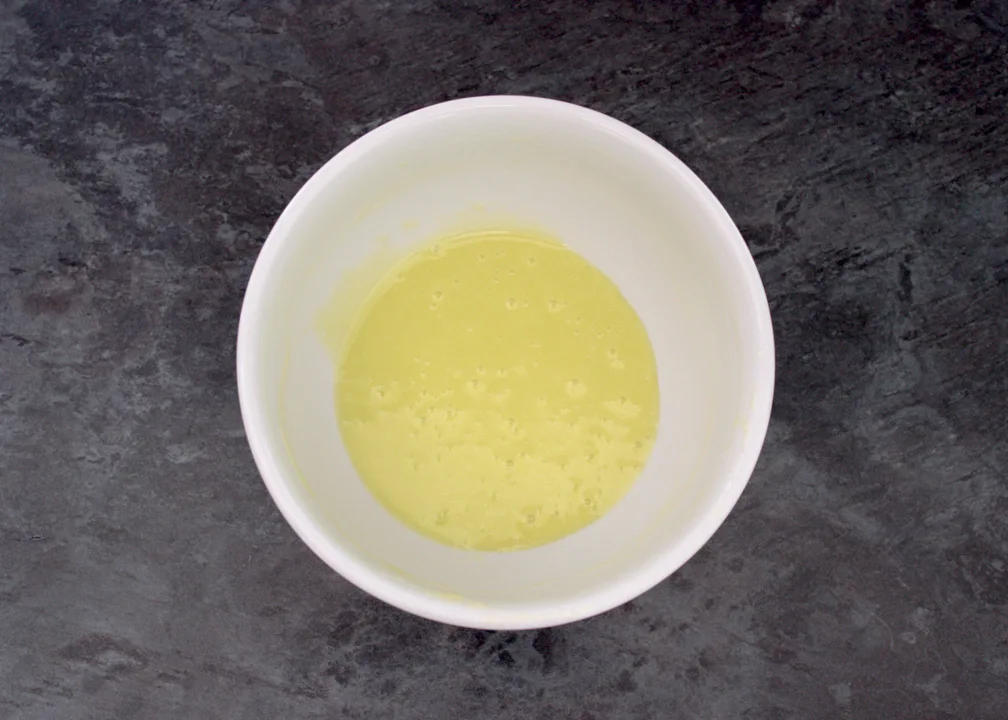
At this point, add in the peppermint essence (1 tsp) and, if you like – a little green food colouring gel.
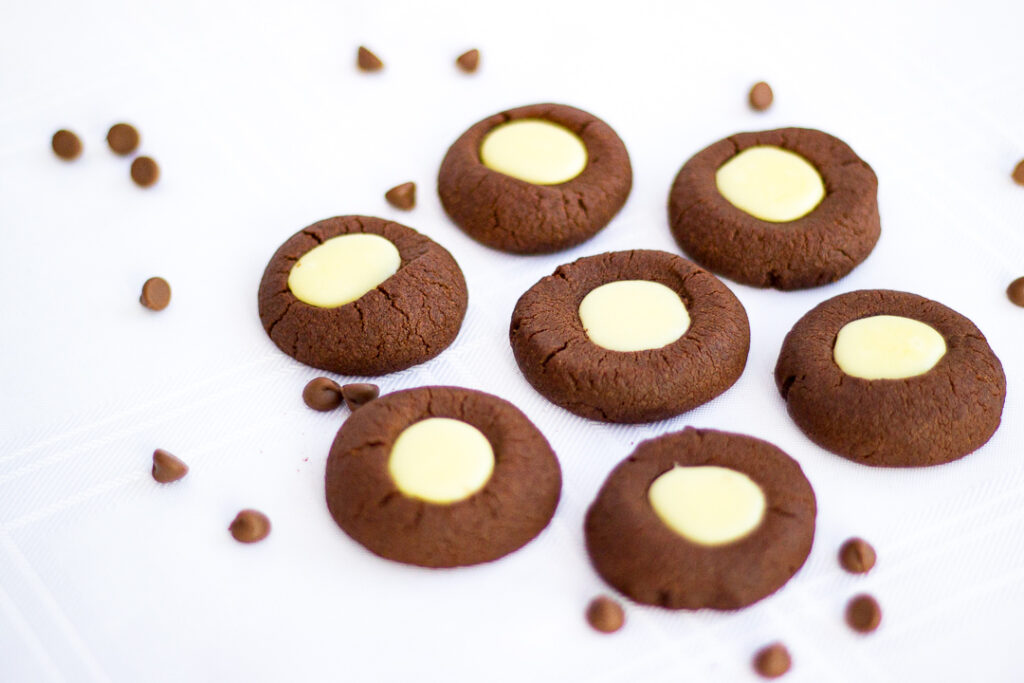
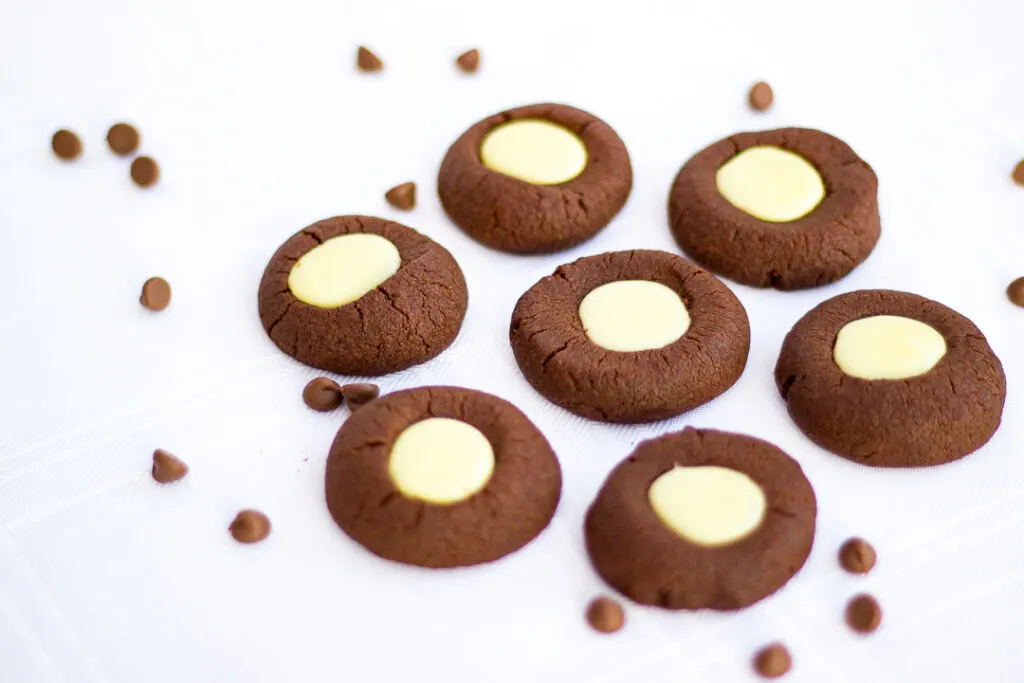
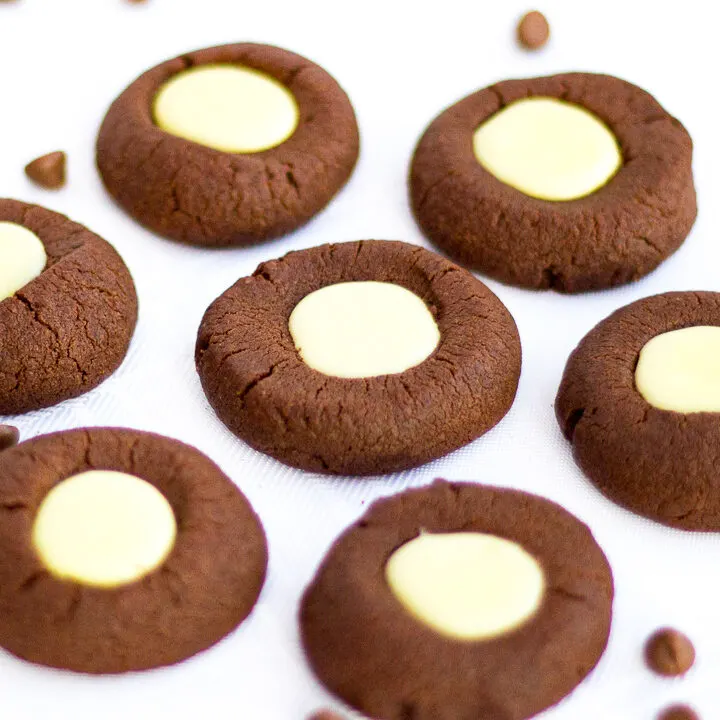
Pour the filling into a piping bag and pipe blobs into the middle of each cookie. Then place into the fridge for approx half an hour, to let the filling set, and there you have it! Super yummy mint chocolate thumbprint cookies!

How to store mint chocolate thumbprint cookies
Provided you don’t scoff them all straight away (which is a very high risk!) store the Mint Chocolate Thumbprint Cookies at room temperature in a metal tin lined with baking/greaseproof paper.
Loved this mint chocolate thumbprint cookies recipe? Pin it!

Mint Chocolate Thumbprint Cookies - Printable Recipe
Super easy to make, these moreish mint chocolate thumbprint cookies are a fun and perfect weekend bake!
Ingredients
For the cookies
- 60g (2.12 oz) Dark Chocolate, broken into pieces
- 110g (1/2 Cup) Unsalted Butter, room temp
- 40g (1/8 Cup + 1 tbsp) Golden Caster Sugar
- 1 tbsp Soft Light Brown Sugar
- 1 Egg Yolk
- 1/2 tsp Vanilla Extract
- 1 tsp Peppermint Essence
- 125g (3/4 Cup + 1/8 Cup) Plain Flour
- 30g (1/4 Cup) Cocoa Powder
- 1/4 tsp Salt
For the filling
- 80g (2.8 oz) White Chocolate, finely chopped
- 3-4 tbsp Double Cream
- 1 tsp Peppermint Essence
- Green Food Colouring Gel (Optional)
Essential equipment
- Mixing Bowl
- Spatula
- Electric Stand Mixer (or Large Mixing Bowl with Electric Hand Whisk)
- Seive
- Baking Tray
- Tablespoon
- Wire/Cooling Rack
- Small Bowl
- Piping Bag
Instructions
For the cookies
- Gently melt the dark chocolate in a bowl in the microwave in 10 second intervals (or in a bowl set over a pan of barely simmering water). Stir often. Then cream together the butter and both sugars in an electric stand mixer until light and fluffy.
- Add in the egg yolk, vanilla and peppermint. Beat again until smooth.
- Next pour in the cooled, melted dark chocolate and fold it through the mixture until smooth and blended.
- Then sift in the flour, cocoa powder and salt. Gently fold together until a dough forms, and there are no more visible streaks of flour.
- Wrap the dough in cling film and chill for 40 minutes, to firm up. Once chilled, measure out tablespoon sized chunks of dough, and roll them into balls. Preheat your oven to 170°C/160°C Fan/338ºF.
- Line a baking tray with baking paper or a silicone baking mat. Evenly space out the cookie dough balls ln the tray, and place the rest in the fridge until needed. Using your thumb, poke large-ish dents into the middle of each cookie ball.
- Bake for around 15 mins. They should be firm, but just beginning to crack around the edges. Allow to sit on the tray for a few mins, then transfer to a wire rack to cool completely. Repeat until all cookies are baked.
For the filling
- Place the finely chopped white chocolate into a small bowl.
- Gently heat the cream, either in a saucepan over a low heat or in the microwave, until just up to boiling point. Immediately pour over the white chocolate and leave for 3-4 minutes. Stir the mixture until smooth and melted, then mix in the peppermint and some green colouring gel (if using).
- Pour into a piping bag, snip the end, and pipe the filling into each of the holes in the cookies. Pop into the fridge for 30 mins to set.
Notes
Store your mint chocolate thumbprint cookies at room temperature in a metal tin.
Recommended Products
As an Amazon Associate and member of other affiliate programs, I earn from qualifying purchases at no extra cost to you.


Nutrition Information:
Yield: 25 Serving Size: 1Amount Per Serving: Calories: 120Total Fat: 8gSaturated Fat: 5gTrans Fat: 0gUnsaturated Fat: 3gCholesterol: 26mgSodium: 30mgCarbohydrates: 10gFiber: 1gSugar: 5gProtein: 1g
Nutritional information on kitchenmason.com should only be used as a general guideline, I am not a certified nutritionist. Please always check labels for allergens where applicable.
I want to see YOUR cooking!
Have you made these gorgeous mint chocolate thumbprint cookies? I’d love to know if you have! Tag me in your pics on Facebook, Twitter and Instagram or email me at emma@kitchenmason.com.
maryseeo
Sunday 28th of September 2014
This looks so yummy! :)
Miss KitchenMason
Sunday 28th of September 2014
Thanks Mary! X
sakinah30
Saturday 27th of September 2014
Reblogged this on Cappuccino and commented: perfect day for a cookie...
Astha
Wednesday 24th of September 2014
Seems delicious :P
Miss KitchenMason
Wednesday 24th of September 2014
Thanks!
noodlesforthoughts
Monday 22nd of September 2014
they look so so pretty
Miss KitchenMason
Monday 22nd of September 2014
Thank you! X